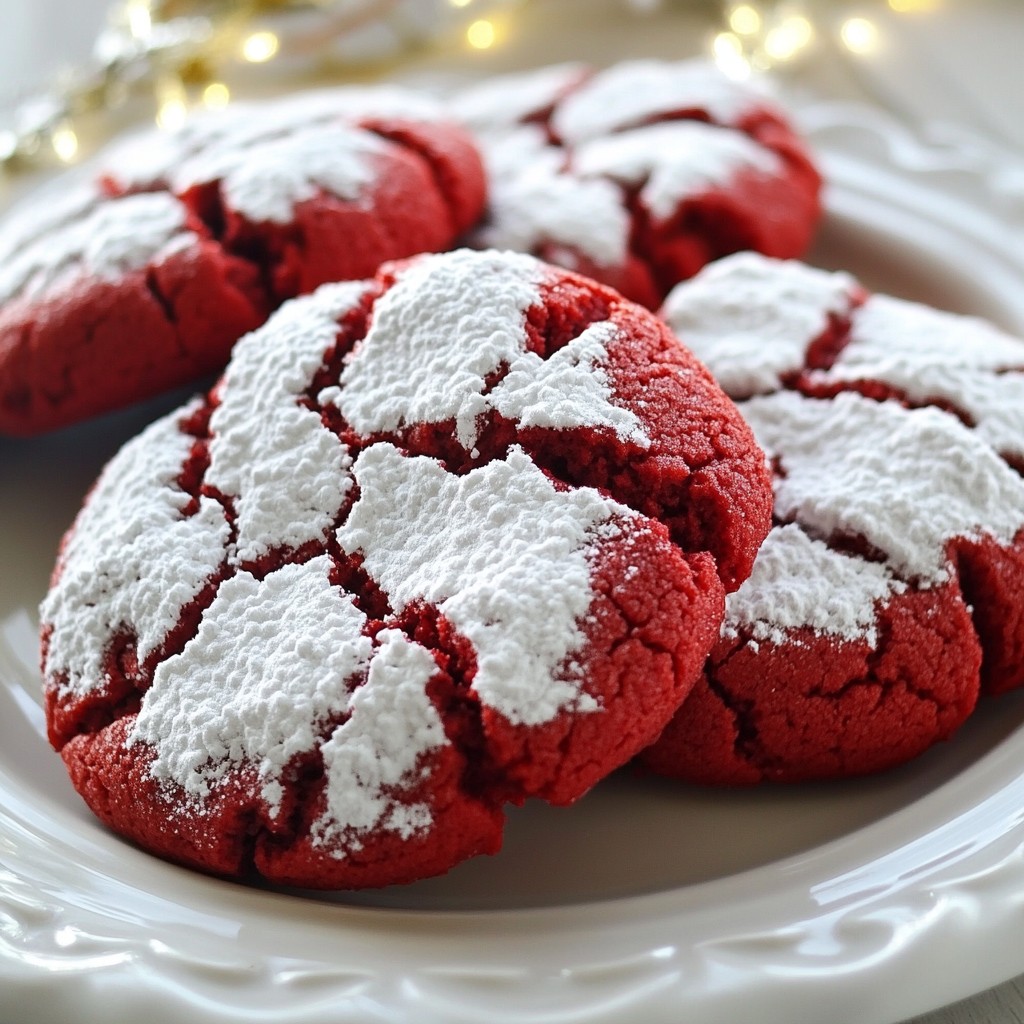
Are you ready for a treat that’s as soft as a cloud? Red Velvet Crinkle Cookies are the perfect dessert for any occasion. With a rich cocoa flavor and stunning red color, these cookies stand out on any plate. In this guide, I’ll walk you through the simple ingredients, step-by-step instructions, and helpful tips to ensure your cookies turn out perfectly every time. Let's dive into baking these delightful delights!
Why I Love This Recipe
- Deliciously Unique Flavor: The combination of cocoa and red food coloring gives these cookies a rich and vibrant taste that stands out during any occasion.
- Fun and Festive Appearance: The striking red color and crinkly surface make these cookies perfect for celebrations, adding a pop of color to your dessert table.
- Easy to Make: This recipe requires simple ingredients and straightforward steps, making it accessible for bakers of all skill levels.
- Perfect for Sharing: With about 24 cookies per batch, they’re ideal for gifting or serving at parties, ensuring everyone gets to enjoy a sweet treat.
Ingredients
Detailed List of Ingredients
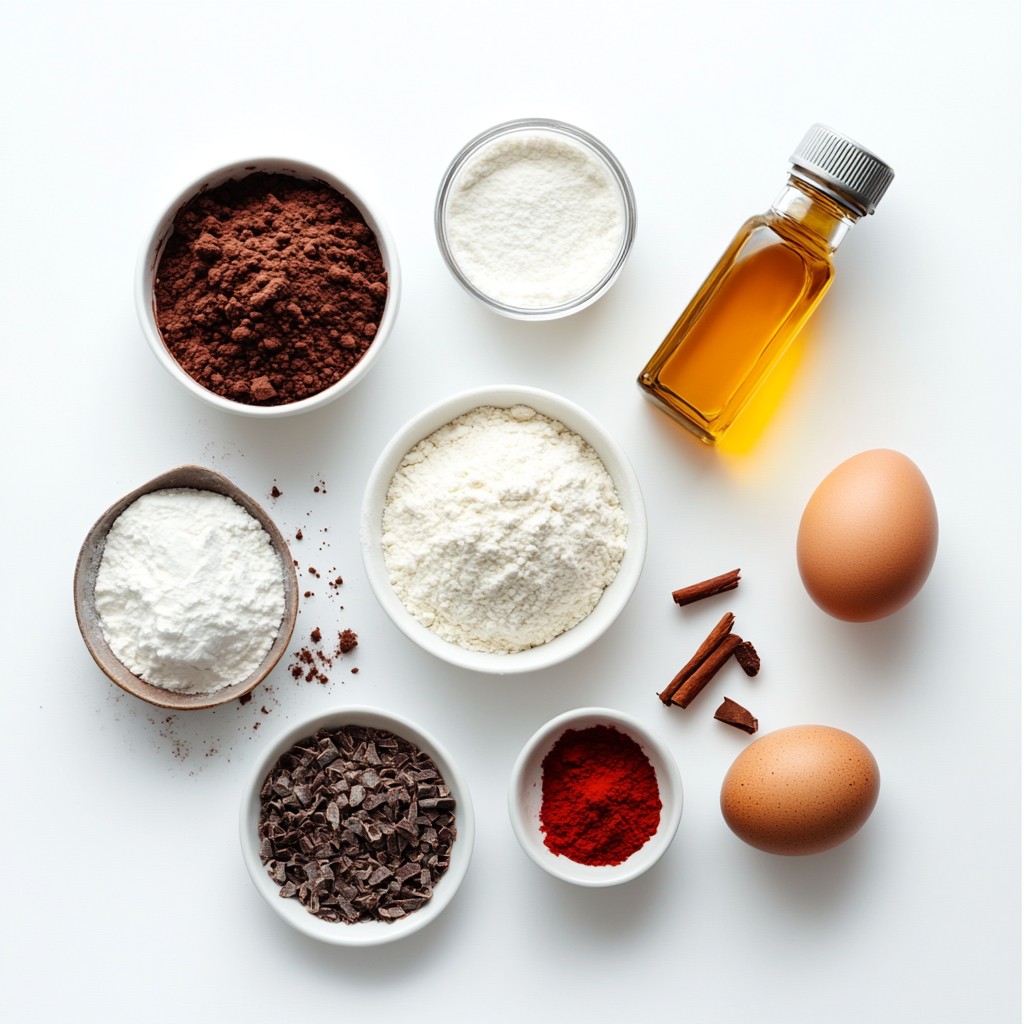
To make Red Velvet Crinkle Cookies, you need the following ingredients:
- 2 cups all-purpose flour
- 1/2 cup unsweetened cocoa powder
- 1 teaspoon baking powder
- 1/2 teaspoon baking soda
- 1/2 teaspoon salt
- 1 cup granulated sugar
- 1/2 cup vegetable oil
- 1 large egg
- 2 tablespoons milk
- 1 tablespoon red food coloring
- 1 teaspoon vanilla extract
- 1/2 cup powdered sugar (for rolling)
Ingredient Substitutions
If you need alternatives, try these:
- For flour, you can use almond flour or oat flour.
- Swap granulated sugar with coconut sugar or honey.
- Use canola oil or melted coconut oil instead of vegetable oil.
For egg replacements, consider:
- 1/4 cup applesauce for each egg.
- Use a flaxseed meal mix: 1 tablespoon flaxseed meal with 2.5 tablespoons water.
Importance of Each Ingredient
Each ingredient plays a key role in making these cookies special:
- Cocoa powder adds rich flavor and deep color to the cookies.
- Red food coloring makes the cookies vibrant and eye-catching.
These details not only enhance the taste but also create a visual treat.
Step-by-Step Instructions
Preparation Steps
1. First, preheat your oven to 350°F (175°C). This step warms up the oven and ensures even baking later.
2. Next, line a baking sheet with parchment paper. This helps prevent the cookies from sticking.
3. In a medium bowl, mix together the dry ingredients:
- 2 cups all-purpose flour
- 1/2 cup unsweetened cocoa powder
- 1 teaspoon baking powder
- 1/2 teaspoon baking soda
- 1/2 teaspoon salt
Set this bowl aside for now.
4. In a large bowl, combine the wet ingredients:
- 1 cup granulated sugar
- 1/2 cup vegetable oil
Mix these well until smooth.
5. Add in the egg, 2 tablespoons of milk, 1 tablespoon of red food coloring, and 1 teaspoon of vanilla extract. Beat this mixture until it is well blended.
6. Gradually add the dry mixture to the wet one. Stir until just combined. You want a soft dough that is not too sticky.
Forming the Dough
7. Now, chill the dough in the refrigerator for about 30 minutes. This makes the dough easier to handle.
8. Once chilled, scoop the dough using a tablespoon or cookie scoop. Roll each scoop into a ball.
9. Next, roll each ball in powdered sugar until fully coated. This gives the cookies a nice, crinkled look.
Baking and Cooling Process
10. Place the dough balls on the prepared baking sheet. Space them about 2 inches apart.
11. Bake in the preheated oven for 10-12 minutes. The cookies should have firm edges but soft centers.
12. After baking, let the cookies cool on the baking sheet for 5 minutes. Then, transfer them to a wire rack. Cooling them on a wire rack helps keep them soft and prevents them from becoming soggy.
Tips & Tricks
Baking Techniques for Perfect Cookies
How do you achieve a soft center? Start by not overbaking the cookies. Bake them until the edges are firm but the centers still look soft. The cookies will continue to cook a bit after you take them out of the oven. Use a timer to avoid checking too often.
For even baking, space the cookies two inches apart on the baking sheet. This allows hot air to circulate. Line your baking sheet with parchment paper. This helps the cookies lift off easily and prevents sticking.
Common Mistakes to Avoid
One common mistake is overmixing the dough. Mix the wet and dry ingredients until just combined. Overmixing can make cookies tough.
Another mistake is not chilling the dough long enough. Chilling for 30 minutes helps the flavors blend and makes the dough easier to work with. If you skip this step, you may end up with cookies that spread too much.
Presentation and Serving Suggestions
Serve Red Velvet Crinkle Cookies on a festive plate. You can also put them in a decorative box for gifts. A light dusting of extra powdered sugar adds a nice touch.
Pair these cookies with milk, coffee, or hot cocoa. The rich flavor of the cookies goes well with these drinks. You can also try serving them with vanilla ice cream for a fun dessert.
Pro Tips
- Chill the Dough: Chilling the dough for at least 30 minutes makes it easier to handle and helps the cookies maintain their shape while baking.
- Measure Flour Accurately: For the best results, spoon the flour into your measuring cup and level it off with a knife rather than scooping it directly from the bag.
- Don't Overbake: Keep an eye on the cookies while they bake; they should be soft in the center and firm at the edges. Overbaking can lead to dry cookies.
- Use Quality Food Coloring: For the brightest red color in your cookies, use a high-quality gel food coloring instead of liquid food coloring.
Variations
Flavor Additions
You can make Red Velvet Crinkle Cookies even better by adding chocolate chips or nuts. The chocolate gives a rich taste, while nuts add a nice crunch. You can use dark chocolate chips for a strong flavor or white chocolate for a sweet touch. Try chopped walnuts or pecans for a unique twist.
You can also explore color variations. Instead of red, use blue, green, or even purple food coloring. This change can match any theme or event. Just be sure to keep the same amount of food coloring for the best results.
Dietary Adjustments
If you need gluten-free cookies, substitute the all-purpose flour with a gluten-free blend. Many blends work well and taste great. For vegan cookies, replace the egg with flaxseed meal or applesauce. Use plant-based milk to keep the recipe dairy-free. You can also find egg replacers at the store.
To make a healthier version, reduce the sugar in the recipe. Start by cutting the sugar by one-quarter. This change can help lower calories while keeping the cookies tasty.
Holiday-Themed Modifications
You can adapt these cookies for any holiday. For Halloween, add orange food coloring and sprinkle with candy corn. At Christmas, use red and green sugar crystals for a festive look.
Adding spices can also enhance the flavor. Try a pinch of cinnamon or nutmeg for a warm taste. You can even top the cookies with festive sprinkles to make them extra fun for celebrations.
Storage Info
Best Storage Methods
To keep your Red Velvet Crinkle Cookies fresh, follow these steps:
- Airtight containers: Store cookies in an airtight container. This helps keep them soft.
- Room temperature storage: Place the container in a cool, dry spot. Avoid direct sunlight.
- Refrigerated storage: You can refrigerate cookies, but they may lose some softness.
Freezing Cookies
Freezing cookies is a great way to save some for later. Here’s how:
1. Prepare the dough: Make the cookie dough as usual.
2. Scoop and roll: Scoop dough balls and roll them in powdered sugar.
3. Freeze: Place them on a baking sheet and freeze until firm.
4. Store: Transfer the frozen balls to an airtight bag. Label with the date.
When you're ready to bake:
- Thawing: Let the dough sit at room temperature for about 30 minutes.
- Baking: Bake as directed, adding a couple of minutes for frozen dough.
Shelf Life
Red Velvet Crinkle Cookies are best fresh, but they last:
- At room temperature: About 5 to 7 days in an airtight container.
- Signs of staleness: If cookies feel hard or dry, they may be stale. Enjoy them while they are soft and chewy!
FAQs
Common Questions About Red Velvet Crinkle Cookies
What makes Red Velvet Crinkle Cookies different from regular cookies? Red Velvet Crinkle Cookies are special. They have a rich red color and a soft texture. The cocoa powder gives them a unique chocolate flavor. The powdered sugar coating adds a nice touch. This makes them stand out on any dessert table.
Can I use homemade ingredients instead of store-bought? Yes, you can! Using homemade ingredients can make your cookies taste even better. For example, you can make homemade vanilla extract. Just remember to keep the same measurements. This way, your cookies will still be delicious.
Troubleshooting Tips
Why are my cookies not crinkling? If your cookies are not crinkling, it could be the dough. Make sure you chill the dough well. Chilling helps create those lovely cracks. Also, ensure you roll the dough in powdered sugar fully. This helps with the crinkle effect.
What to do if the dough is too sticky? If your dough feels sticky, don’t worry. You can add a little more flour, one tablespoon at a time. Mix until it’s easier to handle. Chilling the dough for 30 minutes also helps. This makes rolling the cookies much easier.
Serving Sizes and Adjustments
How can I adjust the recipe for larger batches? To make a larger batch, double the ingredients. For example, use 4 cups of flour instead of 2. Remember to keep the same ratios for all the ingredients. This way, every cookie will be just as tasty.
Tips for cutting down on ingredient quantities for fewer servings? If you want fewer cookies, reduce the ingredients by half. For example, use 1 cup of flour instead of 2. Make sure to adjust everything else too. This keeps the flavor and texture just right for your smaller batch.
Today, we explored how to make delicious Red Velvet Crinkle Cookies. We discussed key ingredients, their roles, and easy substitutions. You learned the step-by-step process for preparing, baking, and storing your cookies. I also shared tips to avoid common mistakes and creative variations to try.
Remember, great cookies come from practice. Keep experimenting and perfecting your technique. Enjoy making these tempting treats for yourself and others!