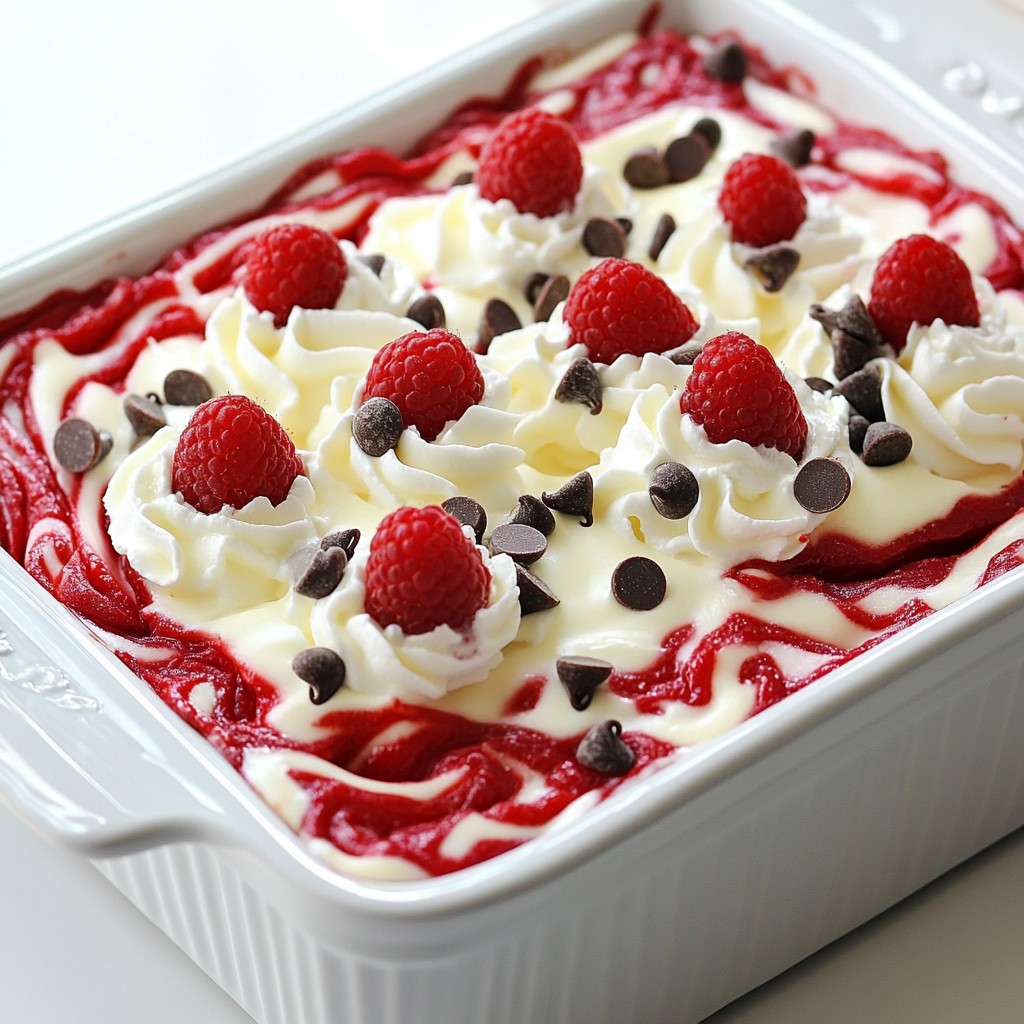
Are you ready to impress your friends and family with a dessert that’s both easy and delicious? This Red Velvet Cheesecake Dump Cake is a true crowd-pleaser, combining the rich flavors of red velvet with creamy cheesecake. In this delightful recipe, I’ll guide you through each step, from gathering your ingredients to achieving the perfect bake. Buckle up for a fun baking adventure that'll leave everyone wanting seconds!
Why I Love This Recipe
- Decadent Flavor: This dump cake combines the rich, chocolatey taste of red velvet with creamy cheesecake, making every bite irresistible.
- Easy to Make: With just a few simple steps, you can whip up this delightful dessert without any fuss.
- Perfect for Any Occasion: Whether it’s a holiday gathering or a casual get-together, this cake is sure to impress your guests.
- Customizable Toppings: Top it off with whipped cream and fresh raspberries for an extra touch of elegance and flavor.
Ingredients
List of Required Ingredients
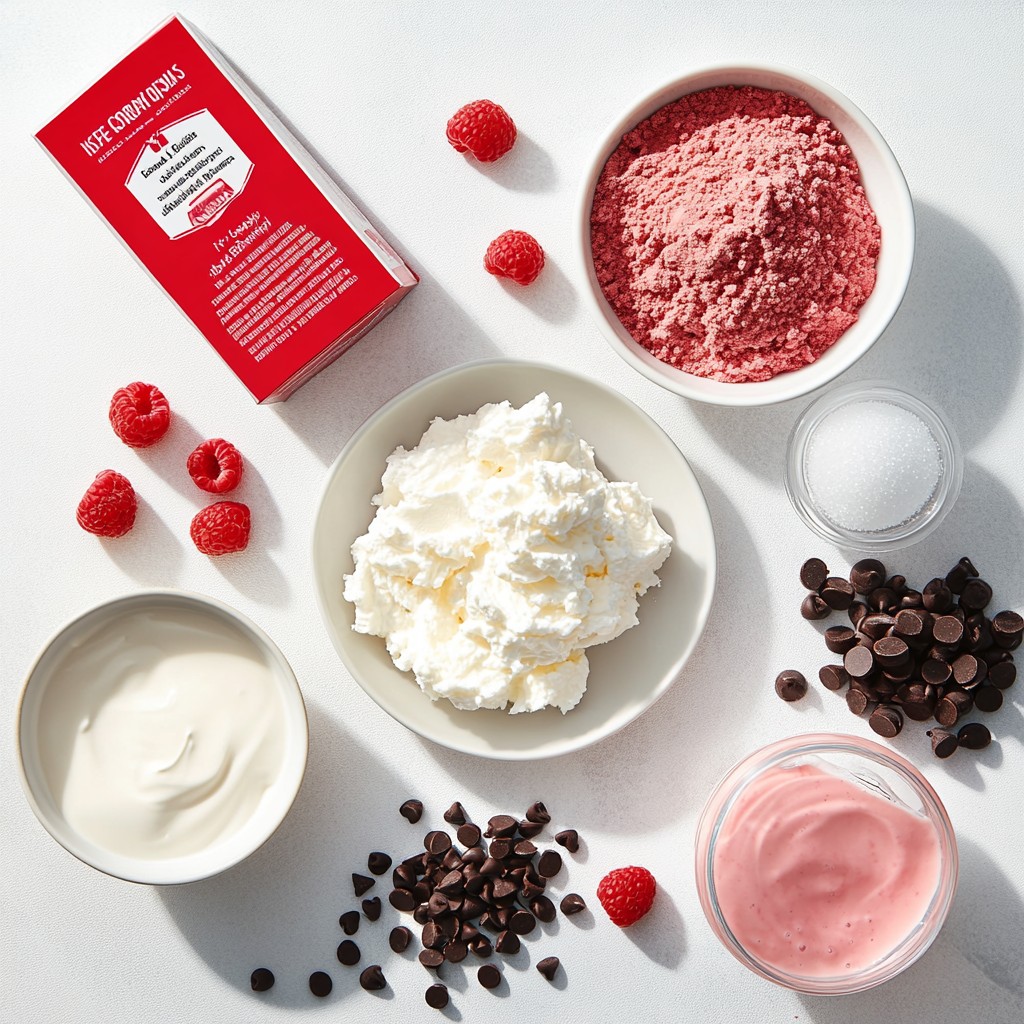
To make the Red Velvet Cheesecake Dump Cake, gather these main ingredients:
- 1 box red velvet cake mix
- 1 (8 oz) package cream cheese, softened
- 1 cup powdered sugar
- 1 teaspoon vanilla extract
- 1/2 cup unsalted butter, melted
- 1 cup buttermilk (or milk with 1 tablespoon vinegar added)
These ingredients form the base of the cake. Each one plays a key role in creating the right flavor and texture.
Optional Ingredients for Added Flavor
You can add these optional ingredients for extra taste:
- 1 cup mini chocolate chips
- Whipped cream for serving
- Fresh raspberries for garnish
Mini chocolate chips add a nice surprise in every bite. Fresh raspberries give a bright touch and a hint of tartness.
Suggested Tools and Equipment Needed
You will need a few tools to make this cake:
- 9x13 inch baking dish
- Cooking spray or butter for greasing
- Large mixing bowls
- Hand mixer for mixing
- Measuring cups and spoons
These tools help you mix, bake, and serve the cake easily. Having the right equipment will make your baking experience smooth and fun.
Step-by-Step Instructions
Prepping the Oven and Pan
Start by preheating your oven to 350°F (175°C). This step is key for even baking. While the oven heats, take a 9x13 inch baking dish. Grease it with cooking spray or butter. This helps the cake release easily later.
Mixing the Cream Cheese Filling
In a large bowl, add the softened cream cheese, powdered sugar, and vanilla extract. Use a hand mixer to beat them together until they are smooth and creamy. Make sure there are no lumps. Set this mixture aside for now.
Combining the Red Velvet Batter
In another bowl, mix the red velvet cake mix, melted butter, and buttermilk. Stir until just combined. It’s okay if some lumps remain. This will keep your cake light and fluffy.
Layering the Cake
Pour half of the red velvet batter into the prepared baking dish. Spread it evenly across the bottom. Next, drop spoonfuls of the cream cheese mixture over the batter. Space them out so every bite has some cream cheese. Now, pour the rest of the red velvet batter on top. Smooth it out gently. If you like chocolate, sprinkle mini chocolate chips on top.
Baking Tips for Perfect Results
Place the baking dish in the preheated oven. Bake for 30-35 minutes. Check the cake by inserting a toothpick in the center. If it comes out clean, your cake is ready. Remove it from the oven and let it cool in the pan for about 15 minutes. Enjoy your warm cake topped with whipped cream and fresh raspberries if you choose!
Tips & Tricks
How to Achieve the Best Texture
To get the best texture in your Red Velvet Cheesecake Dump Cake, focus on mixing. Mix the cream cheese, powdered sugar, and vanilla until creamy. This ensures a smooth filling. When mixing the cake batter, only stir until just combined. Lumps are okay! Over-mixing can make the cake tough.
Also, let the cake cool a bit after baking. This helps the layers set nicely. Serve warm for a gooey texture or at room temperature for a firmer slice.
Common Mistakes to Avoid
One common mistake is not greasing the baking dish well. This can cause the cake to stick. Another mistake is overbaking the cake. Check it at 30 minutes. A toothpick should come out clean but not dry.
Many people skip the cooling step. Letting the cake cool helps it hold together better when serving. Lastly, don’t forget the whipped cream! It adds a lovely touch to each slice.
Serving Suggestions and Presentation Ideas
For serving, top each slice with a dollop of whipped cream. Add fresh raspberries for a pop of color. You can also sprinkle extra mini chocolate chips on top.
Consider serving the cake in the baking dish for a casual look. For a more elegant touch, cut neat squares and place on dessert plates. Adding a sprig of mint can brighten up the plate. Enjoy this delightful treat with family and friends!
Pro Tips
- Use Room Temperature Ingredients: Ensure that your cream cheese and eggs are at room temperature before mixing. This helps create a smoother batter and better incorporates air for a fluffier texture.
- Don’t Overmix: When combining the cake mix, melted butter, and buttermilk, mix just until combined. Overmixing can lead to a dense cake, so it's okay if there are a few lumps.
- Layering Technique: For a beautiful presentation, drop spoonfuls of the cream cheese mixture evenly across the red velvet batter. This will create lovely swirls when baked.
- Serving Suggestions: Serve the cake warm with a generous dollop of whipped cream and fresh raspberries on top for an extra touch of flavor and color.
Variations
Chocolate Chip or No Chocolate Chip?
You can decide if you want chocolate chips in your cake. Adding chocolate chips gives extra sweetness and a fun texture. If you choose no chocolate chips, that's okay too! The red velvet and cream cheese mix will still shine. Both options taste great, so pick what you like best.
Alternative Mix-ins for Different Flavors
You can change the flavors in your cake with easy mix-ins. Try adding nuts like walnuts or pecans for a crunchy bite. You can also add dried fruit, like cherries or cranberries, for a fruity twist. If you love coconut, sprinkle in some shredded coconut! Each mix-in brings a new taste to this fun dessert.
Gluten-Free Options for the Cake Mix
If you need a gluten-free cake, you have options. Look for gluten-free red velvet cake mix. Many brands offer gluten-free choices that taste just as good. Just follow the same steps in the recipe with your gluten-free mix. The cake will still be delicious, moist, and perfect for everyone. You can enjoy this treat without worry!
Storage Info
How to Properly Store Leftovers
To keep your Red Velvet Cheesecake Dump Cake fresh, store it in an airtight container. Place it in the fridge. This will help keep the cake moist and tasty. If you have more than one slice, use plastic wrap to cover them well. You can also put the cake in a glass dish with a lid. Enjoy your leftovers within three to four days for the best taste.
Best Practices for Reheating
When you're ready to enjoy your cake again, reheating is easy. Take a slice out and place it on a microwave-safe plate. Heat it for about 15 to 20 seconds. Check to see if it's warm enough. If not, heat it for a few more seconds. This will keep the cake soft and creamy. You can also warm it in the oven at 350°F for about 10 minutes. Cover it with foil to keep it from drying out.
Freezing Guidelines for the Cake
If you want to keep your cake for a longer time, freezing is a good option. First, let the cake cool completely. Then, slice it into pieces. Wrap each piece tightly with plastic wrap. Place the wrapped slices in a freezer bag or container. Be sure to label the bag with the date. The cake will stay good for about two to three months in the freezer. When you're ready to eat it, simply thaw it in the fridge overnight.
FAQs
What is a dump cake?
A dump cake is a simple dessert. You mix all the ingredients in one bowl. Then, you dump the mixture into a pan and bake it. It is easy and quick to make. The result is a tasty cake with layers of flavor.
Can I use a different cake mix?
Yes, you can use any cake mix you like. Chocolate or vanilla mixes work well too. Just remember that it will change the flavor. Try different mixes for fun and new tastes.
How long does the Red Velvet Cheesecake Dump Cake last?
In the fridge, this cake lasts about 3 to 5 days. Make sure to cover it well. If it is left out, eat it within two hours to stay safe.
Can I make this recipe ahead of time?
Yes, you can prepare this cake ahead of time. You can mix the batter and cream cheese filling the day before. Just store them in the fridge. Bake it when you are ready to serve.
What can I substitute for buttermilk?
If you do not have buttermilk, use regular milk. Add 1 tablespoon of vinegar to 1 cup of milk. Let it sit for 5 minutes. This will work well in the recipe.
You learned about the key ingredients and tools for making a Red Velvet Cheesecake Dump Cake. We explored step-by-step instructions to mix, layer, and bake your cake. I shared tips to avoid common mistakes, achieve the best texture, and present your dish nicely. We also considered variations for extra flavor and how to store leftovers. This dessert is easy and fun to make. Now, you can impress anyone with this delicious recipe!