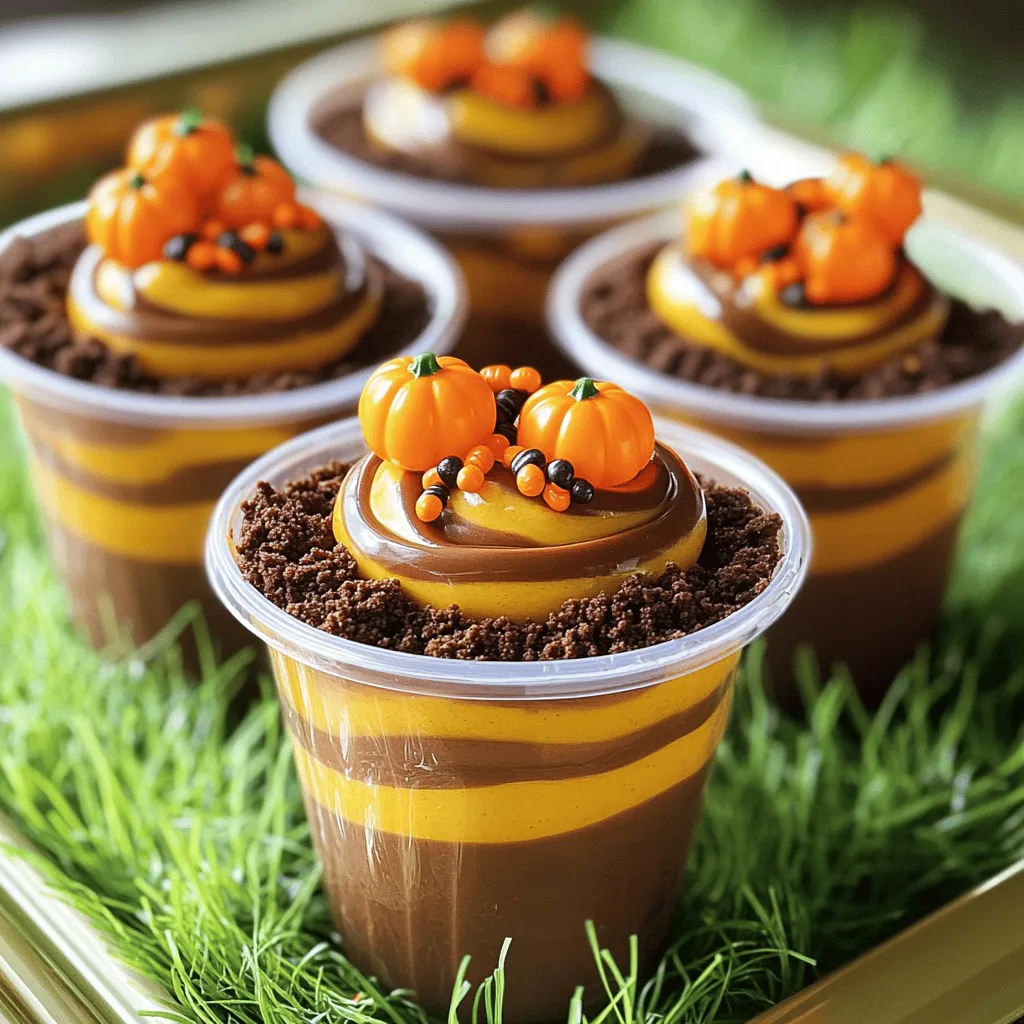
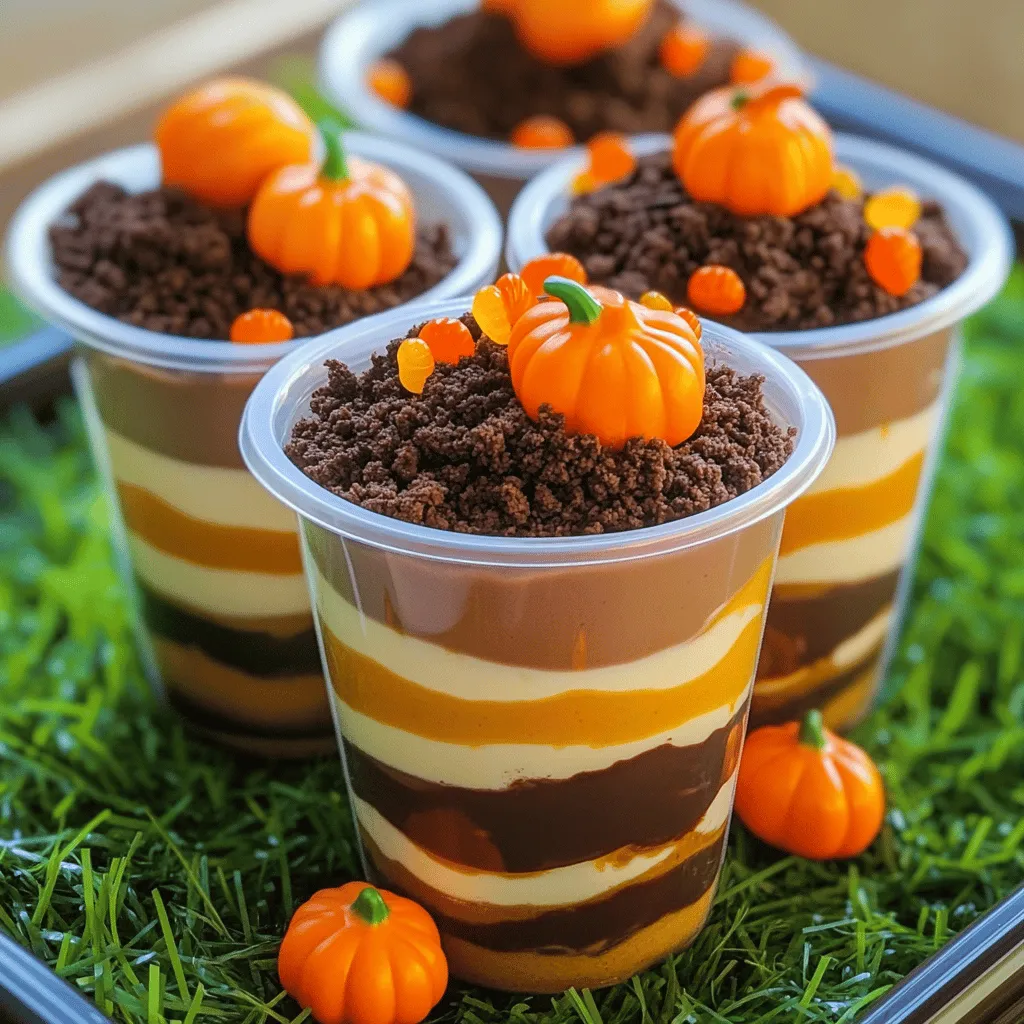
Fall is here, and it’s time to whip up a fun treat! Pumpkin Patch Dirt Cups are easy to make and taste amazing. Imagine creamy chocolate pudding layered with crunchy cookie crumbs and vibrant pumpkin flavors. Whether you’re hosting a party or just want a sweet snack, these cups are perfect for you. Let’s dive into the ingredients and steps to create this delicious fall dessert!
Ingredients
Required Ingredients for Pumpkin Patch Dirt Cups
To make these fun Pumpkin Patch Dirt Cups, you need some key ingredients. Here’s what you will need:
– 1 package (15 oz) of chocolate pudding mix
– 2 cups milk
– 10 oz crushed chocolate sandwich cookies (e.g., Oreo)
– 1 cup whipped topping (whipped cream or Cool Whip)
– 1 cup of pumpkin puree
– 1 teaspoon pumpkin pie spice
– 1 teaspoon vanilla extract
– Gummy worms (for decoration)
– Edible candy pumpkins (for decoration)
– 4 small clear plastic cups
These ingredients are easy to find. The chocolate pudding mix and the crushed cookies give a rich, chocolaty flavor. The pumpkin puree and spices add a nice fall touch.
Optional Ingredients for Variation
You can tweak this recipe to fit your taste. Here are some optional ingredients you might like to try:
– Different flavors of pudding mix (like vanilla or butterscotch)
– Cream cheese for a richer pumpkin layer
– Chocolate chips mixed into the pudding or pumpkin layer
– Other types of candy for decoration, like candy corn or chocolate sprinkles
Feel free to get creative! These options can make your cups unique and delicious.
Suggested Garnishes
Garnishes can elevate your dessert. Here are some fun ideas to make your cups pop:
– Crushed nuts for added crunch
– Whipped cream on top for extra fluffiness
– Edible glitter for a festive sparkle
– Fresh mint leaves for a pop of color
These garnishes can make your Pumpkin Patch Dirt Cups even more fun to eat. They add color, texture, and a little extra flavor. Enjoy customizing your treats!
Step-by-Step Instructions
Preparation of the Chocolate Pudding Base
To start, grab a large bowl. You will need the chocolate pudding mix and milk. Pour the pudding mix into the bowl. Add the milk next. Whisk them together for about two minutes. You want a thick and creamy mix. Once it is ready, take half of this chocolate cream and set it aside.
In the same bowl, fold in the whipped topping. This makes the chocolate cream light and fluffy. It adds a nice touch to your dessert. Make sure there are no lumps. Your chocolate pudding base is now ready to use!
Creating the Pumpkin Layer
Now, let’s make the pumpkin layer. In another bowl, add the pumpkin puree. It should be smooth and fresh. Mix in the pumpkin pie spice and vanilla extract. Stir well until everything is combined. The smell will remind you of fall!
Next, gently fold in half of the chocolate cream you set aside earlier. This creates a lovely swirl of flavors. The pumpkin layer will be sweet and spicy. It adds a nice contrast to the chocolate.
Assembling the Dirt Cups
Now it’s time to put it all together! Take your clear plastic cups. Start by adding a layer of crushed chocolate cookies at the bottom. About one to two tablespoons will do. This will be the “dirt.”
Next, add a layer of the pumpkin mixture on top. Follow this with a layer of the chocolate cream. Repeat these layers until the cups are full. Finish with a layer of chocolate cream on top.
Now, sprinkle the remaining crushed cookies on the very top. This looks just like dirt! For the final touch, add gummy worms crawling out of the dirt. Place a few edible candy pumpkins on top too. Your Pumpkin Patch Dirt Cups are now fun and festive!
Tips & Tricks
Best Practices for Layering Ingredients
Layering is key for great Pumpkin Patch Dirt Cups. Start with crushed cookies at the bottom. This gives a nice crunch. Next, add the pumpkin layer. Use a spoon to create smooth layers. Don’t rush it! Repeat these layers until your cup is full. Finish with a layer of chocolate cream. This tops it off nicely. Remember, even layers make for a prettier cup.
Decoration Ideas for a Festive Look
Making your cups look fun adds to the joy. Use gummy worms to crawl out of the dirt. Place them on top of the cream. Then, add candy pumpkins around the worms. This gives a real pumpkin patch vibe. You can also sprinkle some crushed cookies on top. This looks like dirt and adds texture. For an extra touch, serve on a tray with fake green grass or dyed coconut.
Common Mistakes to Avoid
One common mistake is overmixing the layers. You want them to stay separate for effect. Another is not chilling the cups long enough. Let them set in the fridge for at least an hour. This helps the flavors blend and makes them easier to eat. Also, be careful with the cookie layer. If you add too much, it can be hard to scoop.
Variations
Gluten-Free Adaptations
To make Pumpkin Patch Dirt Cups gluten-free, choose gluten-free chocolate sandwich cookies. These cookies are easy to find in stores. Use a brand that you love. The rest of the recipe stays the same. You can still enjoy the same great taste without gluten.
Dairy-Free Options
If you want a dairy-free treat, swap the milk with almond milk or coconut milk. Use a dairy-free whipped topping instead of traditional whipped cream. This keeps the dessert creamy and delicious. The pumpkin puree adds a nice flavor that everyone will enjoy.
Chocolate Pudding Swaps
You can switch out the chocolate pudding mix for vanilla or butterscotch pudding. This gives a new twist to the classic recipe. Each option will offer a unique taste. You can still layer the pumpkin filling for that festive look. It’s a fun way to try something new while keeping the fall spirit alive.
Storage Info
How to Store Pumpkin Patch Dirt Cups
To keep your Pumpkin Patch Dirt Cups fresh, cover them tightly. Use plastic wrap or a lid. Store them in the fridge. They should stay cool and tasty!
Shelf Life Guidelines
These cups last about 3 to 5 days in the fridge. After that, the texture may change. The whipped topping might lose its fluff. The cookie layers could become soggy. Enjoy them while they are fresh!
Freezing Recommendations
I do not recommend freezing these cups. The layers may separate when thawed. The cream and cookies will not hold up well. It’s best to make just what you need and enjoy them fresh.
FAQs
Can I use different flavors of pudding?
Yes, you can use different pudding flavors! Vanilla or butterscotch pudding works well. These flavors add a fun twist to your cups. If you choose vanilla, consider adding a bit of cocoa powder for a chocolatey taste. Butterscotch gives a nice caramel flavor. Feel free to mix and match to create your favorite.
How long can these be stored in the fridge?
You can store Pumpkin Patch Dirt Cups in the fridge for up to three days. Just cover them with plastic wrap to keep them fresh. The layers will stay tasty, but the cookies might get a bit soft. If you want crunch, make the cups close to when you plan to serve them.
What other decorations can I use for the cups?
There are many fun decorations you can try! Use candy corn or chocolate sprinkles for a colorful touch. You can also add mini marshmallows for a fluffy effect. If you want to be creative, use chocolate spiders for a spooky twist. Get kids involved and let them choose their favorite toppings!
You learned how to make delicious Pumpkin Patch Dirt Cups. I shared needed ingredients, easy steps, and helpful tips. The variations allow you to cater to different diets too. Remember, fun garnishes make each cup special. Store them properly to keep them fresh. Have fun creating your own version. Enjoy each tasty bite and share with friends!