Latest & Greatest

browse recipes

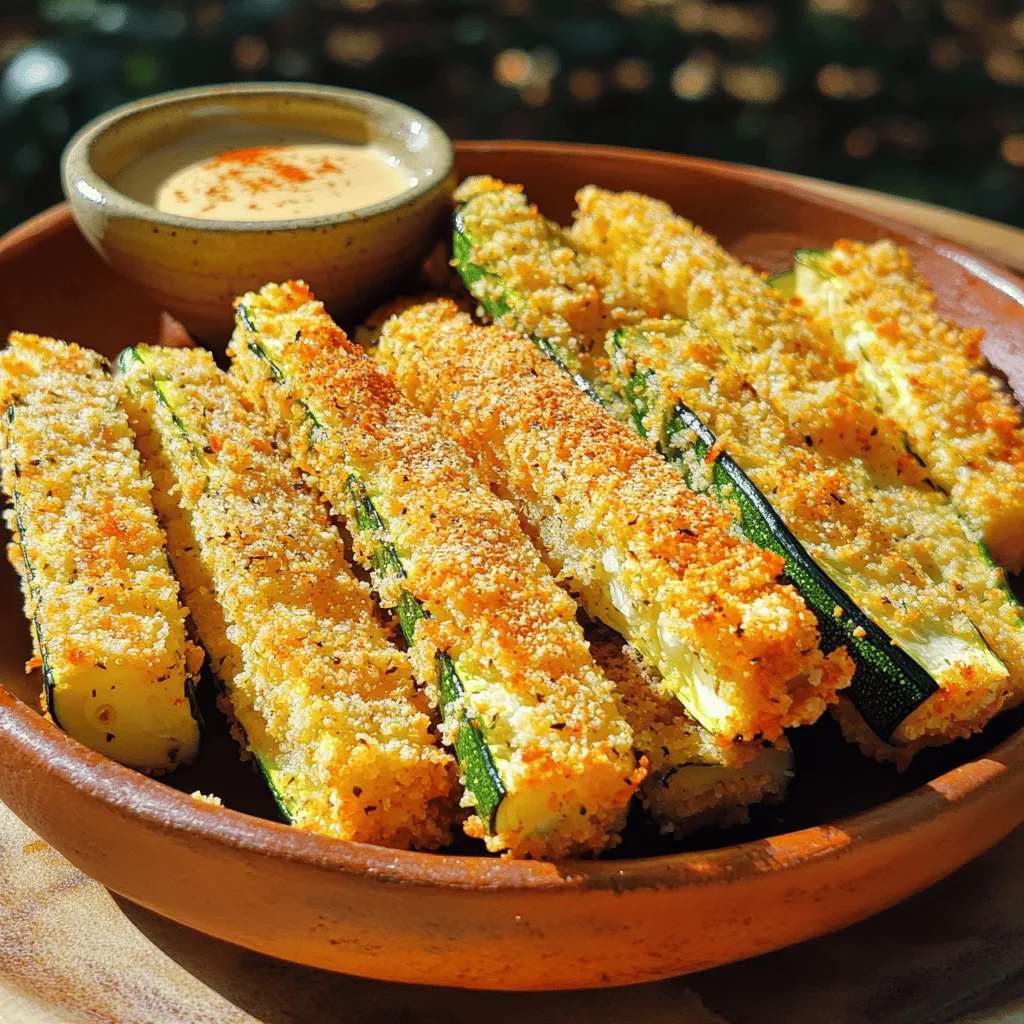
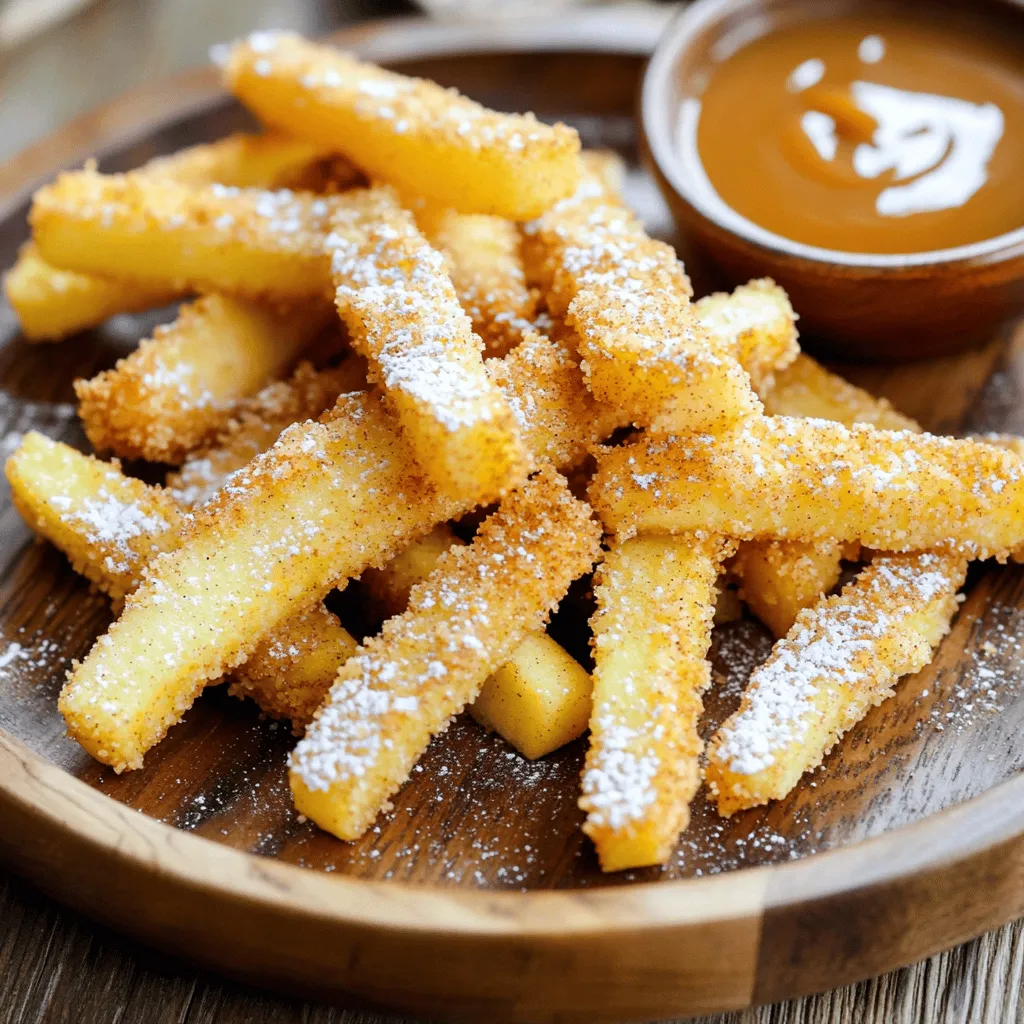
- 2 medium zucchinis, sliced into fries - 1 cup panko breadcrumbs - ½ cup grated Parmesan cheese - 1 teaspoon garlic powder - 1 teaspoon onion powder - ½ teaspoon paprika - 2 large eggs - Salt and pepper to taste - Olive oil spray To make crispy zucchini fries, we need simple ingredients. Fresh zucchinis are key. They give a nice crunch and great flavor. Panko breadcrumbs add texture and make them extra crispy. Parmesan cheese gives a nice salty bite. Garlic and onion powders bring depth to the taste. Paprika adds a hint of smokiness. Eggs help the coating stick well. You can adjust salt and pepper to match your taste. Lastly, a light spray of olive oil helps achieve that golden brown finish. Each serving has about 150 calories, 10 grams of carbs, 6 grams of protein, and 9 grams of fat. These fries are a tasty treat that feels light and satisfying. If you want to switch things up, you can use other breadcrumbs like regular or gluten-free options. For cheese, try mozzarella or nutritional yeast for a vegan choice. If you need an egg substitute, use flaxseed meal or a store-bought egg replacer. These changes can still give you a delicious result while fitting your diet. Check the full recipe for more details. To make perfect zucchini fries, start by slicing the zucchinis. Cut them into sticks about half an inch thick. This size helps them cook evenly. If the fries are too thick, they may not get crispy. If they are too thin, they can burn. Moisture control is key. Zucchini has a lot of water. To remove some moisture, sprinkle salt on the cut fries. Let them sit for about 10 to 15 minutes. Then, pat them dry with a paper towel. This helps the fries get crispier when baked. Now, it's time to bread the zucchini. First, dip each fry into the beaten eggs. Make sure to let the excess egg drip off. Then, coat the fry in the panko mixture. Press the crumbs onto the fry gently. This ensures the coating sticks well. For maximum crunch, use fresh panko breadcrumbs. They are lighter than regular breadcrumbs. This will give your fries that extra crispiness you want. Next, preheat your oven to 425°F (220°C). This high heat helps the fries become golden and crispy. Line a baking sheet with parchment paper. It makes cleanup easy and helps prevent sticking. Arrange the zucchini fries in a single layer on the sheet. Make sure they are not touching, so they cook evenly. Lightly spray the tops with olive oil for extra crispiness. Bake the fries for 20 to 25 minutes. Halfway through, turn them over with a spatula. This helps both sides cook evenly. When they are golden brown, they are ready to enjoy! To get that perfect crunch, use panko breadcrumbs. They are lighter and flakier than regular breadcrumbs. This gives your zucchini fries more texture. When you bake them, they turn golden and crispy. Don't skip the olive oil spray! A light mist helps the fries crisp up nicely. It also adds flavor without extra fat. Zucchini fries taste great with dips. Marinara sauce is a classic choice. Ranch dressing adds a creamy touch. You can also try garlic aioli for a fun twist. These fries pair well with burgers or sandwiches. They make a great side for any meal! Use a sturdy baking sheet for best results. A non-stick sheet can help prevent sticking. If you have one, a wire rack is perfect for cooling your fries. It lets air flow around them, keeping them crisp. A good knife and cutting board will make slicing zucchini easy. Don't forget a shallow bowl for the egg and another for the panko mix. These tools will help you make the best crispy zucchini fries. For the full recipe, check out the earlier section. {{image_2}} You can boost the taste of your zucchini fries with spices. Try adding cayenne for heat or Italian herbs for a fresh taste. You can also mix in a bit of lemon zest for a bright kick. If you want to get creative, use other veggies like carrots or eggplant. Cut them into fry shapes and follow the same steps. This way, you can enjoy different flavors while keeping it fun! If you need a gluten-free option, you can still enjoy these fries. Swap panko breadcrumbs with gluten-free breadcrumbs or ground almonds. Both options give a nice crunch. Just make sure to check the labels to avoid hidden gluten. This way, everyone can enjoy crispy zucchini fries! For a vegan twist, replace the eggs with flaxseed meal or chia seeds. Mix one tablespoon of either with three tablespoons of water. Let it sit for a few minutes until it thickens. This acts like an egg and helps the coating stick. You can also use nutritional yeast instead of Parmesan cheese for a cheesy flavor without dairy. This makes your crispy zucchini fries vegan-friendly! For the full recipe, check the recipe section above. To store your zucchini fries in the fridge, place them in an airtight container. This helps keep them fresh. Make sure they cool down first to avoid steam. For freezing, let them cool completely, then spread them on a baking sheet. Freeze until solid, then transfer them to a freezer bag. This method prevents them from sticking together. For the best results when reheating, use an oven or an air fryer. Preheat the oven to 400°F (200°C). Place the fries on a baking sheet and heat for about 10 minutes. This method keeps them crispy. If using an air fryer, set it to 375°F (190°C) and heat for around 5-7 minutes. In the fridge, zucchini fries last about 3-4 days. If frozen, they can stay good for up to 3 months. Just remember to check for any signs of freezer burn before using them. Always trust your nose; if they smell off, it’s best to toss them out. To get the best crispiness, follow these tips: - Use panko breadcrumbs. They are lighter and airier than regular breadcrumbs. - Sprinkle olive oil. A light spray helps the fries crisp up in the oven. - Bake at high heat. Set your oven to 425°F (220°C) for a nice crunch. - Don’t overcrowd the pan. Give each fry space to cook evenly. These steps ensure your zucchini fries have that perfect crispy bite! Yes, you can use regular breadcrumbs, but your fries may not be as crispy. - Texture difference: Panko is coarser and provides a crunchier coating. - Results: Regular breadcrumbs can lead to a denser texture, not as light. If you want that extra crunch, stick with panko! Zucchini fries go great with many sauces. Here are some popular choices: - Marinara sauce for a classic Italian touch. - Ranch dressing for a creamy, tangy flavor. - Garlic aioli adds a nice kick. - Spicy ketchup brings a bit of heat to the party. Feel free to mix and match your favorites! In this post, I shared a tasty recipe for zucchini fries. You learned about essential ingredients, cooking steps, and tips for great texture. You can now easily customize the recipe based on your needs. Remember, using panko breadcrumbs gives the best crunch, and olive oil spray helps too. Enjoy these fries with your favorite dips. Whether you serve them as a snack or a side dish, they are sure to impress!

Crispy Zucchini Fries Simple and Tasty Recipe

Are you ready to enjoy a crunchy snack that’s both simple and healthy? My Crispy Zucchini Fries recipe is just what you need! These…

My Latest Desserts

My Latest Recipes

hey,

i’m !

I’m so happy you’re here!

My kitchen is filled with stories, flavors, and love and I’m so happy to share them with you. Here’s to dishes that feel like home.

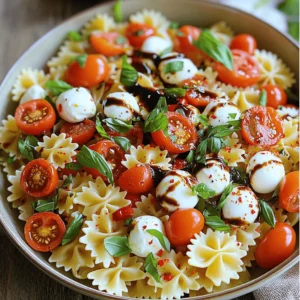
Caprese Salad Skewers Fresh and Flavorful Delight

Looking for a fresh and easy appetizer? Caprese salad skewers are your answer! These colorful bites burst with flavor, combining juicy tomatoes, creamy mozzarella,…
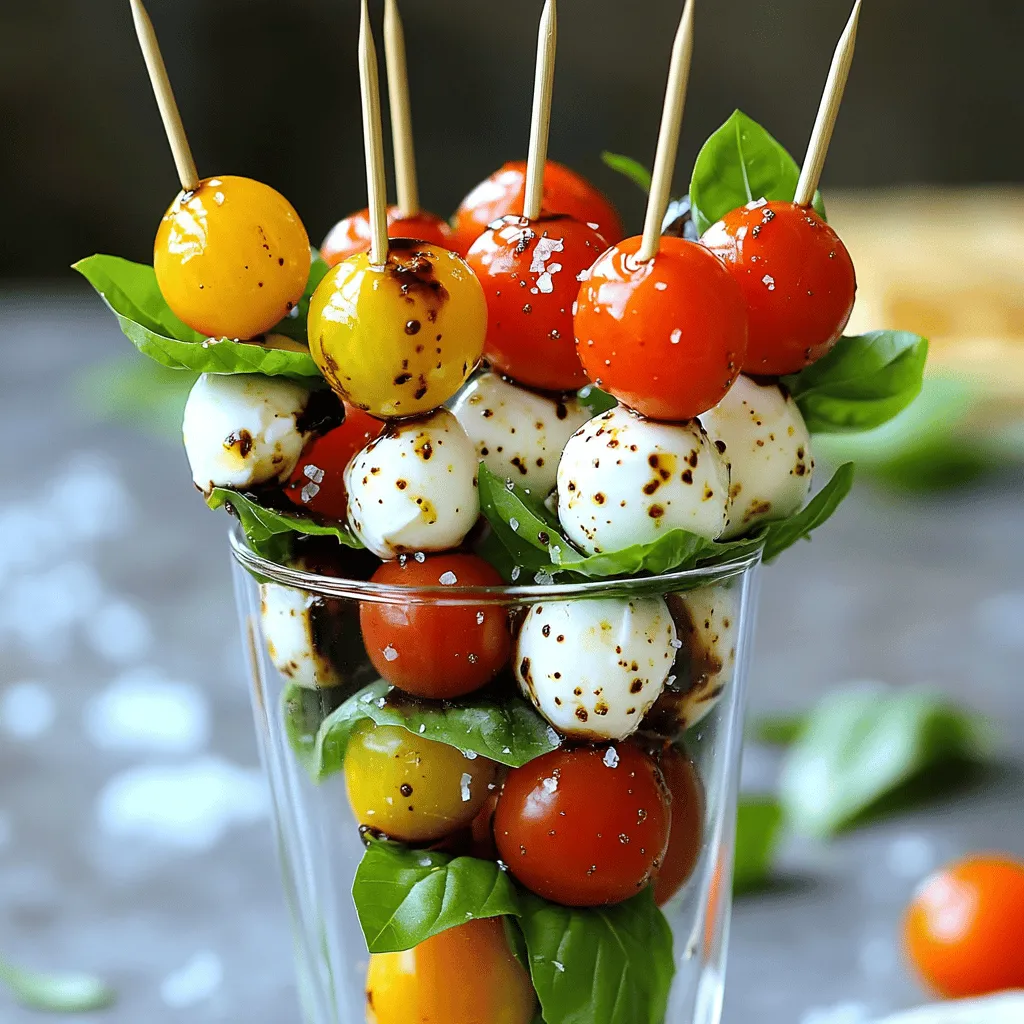
To make delicious Caprese Salad Skewers, you will need: - 16 cherry tomatoes - 16 small fresh mozzarella balls (bocconcini) - 16 fresh basil leaves - 2 tablespoons balsamic glaze - 1 tablespoon extra virgin olive oil - Salt and freshly ground black pepper to taste - 16 wooden or metal skewers This simple list gives you all the flavors you need for this fresh dish. If you want to try different tastes, here are some swaps: - Use grape tomatoes instead of cherry tomatoes for a sweeter flavor. - Swap bocconcini for larger mozzarella balls; just cut them into smaller pieces. - Try arugula or spinach if you can't find fresh basil. - For a zing, add a slice of pepperoni between the cheese and tomato. - You can use a store-bought pesto for a twist! These options keep your dish fun and exciting. Choosing great ingredients makes a big difference. Here’s how: - Look for firm, shiny cherry tomatoes with no blemishes. - Pick mozzarella that feels soft but not mushy. It should smell fresh. - Choose basil leaves that are bright green and not wilted. - Check the expiration date on balsamic glaze and olive oil for freshness. - If possible, buy local produce; it often tastes better. Fresh ingredients lead to a tasty Caprese Salad Skewers. Enjoy the process and the flavors! First, wash the cherry tomatoes and basil leaves. Use cold water to make sure they are clean. Pat them dry with a paper towel. This step is key for bright flavors. Next, take a skewer. Start by threading one cherry tomato onto it. Follow this with one fresh basil leaf. Then, add one mozzarella ball. You can repeat this until you have four sets on one skewer. If your skewer is longer, feel free to add more! Keep going until all of your ingredients are used up. Once you finish, it's time to add some flavor. Drizzle the skewers with extra virgin olive oil and balsamic glaze. This adds a nice touch. Finally, sprinkle salt and freshly ground black pepper on top. This will enhance the taste. Arrange the skewers on a serving platter for a great look. You can drizzle more balsamic glaze for presentation. When you assemble the skewers, be mindful of the order. Start with a tomato, then basil, and finish with mozzarella. This order helps the flavors meld well. Each bite will taste fresh and balanced. Make sure not to overcrowd the skewer. Leave a bit of space between each item. This allows the flavors to shine through. If you want a different look, try alternating the order. You can also use larger skewers for more ingredients. To make sure each skewer has great flavor, use fresh ingredients. Look for ripe tomatoes and soft mozzarella. These will taste best together. When you drizzle olive oil and balsamic glaze, do it evenly. This way, each skewer gets the same amount. It's also a good idea to taste your ingredients before assembly. This will help you know if they need more seasoning. If you want more flavor, consider adding a sprinkle of herbs. Fresh oregano or thyme can work well. These little tips will make your Caprese Salad Skewers pop with flavor. Feel free to check the Full Recipe for additional insights. To make the best Caprese salad skewers, use fresh ingredients. Look for ripe cherry tomatoes and soft mozzarella. The basil should be bright green and fragrant. Avoid tomatoes that feel mushy or have dark spots. When skewering, keep the order consistent. This makes each bite balanced and tasty. Drizzle just enough balsamic glaze for sweetness, but don’t drown the skewers. Serve these skewers as an appetizer or side dish. They pair well with grilled meats or fish. You can also serve them with a light Italian wine. For a fun twist, try them with crusty bread or fresh pesto. They look great on a platter or standing in a glass. Add extra basil leaves around the dish for a pop of color. Wash your tomatoes and basil first to save time. Use a paper towel to dry them. When skewering, set up an assembly line. This makes it quicker to thread the ingredients. Use one hand for the skewer and the other for the food. Try to keep your work area clean to avoid mess. For the full recipe, check out the instructions above. {{image_2}} You can change a few ingredients to make these skewers fun. Try using different cheeses, like feta or goat cheese. You can also swap cherry tomatoes for grape tomatoes or even sun-dried tomatoes. Fresh herbs like mint or parsley can add a new twist. If you want more crunch, add cucumber slices or bell pepper chunks. These swaps can give your skewers a unique flavor. Get creative with how you stack your skewers. You can layer the ingredients in different ways. Try a pattern like tomato, mozzarella, basil, and repeat. Or, mix them up for a more colorful look. Keep the colors bright; it makes the dish pop! You can also use small round skewers for bite-sized snacks. For larger gatherings, make long skewers with more ingredients for sharing. Change your skewers based on the season. In summer, add fresh fruits like watermelon or peaches. In fall, roasted squash or apples can be tasty. For winter, consider roasted vegetables or even cured meats. By adjusting the ingredients, you can match the mood of any event. You can find fresh herbs all year round, so always add those for flavor. This keeps your Caprese Salad Skewers fresh and fun, no matter the season. After enjoying your Caprese salad skewers, store leftovers in an airtight container. This keeps them fresh longer. You can place them in the fridge for up to two days. If you have many skewers, layer them with parchment paper to avoid sticking. If you want to prep these skewers ahead of time, make sure to keep the ingredients separate. Store cherry tomatoes, mozzarella, and basil leaves in their own containers. Assemble the skewers just before serving for the best taste and texture. You can prepare the balsamic glaze and olive oil drizzle in advance, too. Check your skewers for freshness. If the tomatoes are soft or wrinkled, they are past their prime. Mozzarella balls should stay firm and not smell sour. Fresh basil leaves can turn brown and wilted over time. If you notice any of these signs, it’s best to toss them. Remember, freshness leads to the best flavor in your Caprese salad skewers. For the full recipe, refer back to the earlier sections. I recommend using wooden or metal skewers. Wooden skewers are easy to find and cheap. They work well for this recipe. Just soak them in water for 30 minutes to avoid burning. Metal skewers last longer and are reusable. They also allow for better heat transfer if you grill them. Choose what feels best for you! Yes, you can prepare these skewers ahead of time. Assemble the skewers and keep them in the fridge. Make sure to cover them tightly with plastic wrap. This keeps them fresh and tasty. Ideally, eat them within 24 hours for the best flavor. Drizzle the balsamic glaze just before serving for a fresh taste. To make this dish vegan, swap the mozzarella with vegan cheese. There are many great plant-based options available today. You can also try tofu or marinated artichoke hearts. These will give you a nice texture and flavor. The rest of the ingredients are already vegan-friendly, so you’re all set! Enjoy experimenting with flavors! In this blog post, we explored key ingredients and how to choose the best ones. I detailed step-by-step instructions for making skewers that burst with flavor. The tips shared will help perfect your dish and make serving easy. We also discussed fun variations and how to store leftovers for later use. Remember, simple swaps can elevate your skewers for any event. Enjoy the process and have fun experimenting! Your new skewers will impress everyone.