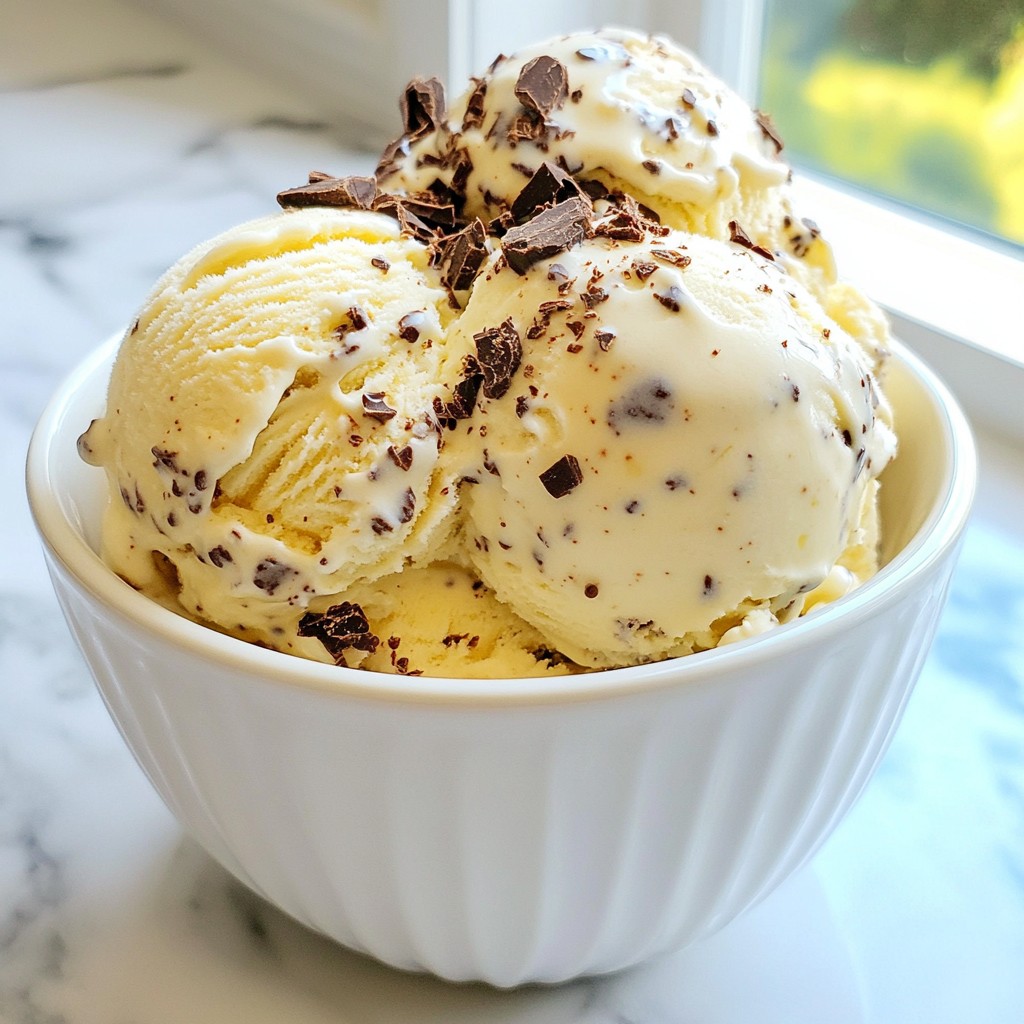
Are you craving a sweet treat that’s easy to make? Look no further! This No Churn Cookies and Cream Ice Cream Delight Recipe will wow your taste buds without the need for an ice cream maker. With just a handful of simple ingredients, you'll create creamy, dreamy ice cream right at home. Let’s dive into the joy of making this delicious dessert and discover how simple it is to enjoy a frozen delight!
Why I Love This Recipe
- Decadent Flavor: This ice cream delivers the perfect balance of creamy vanilla and rich chocolate, making it a delightful treat for any dessert lover.
- Easy to Make: No ice cream maker is required! Just a few simple steps and you have a delicious homemade dessert ready to freeze.
- Customizable: Feel free to mix in your favorite candies or variations of cookies to create your own unique ice cream flavor.
- Perfect for Any Occasion: This Cookies and Cream Bliss Ice Cream is a crowd-pleaser, perfect for parties, hot summer days, or just a cozy night in.
Ingredients
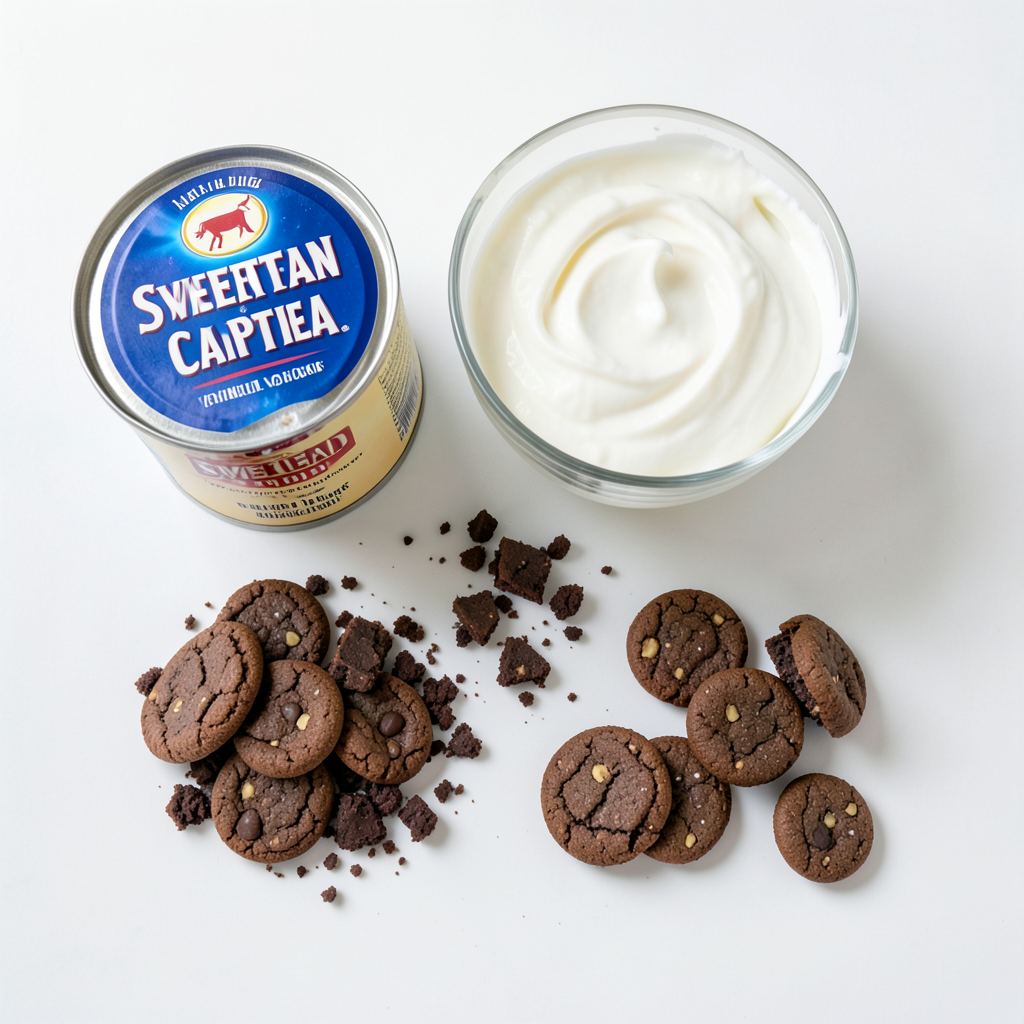
Making no churn cookies and cream ice cream is simple and fun. You only need a few key ingredients to create this creamy treat. Here’s what you'll need:
- 2 cups heavy whipping cream
- 1 can (14 ounces) sweetened condensed milk
- 1 teaspoon vanilla extract
- 1 cup crushed chocolate sandwich cookies (e.g., Oreos)
- 1/2 cup chopped chocolate sandwich cookies for garnish
Each ingredient plays an important role. The heavy whipping cream gives the ice cream its rich and smooth texture. Sweetened condensed milk adds sweetness and creaminess. Vanilla extract enhances the flavor, making it taste even better. The chocolate sandwich cookies are the star of the show, adding crunch and a delightful chocolate flavor.
You can also add optional garnishes like extra crushed cookies or chocolate sauce for a fun twist. This recipe allows for creativity, so feel free to make it your own!
Step-by-Step Instructions
Preparing the Base
Whipping the Cream Start with a medium bowl. Pour in 2 cups of heavy whipping cream. Use an electric mixer. Whip the cream until it forms stiff peaks. This takes about 3 to 5 minutes. Stiff peaks mean the cream holds its shape well.
Combining Condensed Milk and Vanilla In another bowl, take one can of sweetened condensed milk. Add 1 teaspoon of vanilla extract. Stir these together until they mix fully. This base adds sweetness and flavor to your ice cream.
Folding Techniques
Gently Incorporating Mixtures Now, take the whipped cream. Use a spatula to fold it into the condensed milk mixture. Be gentle to keep the air in the whipped cream. This will make your ice cream light and fluffy.
Adding Crushed Cookies Next, fold in 1 cup of crushed chocolate sandwich cookies. You can use Oreos for that classic taste. Mix slowly to avoid breaking the whipped cream's structure. This step adds the delicious cookie bits to your ice cream.
Freezing Process
Choosing the Right Container Pour your combined mixture into a 9x5-inch loaf pan. A freezer-safe container works too. Make sure it has enough space for the ice cream to expand as it freezes.
Covering and Freezing Smooth the top with your spatula. Sprinkle 1/2 cup of chopped cookies on top for garnish. Now, cover the container with plastic wrap or a lid. Freeze the mixture for at least 4 to 6 hours, or until it is solid.
Tips & Tricks
Perfecting Texture
- Importance of Stiff Peaks
Stiff peaks are key for a creamy texture. When you whip the heavy cream, it should hold its shape. This makes your ice cream fluffy and light. If it’s not stiff, your ice cream will be runny.
- How to Avoid Deflating Cream
Be gentle when folding the whipped cream. Use a spatula and a slow motion. This keeps the air in the whipped cream, which helps it stay light. If you mix too hard, the cream will lose its volume.
Enhancing Flavor
- Using Different Extracts
You can try adding other extracts. Almond or mint extracts can give your ice cream a twist. Just use a small amount to avoid overpowering the main flavor.
- Adjusting Cookie Quantity
You can change the amount of cookies you use. If you want a stronger cookie flavor, add more crushed cookies. If you prefer a milder taste, use less.
Presentation Tips
- Serving Suggestions
Serve your ice cream in bowls or cones. This makes it easy for everyone to enjoy. You can also scoop it into fun shapes using a cookie cutter.
- Creative Garnishing Ideas
Get creative with toppings! Try adding sprinkles, chocolate syrup, or whipped cream. You can also use extra cookie crumbs for a fun crunch.
Pro Tips
- Chill Your Bowl: For an even fluffier whipped cream, chill your mixing bowl and beaters in the refrigerator for about 15 minutes before whipping the cream.
- Cookie Variations: Experiment with different flavors of chocolate sandwich cookies, such as mint or peanut butter, to create unique variations of this ice cream.
- Serving Suggestions: Serve the ice cream with a drizzle of chocolate or caramel sauce for an extra indulgent treat.
- Storage Tips: Keep the ice cream covered with plastic wrap or a lid to prevent freezer burn, and consume within 2 weeks for the best taste and texture.
Variations
Flavor Combinations
You can change the flavor of your ice cream easily. Try using different cookie types, like chocolate chip or peanut butter cookies. Each type brings a new taste. Mixing in chocolate or peanut butter can also add a rich twist. Just fold in a few spoonfuls of your favorite flavor to the base.
Dairy-Free Options
If you want a dairy-free treat, there are great alternatives. You can use coconut cream instead of heavy cream. This adds a nice flavor and keeps it creamy. For sweetened condensed milk, try coconut condensed milk. It works just as well and still tastes sweet.
Add-ins and Mix-ins
Adding extras makes your ice cream even better. You can mix in nuts for crunch, or add fruit for freshness. Consider using a swirl of fudge or caramel to make it special. Just pour it in before freezing, and swirl it gently with a knife. This creates tasty ribbons throughout your ice cream.
Storage Info
Best Practices for Freezing
- Using Airtight Containers
Store your cookies and cream ice cream in an airtight container. This helps keep air out. Air can dry out your ice cream. It can cause ice crystals. A good container seals in freshness.
- Avoiding Freezer Burn
To prevent freezer burn, cover your ice cream with plastic wrap. Press the wrap directly onto the surface. This cuts off exposure to air. It keeps your ice cream creamy and delicious.
Ideal Storage Duration
- How Long It Lasts in the Freezer
Your no-churn cookies and cream ice cream can last about 2-3 weeks in the freezer. After that, it may lose its flavor. For the best taste, eat it sooner.
- Signs of Spoilage
Look for ice crystals forming on top. This can mean it has freezer burn. If the ice cream smells off or has changed color, it’s best to throw it out. Always trust your nose and eyes!
FAQs
How to make no-churn cookies and cream ice cream?
To make this ice cream, follow these basic steps:
1. Whip the cream: Use an electric mixer to whip 2 cups of heavy cream until it forms stiff peaks. This takes about 3-5 minutes.
2. Mix milk and vanilla: In a separate bowl, mix 1 can of sweetened condensed milk with 1 teaspoon of vanilla extract.
3. Fold in cream: Gently combine the whipped cream with the milk mixture using a spatula. Be careful not to deflate the whipped cream.
4. Add cookies: Fold in 1 cup of crushed chocolate sandwich cookies.
5. Freeze: Pour the mixture into a 9x5-inch loaf pan. Smooth the top, sprinkle with 1/2 cup of chopped cookies, cover, and freeze for at least 4-6 hours.
Can I use a different type of cream?
Yes, you can use other types of cream. Here are some options:
- Whipped Topping: You can replace heavy cream with a store-bought whipped topping for ease.
- Coconut Cream: For a dairy-free option, try coconut cream. It gives a nice flavor.
- Half-and-Half: This works but will give you a less creamy texture.
How do I soften the ice cream for serving?
To soften your ice cream without melting it, try these quick methods:
- Let it sit: Leave the ice cream out for about 5-10 minutes.
- Microwave: Use the microwave on low power for 10-15 seconds. Check often to avoid melting.
- Warm water bath: Place the container in warm water for a few minutes. Avoid it getting too warm.
You’ve learned the key steps to make no-churn cookies and cream ice cream. Start with easy ingredients like heavy cream and sweetened condensed milk. Use proper folding techniques for the best texture, and don’t forget the fun of adding your favorite cookies.
For extra flavor, experiment with toppings and different cookie types. Follow these tips for great storage to keep your ice cream fresh. Now, dive in and enjoy this delicious treat! You’ve got everything you need to make your own tasty ice cream at home.