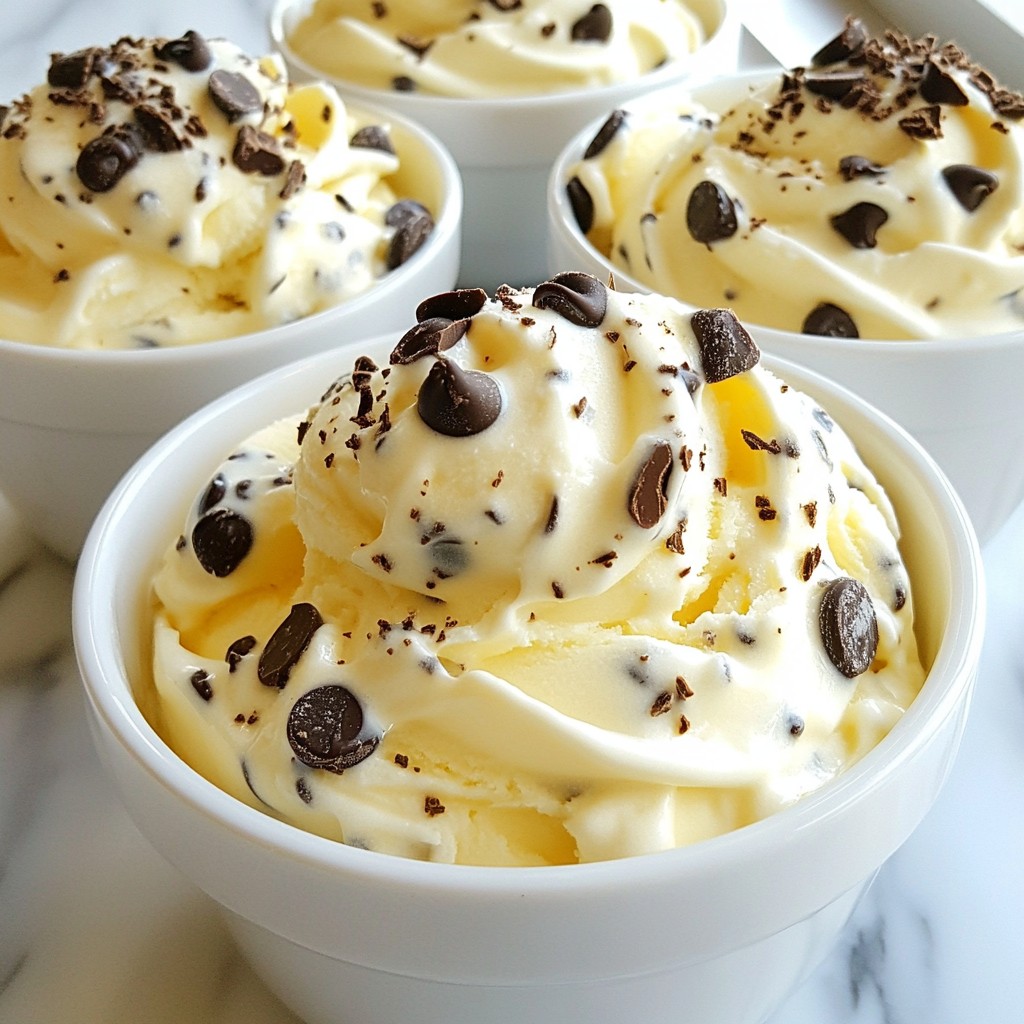
Craving a creamy treat without the churn? You're in the right place! My No Churn Cookies and Cream Ice Cream Delight recipe will satisfy your sweet tooth with just a few simple steps. You’ll learn how to mix the perfect whipped cream, blend in cookies, and create a rich, smooth texture. Ready to chill? Let's dive into making this easy and delicious summer treat together!
Why I Love This Recipe
- Irresistible Flavor: The combination of creamy vanilla and crunchy chocolate cookies creates a delightful contrast that keeps you coming back for more.
- Easy to Make: With just a few simple ingredients and minimal preparation, this no-churn ice cream is perfect for beginners and busy cooks alike.
- Customizable: You can easily modify this recipe by adding your favorite mix-ins like nuts, sprinkles, or different cookie varieties for a personal touch.
- Perfect for Any Occasion: Whether it's a summer party, a cozy night in, or a special celebration, this Cookies & Cream Delight is always a crowd-pleaser.
Ingredients
Essential Ingredients for No Churn Cookies and Cream Ice Cream
This recipe needs just a few key ingredients. You will need:
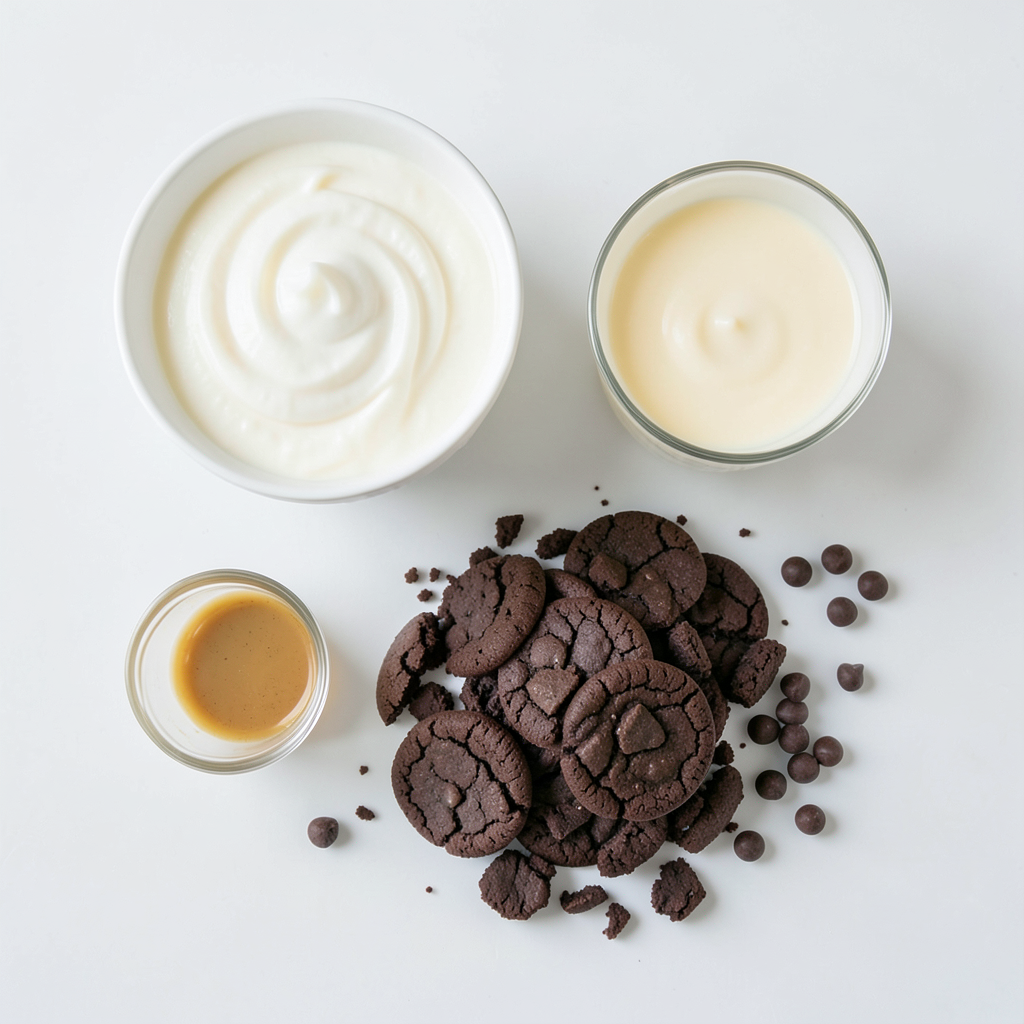
- 2 cups heavy whipping cream
- 1 cup sweetened condensed milk
- 1 teaspoon vanilla extract
- 1 cup crushed chocolate sandwich cookies (like Oreos)
These ingredients create a creamy, rich base. The heavy cream gives the ice cream its smooth texture. The sweetened condensed milk adds sweetness and creaminess. The vanilla extract brings out the flavors, while the crushed cookies give it that classic cookies and cream taste.
Optional Ingredients for Enhancements
For a little extra fun, you can add:
- 1/2 cup mini chocolate chips
These mini chocolate chips add more chocolatey bites. They can make your ice cream even more delightful. Feel free to skip them if you prefer a simpler version.
Tips for Choosing Quality Ingredients
When picking your ingredients, look for the best quality. Choose heavy cream that is fresh and has a high fat content. This will help your ice cream whip up nicely. For the cookies, use your favorite brand. Fresh cookies will give the best flavor. If you can, taste the sweetened condensed milk before use. It should be smooth and sweet. Good quality ingredients make a big difference in taste.
Step-by-Step Instructions
Preparing the Whipped Cream
Start by taking a large mixing bowl. Pour in 2 cups of heavy whipping cream. Whisk the cream on high speed. Keep whisking for about 3 to 4 minutes. You want to see stiff peaks form. This means your cream is ready. It should be fluffy and thick.
Mixing the Condensed Milk Base
Now, grab another bowl. Add 1 cup of sweetened condensed milk to it. Pour in 1 teaspoon of vanilla extract. Mix these two until they are smooth. This base will give your ice cream a creamy taste.
Combining Ingredients for the Ice Cream Mixture
Next, gently fold the whipped cream into the condensed milk mixture. Use a spatula for this. Be careful not to deflate the whipped cream. You want to keep it light and airy. After this, fold in 1 cup of crushed chocolate sandwich cookies. If you like, add 1/2 cup of mini chocolate chips too. This will add extra chocolatey goodness. Once everything is combined, pour the mix into an airtight container. Smooth the top with your spatula. Cover it tightly and freeze for at least 4 to 6 hours. When it’s firm, scoop the ice cream into bowls or cones. Enjoy your tasty treat!
Tips & Tricks
How to Achieve the Perfect Texture
To get the best texture, use cold heavy whipping cream. Whip it on high speed until you see stiff peaks. This takes about 3-4 minutes. Do not overmix the cream; it can turn buttery. When you fold the whipped cream into the condensed milk, be gentle. This keeps the mix light and airy.
Common Mistakes to Avoid
One common mistake is not chilling your bowls and beaters. Cold tools help the cream whip better. Another mistake is mixing too fast. Always fold slowly to keep the air in the cream. Lastly, don’t skip the freezing time. It needs at least 4-6 hours to firm up completely.
Serving Suggestions and Presentation Tips
Serve your ice cream in cute bowls or cones. Adding extra crushed cookies on top creates a nice look. A drizzle of chocolate syrup or a sprinkle of mini chocolate chips makes it even better. You can pair it with fresh berries for a pop of color. Enjoy it with friends or family for a fun treat!
Pro Tips
- Chill Your Mixing Bowl: Before whisking the cream, chill your mixing bowl and beaters in the freezer for 10-15 minutes. This helps the cream whip up faster and achieve better volume.
- Use Quality Cookies: For the best flavor, use high-quality chocolate sandwich cookies. Oreos are a classic choice, but feel free to experiment with other brands for a unique twist!
- Customize Your Mix-Ins: Feel free to add other mix-ins like crushed nuts, sprinkles, or different types of chocolate for added texture and flavor. Just make sure not to overload the mixture.
- Let It Rest: After freezing, let the ice cream sit at room temperature for a few minutes before scooping. This will make it easier to serve and achieve perfectly rounded scoops.
Variations
Alternative Cookie Options
You can switch up the cookies in this recipe. Try using different brands or flavors. For a fun twist, use chocolate chip cookies or peanut butter cookies. Each type brings a unique taste to your ice cream. Just crush them the same way as chocolate sandwich cookies. The crunch will still be nice!
Adding Flavor Enhancements
Want to jazz up your ice cream? Add mint extract for a fresh kick. Just one teaspoon can change everything. You can also mix in peanut butter. It adds a rich, nutty flavor. Swirl it in before freezing for a lovely look. Use about 1/2 cup for a great taste balance.
Making a Dairy-Free Version
It’s easy to make this ice cream dairy-free. Use coconut cream instead of heavy whipping cream. Coconut cream gives a rich texture and taste. Replace sweetened condensed milk with a dairy-free version or make your own. Blend soaked cashews, maple syrup, and a bit of water. This way, everyone can enjoy your creamy treat!
Storage Info
Best Practices for Freezing Ice Cream
To keep your no churn cookies and cream ice cream fresh, use an airtight container. This helps prevent ice crystals from forming. Fill the container to the top. This reduces air and keeps the ice cream smooth. Freeze it for at least 4-6 hours. This ensures it firms up nicely.
How to Store Leftover Ice Cream
If you have leftover ice cream, make sure to seal it well. Use the same airtight container. Store it in the coldest part of your freezer. Avoid opening the freezer too often. This keeps the temperature stable. If you want to enjoy it later, scoop out what you need. Don't leave it out too long to prevent melting.
Shelf Life and Signs of Spoilage
Your ice cream can last about 2-3 weeks in the freezer. After that, it may lose flavor and texture. Check for ice crystals on the surface. This means it has started to spoil. If it smells off or has a strange color, it’s best to throw it away. Always trust your senses when it comes to food safety.
FAQs
Can I use whipped topping instead of heavy cream?
Yes, you can use whipped topping. It makes the ice cream lighter. However, the taste and texture will change. Heavy cream gives a richer flavor and a creamier texture. If you want the full cookies and cream experience, stick with heavy cream.
How long does this ice cream last in the freezer?
This ice cream lasts about two weeks in the freezer. After that, it may lose taste and texture. To keep it fresh, store it in an airtight container. Always use a clean scoop to avoid ice crystals.
Can I add other mix-ins to this recipe?
Absolutely! You can add many mix-ins. Try nuts, caramel, or other candies. Just remember to keep the total amount similar. This way, your ice cream stays creamy and smooth. Feel free to get creative with your favorite flavors!
You now have a solid recipe for No Churn Cookies and Cream Ice Cream. We covered essential and optional ingredients that enhance flavor. I shared tips for preparing whipped cream and mixing your base. You also learned common mistakes to avoid and how to store your ice cream correctly.
Remember, experimenting with flavors lets you make this treat your own. Enjoy this fun and easy homemade dessert!