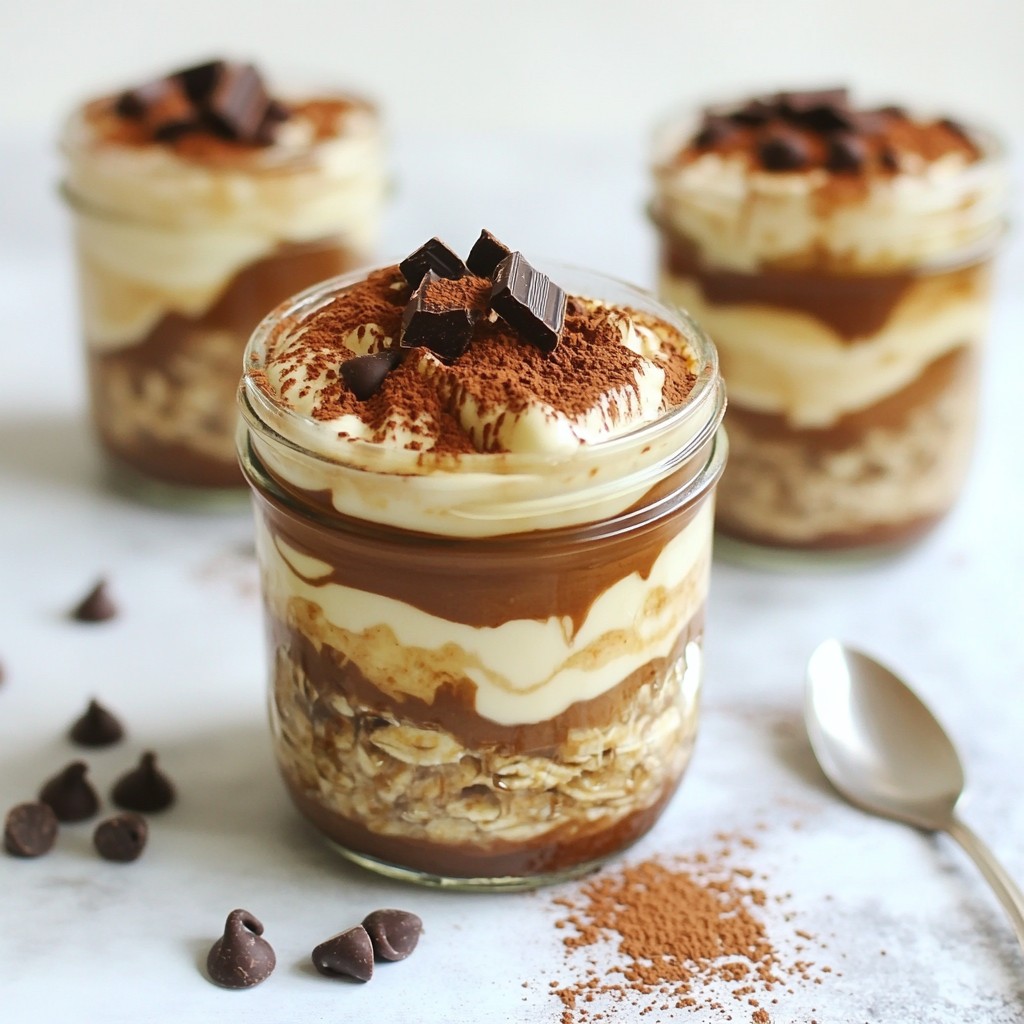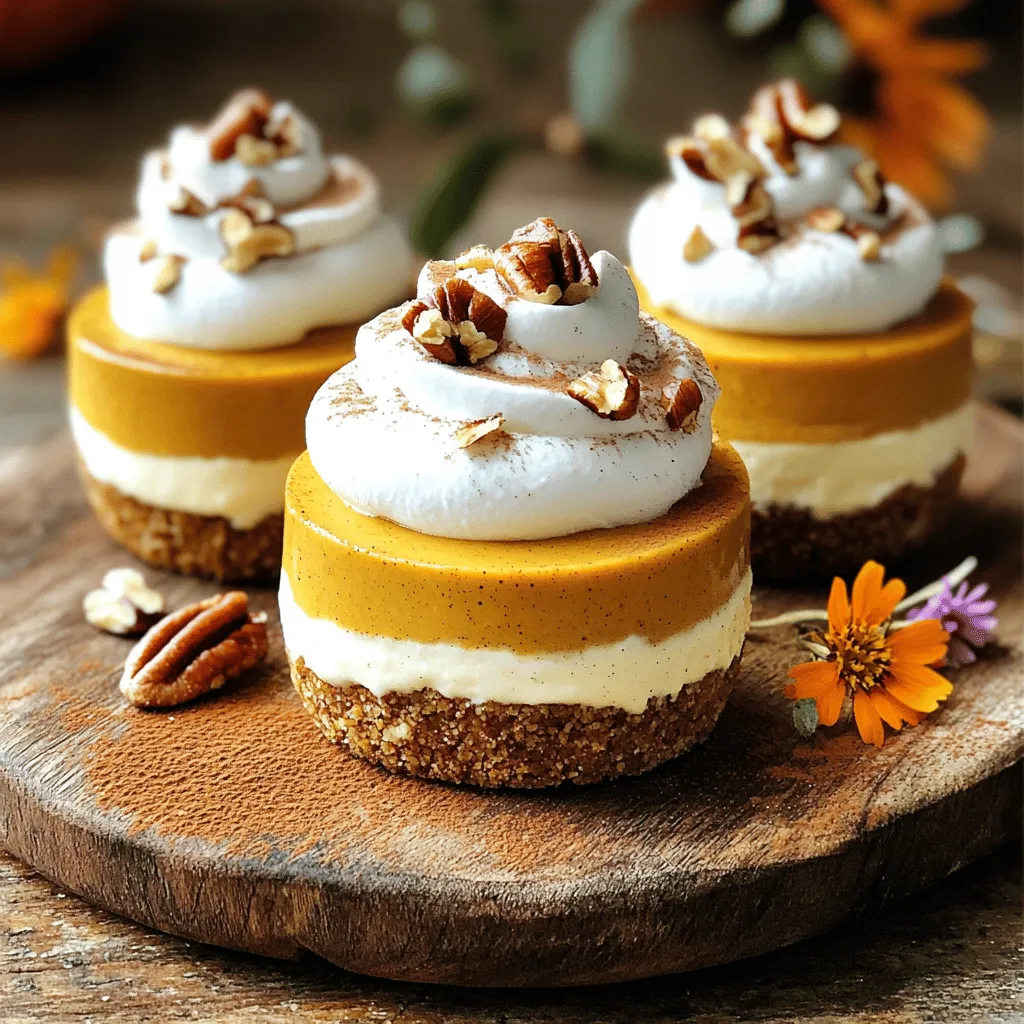
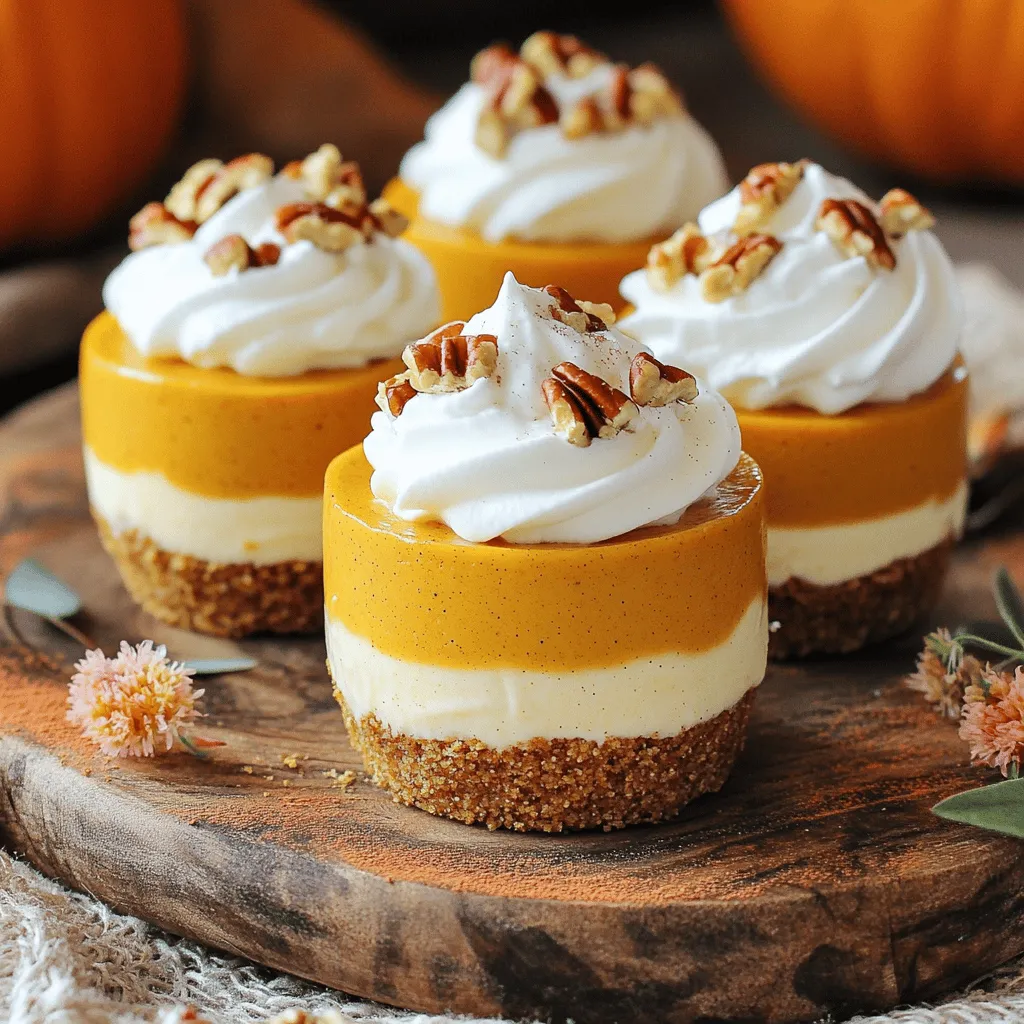
Get ready for a dessert that screams fall! My No-Bake Pumpkin Cheesecake Mousse Cups are creamy, light, and packed with pumpkin flavor. There’s no baking involved, making this recipe easy and fun for everyone. You’ll only need a few simple ingredients to create rich, indulgent treats that look as good as they taste. Let’s dive into how you can make these delightful mousse cups in no time!
Ingredients
Main Ingredients
– 1 cup pumpkin puree
– 8 oz cream cheese, softened
– 1 cup heavy whipping cream
Additional Ingredients
– 1/2 cup powdered sugar
– 1 teaspoon vanilla extract
– 1 teaspoon ground cinnamon
– 1/2 teaspoon ground nutmeg
– 1/4 teaspoon ground ginger
Garnishes and Toppings
– Whipped cream
– Crushed pecans or walnuts
– 1/2 cup graham cracker crumbs
The main ingredients build the flavor of the mousse. I love using pumpkin puree for its rich taste. Cream cheese gives the mousse a creamy, smooth texture. Heavy whipping cream adds fluffiness.
The additional ingredients sweeten the dish and add spice. Powdered sugar blends well and keeps the texture light. Vanilla extract enhances the flavor. Ground cinnamon, nutmeg, and ginger provide warmth and depth.
For garnishes, whipped cream is a must for that dreamy finish. Crushed pecans or walnuts add crunch and flavor. Graham cracker crumbs create a base that ties it all together. These ingredients make the mousse cups a hit for any occasion!
Step-by-Step Instructions
Preparing the Pumpkin Mixture
In a large bowl, combine the softened cream cheese, pumpkin puree, and powdered sugar. Use a hand mixer or whisk to beat this mixture until it is smooth and creamy. The cream cheese should be soft enough to blend well, so let it sit out for a bit if needed.
Next, add in the spices: ground cinnamon, ground nutmeg, and ground ginger. Don’t forget the teaspoon of vanilla extract. Mix everything together until the spices are evenly distributed. This pumpkin mixture should smell warm and inviting.
Whipping the Cream
In another bowl, pour in the heavy whipping cream. Using a mixer, whip it until you see stiff peaks form. This means the cream should hold its shape when you pull out the beaters.
To achieve this, start at a low speed and gradually increase it. Be careful not to over-whip; it can turn grainy. Once you have stiff peaks, gently fold the whipped cream into the pumpkin mixture. Use a spatula and fold slowly to keep the mixture light and airy.
Assembling the Mousse Cups
Now it’s time to layer your mousse cups. In a small bowl, mix the graham cracker crumbs with the melted butter until combined.
Start by placing a layer of this graham cracker mix at the bottom of each cup. Press down lightly to form a solid base. Then, spoon the pumpkin mousse over the graham cracker layer. Fill the cups generously, leaving some space for a second layer if you wish.
If your cups are large enough, repeat the layers, finishing with a layer of pumpkin mousse on top. Cover and chill the mousse cups in the fridge for at least 2 hours.
When you’re ready to serve, top each cup with a dollop of whipped cream and a sprinkle of crushed pecans or walnuts. These small touches add great flavor and texture to your dessert.
Tips & Tricks
Perfecting the Texture
For the best No-Bake Pumpkin Cheesecake Mousse, start with room temperature cream cheese. Cold cream cheese lumps up in your mix. This makes it hard to get a smooth texture. Let it sit out for about 30 minutes before you use it.
When you whip the cream, aim for stiff peaks. This means the cream should hold its shape well. Be careful when folding the whipped cream into the pumpkin mix. Use a spatula and gently fold. This keeps the mousse light and airy.
Enhancing Flavor
Using fresh spices makes a big difference. Ground spices can lose flavor over time. Fresh spices bring out the best taste in your mousse. If you want to sweeten it more, consider adding maple syrup. It adds a rich flavor that pairs well with pumpkin.
Presentation Ideas
Presentation is key for any dessert. Serve your mousse cups on a pretty platter. A sprinkle of cinnamon on top adds a warm touch. You can also use edible flowers for a pop of color. They make your dessert look even more special. Just make sure they are safe to eat!
Variations
Flavor Variations
You can easily customize your no-bake pumpkin cheesecake mousse cups. One fun option is to add layers of chocolate or caramel. Simply drizzle melted chocolate or caramel sauce over the mousse before topping with whipped cream. This sweet addition will give your dessert a rich twist.
Another way to switch things up is by using different spices. Instead of just cinnamon, try adding nutmeg or allspice. These spices can bring a warm, cozy flavor that pairs well with pumpkin. You can also mix in a touch of maple syrup for extra sweetness.
Dietary Modifications
If you need to make dairy-free mousse cups, swap the cream cheese for a dairy-free option. Look for cream cheese made from nuts or soy. You can also use coconut cream instead of heavy whipping cream. This will give you a rich texture while keeping it dairy-free.
For a gluten-free option, use gluten-free graham crackers or crushed nuts as a base. Almond flour or finely chopped almonds also work well. This way, everyone can enjoy these delicious treats without worry.
Serving Size Alternatives
You can adjust the serving size to fit your needs. For larger gatherings, consider using larger cups or bowls. If you want smaller portions, use shot glasses or mini cups. This way, guests can enjoy a small taste without feeling too full.
If you want to impress your friends, serve a mix of mini and standard cups. This adds a fun visual element to your dessert table. Plus, it lets everyone pick their perfect portion size.
Storage Info
How to Store Leftovers
To keep your pumpkin cheesecake mousse cups fresh, place them in the fridge. Use airtight containers or cover with plastic wrap. This helps avoid drying out. For best results, enjoy them within three days. If you notice the top layer separating, gently stir before serving.
Freezing Instructions
Yes, you can freeze pumpkin mousse! To freeze, scoop the mousse into freezer-safe containers. Leave some space at the top for expansion. When you’re ready to eat, move them to the fridge overnight. For faster thawing, place the containers in cool water for about an hour.
Shelf Life
In the fridge, these mousse cups last about three to four days. Look for signs of spoilage. If you see water pooling on top or a sour smell, it’s time to toss them. Always trust your senses for freshness.
FAQs
Can I use fresh pumpkin instead of canned?
Yes, you can use fresh pumpkin. First, you need to cook it. Cut a pumpkin in half and remove the seeds. Then, roast the halves in the oven at 350°F for about 45 minutes. Once soft, scoop out the flesh and mash it until smooth. This will give you a fresh pumpkin puree that works well in the mousse.
How long does the mousse need to chill?
The mousse needs to chill for at least 2 hours. This time helps the flavors blend and gives it a nice, creamy texture. If you can wait longer, chilling overnight works even better. Just make sure to cover the cups tightly to keep them fresh.
Can I make this recipe ahead of time?
Absolutely! This recipe is great for meal prep. You can make the mousse cups a day or two in advance. Store them in the fridge, and they will stay fresh. Just add the whipped cream and nuts right before serving for the best results.
This article covered the basics of making a delicious pumpkin mousse. We discussed the key ingredients, step-by-step instructions, and helpful tips to get the perfect texture. You can also explore flavor variations and how to store your mousse for later use.
Experiment with toppings and adjustments to make it your own. Enjoy the fun of creating a tasty dessert that friends and family will love. With a few simple steps, you’ll have a treat that shines at any gathering. Make your pumpkin mousse today!