Get ready to impress your family and friends with an easy and delicious No-Bake Peppermint Oreo Pie! This festive treat combines rich flavors and creamy textures, making it perfect for any holiday gathering. I’ll guide you through simple steps, share handy tips, and show you how to get creative with garnishes. Trust me; once you try this pie, it will become a holiday classic in your home!
Why I Love This Recipe
- Easy to Make: This no-bake recipe simplifies dessert preparation, making it perfect for busy days or last-minute gatherings.
- Festive Flavor: The combination of peppermint and chocolate brings a delightful holiday spirit to any occasion.
- Decadent Texture: The creamy filling pairs perfectly with the crunchy Oreo crust, creating a satisfying contrast with every bite.
- Customizable Toppings: Garnish with chocolate shavings or crushed candy canes to add a personal touch and enhance presentation.
Ingredients
Main Ingredients for No-Bake Peppermint Oreo Pie
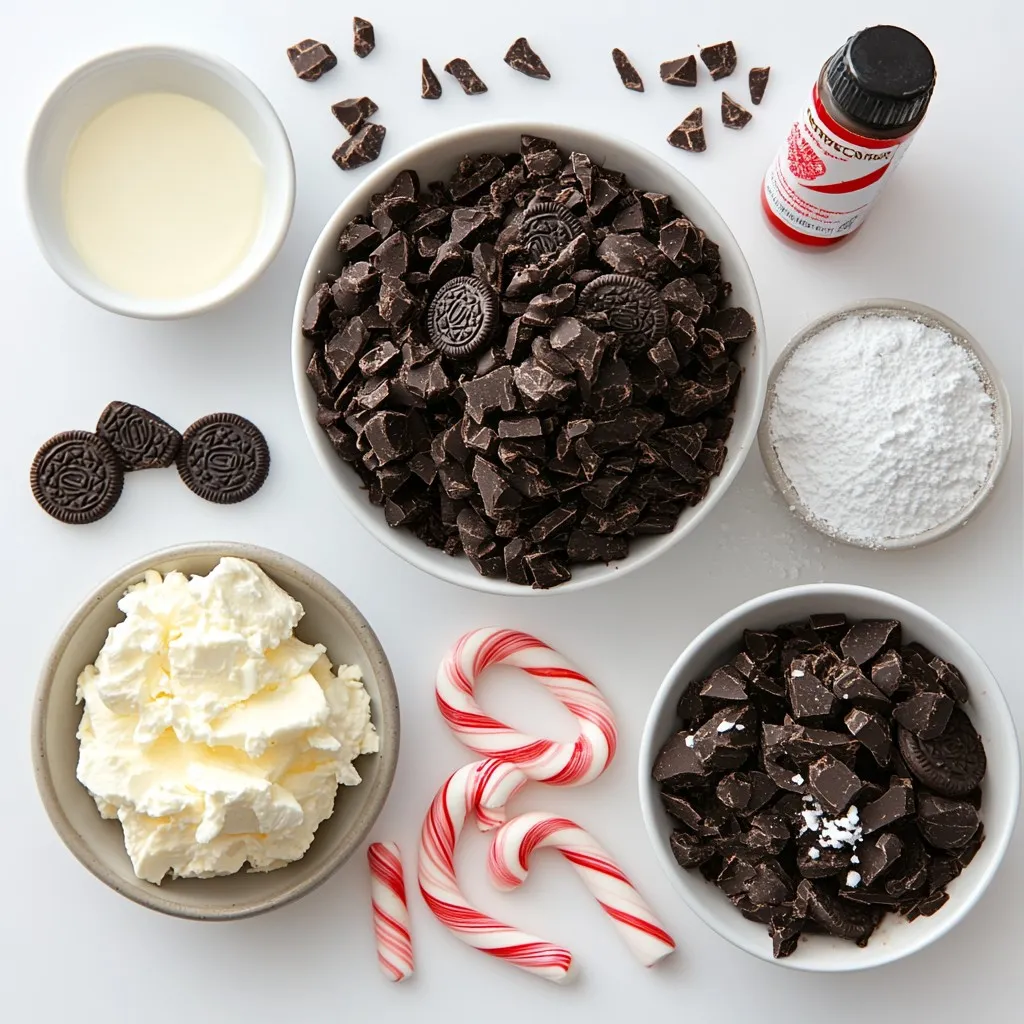
To make this pie, you need some simple ingredients. Here’s what you’ll need:
– 24 Oreo cookies, crushed
– 4 tablespoons unsalted butter, melted
– 8 oz cream cheese, softened
– 1 cup powdered sugar
– 1 teaspoon peppermint extract
– 2 cups whipped cream (store-bought or homemade)
These ingredients work together to create a rich and creamy pie. The Oreo cookies form a tasty crust, while the cream cheese and whipped cream make a fluffy filling.
Optional Garnishes
You can make your pie even more special with some fun toppings. Here are a few ideas:
– Chocolate shavings
– Crushed candy canes
These garnishes add a sweet touch and a pop of color. They also enhance the peppermint flavor, making it festive for the holidays.
Equipment Needed
To prepare the pie, you’ll need some basic kitchen tools. Here’s a list of what to gather:
– Mixing bowl
– Electric mixer
– 9-inch pie pan
– Spatula
– Measuring cups
Having the right equipment makes the process smooth and enjoyable. With these tools, you’ll whip up this pie with ease.
Step-by-Step Instructions
Preparing the Crust
Start by crushing 24 Oreo cookies in a bowl. You want fine crumbs. Pour in 4 tablespoons of melted butter and mix well. The crumbs should be moist and clump together. Now, take a 9-inch pie pan. Press the Oreo mixture into the bottom and up the sides. Use your fingers or the back of a measuring cup to pack it down firmly. This forms a sturdy base. Place the crust in the fridge for 15 minutes. It needs time to set and hold its shape.
Making the Filling
Next, grab a large bowl for the filling. Add 8 ounces of softened cream cheese and 1 cup of powdered sugar. I like to use an electric mixer for this. Beat the mixture until it’s smooth and creamy. Now, add 1 teaspoon of peppermint extract. This gives the filling a nice minty flavor. Finally, fold in 2 cups of whipped cream. Be gentle so it stays airy. You want a light and fluffy texture.
Assembling and Chilling the Pie
Once your filling is ready, take the crust out of the fridge. Pour the peppermint filling into the Oreo crust. Use a spatula to smooth the top. Cover the pie with plastic wrap. Chill it in the fridge for at least 4 hours. This helps the pie set nicely. When it’s ready, you can garnish it with chocolate shavings or crushed candy canes. This adds a festive touch. Enjoy your delicious No-Bake Peppermint Oreo Pie!
Tips & Tricks
Achieving the Perfect Oreo Crust
To make the crust, crush 24 Oreo cookies until fine. You can use a food processor or place them in a zip-top bag and crush them with a rolling pin. Mix the crushed cookies with 4 tablespoons of melted butter. The butter helps hold the crust together. Press this mixture firmly into a 9-inch pie pan. Make sure it covers the bottom and sides evenly. Chill the crust for 15 minutes. This step helps it set up nicely.
How to Fold Whipped Cream Properly
Folding whipped cream adds air, making your filling light. Start with 2 cups of whipped cream. If you use store-bought, let it sit out for a few minutes to soften. In a large bowl, combine the whipped cream with the cream cheese mix. Use a rubber spatula for this. Gently lift the cream from the bottom and fold it over the top. Keep folding until you see no more white streaks. This keeps the air in, making your pie fluffy.
Suggestions for Serving
When serving your pie, presentation matters. Cut the pie into eight slices. Use a festive plate to add holiday cheer. A dollop of whipped cream on the side looks nice, too. For a fun touch, sprinkle chocolate shavings or crushed candy canes on top. This adds color and a burst of flavor. Don’t forget to serve it cold for the best taste.
Pro Tips
- Use Room Temperature Ingredients: Ensure your cream cheese is at room temperature for easier blending and a smoother filling.
- Chill the Pie Overnight: For the best texture and flavor, let the pie set in the refrigerator overnight.
- Customize Your Garnish: Get creative with toppings! Use crushed peppermint candies, chocolate sprinkles, or festive whipped cream designs.
- Make It Ahead: This pie is perfect for prep ahead of time, making it an ideal dessert for gatherings or holidays.
Variations
Alternative Flavor Options
You can change this pie’s flavor easily. Try using chocolate sandwich cookies instead of Oreos. This swap gives a richer taste. You can also use vanilla extract for a classic flavor. If you want a fruity twist, mix in some raspberry puree. Just fold it into the cream cheese mix for a fun surprise.
Using Different Crusts
While the Oreo crust is a favorite, feel free to experiment. Graham cracker crust adds a nice crunch. You could also use a cookie crust made from vanilla wafers. Another option is a nut-based crust for a gluten-free treat. Just ensure it’s pressed firmly in the pie pan.
Creative Garnish Ideas
Garnishes can make your pie pop! Use chocolate shavings for a rich look. Crushed candy canes add a festive touch. You can also use fresh mint leaves for a fresh taste. Another great idea is to drizzle chocolate sauce on top. Each garnish can change how your pie looks and tastes.
Storage Info
Best Practices for Storing Leftovers
Store any leftover No-Bake Peppermint Oreo Pie in the fridge. Use an airtight container or cover it with plastic wrap. This keeps it fresh and prevents it from drying out. If you have slices, use a pie server to lift them out. This helps maintain the shape of the pie.
How Long the Pie Lasts in the Fridge
The pie lasts about 3 to 5 days in the fridge. After that, it may lose its creamy texture. It’s best to enjoy it fresh. However, if you keep it sealed, it will still taste good for a bit longer.
Freezing Instructions
You can freeze this pie for longer storage. Wrap each slice in plastic wrap. Then, place the wrapped slices in a freezer bag. This keeps the pie fresh for up to 2 months. When ready to eat, thaw it in the fridge overnight. Enjoy the same great taste!
FAQs
Can I use low-fat cream cheese?
Yes, you can use low-fat cream cheese. The pie will still taste good. The texture may be a bit different. It might be less creamy than regular cream cheese. If you prefer a lighter pie, this is a good choice.
How can I make this pie more chocolatey?
To make this pie more chocolatey, add cocoa powder. Mix in one or two tablespoons into the filling. You can also use chocolate whipped cream. Top the pie with chocolate shavings for extra flavor. These small changes will give you a rich chocolate taste.
What if I can’t find peppermint extract?
If you can’t find peppermint extract, use mint extract instead. It will give a nice mint flavor. You can also crush candy canes or peppermint candies. Mix these into the filling for a fun twist. Just remember, the flavor might be a bit different.
This blog post covered how to make a no-bake peppermint Oreo pie. We discussed the ingredients and equipment you need. You learned step-by-step instructions for making the crust, filling, and chilling the pie. We shared tips for a perfect crust and ways to serve your dessert. Variations let you play with flavors and crusts. Finally, we talked about how to store leftovers.
Now, you can enjoy this pie at home. Create your perfect dessert and have fun with i