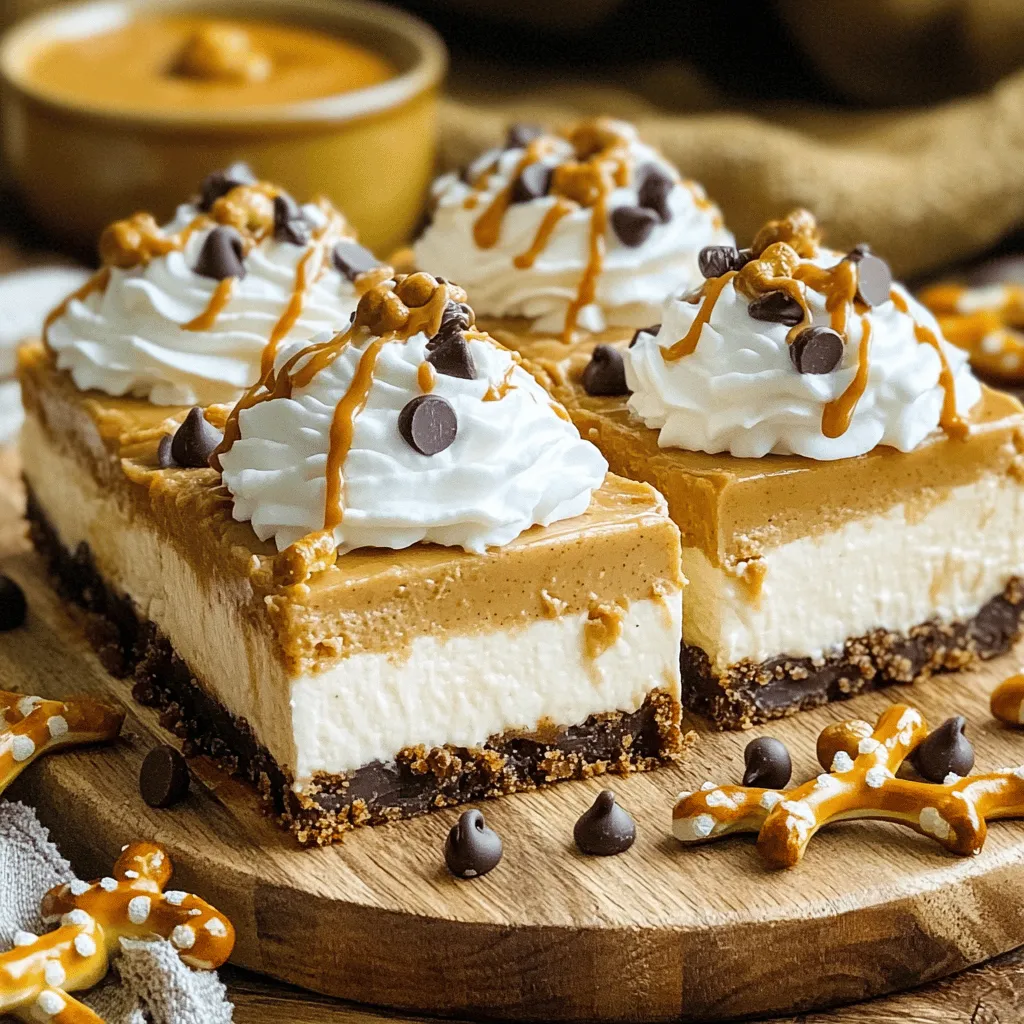
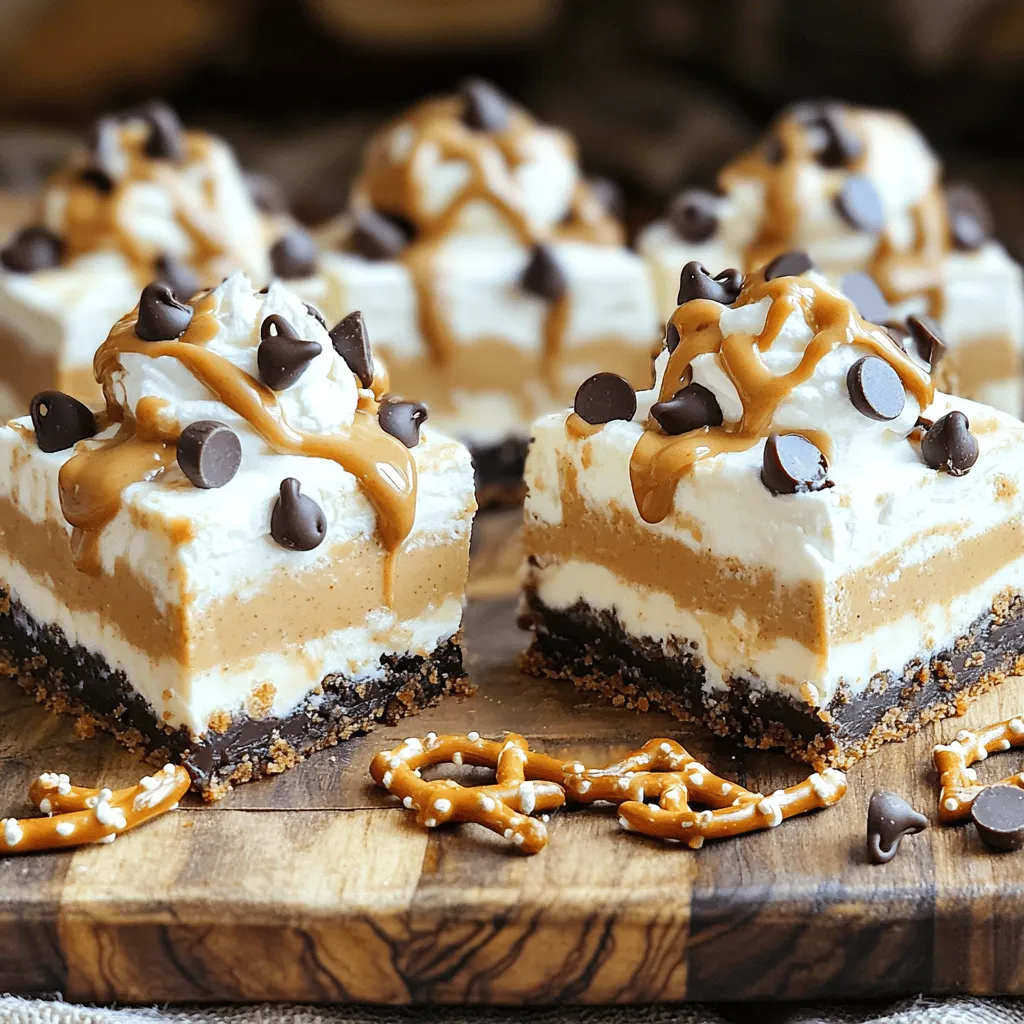
Get ready to delight your taste buds with my No-Bake Peanut Butter Pretzel Cheesecake Bars! This treat combines salty pretzels with creamy peanut butter cheesecake for a perfect balance. No oven is needed, and each bite is pure bliss. Whether you’re preparing a snack or a dessert, these bars are easy and fun to make. Let’s dive into the tasty details and whip up this crowd-pleaser together!
Ingredients
Here’s what you need to whip up these no-bake peanut butter pretzel cheesecake bars:
– 1 ½ cups crushed pretzels
– ½ cup unsalted butter, melted
– ⅓ cup brown sugar
– 1 cup cream cheese, softened
– 1 cup smooth peanut butter
– 1 cup powdered sugar
– 1 teaspoon vanilla extract
– ¾ cup whipped cream (store-bought or homemade)
– ¼ cup chocolate chips (optional)
– Extra pretzel pieces for topping (optional)
Each ingredient plays a key role. The crushed pretzels give a salty crunch. The melted butter helps bind the crust. Brown sugar adds a slight caramel note.
Cream cheese and peanut butter create a rich filling. Powdered sugar sweetens it. Vanilla extract gives a warm touch. Whipped cream keeps the filling light and fluffy.
Feel free to add chocolate chips for extra sweetness. Extra pretzel pieces on top make for a fun crunch.
Step-by-Step Instructions
Preparing the Crust
1. In a large bowl, combine the crushed pretzels, melted butter, and brown sugar.
2. Stir until the mixture resembles wet sand.
3. Press the pretzel mixture firmly into the bottom of a lined 9×9 inch baking pan.
4. Use the back of a measuring cup or your hands to pack it down tightly.
Making the Cheesecake Filling
1. In another bowl, mix the softened cream cheese, smooth peanut butter, powdered sugar, and vanilla extract.
2. Use an electric mixer to blend until smooth and creamy.
3. Gently fold in the whipped cream until just combined. This keeps it light and fluffy.
Assembling the Bars
1. Spread the peanut butter cheesecake mixture evenly over the pretzel crust.
2. Use a spatula to smooth the top.
3. If you want, sprinkle chocolate chips and extra pretzel pieces on top.
4. Cover the pan with plastic wrap and refrigerate for at least 4 hours, or until set.
5. For best results, let it chill overnight.
6. Once set, remove it from the pan, slice into bars, and serve chilled.
Tips & Tricks
Ensuring the Perfect Consistency
To get a creamy filling, start with softened cream cheese. This helps it blend smoothly with the peanut butter. Mix these two ingredients first before adding the powdered sugar and vanilla. This step makes the filling rich and velvety.
When folding in whipped cream, be gentle. Use a spatula and scoop from the bottom up. This keeps the air in the whipped cream, making your filling light and fluffy. Do not stir too hard; you want to maintain that lovely texture.
Serving Suggestions
For a stunning display, slice the bars neatly and place them on a pretty serving dish. Drizzle some extra peanut butter and chocolate sauce on top. This adds color and a touch of flair. Garnish with whole pretzels for that wow factor.
Pair these cheesecake bars with a cold glass of milk or a hot cup of coffee. The flavors work well together. You might also serve them with fresh fruit, like strawberries or bananas, for a refreshing contrast.
Variations
Alternative Flavor Options
You can switch up the flavors in these cheesecake bars easily. Try using different nut butters like almond or cashew. They add a unique taste and pair well with pretzels. You can also mix in chocolate. Melt some chocolate and swirl it into the cheesecake filling. This gives a rich flavor that many love. If you enjoy caramel, drizzle it over the top before chilling. It adds sweetness and a nice look.
Dietary Adjustments
For a vegan version, use dairy-free cream cheese and nut butter. You can swap the whipped cream for coconut cream. This keeps the bars light and tasty. If you need gluten-free options, use gluten-free pretzels. Just check the labels to ensure they are safe. For nut allergies, try sun butter instead of peanut butter. These adjustments keep the bars delicious while meeting dietary needs.
Storage Info
Refrigeration Guidelines
To keep your no-bake peanut butter pretzel cheesecake bars fresh, store them in the fridge. Use an airtight container or cover the baking pan tightly with plastic wrap. This prevents them from absorbing other smells in the fridge. They stay good for about 5 days. The flavors will meld beautifully during this time, making each bite even better.
Freezing Instructions
You can also freeze these bars if you want to enjoy them later. Cut the bars into slices before freezing. Wrap each piece in plastic wrap, then place them in a freezer-safe bag. This helps keep the texture and flavor intact. To thaw, take them out and let them sit in the fridge for a few hours. Avoid microwaving, as this can change the creamy texture. Enjoy your delicious bars at any time!
FAQs
Common Questions
How long do I need to chill the bars?
Chill the bars for at least 4 hours. For the best taste and texture, let them chill overnight. This time allows the filling to set properly.
Can I use crunchy peanut butter instead of smooth?
Yes, you can use crunchy peanut butter. It adds a nice texture and extra flavor. Just keep in mind that it will change the creaminess of the bars a bit.
Troubleshooting Tips
What to do if the bars are too soft?
If the bars are too soft, they might need more time in the fridge. If they still do not firm up, you can add more whipped cream to the mixture. This can help thicken the filling.
How to fix a crust that crumbles?
If the crust crumbles, it may need more butter. Melt a bit more butter and mix it with the crust. Press it down firmly again in the pan. This will help it hold together better.
In this post, we covered how to make delicious cheesecake bars using pretzels and peanut butter. We discussed each step, from making the crust to adding the filling. I shared tips for the perfect texture and serving ideas to impress your guests. Remember, you can also make flavor variations and adjust for dietary needs. Store them properly to keep them fresh. These bars are not just easy to make; they are fun to enjoy! Now, grab your ingredients and start creating something special.