Craving a sweet treat that’s easy to whip up? You’ll love these no bake peanut butter bars! With just a few simple ingredients, you can create a delicious snack that satisfies your sweet tooth and packs a protein punch. Plus, they’re perfect for a quick dessert or an energy boost. Ready to make your new favorite treat? Let’s dive into the simple steps and sweet tips!
Ingredients
List of Ingredients for No Bake Peanut Butter Bars
– 1 cup natural peanut butter
– 1/2 cup honey or maple syrup
– 2 cups rolled oats
– 1/2 cup vanilla protein powder (optional)
– 1/2 cup dark chocolate chips
– 1/4 cup unsweetened cocoa powder
– 1 teaspoon vanilla extract
– Pinch of salt
These ingredients create the base for the no bake peanut butter bars. I love using natural peanut butter for its fresh taste and creamy texture. Honey or maple syrup adds sweetness. You can choose either based on your preference.
Rolled oats provide a nice chewy texture and are great for fiber. You can add vanilla protein powder if you want a protein boost, but it’s not a must.
Dark chocolate chips add a rich flavor and a touch of sweetness. Unsweetened cocoa powder gives the bars a deep chocolatey taste without extra sugar.
Don’t forget the vanilla extract! It enhances all the flavors. A pinch of salt balances the sweetness and brings out the flavor of the peanut butter.
Gather these ingredients and you’ll be on your way to making a tasty treat. Each component works together to create a delicious and satisfying snack that you can enjoy anytime.
Step-by-Step Instructions
Preparation Steps
Mixing peanut butter and honey
Start by measuring 1 cup of natural peanut butter. I like to use creamy peanut butter, but crunchy works too. In a medium saucepan, combine the peanut butter and 1/2 cup of honey or maple syrup. Heat it over low heat. Stir continuously for about 2-3 minutes until it becomes smooth and well mixed.
Combining dry ingredients
In a large mixing bowl, measure out 2 cups of rolled oats. If you want, add 1/2 cup of vanilla protein powder for some extra protein. Next, add in 1/4 cup of unsweetened cocoa powder. Mix these dry ingredients well with a spoon or spatula.
Folding in chocolate chips
Once your peanut butter mixture is smooth, remove it from the heat. Stir in 1 teaspoon of vanilla extract and a pinch of salt. Pour this warm mixture over your dry ingredients. Use a spatula to mix everything until the oats are coated. Finally, fold in 1/2 cup of dark chocolate chips. You want to mix them in gently so they are evenly spread throughout.
Assembly Instructions
Lining the baking dish
Grab an 8×8 inch square baking dish. Line it with parchment paper. Leave some paper hanging over the sides. This makes it easy to lift the bars out later.
Pressing mixture into the dish
Now, transfer your mixture into the lined baking dish. Use the spatula to press it down firmly into an even layer. Make sure it is packed tight so the bars hold together well.
Refrigeration process
Place the dish in the fridge. Chill it for at least 1 hour or until it is set. This step is crucial. It helps the bars firm up nicely.
Final Touches
Cutting the bars
After the bars have set, lift them out of the dish using the parchment overhang. Place them on a cutting board. Use a sharp knife to cut them into squares or rectangles.
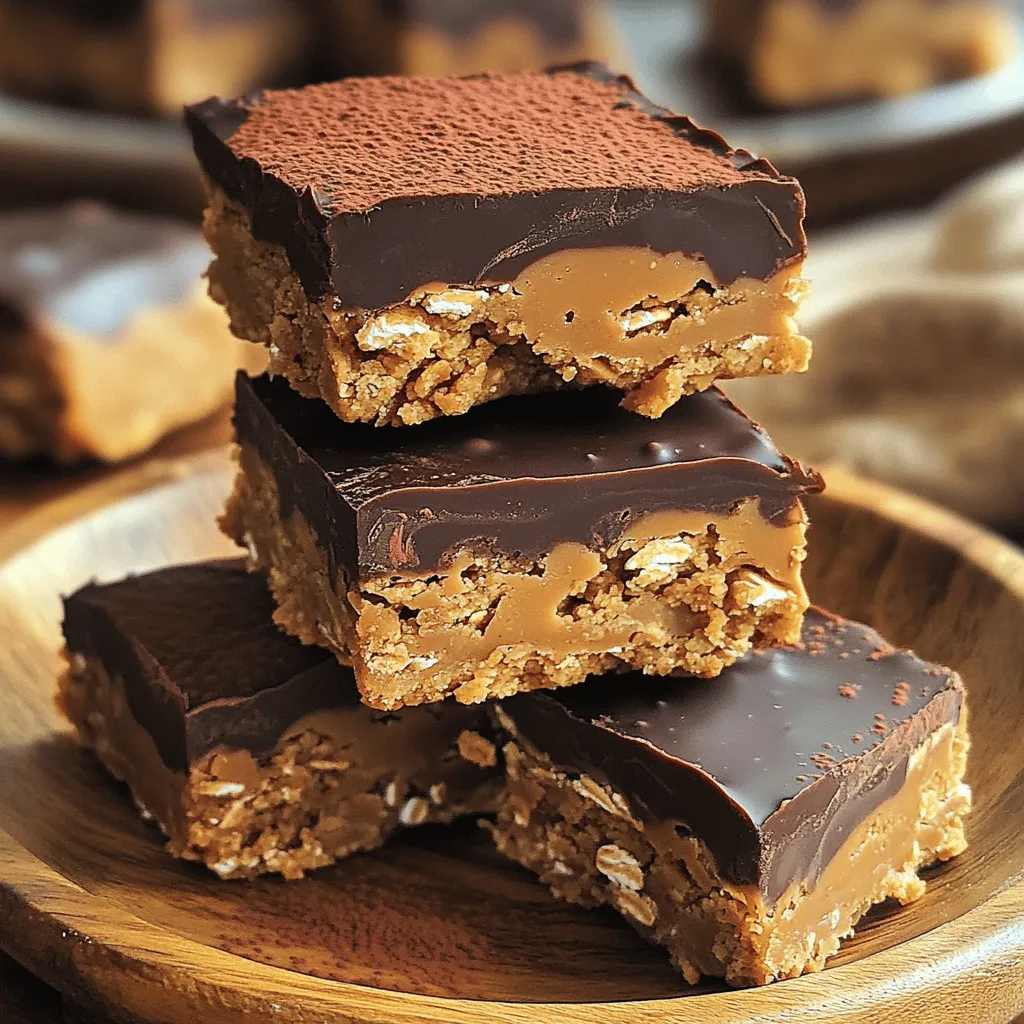
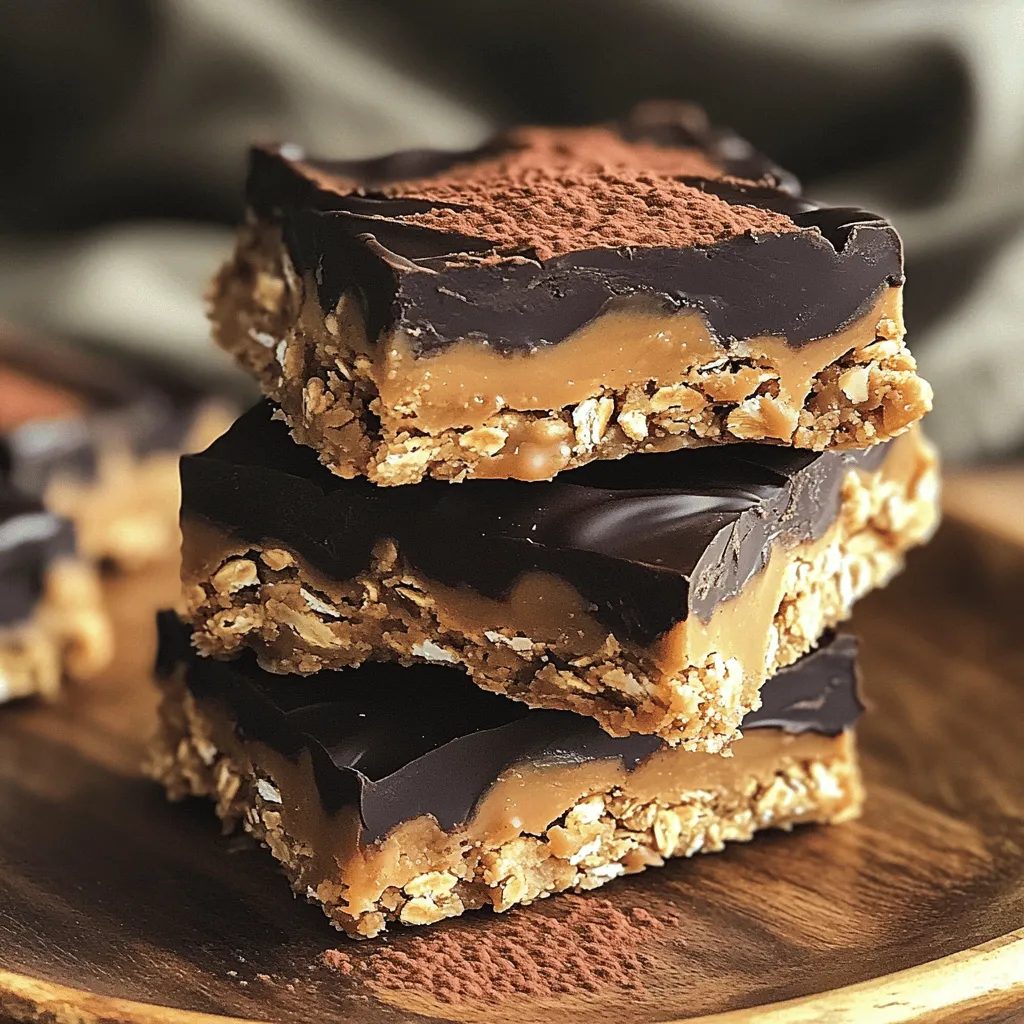
Serving suggestions
I love serving these bars stacked on a plate. For a nice touch, drizzle some extra melted dark chocolate over the top. Enjoy your tasty no bake peanut butter bars!
Tips & Tricks
Expert Tips for the Best Bars
– Choosing the right peanut butter: Use natural peanut butter. Look for brands with just peanuts and salt. This gives a rich and pure flavor to your bars. Creamy peanut butter mixes easily, while crunchy adds a fun texture.
– Adjusting sweetness levels: Taste the mixture before you set it. If you want it sweeter, add more honey or maple syrup. You can also mix in a bit of powdered sugar for a quick boost.
– Recommendations for add-ins or toppings: Get creative! Try adding crushed nuts for crunch or dried fruit for a chewy texture. You can also sprinkle some sea salt on top for a sweet and salty mix.
Common Mistakes to Avoid
– Overheating the peanut butter mixture: Heat the peanut butter and honey slowly. Too much heat can make your bars too soft. Stir just until smooth, and then remove it from the heat.
– Not pressing the mixture firmly enough: When you put the mixture in the dish, press it down well. A firm press helps the bars hold together better. Use a spatula or your hands to make sure it’s packed tightly.
– Cutting bars too early: Patience is key! Wait for the bars to chill in the fridge for at least an hour. Cutting them too soon makes them fall apart. Let them set fully for clean, neat bars.
Variations
Flavor Variations
You can change up your no bake peanut butter bars for more fun. Try adding crushed nuts or seeds. Almonds, walnuts, or sunflower seeds work great. They add a nice crunch and boost the nutrition. You can also swap out chocolate chips for dried fruit. Raisins, cranberries, or apricots add sweetness and a chewy texture. These small changes can make your bars unique.
Dietary Adjustments
If you need gluten-free bars, use certified oats. They are safe for those with gluten issues. You can also make these bars vegan. Replace honey with maple syrup. For chocolate, look for dairy-free chips. This way, everyone can enjoy a tasty treat!
Storage Info
How to Store No Bake Peanut Butter Bars
To keep your no bake peanut butter bars fresh, use an airtight container. This helps prevent them from drying out. You can stack the bars with parchment paper between layers to avoid sticking.
For fridge storage, your bars can last up to one week. If you want to keep them longer, freeze them. In the freezer, they stay good for up to three months. Just wrap them tightly in plastic wrap before putting them in a freezer bag.
Tips for Keeping Bars Fresh
Keep an eye out for any signs that your bars have gone bad. If you see mold or a strange smell, it’s time to toss them.
To maintain the best flavor and texture, always store the bars in a cool, dry place. Avoid leaving them out at room temperature for long periods. If you notice they are getting dry, it may be time to use them up or freeze some.
FAQs
Common User Questions
How do I make no bake peanut butter bars less sweet?
To reduce sweetness, cut back on honey or maple syrup. You can use just 1/4 cup instead of 1/2 cup. Adding more cocoa powder can also help balance the sweetness.
Can I substitute other nut butters?
Yes, you can use almond butter, cashew butter, or sunflower seed butter. Each will give a unique flavor and texture.
How long do no bake peanut butter bars last in the fridge?
These bars last about one week in the fridge. For longer storage, freeze them, and they can last for up to three months.
Can I make these bars with no protein powder?
Absolutely! You can skip the protein powder. Just add a bit more oats to keep the same texture.
Troubleshooting Questions
What to do if the mixture is too crumbly?
If your mixture feels dry and crumbly, add a bit more peanut butter or honey. You want it sticky enough to hold together.
How can I make the bars firmer or softer?
To make them firmer, add a little more oats or chill them longer. For softer bars, reduce the time in the fridge or add a touch more peanut butter.
You now have a clear guide to making tasty no bake peanut butter bars. From gathering ingredients to clever tips on storage, each step is simple. Experiment with flavors and toppings to make your bars special. Remember, always adjust sweetness to your taste and avoid common mistakes. Enjoy your healthy treats, and share them with friends or family. You’ll impress everyone with your delicious creation!