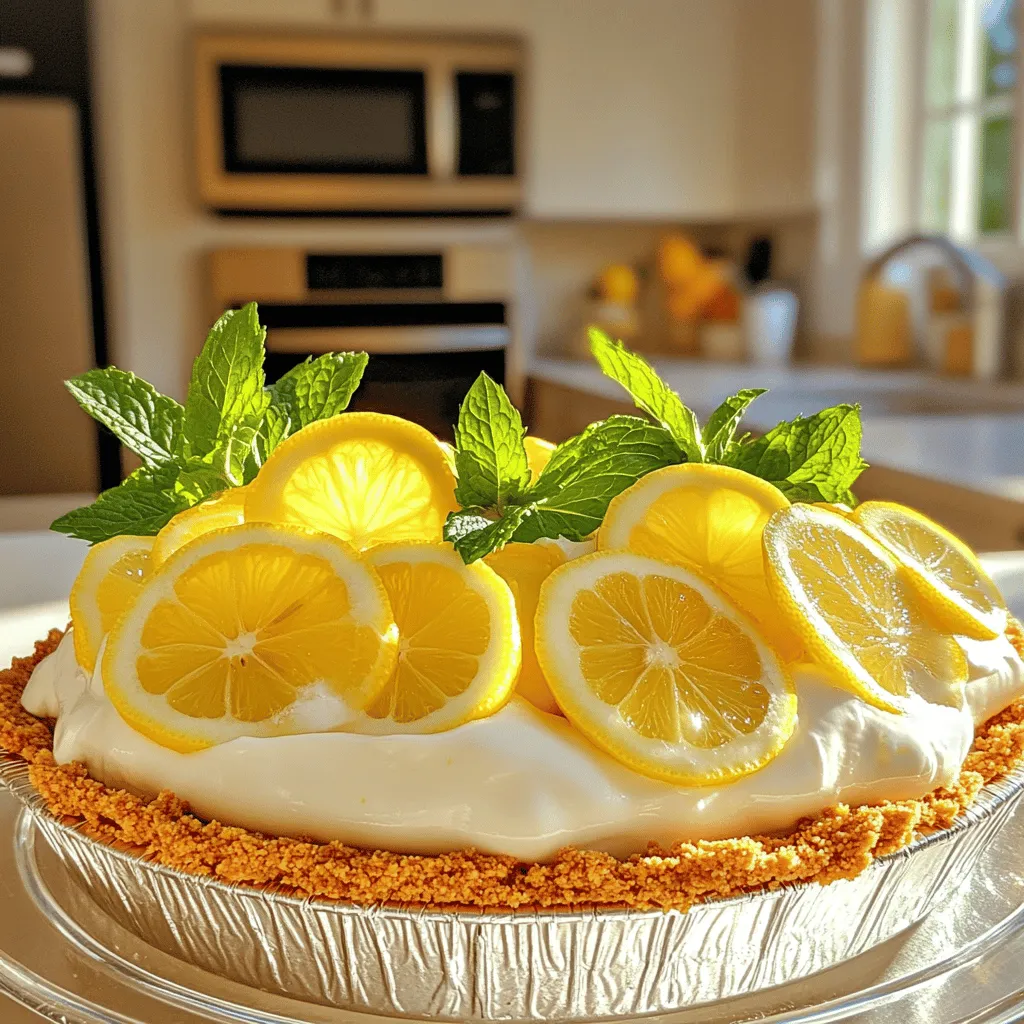
Looking for a dessert that’s simple and bursting with fresh flavor? My No-Bake Lemon Icebox Pie hits all the right notes. It’s creamy, tart, and perfect for any occasion. Best of all, you don’t need to turn on the oven! In this post, I’ll guide you through the easy steps to create this refreshing treat. Grab your ingredients, and let’s dive into making a pie that will impress everyone!
Ingredients
To make the No-Bake Lemon Icebox Pie, you need the following ingredients:
– 1 ½ cups graham cracker crumbs
– ½ cup unsalted butter, melted
– 1 cup sweetened condensed milk
– ½ cup fresh lemon juice
– Zest of 2 lemons
– 1 container (8 oz) whipped topping, thawed
– Lemon slices and mint leaves for garnish (optional)
These ingredients come together to create a smooth, creamy pie with a bright, zesty flavor. The graham cracker crumbs form a crunchy crust that balances the softness of the filling. Fresh lemon juice and zest give the pie its tangy kick. Sweetened condensed milk adds a rich sweetness that makes each bite delightful. Lastly, the whipped topping lightens the filling, making it airy and easy to eat.This dessert is perfect for any occasion and sure to impress your guests. Enjoy this refreshing treat with friends and family!
Step-by-Step Instructions
Preparation of Crust
To start, take a medium bowl. Combine 1 ½ cups of graham cracker crumbs with ½ cup of melted butter. Mix them well until the crumbs look like wet sand. This step is key for a tasty crust. Next, grab a 9-inch pie dish. Press the graham mixture into the bottom and up the sides of the dish. Use the back of a measuring cup to pack it tightly. This way, your crust will hold together nicely.
Making the Lemon Filling
Now for the fun part! In another bowl, whisk together 1 cup of sweetened condensed milk, ½ cup of fresh lemon juice, and the zest of 2 lemons. This mix will be your pie’s heart. Make sure it’s smooth and well combined. Next, gently fold in one container of thawed whipped topping. This adds a light, fluffy texture to your filling. Be careful not to deflate the mixture.
Assembling the Pie
Pour your lemon filling into the prepared crust. Use a spatula to smooth the top. This makes it look nice and neat. Cover the pie with plastic wrap and place it in the fridge. Let it chill for at least 4 hours, or even overnight for the best results. This waiting time helps the pie to set perfectly. When you’re ready to serve, you can garnish it with lemon slices and mint leaves if you like.
Tips & Tricks
Achieving the Perfect Crust
To make the best crust, combine your graham cracker crumbs with melted butter. Mix until the crumbs look like wet sand. This helps the crust hold its shape. When you press the mixture into the pie dish, use a measuring cup. This tool helps pack the crumbs tightly and evenly. A well-packed crust gives you a strong base for your pie.
Flavor Enhancements
Want to kick up the flavor? Add more lemon zest! It gives the pie a bright and zesty kick. You can also try different toppings. Fresh berries, toasted coconut, or whipped cream are great options. Each topping adds its own charm and taste to the pie.
Chilling Tips
For the best results, refrigerate your pie overnight. This allows it to set fully. If you are in a rush, chill for at least four hours. But trust me, overnight is always better. A well-chilled pie will slice neatly and taste amazing.
Variations
Switching Up the Flavor
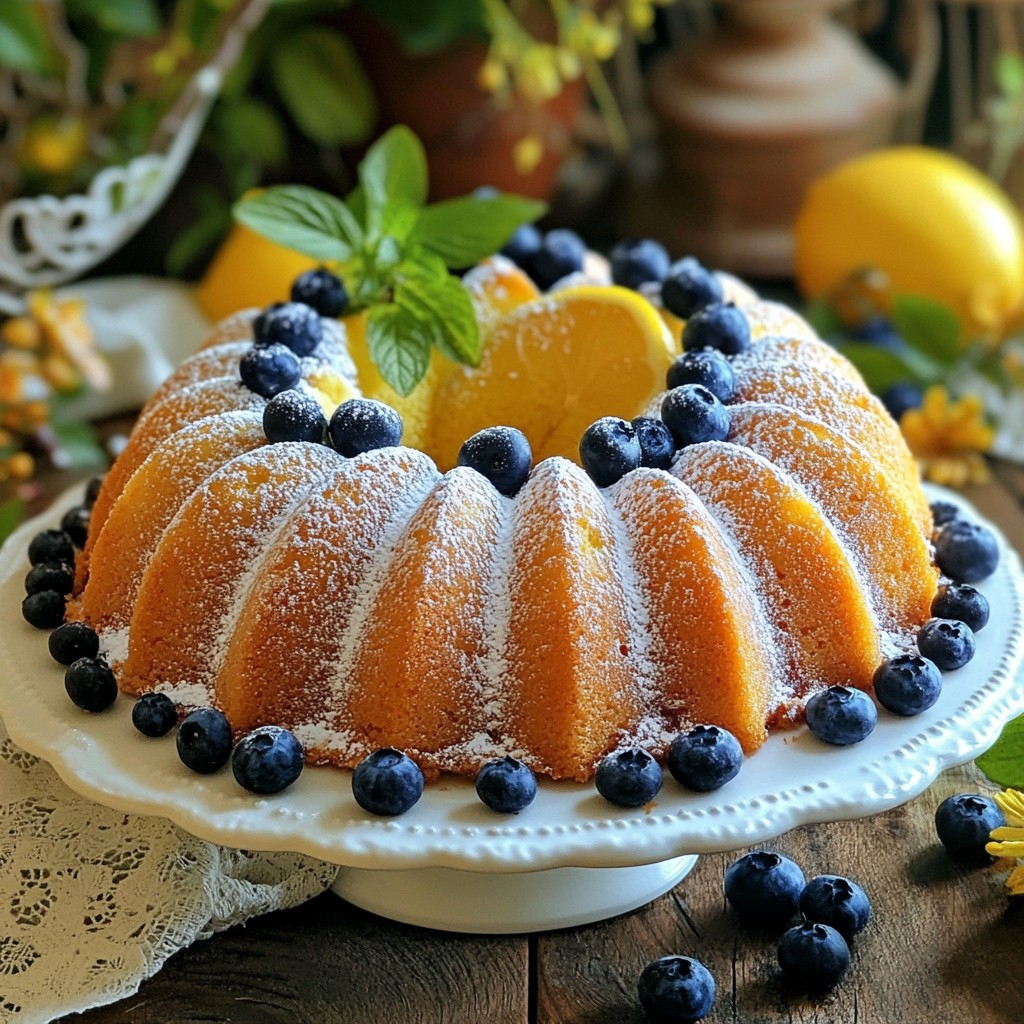
You can easily change the taste of your pie. For a fun twist, swap the lemon juice for lime juice. This gives you a tasty Key Lime Pie variation. The tartness of lime adds a new zing. You can also add berries to the filling. Blueberries or raspberries mix well with the lemon. This gives the pie a fresh burst of flavor.
Gluten-Free Options
If you need a gluten-free pie, you have options. You can use gluten-free cookies to make the crust. Just crush them the same way you would with graham crackers. Look for gluten-free whipped topping as a great substitute. This way, everyone can enjoy the dessert.
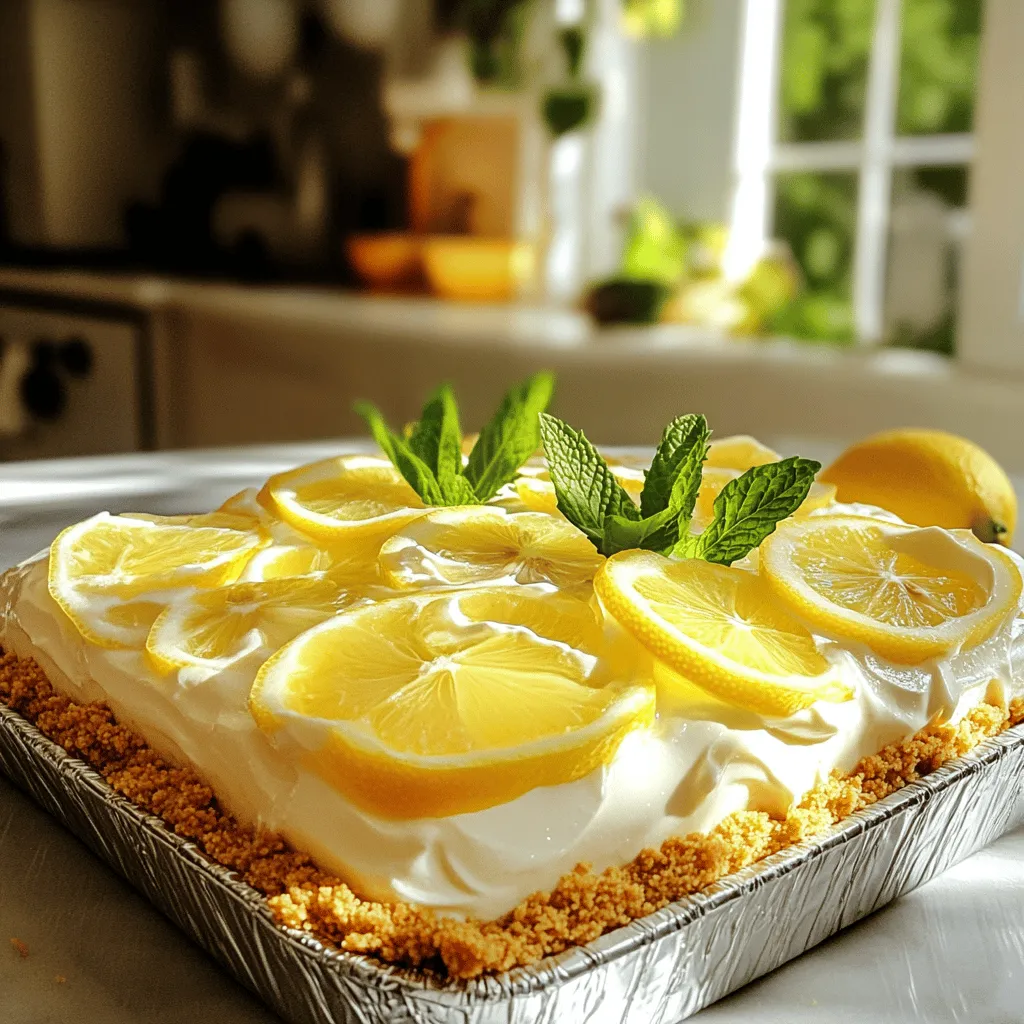
Layered Versions
Layering can make your pie even more exciting. You might add a layer of fresh fruit on top of your filling. Sliced strawberries or kiwis can brighten it up. Another idea is to add a chocolate layer for richness. Just melt some chocolate and pour it over the filling before refrigerating. Each bite will be a delightful surprise.
Storage Info
How to Store Leftovers
Store any leftover pie in an airtight container in the refrigerator. This keeps the pie fresh and safe to eat. The pie tastes best when consumed within 3 days. After that, the crust may become soggy.
Freezing Suggestions
You can freeze this pie for up to 1 month. To do this, wrap it well in plastic wrap and then in foil. When you’re ready to enjoy it, simply thaw the pie overnight in the refrigerator. This keeps the texture smooth and tasty.
Reheating Instructions
There is no need to reheat this pie. It is best enjoyed chilled, straight from the fridge. This makes it a perfect dessert for warm days!
FAQs
How long does it take to set the pie?
This pie needs at least 4 hours to set. For the best results, chill it overnight. This helps the filling firm up and gives you a perfect slice.
Can I use bottled lemon juice?
You can use bottled lemon juice if you need to. However, I always suggest fresh lemon juice. It gives the pie a bright and zesty flavor that bottled juice just can’t match.
What can I substitute for whipped topping?
If you don’t have whipped topping, you have options. You can use homemade whipped cream for a rich taste. A dairy-free alternative also works if needed.
How many servings does this recipe make?
This recipe makes about 8 servings. It’s great for sharing at gatherings or enjoying on a warm day. You can easily double the recipe for a crowd.
In this blog post, we covered an easy and tasty lemon pie recipe. You learned about the ingredients, from graham cracker crumbs to fresh lemon juice. We walked through step-by-step instructions for making the crust and filling. You also found tips for the perfect pie, fun variations, and storage details. This pie is simple to make and great to share. Try it out and enjoy a refreshing treat that everyone will love. Happy baking!