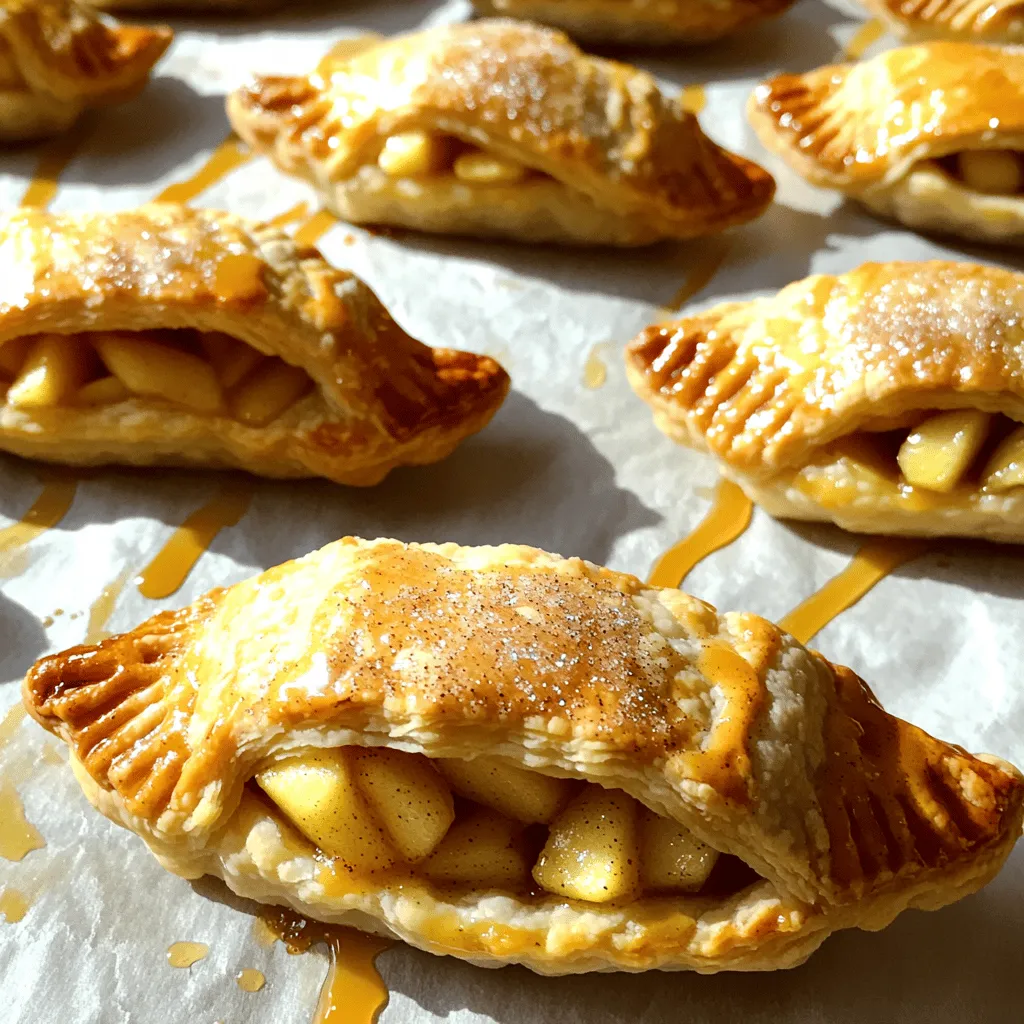
If you love sweet treats, you’ll adore these Mini Apple Hand Pies! They are simple to make and bursting with flavor. In this post, I’ll guide you through each step, from picking the right apples to baking the perfect golden crust. Whether you want a classic or a twist on this favorite, you can create a delightful dessert that everyone will love. Let’s get started and make some delicious memories!
Ingredients
List of Necessary Ingredients
– Apples: Use 2 large apples, like Granny Smith or Honeycrisp. These varieties give the best taste and texture. Peel and dice them for easy mixing.
– Sugar and Spices: You’ll need 1/4 cup granulated sugar and 1 teaspoon cinnamon. The sugar sweetens the apples, while cinnamon adds warmth. A tablespoon of lemon juice brightens the flavor. Add 1 tablespoon of cornstarch to help thicken the filling.
– Pie Crust Options: You can use 1 package (14 oz) of refrigerated pie crusts for ease. If you want a more personal touch, you can make your own homemade crust. Both options work well.
Optional Ingredients
– Caramel Sauce: Drizzling caramel sauce on top gives a sweet, rich finish. It pairs perfectly with the warm apple filling.
– Additional Spices or Flavorings: Feel free to add nutmeg or ginger for extra depth. A hint of vanilla can also enhance the flavor of your hand pies.
Step-by-Step Instructions
Prepping the Apples
Peeling and Dicing Tips
Start by choosing two large apples, like Granny Smith or Honeycrisp. These apples give the best mix of sweet and tart. Use a sharp peeler to remove the skin. Then, cut the apples into small cubes. Aim for pieces about half an inch. This size helps them cook evenly.
Marinating the Apple Mixture
Once diced, place the apples in a medium bowl. Add 1/4 cup of granulated sugar, 1 teaspoon of cinnamon, and 1 tablespoon of lemon juice. The lemon juice helps keep the apples fresh and bright. Finally, stir in 1 tablespoon of cornstarch. This helps thicken the filling as it cooks. Mix everything well and let it sit for about 10 minutes. This step lets the flavors blend together nicely.
Assembling the Hand Pies
Rolling Out the Dough
Grab your package of pie crusts. You can use store-bought or make your own if you prefer. Roll the dough out on a lightly floured surface. Use a round cutter that is about 4 to 5 inches wide. Cut out circles from the dough. Gather any scraps, roll them out, and cut more circles as needed.
Filling and Sealing Techniques
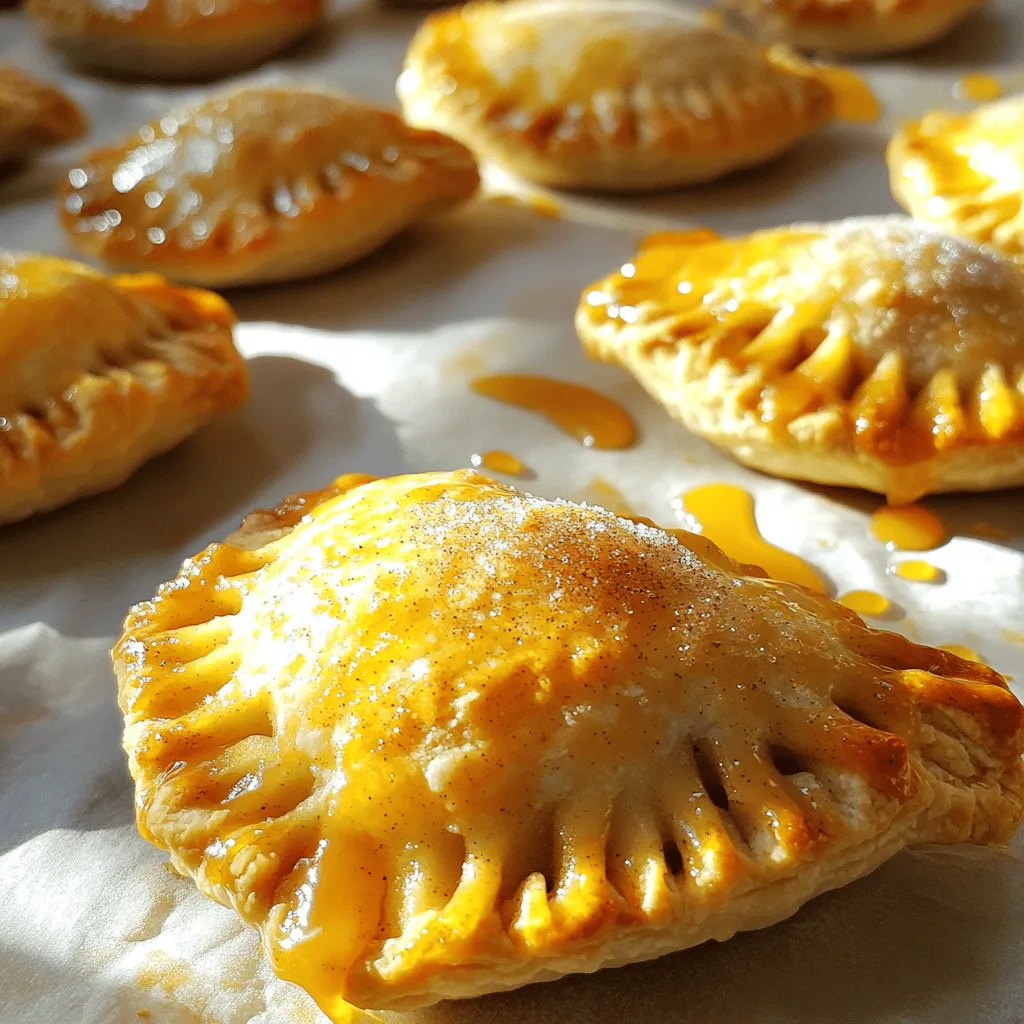
Now it’s time to fill the pies! Place about 1 tablespoon of the apple mixture in the center of each dough circle. Be careful not to overfill. Fold the dough over to make a half-moon shape. Press the edges to seal. For a pretty touch, use a fork to crimp the edges. This also keeps the filling from leaking out.
Baking Instructions
Oven Settings and Timing
Preheat your oven to 400°F (200°C). While it heats, line a baking sheet with parchment paper. This helps prevent sticking. Once the oven is ready, place the hand pies on the sheet. Leave space between each one to allow for rising.
Achieving a Golden Finish
Before baking, brush the tops of the hand pies with the beaten egg. This gives them a lovely golden color. Sprinkle a little sugar on top for extra sweetness. Bake the hand pies for 15 to 20 minutes. Watch them closely until they turn golden brown. When done, take them out and let them cool slightly. If you like, drizzle with caramel sauce for a yummy treat!
Tips & Tricks
Perfecting the Hand Pies
To get a crispier crust, use cold pie crust. Chilling it helps keep the fat solid. This creates pockets of steam during baking. Aim for a golden brown color for the best look and taste. Bake on a preheated baking sheet. This helps the bottom cook well and stay crisp.
For even cooking, place the pies with space in between. This allows heat to circulate. Rotate the baking sheet halfway through baking. This ensures all sides get equal heat.
Troubleshooting Common Issues
If your edges unseal during baking, use your fork to crimp them well. Press down firmly but gently. You can also brush a little water on the edges before sealing. This helps the dough stick better.
If you find your pies overfilled, use less filling next time. About one tablespoon works best. If they still burst, cut small slits on top. This helps steam escape and keeps the pies from bursting.
Serving Suggestions
Pair these hand pies with warm apple cider or vanilla ice cream. The flavors balance well together. You can also serve them with a hot cup of coffee or tea for a cozy snack.
For a creative touch, dust the tops with powdered sugar. Arrange them on a pretty platter. Drizzle caramel sauce on the side for dipping. This makes for a fun and tasty treat!
Variations
Flavor Combinations
You can enhance mini apple hand pies with fun flavors.
– Adding Nuts or Dried Fruits: Try adding chopped nuts like walnuts or pecans. They add crunch and taste. Dried fruits like raisins or cranberries work well too. They bring extra sweetness and depth to the pies.
– Infusing Different Spices: Get creative with spices. Try nutmeg or allspice for warmth. You can mix cinnamon with ginger for a zesty twist. These small changes make a big difference.
Dietary Adaptations
Many people have special diets. No worries, you can still enjoy these hand pies!
– Gluten-Free Options: Use gluten-free pie crusts, which are now easy to find. You can also make your own using almond flour or rice flour. The filling stays the same, so you won’t miss out on flavor.
– Vegan Substitutes for Pie Crust and Egg Wash: For a vegan option, try a plant-based pie crust. Also, replace the egg wash with almond milk. It gives a nice shine without using eggs.
Mini Apple Hand Pies Twist
You can also explore savory flavors or seasonal fruits.
– Savory Versions with Cheese: Add cheese for a unique twist. Try cheddar or brie mixed with apples. This combination creates a rich and savory hand pie that surprises the taste buds.
– Seasonal Fruit Variants: Use other fruits like pears or peaches. They pair well with apples. You can also mix fruits for a fun medley. This keeps the recipe fresh and exciting all year round.
Storage Info
Storing Leftovers
To keep your mini apple hand pies fresh, store them in the fridge. Place them in an airtight container. This helps maintain their flavor and texture. Enjoy them within three days for the best taste.
If you want to save some for later, you can freeze them. Wrap each pie in plastic wrap, then place them in a freezer-safe bag. They can last up to three months in the freezer. When you’re ready to eat, just thaw them in the fridge overnight.
Reheating Techniques
When it comes to reheating, I have two great methods. First, use the oven. Preheat it to 350°F (175°C). Place the hand pies on a baking sheet lined with parchment paper. Heat for about 10-15 minutes. This keeps the crust crispy and warm.
If you’re short on time, you can use the microwave. Place the pie on a microwave-safe plate. Heat for 30 seconds to 1 minute. Keep in mind that the crust may not stay as crispy this way. For the best results, I recommend the oven method.
FAQs
Can I use store-bought pie crust?
Yes, you can use store-bought pie crust. This saves time and effort. Look for a good quality brand. They often roll out easily and bake up nicely. You can still make great hand pies with them. Just follow the same steps as for homemade crust.
How do I know when the hand pies are done?
Look for a golden brown color on the tops. The crust should be firm to the touch. You can also check the filling. It should bubble slightly at the edges. If you see this, your hand pies are ready to eat!
Where can I order mini apple hand pies?
You can find mini apple hand pies at local bakeries. Many bakeries make them fresh daily. If you prefer online, check dessert delivery services. They often have many options to choose from.
Can I make the filling ahead of time?
Yes, you can prepare the filling in advance. Store it in the fridge for up to two days. Just keep it in a sealed container. This makes it easy to assemble your hand pies later.
Is it possible to make these hand pies without sugar?
Yes, you can make them without sugar. Use natural sweeteners like honey or maple syrup. You may need to adjust the other ingredients slightly. Taste the filling and add more if needed.
What apples work best for hand pies?
Granny Smith and Honeycrisp apples are great choices. They hold their shape well when baked. Both types offer a good mix of sweet and tart flavors. This makes your hand pies taste amazing!
You learned how to make perfect apple hand pies. We covered essential ingredients like apples, sugar, and pie crust. I shared tips for prepping, assembling, and baking the pies. You now know how to store leftovers and reheating methods.
Enjoy the creative options and variations to fit your tastes. Making these hand pies can be a fun kitchen adventure. Trust your skills and don’t be afraid to experiment. Each pie is a chance for deliciousness!