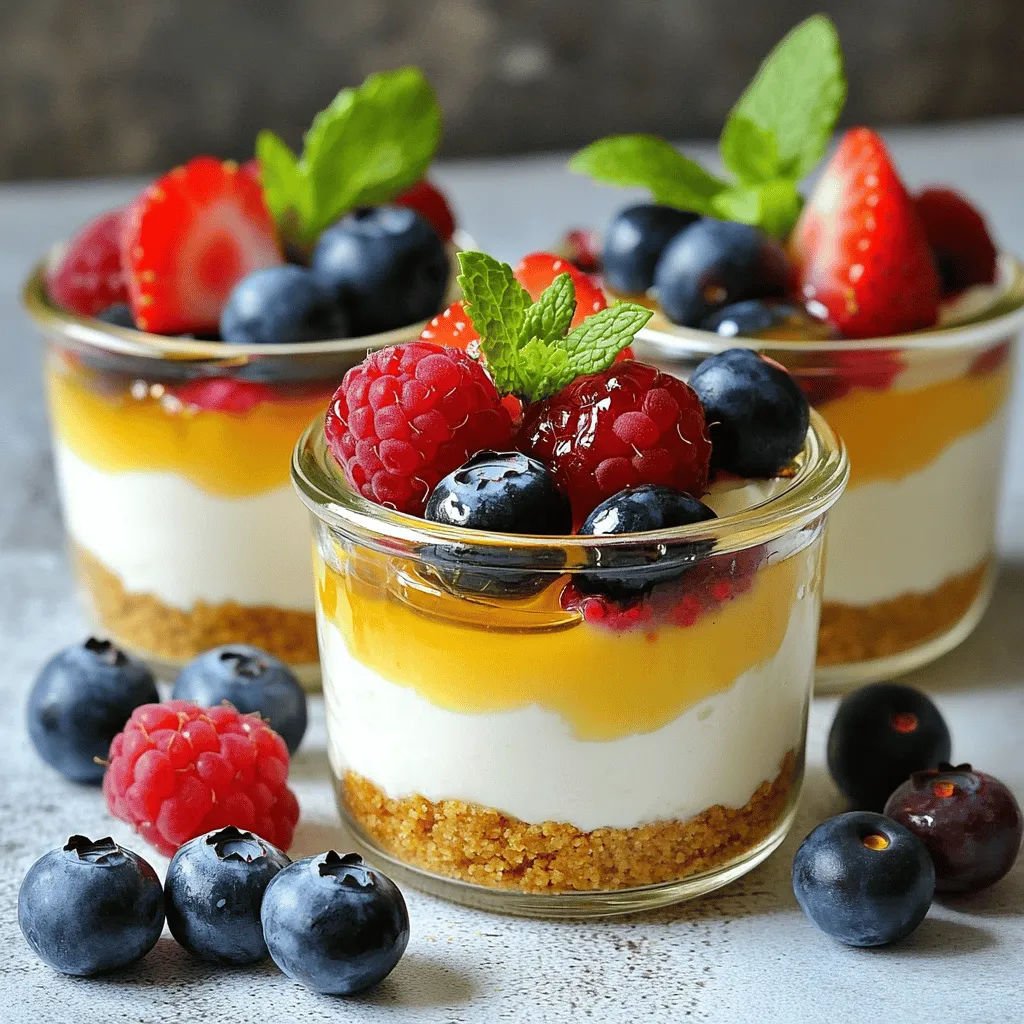
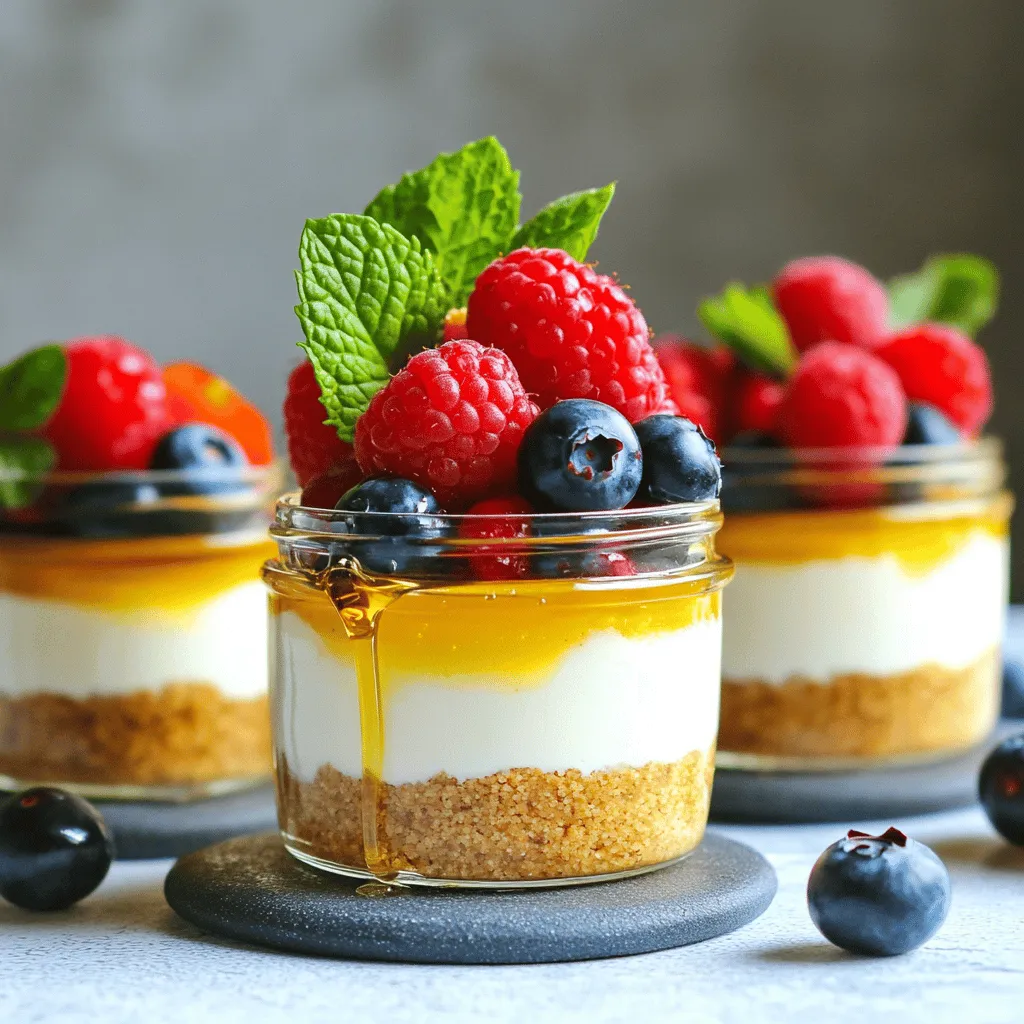
Looking for a sweet treat that’s simple and healthy? Try these Greek Yogurt Cheesecake Cups! They’re creamy, delicious, and easy to make. With fresh ingredients and fun toppings, you can customize these cups to fit your taste. Plus, they’re perfect for any diet, whether you’re vegan or gluten-free. Let’s dive into the quick steps to create this delightful dessert that everyone will love!
Ingredients
Detailed ingredient list
To make Greek Yogurt Cheesecake Cups, you will need:
– 2 cups Greek yogurt (plain)
– 8 oz cream cheese, softened
– 1/2 cup honey or maple syrup (for vegan)
– 1 teaspoon vanilla extract
– 1 teaspoon lemon juice
– 1/4 cup powdered sugar
– 1 cup crushed graham crackers or almond flour (for gluten-free)
– 4 tablespoons melted butter or coconut oil
– Fresh berries (strawberries, blueberries, or raspberries) for topping
– Fresh mint leaves for garnish (optional)
These ingredients blend to create a creamy, rich cheesecake. The Greek yogurt adds tang, while the cream cheese gives it a smooth texture.
Substitutions for dietary preferences
For a vegan version, use:
– Maple syrup instead of honey
– Coconut oil instead of butter
– Almond flour for the crust
For gluten-free options, replace graham crackers with almond flour. This way, you can enjoy these cups no matter your dietary needs.
Importance of ingredient quality
Using high-quality ingredients makes a real difference. Fresh Greek yogurt gives a better taste and creaminess. Choose full-fat cream cheese for a rich flavor. When you use pure vanilla extract, it enhances the dessert’s aroma. Fresh berries should be ripe and vibrant to brighten your cheesecake cups. Quality ingredients lead to a more delicious treat everyone will love.
Step-by-Step Instructions
Preparing the crust
To make the crust, grab a mixing bowl. Combine 1 cup of crushed graham crackers or almond flour with 4 tablespoons of melted butter or coconut oil. Mix it well. You want every crumb to be coated in butter. This gives it a rich taste.
Next, take serving cups or small jars. Divide the mixture evenly among them. Press it firmly to create an even layer at the bottom. This step is key for a solid base. Once done, place the cups in the fridge. Let them chill while you prepare the filling.
Making the cheesecake filling
Using a large bowl, take 8 ounces of softened cream cheese. Blend it with a hand mixer until it’s smooth. Make sure there are no lumps.
Now, add 2 cups of plain Greek yogurt. Then mix in 1/2 cup of honey or maple syrup, 1 teaspoon of vanilla extract, 1 teaspoon of lemon juice, and 1/4 cup of powdered sugar. Beat this mixture until it becomes creamy and fully combined. This is the heart of your cheesecake cups.
Layering and chilling the cups
Remove the crust cups from the fridge. Spoon the cheesecake filling over the crusts. Smooth out the tops for a nice finish.
Cover the cups and refrigerate them for at least 2 to 4 hours. The longer they chill, the better the flavor will be. Before serving, top each cup with fresh berries like strawberries, blueberries, or raspberries. You can add a mint leaf for a nice touch. Enjoy your creamy delight!
Tips & Tricks
Tips for perfecting the cheesecake consistency
To get the best cheesecake, you need smooth ingredients. Start by softening the cream cheese. This makes it mix well with the Greek yogurt. Use a hand mixer to blend until you have a creamy texture. If the mixture is too thick, add a splash of milk. This helps it become smoother and lighter.
Customization ideas (flavors, toppings)
You can make these cups your own! Try different flavors by adding zest from lemons or limes. You can also mix in fruit purees, like strawberry or raspberry, for a fruity twist. For toppings, fresh berries are great. You can also use crushed nuts or a drizzle of chocolate. Mint leaves add a nice touch too!
Common mistakes to avoid
Be careful not to over-mix the filling. This can make it too airy and change the texture. Watch how much sweetener you add. Too much can overpower the taste. Make sure to chill the cups long enough. If you skip this step, the cheesecake may not set well. Take your time and enjoy the process!
Variations
Different flavors of Greek yogurt to use
You can play with flavors by using different Greek yogurt. Try vanilla or lemon for a zestier taste. Strawberry Greek yogurt adds a nice fruity twist. You can even use honey-flavored yogurt for extra sweetness. Each choice changes the flavor profile while keeping it creamy. Mix and match to find your favorite!
Alternative crust options
While crushed graham crackers are classic, you can switch it up! Almond flour makes a great gluten-free crust. Try crushed cookies or even oats for a unique texture. If you want a nutty taste, use ground nuts like pecans. You can also use coconut flour for a tropical hint. The crust is your canvas—be creative!
Topping suggestions for seasonal variations
Toppings can change with the seasons. In spring, fresh strawberries or cherries are bright and tasty. Summer calls for blueberries or raspberries to keep it cool. In fall, diced apples with cinnamon add warmth. Winter can be cozy with pomegranate seeds or citrus zest. Don’t forget a sprig of mint for a fresh touch. Each season brings new flavors to enjoy!
Storage Info
Best practices for storing cheesecake cups
To keep your Greek yogurt cheesecake cups fresh, store them in the fridge. Use airtight containers or cover each cup with plastic wrap. This helps prevent the cheesecake from absorbing any odors. Make sure to keep the cups away from strong-smelling foods. This way, your dessert stays tasty and fresh.
Freezing instructions
If you want to save some cheesecake cups for later, you can freeze them. First, let the cups chill in the fridge until set. Then, wrap each cup tightly in plastic wrap. Place them in a freezer-safe bag or container. You can freeze them for up to three months. To enjoy, thaw them in the fridge overnight before serving.
Shelf life of the cheesecake cups in the fridge
These cheesecake cups will stay fresh in the fridge for about 4 to 5 days. After that, the texture and taste may change. Always check for any signs of spoilage. If they look or smell off, it’s best to toss them. Enjoy your treat while it’s at its best!
FAQs
Can I use low-fat Greek yogurt?
Yes, you can use low-fat Greek yogurt. It will still taste great. The texture may be a bit lighter, but it will work. Just make sure it is plain. This option keeps it creamy without adding too much fat.
How do I know when the cheesecake cups are set?
The cheesecake cups are set when they feel firm to the touch. They should not jiggle when you move them. If they seem soft in the middle, give them more time in the fridge. I recommend chilling them for at least 2-4 hours. The longer they chill, the better the flavor gets.
Can I make these cheesecake cups in advance?
Absolutely! These cheesecake cups are perfect for making ahead of time. You can prepare them up to two days in advance. Just store them in the fridge until you are ready to serve. This makes them a great option for parties or get-togethers. Enjoy the extra time you save!
To sum it up, this blog post shared a clear guide on making delightful cheesecake cups. We covered key ingredients, step-by-step prep, and tips for great results. You learned about storage, variations, and answers to common questions. Remember, quality ingredients matter. Experiment with flavors and avoid common mistakes. With these insights, you’re ready to impress your friends and family with your cheesecake cups. Enjoy making this tasty treat!