Craving a sweet treat that’s easy to make at home? You’re in the right spot! My Crunchy Copycat Wendy's Frosty Chocolate Sundae recipe lets you enjoy that classic taste without leaving your house. With simple ingredients and clear steps, you'll whip up this delicious dessert in no time. Plus, I’ll share tips and variations to make it your own. Ready to dive into this chilly delight? Let’s get started!
Why I Love This Recipe
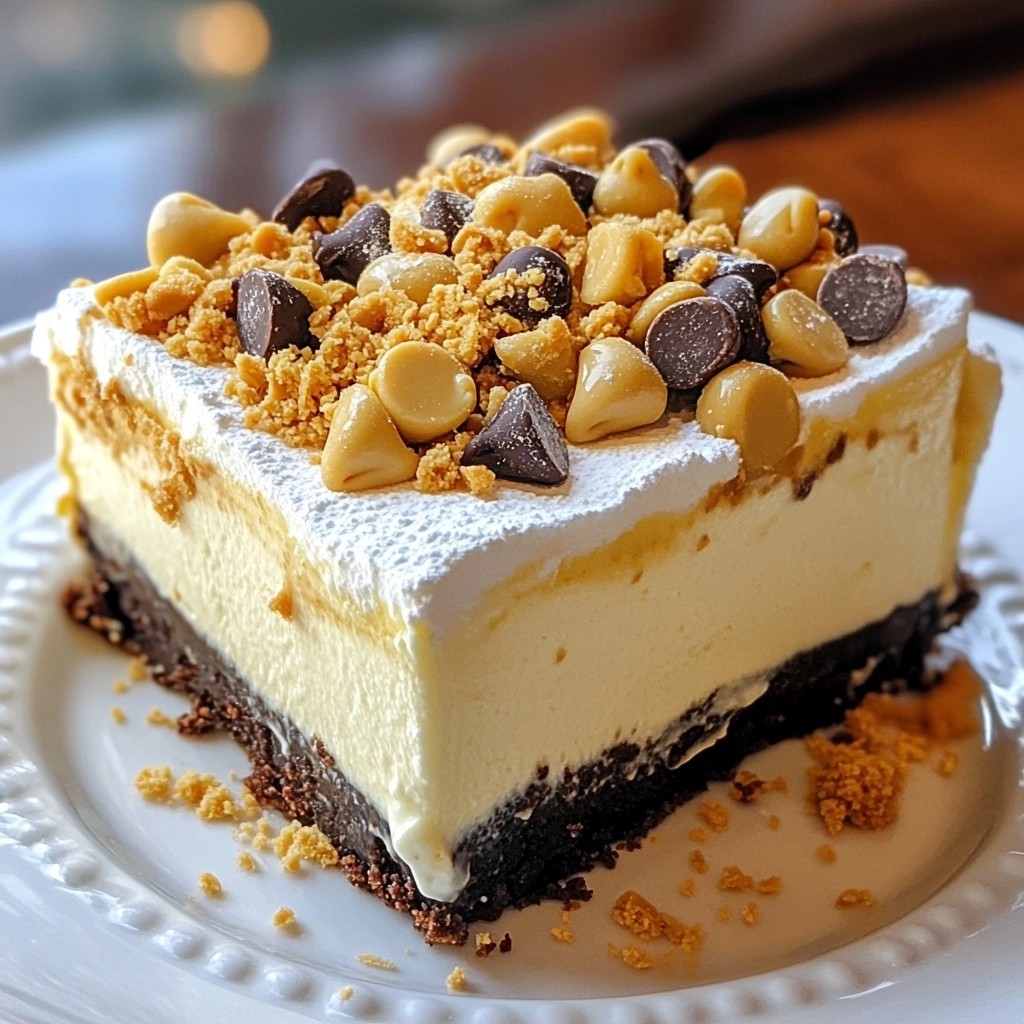
- Decadent Flavor: This sundae perfectly balances rich chocolate ice cream with fluffy whipped cream, creating a delightful treat for chocolate lovers.
- Crunchy Texture: The addition of crushed peanuts or walnuts adds a wonderful crunch that contrasts beautifully with the smooth ice cream.
- Quick and Easy: This recipe is simple and requires minimal prep time, making it perfect for spontaneous dessert cravings.
- Customizable: You can easily modify toppings or add your favorite ingredients, allowing for endless variations to suit your taste.
Ingredients
List of Ingredients
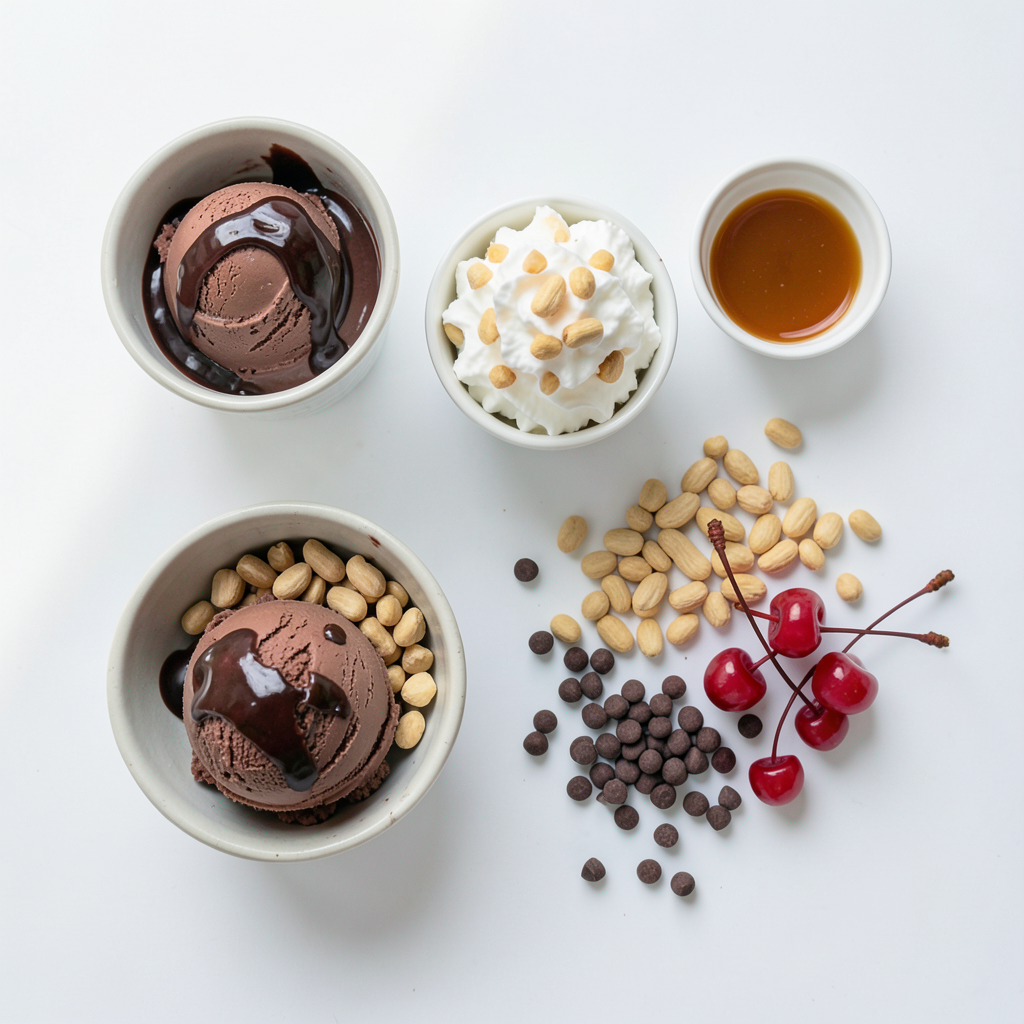
- 2 cups chocolate ice cream
- 1 cup whipped cream
- 1/2 cup chocolate syrup
- 1/2 cup crushed peanuts or walnuts
- 1/4 cup mini chocolate chips
- 1/4 cup maraschino cherries (for topping)
- 1 tablespoon caramel sauce (optional for drizzling)
Ingredient Substitutions
You can swap chocolate ice cream for vanilla if you want a twist. Use whipped topping instead of whipped cream for a lighter option. If you prefer, try using almond or cashew nuts instead of peanuts or walnuts. You can also skip the nuts entirely if you or someone you know has a nut allergy.
Measurements and Serving Sizes
This recipe makes four servings. Each serving includes one large scoop of the sundae. If you want smaller portions, you can serve them in smaller cups. Adjust the ingredients accordingly if you need more or fewer servings. For a party, double or triple the recipe to share with friends and family.
Step-by-Step Instructions
Preparation Steps
1. Start with 2 cups of chocolate ice cream. Scoop it into a bowl. Let it sit for 5-10 minutes. This makes it easier to mix.
2. Add 2-3 tablespoons of chocolate syrup to the softened ice cream. Use a spatula to blend until smooth. It should be creamy and delicious.
Layering the Sundae
1. Grab your serving bowls or cups. Place a big scoop of the chocolate ice cream mixture at the bottom. This is your base layer.
2. Next, take 1 cup of whipped cream. Scoop it on top of the ice cream. Make sure it covers it well.
3. Grab your chocolate syrup again. Drizzle some over the whipped cream. This adds more chocolate flavor.
4. Now it’s time for the crunch! Sprinkle 1/2 cup of crushed peanuts or walnuts over the whipped cream. This gives it a nice texture.
5. Add a handful of 1/4 cup mini chocolate chips on top of the nuts. This adds more sweetness and fun.
Final Touches
1. Finish each sundae with a maraschino cherry on top. This makes it look pretty and delicious.
2. If you want, drizzle a little caramel sauce over the cherry. It adds a nice touch.
3. Serve your sundaes in clear cups. This shows off the beautiful layers. Enjoy your tasty treat!
Tips & Tricks
Achieving the Perfect Texture
To get the best texture, let the chocolate ice cream soften for about 5-10 minutes. This step helps it mix smoothly with the chocolate syrup. The result is a creamy base that feels great in your mouth. When you layer the sundae, make sure to use a firm scoop of the ice cream. This keeps it from melting too fast.
Enhancing the Flavor Profile
To boost the flavor, mix in a little extra chocolate syrup with the ice cream. This makes each bite rich and chocolaty. Don't forget the nuts! Crushed peanuts or walnuts add a nice crunch that contrasts well with the smooth cream. You can also try adding a hint of vanilla extract to the whipped cream for a twist.
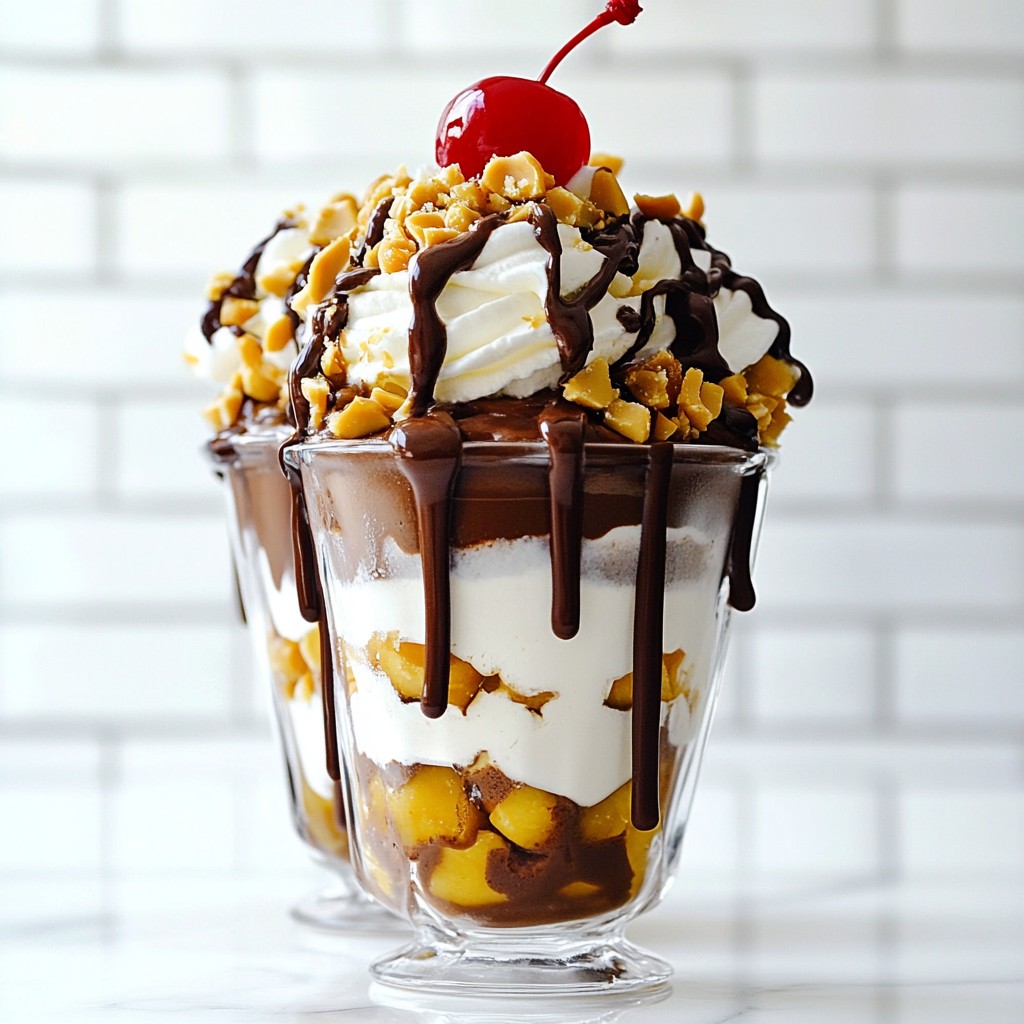
Presentation Tips
Presentation makes your sundae look as good as it tastes. Use clear glass cups to show off the layers. Start with the dark chocolate ice cream, then the fluffy whipped cream, and finish with the colorful toppings. A maraschino cherry on top adds a pop of color. For a fun touch, add a cute straw or a small spoon to each cup. It makes serving more exciting!
Pro Tips
- Soften Ice Cream: Let the chocolate ice cream sit for 5-10 minutes before mixing to achieve a creamy texture.
- Layering Technique: Layer ingredients carefully to create a visually appealing sundae that showcases each component.
- Nut Variations: Experiment with different nuts like almonds or pecans for a unique crunch and flavor.
- Chill Your Bowls: Chill your serving bowls before assembling the sundaes to keep them colder for longer.
Variations
Flavor Variations
You can change the flavor of your sundae to suit your taste. Instead of chocolate ice cream, try vanilla ice cream for a lighter taste. Strawberry ice cream can add a fruity twist. You can mix flavors too, like half chocolate and half vanilla. This lets you get creative and make your sundae unique!
Nut Alternatives
If you prefer a different nut, try almonds or pecans instead of peanuts or walnuts. You can also skip nuts if you want a nut-free sundae. For a crunchy option, consider using crushed pretzels or granola. These add a fun texture and a bit of saltiness to your dessert.
Dietary Modifications
For a dairy-free version, use coconut or almond milk ice cream. These options are creamy and delicious. You can also make it vegan by using plant-based whipped cream. Just check the labels to ensure all ingredients fit your dietary needs. With these swaps, everyone can enjoy this sundae!
Storage Info
How to Store Leftovers
If you have any leftover sundaes, store them in the fridge. Use airtight containers to keep them fresh. They will stay good for up to two days. Just remember, the whipped cream may lose its fluffiness.
Freezing Instructions
You can freeze the sundae, but it changes texture. If you freeze it, place it in a freezer-safe container. It will last for about one month. To enjoy later, let it sit at room temp for a few minutes before eating.
Best Practices for Reheating
You don’t need to heat this sundae. It is best served cold. If you want to soften it, leave it out for a few minutes. This helps bring back its creamy goodness. Enjoy your sundae fresh, as that is when it tastes best!
FAQs
How to make a dairy-free version of the Frosty Sundae?
To make a dairy-free Frosty Sundae, you need dairy-free chocolate ice cream. You can find it at many stores. Use coconut, almond, or cashew-based ice cream. The rest of the recipe stays the same. Just mix the dairy-free ice cream with chocolate syrup as usual.
Can I use homemade ice cream?
Yes, you can use homemade ice cream! This adds a special touch to your sundae. If you have a favorite chocolate ice cream recipe, go for it. Just make sure it is soft enough to mix easily. You want a creamy texture for the sundae.
How long does it take to prepare this dessert?
This dessert is quick to make. It takes about 15 minutes to prepare. You can have it ready in no time. This makes it perfect for a sweet treat after dinner or a fun snack during the day.
This post covers everything you need for a great Frosty Sundae. We looked at ingredients, step-by-step instructions, and helpful tips. You can enjoy many fun variations and find easy storage methods. Lastly, I answered common questions about this treat. Keep these ideas in mind for your next sundae! With these details, you can delight friends and family with a tasty dessert. Enjoy making and sharing your own Frosty Sundae creation!