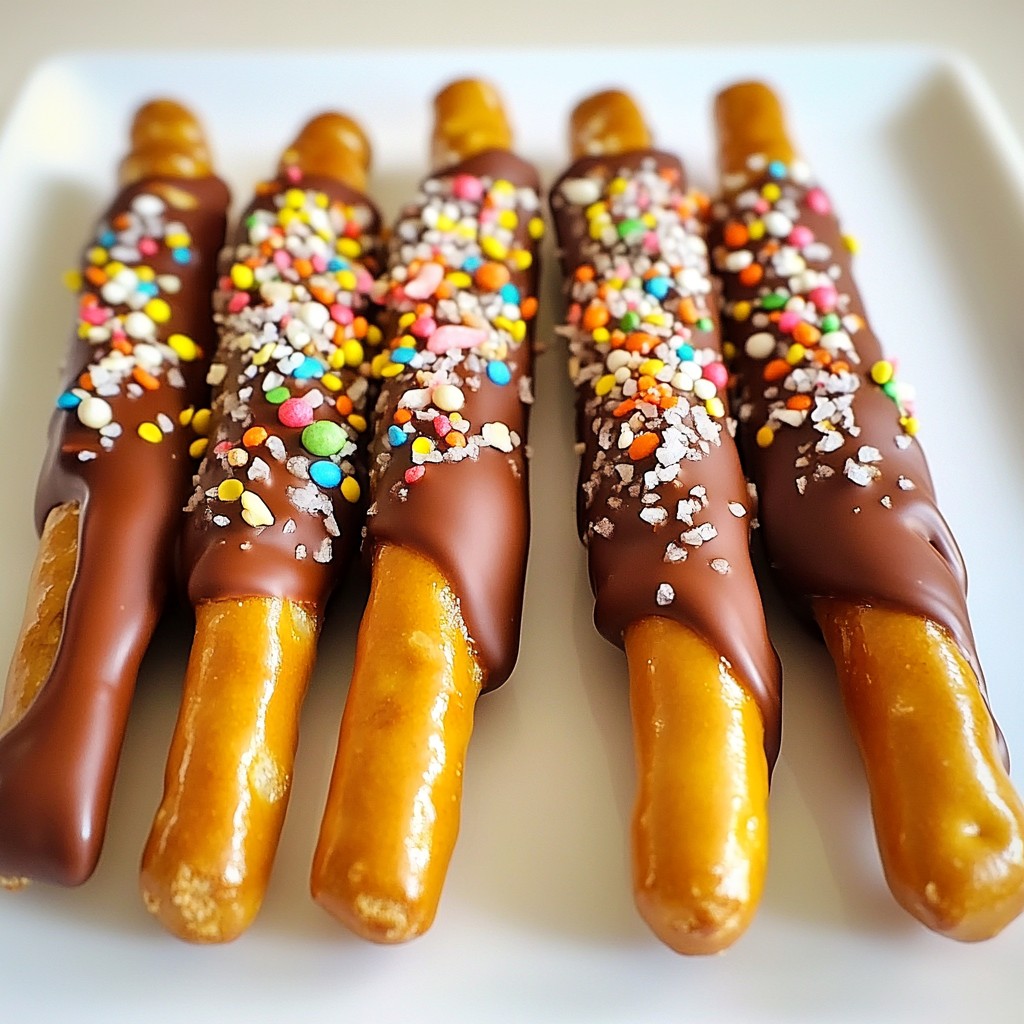
Who doesn't love a sweet and salty snack? Chocolate dipped pretzel rods are easy to make and fun to customize. In just a few simple steps, you can enjoy a treat that’s perfect for parties, gifts, or just a cozy night in. Join me as I guide you through making these delicious snacks, sharing tips and tricks to make them a hit. Let’s get started on your new favorite treat!
Error: Connection error.
Ingredients
List of Ingredients
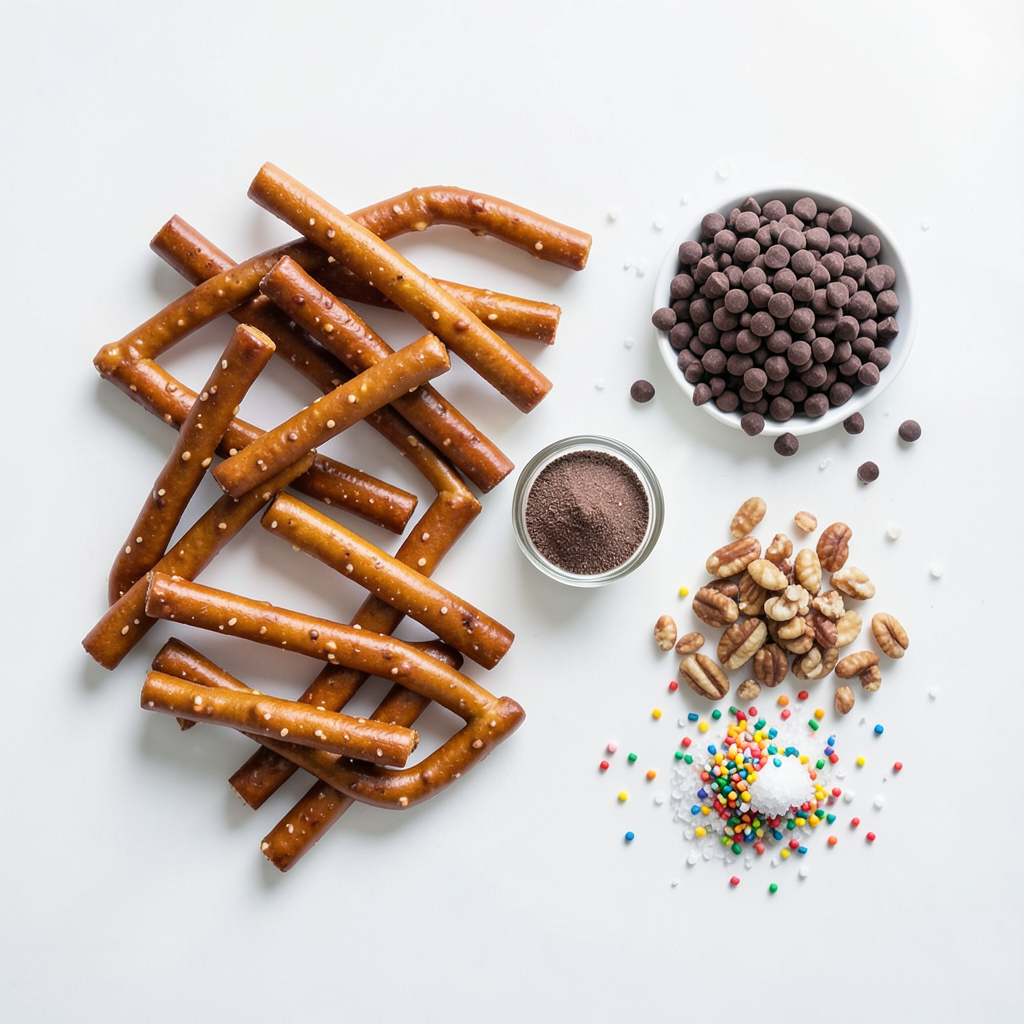
To make your chocolate dipped pretzel rods, gather the following:
- 12 pretzel rods
- 1 cup semi-sweet chocolate chips
- 1 tablespoon coconut oil (optional for smoother chocolate)
- 1/2 cup crushed nuts (almonds, peanuts, or pistachios)
- 1/2 cup colorful sprinkles
- Sea salt for seasoning (optional)
Optional Ingredients for Variation
You can add fun twists to your pretzel rods. Consider these options:
- Use white chocolate or dark chocolate instead of semi-sweet.
- Try crushed cookies, like Oreos, as a topping.
- Use dried fruit, like cranberries or raisins, for a fruity touch.
- Add a drizzle of caramel or peanut butter for extra flavor.
Recommended Brands for Chocolate and Toppings
When picking chocolate and toppings, quality counts. Here are my favorites:
- Chocolate Chips: Ghirardelli or Guittard for rich flavor.
- Coconut Oil: Nutiva is a great choice for smooth melting.
- Sprinkles: Wilton offers vibrant colors and fun shapes.
- Nuts: Trader Joe's has fresh options that add crunch.
These ingredients and brands help ensure your pretzel rods taste amazing!
Step-by-Step Instructions
Preparing the Workspace
Start by getting your tools ready. Line a baking sheet with parchment paper. This will keep the pretzel rods from sticking. Make sure you have enough space to work. Gather all your ingredients and tools. You will need a microwave-safe bowl and a spoon.
Melting the Chocolate
Next, melt the chocolate. In a microwave-safe bowl, mix the chocolate chips and coconut oil. The oil helps the chocolate stay smooth. Heat the bowl in the microwave for 30 seconds. Stir the mixture, then heat again. Keep doing this until the chocolate is fully melted and smooth. Be careful not to overheat it.
Dipping the Pretzel Rods
Now, it’s time to dip the pretzel rods. Hold each rod by one end. Dip it into the melted chocolate. Make sure to cover most of the rod. Let the extra chocolate drip off. If you want more chocolate, dip the rod again for a thicker coating.
Adding Toppings
While the chocolate is still soft, add your toppings. You can sprinkle crushed nuts or colorful sprinkles on the chocolate. Do this quickly before the chocolate sets. If you like, add a tiny pinch of sea salt for extra flavor.
Cooling and Setting the Pretzel Rods
Once you’ve dipped and topped all the pretzel rods, place them on the lined baking sheet. Put the tray in the refrigerator. Let the pretzel rods chill for at least 30 minutes. This helps the chocolate harden completely.
Serving Suggestions
After the chocolate has set, they are ready to serve. You can place the pretzel rods on a decorative platter. They also make great gifts. Package them in a cute box or bag for friends or family. Enjoy your sweet treat!
Tips & Tricks
How to Achieve a Smooth Chocolate Coating
To get a smooth chocolate coating, use semi-sweet chocolate chips. Mix in one tablespoon of coconut oil. This helps the chocolate melt evenly and stay smooth. Heat the mixture in the microwave. Stop every 30 seconds to stir. This way, the chocolate won't burn. You want it glossy and easy to dip. If it gets too thick, add a bit more coconut oil.
Best Practices for Topping Variations
You can get creative with your toppings! After dipping, add crushed nuts or colorful sprinkles right away. This helps them stick well. For a fun twist, try crushed cookies or coconut flakes. You can also use mini chocolate chips or dried fruit. Just remember to sprinkle them on before the chocolate sets. This way, they stay on the pretzel rods.
Avoiding Common Mistakes
One common mistake is overcooking the chocolate. If it gets too hot, it can harden and clump. Always check it often while melting. Another mistake is waiting too long to add toppings. If the chocolate hardens, the toppings won't stick. Lastly, don’t skip the chilling step. If you don’t chill the rods, the chocolate may melt off when you pick them up.
Error: Connection error.
Variations
Different Types of Chocolate to Use
You can use many types of chocolate for your pretzel rods. Semi-sweet chocolate gives a nice balance of sweet and salty. If you want a sweeter treat, try milk chocolate. Dark chocolate works well, too, for a rich flavor. You might also like white chocolate for a creamy taste. Each type adds its own twist to the snack. Mix and match them for fun flavor combos!
Alternatives to Nuts and Sprinkles
Not a fan of nuts? No problem! You can use crushed cookies, like Oreos or graham crackers. These add a fun crunch and flavor. If you want something fruity, try dried fruits like cranberries or raisins. Coconut flakes also add a tropical touch. For a colorful look, use mini marshmallows or candy pieces. The options are endless, so get creative!
Seasonal or Holiday-Themed Toppings
Make your pretzel rods special for any holiday. In fall, add candy corn or pumpkin spice sprinkles. For winter, use crushed peppermint candies or red and green sprinkles. Around Easter, pastel sprinkles or mini chocolate eggs make great toppings. You can even drizzle colored chocolate on top for more flair. These fun touches can fit any occasion.
Storage Info
Best Way to Store Chocolate Dipped Pretzel Rods
To keep your chocolate dipped pretzel rods fresh, store them in an airtight container. Place parchment paper between layers to prevent sticking. This helps the rods stay crisp and tasty. Avoid direct sunlight and keep them in a cool, dry place.
Shelf Life and Freshness Tips
Chocolate dipped pretzel rods last about two weeks when stored properly. For the best taste, enjoy them within the first week. If you notice any signs of moisture or fading color, it's best to toss them. Check them often to ensure freshness.
Freezing and Thawing Instructions
You can freeze chocolate dipped pretzel rods for up to three months. Wrap each rod in plastic wrap, then place them in a freezer bag. When you're ready to enjoy, take them out and let them thaw at room temperature. Avoid microwaving or heating them as this can ruin the chocolate coating.
FAQs
Can I use white chocolate instead of semi-sweet?
Yes, you can use white chocolate. It adds a sweet, creamy flavor. Just follow the same steps. Melt it slowly for the best results.
How long do chocolate dipped pretzel rods last?
Chocolate dipped pretzel rods last about one to two weeks. Store them in an airtight container. Keep them in a cool, dry place away from heat.
What can I do if the chocolate doesn’t melt smoothly?
If your chocolate is lumpy, it may be too hot or not fully melted. Stir well as you heat it in 30-second bursts. Adding a bit of coconut oil helps create a smooth texture.
Can I make these in advance?
Yes, you can make these in advance. They are great for parties or gifts. Just store them properly to keep them fresh.
What are some creative packaging ideas for gifting?
For gifts, use clear bags tied with colorful ribbons. You can also use cute boxes or jars. Add a personal note for a special touch.
We explored the fun of making chocolate-dipped pretzel rods. You learned about the needed ingredients and optional variations. I shared step-by-step instructions and tips to make it easy. We covered creative ways to store them and answered common questions.
These treats are perfect for any occasion. With different toppings and flavors, you can get creative. Enjoy making and sharing your pretzel rods with friends and family!