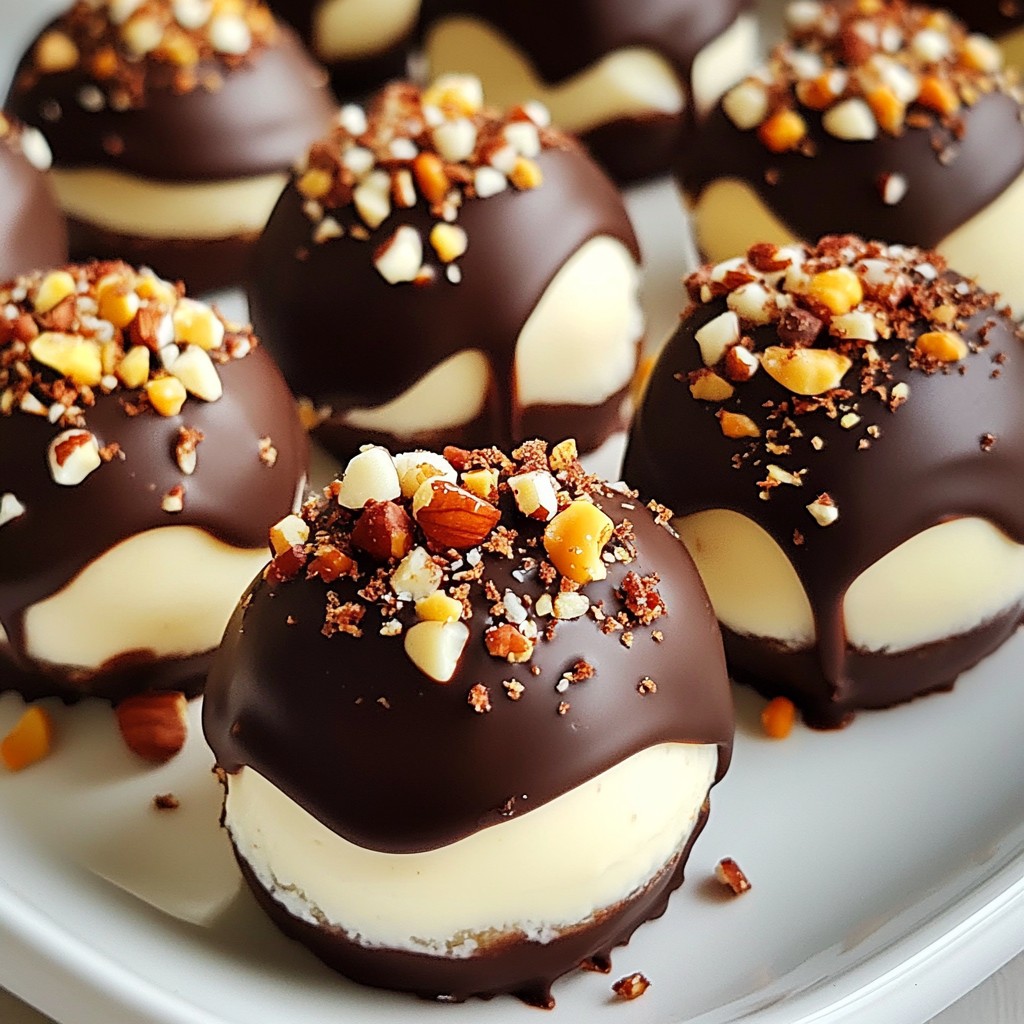
If you crave a sweet treat that's easy to make, you're in the right place! Chocolate Dipped Cheesecake Bites are a fun and tasty dessert. In this post, I'll share how to whip up these delightful bites with simple steps and great tips. You can impress your friends and family with this yummy treat. Let’s dive into the ingredients and get started on making your new favorite snack!
Why I Love This Recipe
- Decadent Flavor: The combination of rich cream cheese and velvety dark chocolate creates a truly indulgent treat that satisfies any sweet tooth.
- Easy to Make: With only a few simple steps, these cheesecake bites come together quickly, making them perfect for last-minute gatherings.
- Customizable Toppings: Whether you prefer sprinkles, crushed nuts, or even a drizzle of caramel, you can personalize these bites to suit your taste.
- Perfect for Sharing: These bite-sized delights are great for parties, holidays, or just a fun dessert to share with friends and family.
Ingredients
List of Required Ingredients
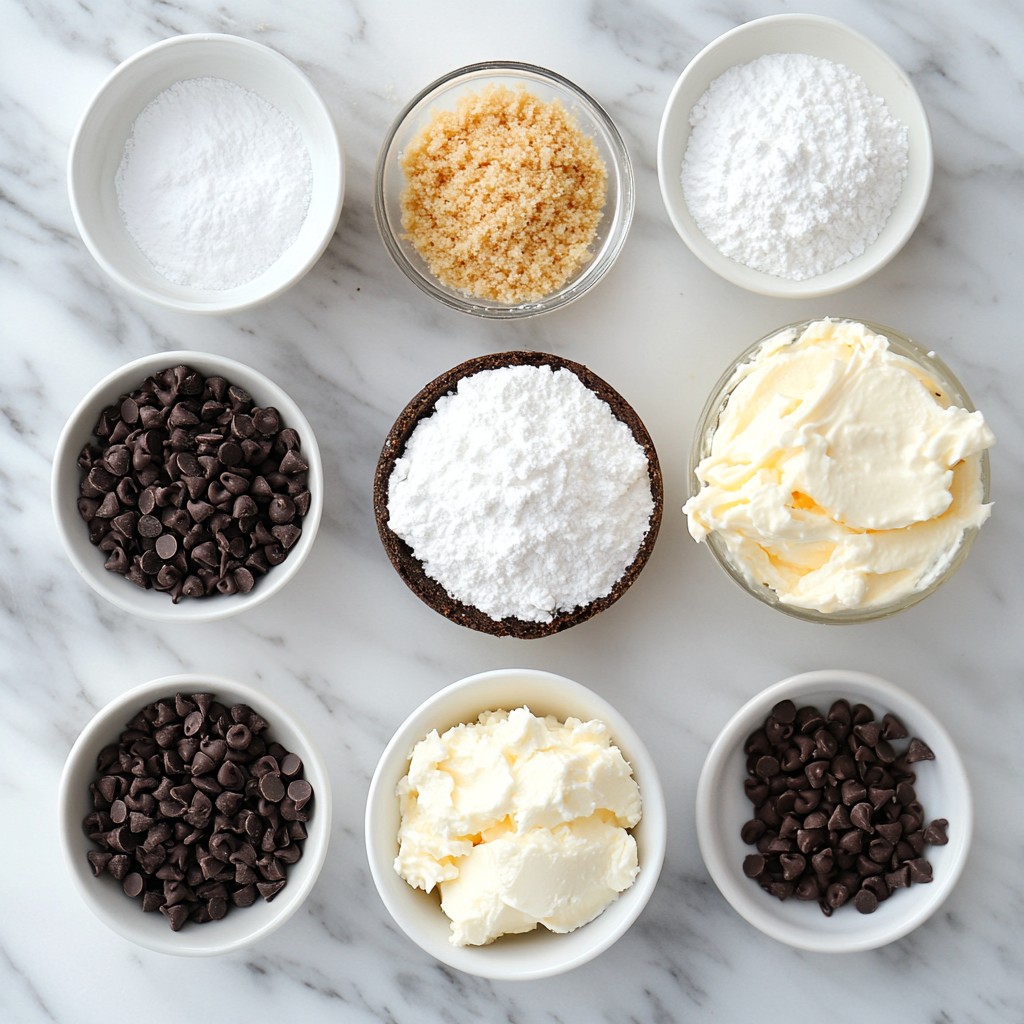
To make these chocolate dipped cheesecake bites, gather these easy-to-find ingredients:
- 8 oz cream cheese, softened
- 1/2 cup powdered sugar
- 1 teaspoon vanilla extract
- 1/2 cup graham cracker crumbs
- 1 cup dark chocolate chips
- 1 tablespoon coconut oil
- Pinch of salt
Each ingredient plays a key role. The cream cheese gives a rich, creamy texture. Powdered sugar adds sweetness, while the vanilla extract brings out the flavor. Graham cracker crumbs provide that classic cheesecake crunch.
Optional Toppings
You can dress up your bites with toppings. Here are some fun options:
- Sprinkles
- Crushed nuts
These toppings add color and crunch. Feel free to mix and match based on your taste.
Equipment Needed
You will need a few simple tools for this recipe:
- Mixing bowl
- Electric mixer
- Baking sheet
- Parchment paper
- Small cookie scoop or hands for shaping
- Microwave-safe bowl for melting chocolate
Having the right equipment makes the process easy. Prepare everything before you start, and you’ll have fun making these treats!
Step-by-Step Instructions
Preparing the Cheesecake Mixture
First, gather your ingredients. You need softened cream cheese, powdered sugar, and vanilla extract. In a mixing bowl, add the cream cheese and beat it until it’s smooth. I like to use an electric mixer for this. Next, add the powdered sugar and vanilla extract. Mix again until everything blends well. Now, fold in the graham cracker crumbs gently. This adds a nice texture to your bites.
Forming the Bites
Once your mixture is ready, it’s time to form the bites. Line a baking sheet with parchment paper. Take a small cookie scoop or your hands to shape the mixture into small balls. Aim for about 1 inch in diameter. Place each ball on the lined baking sheet. Make sure there’s some space between them. After forming all the bites, pop the baking sheet in the freezer. Chill them for about 30 minutes. This step helps them firm up nicely.
Dipping in Chocolate
While the bites chill, let’s melt the chocolate. In a microwave-safe bowl, combine dark chocolate chips and coconut oil. Heat in 30-second intervals. Stir after each interval until it’s smooth and melted. Next, take your cheesecake bites from the freezer. Dip each bite into the melted chocolate. Use a fork to lift them out. Let any excess chocolate drip off. Place the dipped bites back on the parchment. If you want, add sprinkles or crushed nuts right away. Finally, freeze the bites again for about 15 minutes. This helps the chocolate set perfectly.
Tips & Tricks
Achieving a Smooth Chocolate Coating
To get a smooth chocolate coating, start with good chocolate. I prefer dark chocolate chips. They melt well and taste great. When melting, mix in a bit of coconut oil. This helps the chocolate stay smooth and shiny. Heat the chocolate in short bursts. Stir after each 30 seconds. Keep stirring until it's fully melted. If it looks thick, add a little more coconut oil.
Ensuring Perfectly Shaped Bites
For perfectly shaped bites, use a small cookie scoop. This keeps each bite the same size. If you don’t have a scoop, use your hands. Wet your hands with a little water to stop the mixture from sticking. Shape the bites to about one inch. Make sure they are not too big. This helps them freeze and dip better.
Storage Tips for Freshness
To keep your cheesecake bites fresh, store them in an airtight container. Line the container with parchment paper. This stops them from sticking together. Place a piece of parchment between layers if stacking. Keep them in the fridge for up to a week. For longer storage, freeze them. Just remember to let them thaw before enjoying.
Pro Tips
- Chill for Better Dipping: Ensure the cheesecake bites are fully chilled before dipping in chocolate. This helps them maintain their shape and prevents them from melting in the warm chocolate.
- Use Quality Chocolate: Opt for high-quality dark chocolate for dipping as it not only enhances the flavor but also gives a nice shine when set.
- Experiment with Flavors: Feel free to add other flavor extracts such as almond or peppermint to the cheesecake mixture for a unique twist on the classic flavor.
- Customize Your Toppings: Get creative with toppings! Use crushed cookies, chopped dried fruits, or even a drizzle of white chocolate for an extra flair.
Variations
Flavor Enhancements
You can make your cheesecake bites even better by adding flavor. A simple way is to mix in citrus zest. Try lemon or orange zest for a fresh taste. Just a teaspoon of zest brightens the flavor. You can also add a splash of coffee for a rich twist. These small changes make a big difference in taste.
Alternative Chocolate Types
The type of chocolate you use can change the taste. You don’t have to stick with dark chocolate. Milk chocolate offers a sweeter flavor that many love. White chocolate adds a creamy touch and a fun look. Each chocolate type creates a unique dessert experience. Feel free to mix them too!
Ingredient Substitutions
If you need dairy-free options, you can still enjoy these bites. Use dairy-free cream cheese for the base. Almond or coconut cream works well too. For the chocolate, look for dairy-free chips. You can make delicious bites that everyone can enjoy. These swaps make the recipe flexible for all diets.
Storage Info
How to Store Leftovers
To keep your chocolate dipped cheesecake bites fresh, store them in an airtight container. Place layers of parchment paper between the layers to prevent sticking. Store the container in the fridge. This helps maintain their creamy texture.
Freezing Instructions
You can freeze these bites for longer storage. After dipping them in chocolate, place them on a baking sheet first. Freeze them for about 1 hour until solid. Then, transfer the bites into a freezer bag or container. Make sure to remove as much air as possible before sealing.
Shelf Life of Cheesecake Bites
When stored in the fridge, these bites last about 5 to 7 days. If you freeze them, they can last up to 2 months. Just remember to label the bags with the date. This helps you enjoy these treats at their best.
FAQs
Can I use low-fat cream cheese?
Yes, you can use low-fat cream cheese. The bites may be less rich, but they will still taste good. You might need to adjust the sugar amount to balance the flavor. Low-fat cream cheese can make these treats a bit lighter.
How do I make these bites without nuts?
To make these bites without nuts, simply skip the nuts. You can use sprinkles or leave them plain. These cheesecake bites taste great on their own. They still have a nice crunch from the graham cracker crumbs.
What's the best way to melt chocolate?
The best way to melt chocolate is in the microwave. Use a microwave-safe bowl. Heat the chocolate in short bursts of 30 seconds. Stir after each burst until smooth. You can also use a double boiler if you prefer. Just heat water in a pot and place the bowl on top. This method helps prevent burning.
This guide covered everything you need for cheesecake bites. We explored key ingredients and equipment. You learned step-by-step instructions to make, shape, and dip the bites. Tips ensured your chocolate coating looks smooth, and we shared storage advice to keep them fresh. Different variations showed how to tweak flavors and ingredients. Remember, creating these bites is easier than it seems. Enjoy making them your own, and have fun sharing with others!