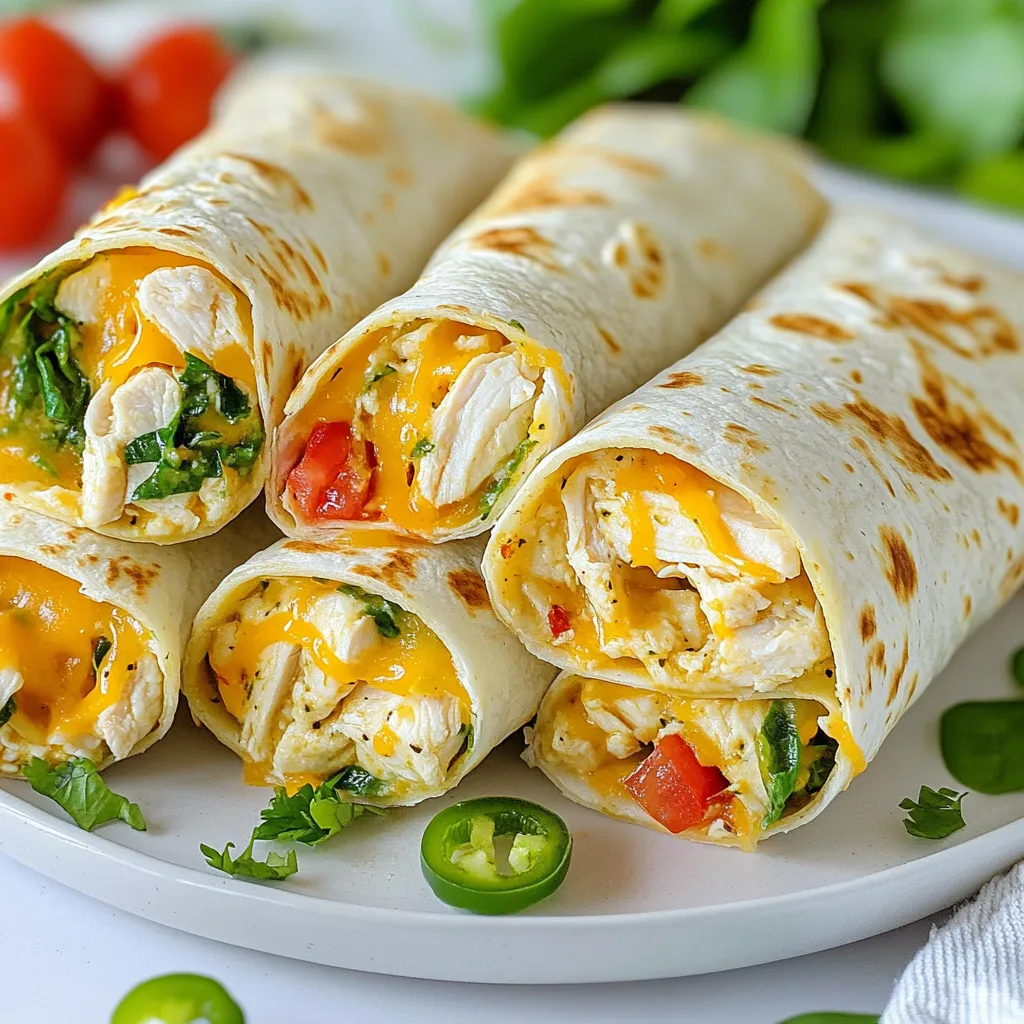
Looking for a quick and tasty meal? Cheesy Garlic Chicken Wraps are the answer! With juicy chicken, melted cheese, and zesty garlic, these wraps pack a punch in flavor. I’ll guide you through easy steps to prepare this delightful dish. You’ll impress everyone at the dinner table, even if you’re short on time. Let’s dive into what makes these wraps so special!
Why I Love This Recipe
- Quick and Easy: This recipe comes together in under 40 minutes, making it perfect for busy weeknights.
- Flavor-Packed: The combination of garlic, paprika, and Italian seasoning creates a deliciously rich flavor profile.
- Cheesy Goodness: With both mozzarella and cream cheese, these wraps are a cheesy delight that everyone will love.
- Customizable: Add your favorite toppings like tomatoes or jalapeños for an extra kick and personalize each wrap!
Ingredients
Main Ingredients
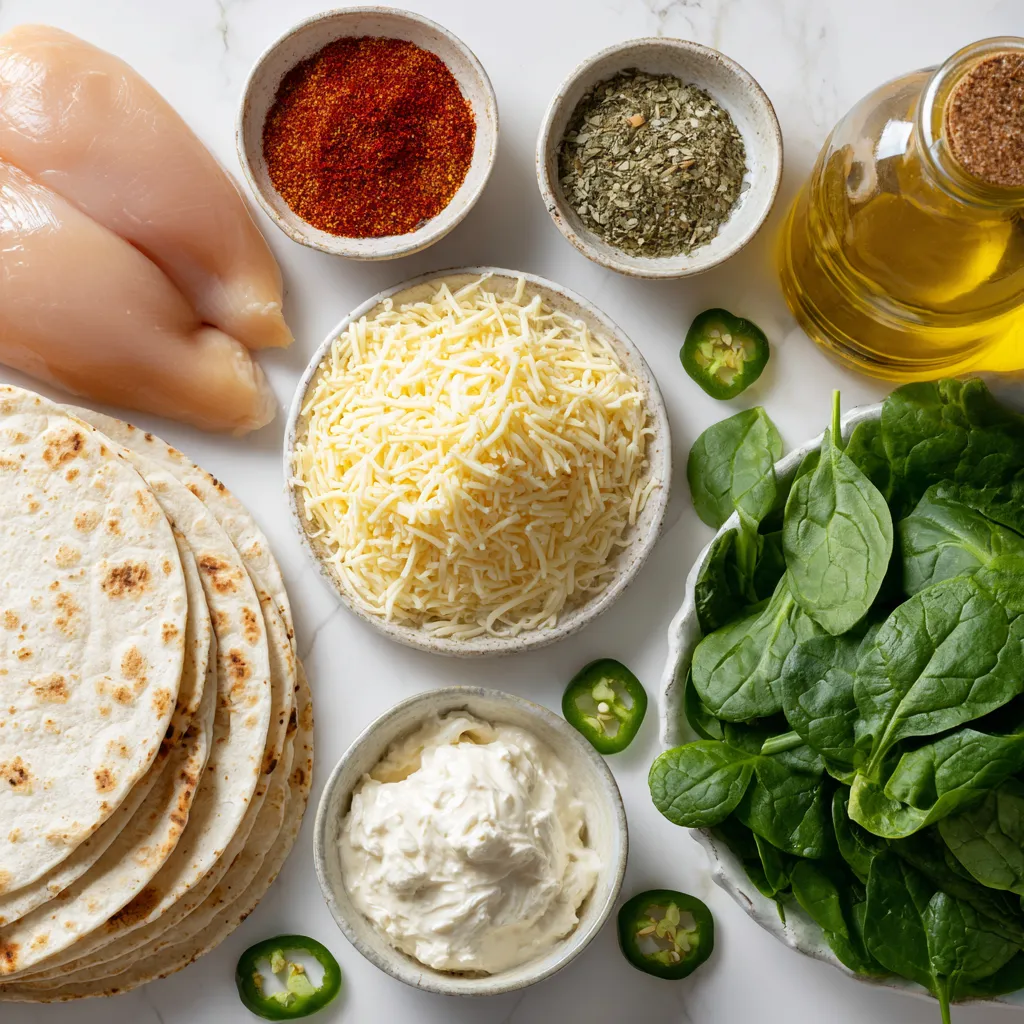
– 2 boneless, skinless chicken breasts
– 1 tablespoon olive oil
– 4 cloves garlic, minced
– 1 teaspoon paprika
– 1 teaspoon Italian seasoning
– Salt and pepper to taste
– 1 cup shredded mozzarella cheese
– ½ cup cream cheese, softened
– 4 large flour tortillas
– 1 cup fresh spinach leaves
The main ingredients create a burst of flavor. The chicken breasts are the star, tender and juicy. Olive oil helps cook the garlic perfectly. Garlic adds a strong and tasty kick. Spices like paprika and Italian seasoning give depth. The cheese blend melts beautifully and binds everything. Spinach adds color and freshness.
Optional Ingredients
– Diced tomatoes
– Sliced jalapeños
– Extra toppings
Optional ingredients let you customize your wraps. Diced tomatoes add brightness. Sliced jalapeños bring heat and crunch. Extra toppings can be anything you enjoy. Feel free to get creative!
Equipment Needed
– Skillet
– Mixing bowl
– Baking sheet
– Parchment paper
Having the right tools makes cooking easier. A skillet is key for sautéing. A mixing bowl helps combine the filling. The baking sheet ensures even cooking. Parchment paper simplifies cleanup. With these, you’re set to make delicious wraps!
Step-by-Step Instructions
Preparing the Chicken
1. First, preheat your oven to 375°F (190°C). This step is key for the wraps to bake evenly.
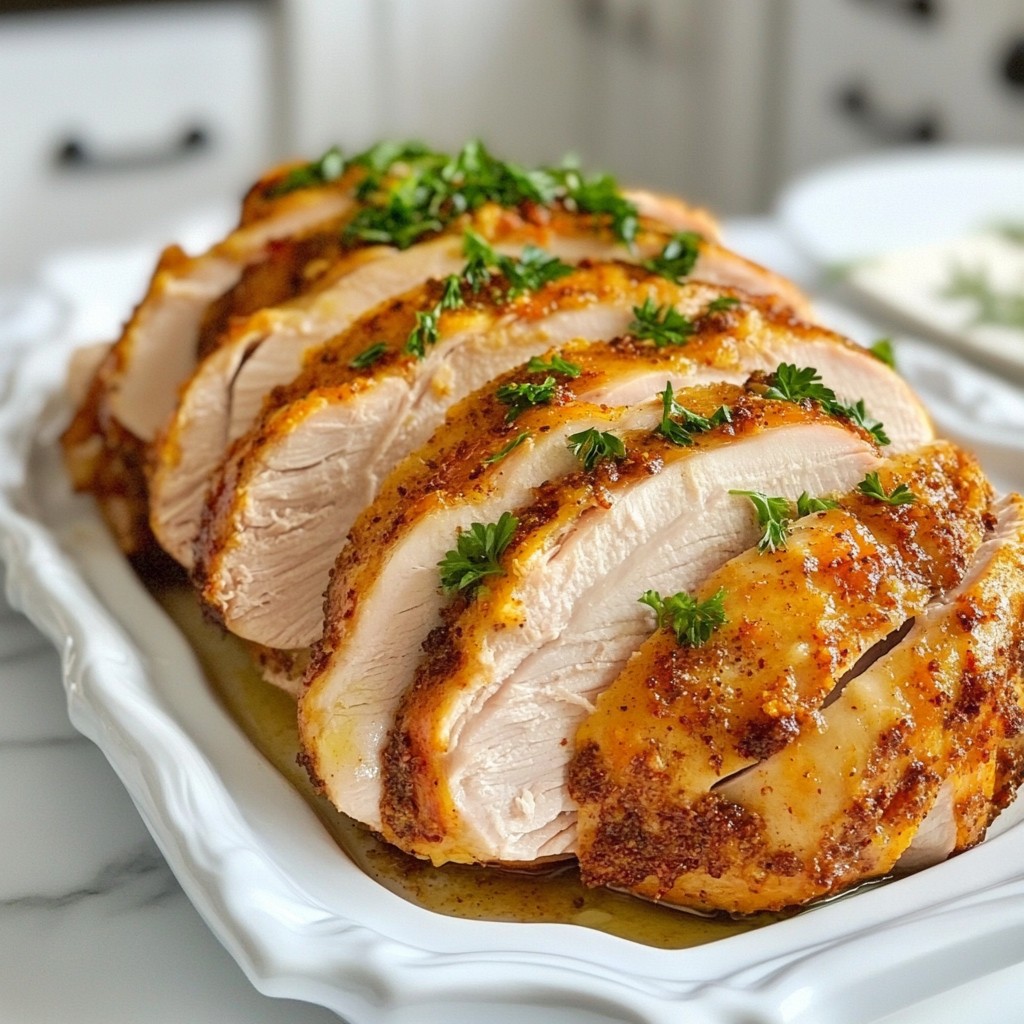
2. Next, heat one tablespoon of olive oil in a skillet over medium heat. Add four minced garlic cloves and sauté for about one minute. You want the garlic fragrant but not burnt.
3. Season two boneless, skinless chicken breasts with one teaspoon of paprika, one teaspoon of Italian seasoning, and salt and pepper to taste. Place them in the skillet and cook for 6-7 minutes on each side. The chicken should be fully cooked and golden brown when done.
Making the Filling
1. After cooking, remove the chicken from the skillet. Let it cool for a few minutes, then shred it using two forks.
2. In a large mixing bowl, combine the shredded chicken with one cup of shredded mozzarella cheese and half a cup of softened cream cheese. Mix well until all the chicken is coated with cheese.
Assembling the Wraps
1. Lay out four large flour tortillas on a clean surface. Spread a generous amount of the chicken and cheese mixture in the center of each tortilla.
2. Top the filling with fresh spinach leaves. If you like, add optional toppings like diced tomatoes or sliced jalapeños for extra flavor.
3. Fold in the sides of the tortilla and roll it tightly from the bottom up. This will keep all the tasty filling inside.
4. Place the wraps seam-side down on a baking sheet lined with parchment paper.
5. Bake the wraps in the preheated oven for 15-20 minutes. They should turn crisp and golden, and the cheese will melt beautifully.
6. Remove from the oven and let them cool slightly. Then, slice each wrap in half to serve. Enjoy your cheesy garlic chicken wraps!
Tips & Tricks
Variations for Flavor
You can mix things up with different cheeses. Try cheddar or pepper jack cheese for a spicy kick. Add some spices like cayenne or cumin for more heat. Fresh herbs, like cilantro or parsley, can add a bright taste. Don’t forget about greens! Swap spinach for arugula or kale for a new twist.
Cooking Techniques
You have two great ways to cook your wraps. The skillet method gives a nice crisp and golden color. Heat your skillet and cook the wraps seam-side down until they are golden. The oven method is perfect if you want to cook a lot at once. Bake them until the cheese is melty and the tortillas are crisp. Choose what fits your needs best!
Serving Suggestions
These wraps pair well with lots of sides. Serve with a fresh salad or some crunchy veggies. Dips can take them to the next level. Sour cream or guacamole works great. You could also make a zesty salsa to add flavor. Get creative and mix different options for a fun meal!
Pro Tips
- Rest the Chicken: Allow the chicken to rest for a few minutes after cooking. This helps retain moisture and makes shredding easier.
- Customize Your Fillings: Feel free to add other vegetables like bell peppers or onions to the filling for extra flavor and nutrition.
- Watch the Baking Time: Keep an eye on the wraps while baking to prevent them from getting too crisp or burnt. Every oven is different!
- Serve with Dipping Sauce: Pair these wraps with a delicious dipping sauce, like ranch or marinara, for an extra burst of flavor.
Variations
Vegetarian Options
You can easily make these wraps vegetarian. Substitute the chicken with plant-based options. Try using shredded jackfruit or chickpeas. Both options add great texture and flavor. You can also add more veggies like bell peppers or zucchini for extra crunch.
Low-Carb Alternatives
If you want a low-carb meal, use lettuce wraps. Butter lettuce or romaine works well. Just place the filling inside the leaves and roll them up. This change keeps the wrap light and fresh. Plus, it’s perfect for anyone watching their carbs.
Cooking for Special Diets
For those with special diets, choose gluten-free tortillas. Many brands offer tasty options. You can also find dairy-free cheese if you avoid dairy. This way, you can enjoy the same cheesy goodness without the dairy. Just check the labels to ensure they fit your needs.
Storage Info
Storing Leftovers
To keep your Cheesy Garlic Chicken Wraps fresh, store them in the fridge. Place the wraps in an airtight container. They will stay good for up to three days. If you want to keep them longer, freezing is a great option.
Freezing Instructions
To freeze your wraps, let them cool completely. Wrap each one in plastic wrap. Then, place them in a freezer-safe bag or container. They can last for up to three months in the freezer. When you’re ready to eat, take them out and thaw in the fridge overnight.
Reheating Techniques
To reheat your wraps and keep them crispy, use an oven or air fryer. Preheat your oven to 350°F (175°C). Place the wraps on a baking sheet and heat for about 10-15 minutes. If using an air fryer, set it to 350°F and cook for about 5-7 minutes. Enjoy your crispy wraps!
FAQs
How long can I store Cheesy Garlic Chicken Wraps?
You can store Cheesy Garlic Chicken Wraps in the fridge for up to three days. Make sure to place them in an airtight container. This keeps the wraps fresh and tasty. If you want to keep them longer, freezing is a good option. They can last up to two months in the freezer. Just wrap them tightly in plastic wrap before putting them in a freezer bag.
Can I make these wraps ahead of time?
Yes, you can make these wraps ahead of time. Prepare the filling and assemble the wraps. Then, store them in the fridge for a few hours or overnight. This way, you save time on busy days. Just bake them when you’re ready to eat. You can also freeze them after assembly. Thaw them in the fridge overnight before baking.
What can I substitute for cream cheese?
If you need a cream cheese substitute, consider using Greek yogurt. It adds creaminess without the extra fat. You can also use sour cream or cottage cheese for a different flavor. For a dairy-free option, try cashew cream or dairy-free cream cheese. All these options work well in the recipe.
You now have a clear guide to making Cheesy Garlic Chicken Wraps. We covered the main and optional ingredients, equipment needed, and step-by-step instructions. I shared tips for flavor, cooking techniques, and serving ideas. We also explored variations for different diets and how to store leftovers properly.
These wraps are tasty, easy to make, and perfect for any meal. Enjoy your cooking and have fun creating these wrap