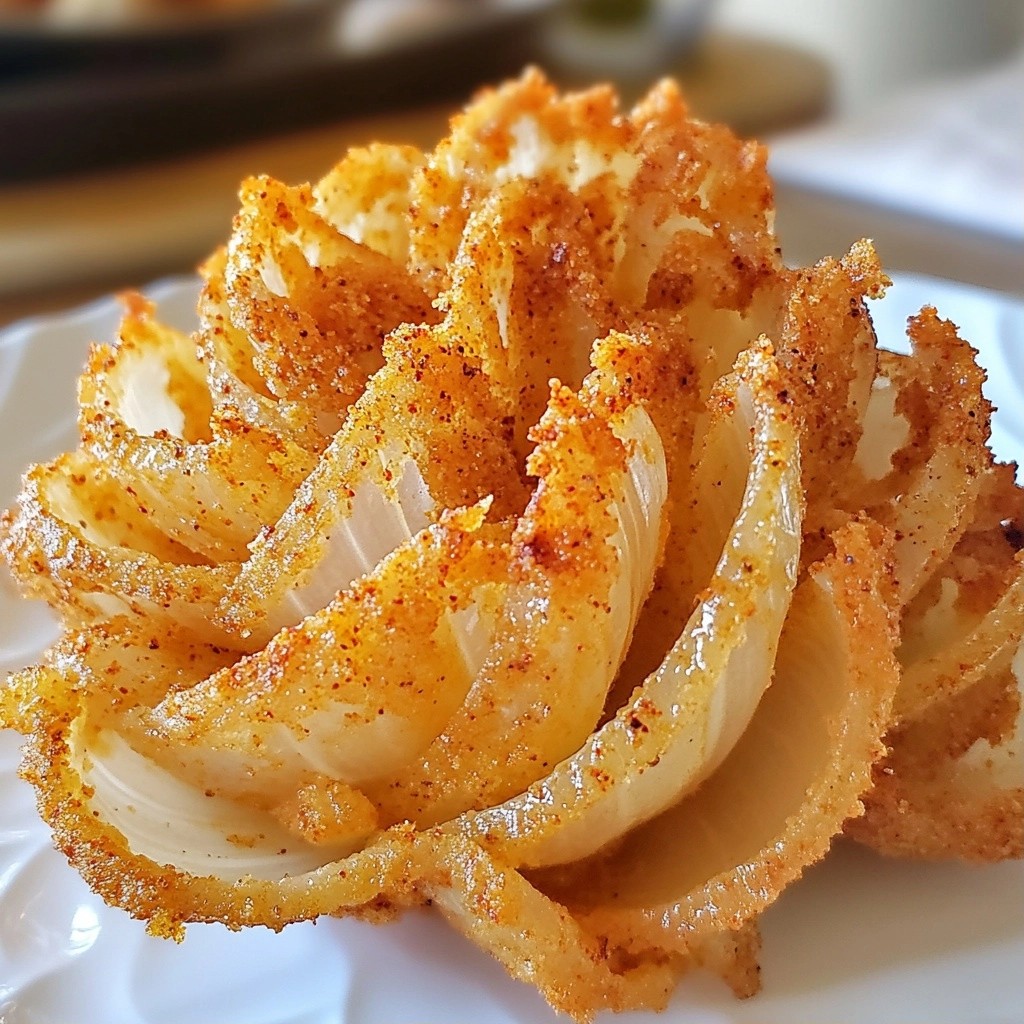

Do you crave the cheesy goodness of Olive Garden's risotto balls? I’ve got a recipe that brings those delicious bites right to your kitchen. These cheesy copycat risotto balls are crunchy on the outside and gooey on the inside. With just a few simple ingredients, you’ll create a dish that impresses everyone. Get ready to savor the flavor and wow your guests with each crispy bite!
Why I Love This Recipe
- Comforting Flavor: The creamy risotto combined with melted cheese creates a comforting and satisfying bite that is hard to resist.
- Crispy Outside, Cheesy Inside: The golden-brown crust perfectly contrasts with the gooey mozzarella center, making each bite a delightful experience.
- Perfect for Sharing: These risotto balls make an excellent appetizer or party snack, ideal for sharing with family and friends.
- Easy to Customize: You can easily add your favorite herbs, spices, or even meats to the risotto mixture for a personal touch.
Ingredients
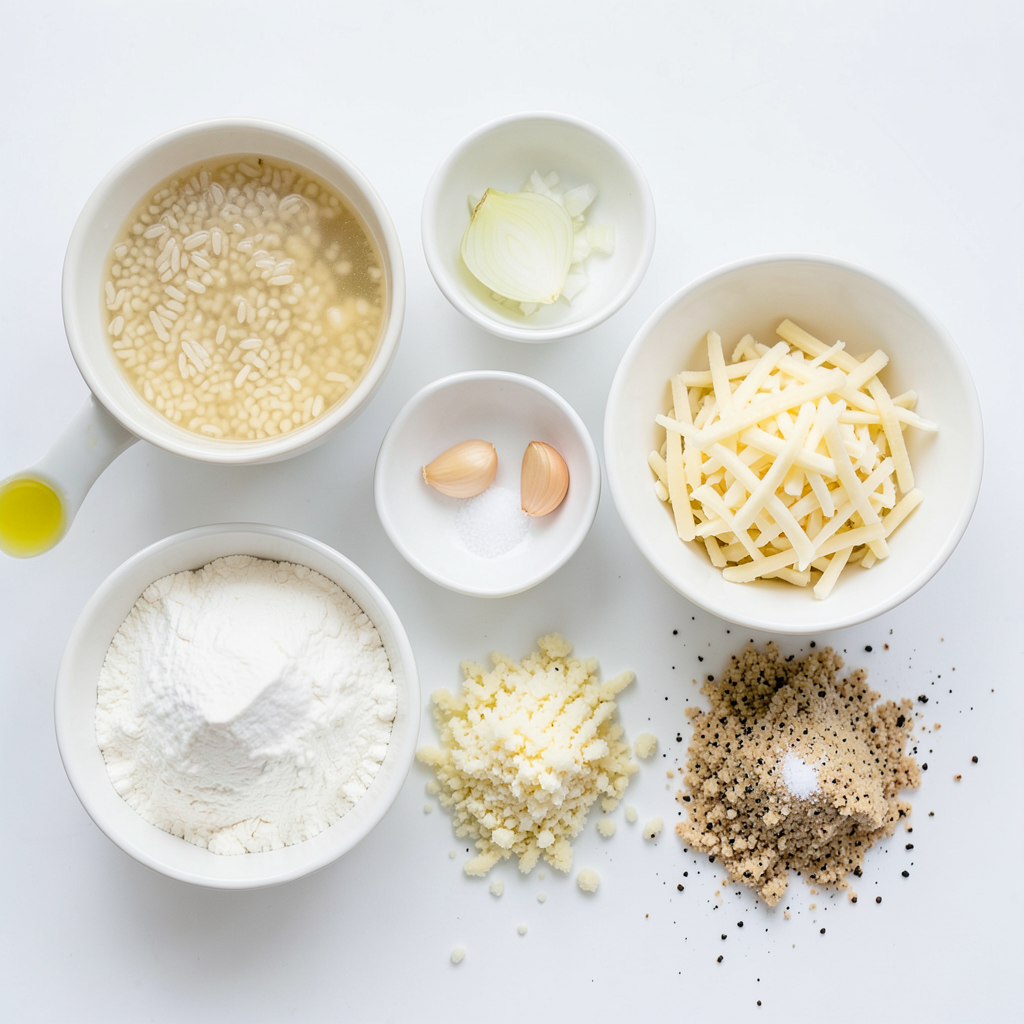
To make Cheesy Copycat Olive Garden Risotto Balls, gather these simple ingredients:
- 1 cup Arborio rice
- 4 cups vegetable broth (heated)
- 1 small onion, finely chopped
- 2 cloves garlic, minced
- 1 cup grated Parmesan cheese
- 1 cup shredded mozzarella cheese
- 1/2 cup all-purpose flour
- 2 large eggs, beaten
- 1 cup breadcrumbs (preferably Italian seasoned)
- Salt and pepper to taste
- Oil (for frying)
These ingredients create a rich and cheesy flavor. Arborio rice gives the risotto its creamy texture. The combination of Parmesan and mozzarella adds depth and gooeyness, which is key to these risotto balls. Keep the vegetable broth warm as you cook the rice; this helps it absorb better. The onion and garlic will add a nice aromatic base.
Make sure to have enough oil for frying. This will help achieve that crispy outer layer. The flour, breadcrumbs, and beaten eggs are essential for coating the balls. They keep the cheesy goodness inside while creating a satisfying crunch outside. Enjoy the process of gathering these ingredients, as it sets the stage for a delicious dish that everyone will love!
Step-by-Step Instructions
Cooking the Rice
1. Heat a drizzle of olive oil in a large saucepan over medium heat.
2. Add the finely chopped onion. Sauté it until soft and clear, about 5 minutes.
3. Stir in the minced garlic and cook for 1 more minute until it smells great.
4. Add 1 cup of Arborio rice and stir well for about 2 minutes. This toasts the rice slightly.
5. Gradually add 4 cups of warm vegetable broth, one ladle at a time. Stir often.
6. Cook for about 18-20 minutes. The rice should be creamy and al dente.
Preparing the Mixture
1. Remove the pan from heat. Stir in 1 cup of grated Parmesan cheese and ½ cup of shredded mozzarella cheese.
2. Season with salt and pepper to taste. Mix well for even flavor.
3. Transfer the risotto to a large bowl and let it cool to room temperature.
4. Cover and chill in the fridge for about 1 hour. This helps the mixture firm up.
Forming the Risotto Balls
1. Once chilled, scoop about 2 tablespoons of the risotto mixture.
2. Shape it into a ball. Push a small piece of mozzarella cheese into the center. Roll the ball again to seal it.
3. Set up three bowls: one with ½ cup of flour, one with 2 beaten eggs, and one with 1 cup of breadcrumbs.
4. Roll each ball in flour first. Then dip it in the egg, and finally coat it with breadcrumbs.
5. This makes a nice, crispy crust.
6. Heat enough oil (about 3 inches deep) in a large frying pan over medium heat.
7. Fry the risotto balls in batches for about 3-4 minutes. They should turn golden brown and crispy.
8. Remove them from the oil and let them drain on paper towels.
Tips & Tricks
Achieving the Perfect Risotto
To make great risotto, you need patience. Cook the rice slowly and steadily. Start with medium heat for even cooking. Stir often to keep the rice from sticking. This constant stirring helps create a creamy texture. Add warm vegetable broth one ladle at a time. Wait until the rice absorbs most of the liquid before adding more. This process takes about 18-20 minutes. You want the rice to be al dente, which means it should be firm but not hard.
Frying Tips
Frying is where the magic happens. For crispy risotto balls, use the right oil temperature. Heat the oil to 350°F (175°C). You can test it with a small piece of bread. If it sizzles, the oil is ready. Fry the risotto balls in small batches. This step is key to avoid overcrowding the pan. Too many balls at once can lower the oil temperature. Fry them for 3-4 minutes until they turn golden brown and crispy.
Presentation Suggestions
Presentation makes food more appealing. Serve your risotto balls on a nice platter. Pair them with marinara sauce for dipping goodness. A sprinkle of fresh parsley adds a pop of color. You can also try serving them with a side of aioli. This adds a tangy flavor that complements the cheese. Make sure to arrange them nicely for a beautiful display. A great presentation excites the taste buds before the first bite!
Pro Tips
- Use Fresh Ingredients: Opt for fresh garlic and onion for the best flavor in your risotto balls.
- Chill the Mixture: Allowing the risotto to cool and firm up in the fridge makes it easier to shape into balls.
- Don’t Skip the Breadcrumbs: Coating the risotto balls in breadcrumbs gives them a deliciously crispy texture when fried.
- Control the Frying Temperature: Ensure the oil is hot enough before frying to avoid soggy risotto balls; they should sizzle immediately when added.
Variations
Flavor Variations
You can change the taste of the risotto balls easily. Try adding herbs like basil or oregano. These herbs give a fresh twist. You can also mix in different cheeses. For example, try using sharp cheddar or creamy goat cheese. Each choice will give a new, fun flavor.
Alternative Preparation Methods
If you want a healthier option, try baking the risotto balls. Preheat your oven to 400°F (200°C). Place the balls on a baking sheet lined with parchment paper. Lightly spray them with oil. Bake for about 20 minutes. They will be crispy but less oily.
An air fryer is another great method. Set your air fryer to 375°F (190°C). Cook the risotto balls for about 12-15 minutes. They will come out crispy and golden without the extra oil.
Dietary Adjustments
Need gluten-free options? Substitute all-purpose flour with gluten-free flour. Check your breadcrumbs too; many brands offer gluten-free choices.
For vegetarian versions, skip the cheese made with animal rennet. Use plant-based cheeses instead. This keeps the dish tasty while meeting dietary needs.
Storage Info
Storing Leftovers
To store your leftover risotto balls, let them cool first. Place them in an airtight container. In the fridge, they will stay fresh for up to four days. If you want to keep them longer, freeze the risotto balls. Lay them on a baking sheet first. Once they freeze solid, transfer them to a freezer bag. They can last up to three months in the freezer.
Reheating Tips
When you reheat risotto balls, the goal is to keep them crispy. The best method is to use an oven. Preheat the oven to 350°F (175°C). Place the risotto balls on a baking sheet. Heat them for about 10-15 minutes until warm. This helps retain their crunch. Avoid using a microwave, as it can make them soggy.
Shelf Life
In the fridge, your risotto balls will be safe to eat for about four days. After that, they may spoil. Watch for signs of spoilage. If you see mold or if they smell off, it is best to throw them away. Always trust your senses to keep your food safe.
FAQs
How do I know when risotto balls are done frying?
To check if your risotto balls are ready, look for a golden-brown color. This means they are crispy outside and cooked well inside. You can also use a thermometer. The oil should be around 350°F (175°C) for the best frying results. If the oil is too cool, the balls will soak up too much oil. If it’s too hot, they may burn.
Can I make risotto balls ahead of time?
Yes, you can prepare risotto balls in advance. Make the risotto and shape the balls. Then, store them in the fridge for up to 24 hours. If you want to keep them longer, freeze them. Put the balls on a baking sheet and freeze until solid. After that, transfer them to a freezer bag. This way, they stay fresh and ready for frying.
What dipping sauces pair well with risotto balls?
Risotto balls taste great with many sauces. Popular options include marinara and aioli. Marinara adds a nice tang, while aioli offers rich creaminess. You can also make a simple garlic sauce or a spicy ranch dip. These homemade sauces can elevate the flavor and make your dish even more special.
This article covered how to make delicious risotto balls from scratch. We explored ingredients, cooking steps, and tips for perfect results. You learned about variations, storage, and reheating methods to enjoy your risotto balls later.
Remember, experimenting with flavors and sauces can elevate your dish. With practice, you'll master risotto balls that impress everyone. Now it's time to gather your ingredients and start cooking! Enjoy your culinary adventure!