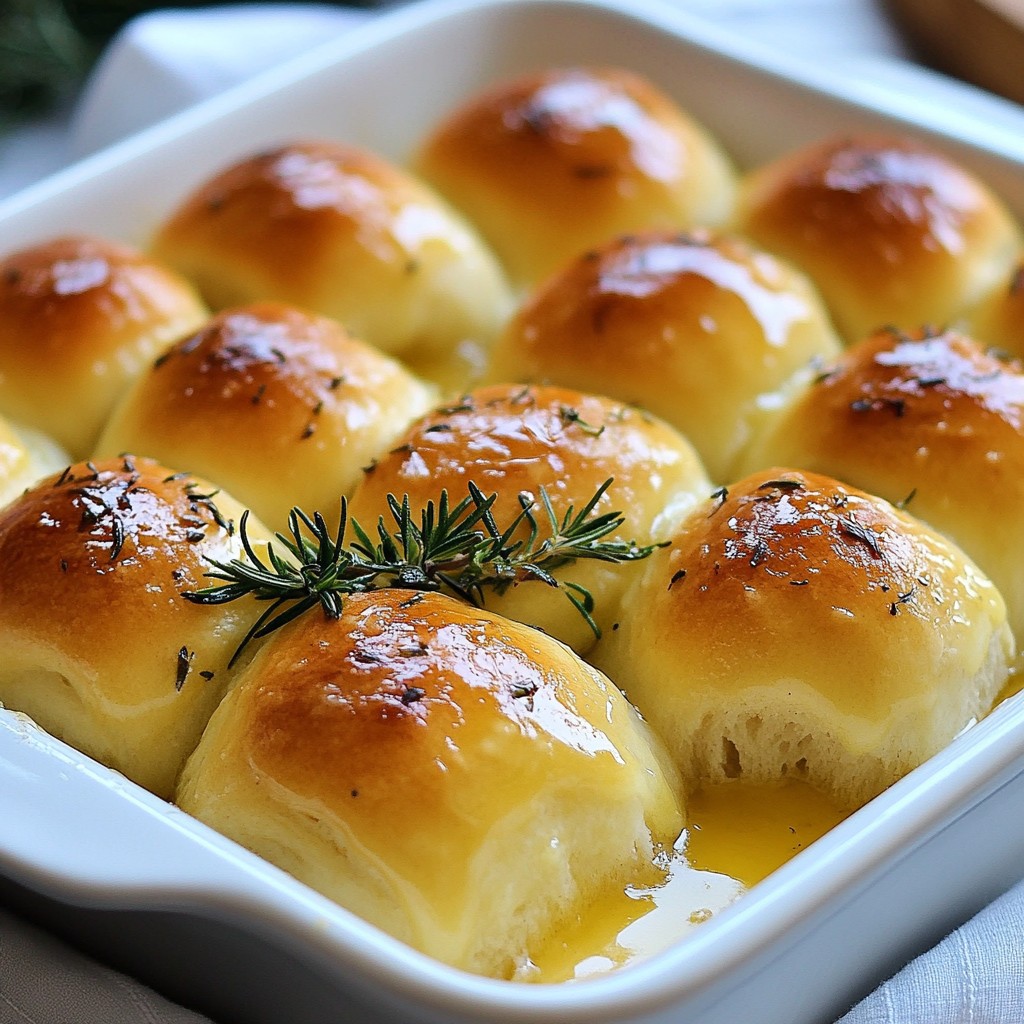
Are you ready to elevate your dinner spread? These Buttery Herb Dinner Rolls are fluffy, flavorful, and a delight for any meal. In this blog, I will guide you through every step, from picking the best herbs to perfecting the dough. Whether you're a seasoned baker or just starting out, my tips will help you avoid common mistakes. Let’s make these tasty rolls that everyone will love!
Why I Love This Recipe
- Buttery Flavor: The rich, buttery taste makes these rolls irresistible and perfect for any meal.
- Herb Infusion: Fresh rosemary and thyme provide a delightful aroma and flavor that elevate the rolls.
- Perfect Texture: The rolls are soft and fluffy on the inside with a golden-brown crust on the outside.
- Easy to Make: This recipe is straightforward, making it accessible for bakers of all skill levels.
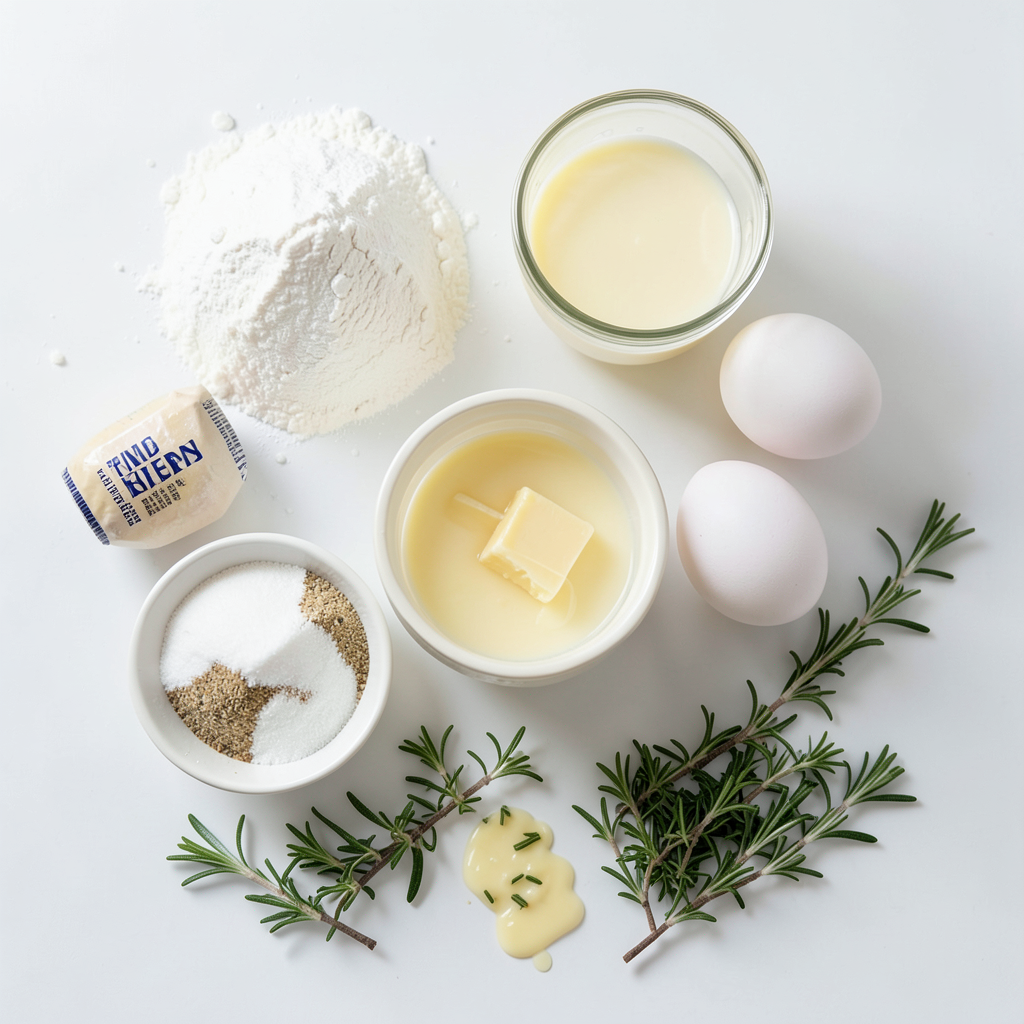
Ingredients
List of Ingredients
- 4 cups all-purpose flour
- 2 tablespoons sugar
- 2 teaspoons salt
- 2 ¼ teaspoons instant yeast (1 packet)
- 1 cup warm milk (110°F)
- ½ cup unsalted butter, melted
- 2 large eggs
- 2 tablespoons fresh rosemary, finely chopped (or 1 tablespoon dried)
- 2 tablespoons fresh thyme leaves (or 1 tablespoon dried)
- Extra melted butter for brushing
Key Ingredients Explained
The base of our dinner rolls is all-purpose flour. It gives the rolls the right structure. Sugar adds a hint of sweetness and helps with browning. Salt enhances all flavors and controls yeast activity. Instant yeast makes the dough rise quickly. Warm milk adds moisture and makes the rolls soft. Unsalted butter brings richness and flavor. Eggs add structure and a nice golden color. Fresh herbs like rosemary and thyme give a fragrant taste.
Substitutions for Dietary Needs
If you need gluten-free rolls, use a gluten-free flour blend. For dairy-free options, substitute melted butter with coconut oil. You can replace eggs with flaxseed meal mixed with water if you want a vegan version. Just mix 1 tablespoon of flaxseed meal with 3 tablespoons of water for each egg. Fresh herbs can be swapped with dried ones, but use less, as dried herbs are stronger.
Step-by-Step Instructions
Activating the Yeast
To start, we need to wake up the yeast. Grab a small bowl and pour in 1 cup of warm milk. Make sure the milk is about 110°F; this warmth helps the yeast grow. Add 2 tablespoons of sugar into the milk and stir until it dissolves. Now, sprinkle 2 ¼ teaspoons of instant yeast on top. Let it sit for 5-10 minutes. You want it to look frothy. This means the yeast is ready to make the dough rise.
Mixing the Dough
Next, we move to a large mixing bowl. Whisk together 4 cups of all-purpose flour, 2 teaspoons of salt, and both the fresh rosemary and thyme. Make sure to mix them well. Then, pour in the frothy yeast mixture. Give it a good stir until a sticky dough forms. This dough will hold all that yummy flavor from the herbs.
Kneading and Rising Techniques
Now, let’s knead the dough. Dust a clean surface with some flour. Place the dough on it and knead for about 5-7 minutes. Use your palms to push the dough down and fold it over. This helps it become smooth and elastic. When it feels soft, it’s ready for its first rise. Place it in a greased bowl and cover it with a damp cloth. Find a warm spot for it to rise for about 1 hour. You want it to double in size.
Final Shaping and Baking Process
Once the dough has risen, it's time to shape the rolls. Gently punch down the dough to release air. Divide it into 12 equal pieces. Roll each piece into a ball and place them in a greased 9x13 inch baking dish. Make sure they touch slightly. Cover the dish with a cloth and let them rise for another 30 minutes. Preheat the oven to 375°F. Bake the rolls for 20-25 minutes. They should be golden brown on top. Don’t forget to brush them with melted butter as soon as they come out for that extra flavor. Enjoy!
Tips & Tricks
Perfecting the Texture of Dinner Rolls
To make your dinner rolls fluffy, follow these tips. First, use fresh yeast. Old yeast might not rise well. Second, knead the dough enough. Kneading helps build gluten, which gives rolls their texture. Aim for a smooth, elastic dough. Third, let the dough rise in a warm area. This helps it grow big and fluffy. Cover the bowl with a damp cloth to keep it warm. Lastly, don’t skip the second rise. This step adds extra air, making your rolls light and airy.
Common Mistakes to Avoid
Here are some common mistakes to watch out for. One big mistake is not measuring ingredients correctly. Use a kitchen scale if possible for accuracy. Another issue is over-kneading the dough. If it feels tough, you’ve gone too far. Also, avoid baking the rolls too early or too late. They should be golden brown. If you bake them too soon, they can be doughy inside. Lastly, don’t forget to brush melted butter on top after baking. This adds flavor and keeps them soft.
Ideal Baking Tools
Using the right tools can make a big difference. Here are my top picks. A large mixing bowl is essential for combining ingredients. A sturdy wooden spoon or dough scraper helps mix the dough well. A clean surface is needed for kneading, so keep that in mind. You’ll also need a greased 9x13 inch baking dish for shaping the rolls. A kitchen thermometer is handy for checking milk temperature. Finally, a pastry brush is great for applying melted butter. With these tools, you’ll have a smoother baking experience.
Pro Tips
- Check Yeast Freshness: Always ensure your yeast is fresh for the best rise. If your yeast doesn't foam after mixing with warm milk, it's time to replace it.
- Use Room Temperature Ingredients: For a smoother dough, let your eggs and butter come to room temperature before mixing. This helps them incorporate better.
- Perfect Roll Size: Aim for uniform roll sizes by weighing each piece for accuracy. This ensures even baking and consistent texture.
- Rest Before Baking: Allow the rolls to rest for a few minutes after shaping. This relaxes the gluten, making them fluffier when baked.
Variations
Herb Combos for Unique Flavors
You can change the herbs in these rolls for new tastes. Try using basil for a sweet touch. Oregano adds a nice kick too. Mix parsley and dill for a fresh flavor. You can even blend herbs for a unique twist. Just remember, use fresh herbs when you can. They bring out the best flavor in your rolls.
Gluten-Free Adaptations
You can make these rolls gluten-free! Use a gluten-free all-purpose flour blend. Check the package for a 1:1 swap ratio. Add a bit more yeast to help the dough rise. You might need extra warm milk to keep the dough moist. Kneading might be different, so mix until combined. The rolls will still be fluffy and tasty!
Sweetened Version for Breakfast Rolls
Want to make these rolls sweeter? Add ¼ cup of honey or maple syrup to the dough. You can also mix in cinnamon for a warm flavor. Try adding dried fruits like cranberries or raisins for a fruity twist. These sweet rolls pair perfectly with butter or cream cheese. Serve them warm for a delightful breakfast treat!
Storage Info
How to Store Leftover Dinner Rolls
To keep your leftover dinner rolls fresh, store them in an airtight container. You can also wrap them in plastic wrap or aluminum foil. This helps keep them soft and moist. Place the rolls at room temperature for up to three days. If you want to keep them longer, consider freezing.
Freezing and Reheating Tips
For freezing, place the rolls in a freezer bag or container. Make sure to squeeze out as much air as possible to avoid freezer burn. You can freeze them for up to three months. When you're ready to eat, thaw the rolls overnight in the fridge. To reheat, warm them in a 350°F oven for about 10-15 minutes. This will revive their soft texture and flavor.
Shelf Life and Freshness Guidelines
Buttery herb dinner rolls taste best when eaten fresh. However, if stored properly, they stay good for a few days. After that, the texture may change, but they are still safe to eat. If you see any mold or an off smell, it's best to toss them. Always trust your senses; they are your best guide!
FAQs
What is the best type of flour to use?
The best flour for these rolls is all-purpose flour. It has a good balance of protein and starch that helps create a light and fluffy texture. You can also use bread flour if you want a chewier roll. However, all-purpose flour works perfectly.
Can I make these rolls ahead of time?
Yes, you can make these rolls ahead of time. After shaping the rolls, cover them and place them in the fridge for up to 24 hours. Let them rise at room temperature for about an hour before baking. This way, you save time on the day of your meal.
How can I troubleshoot dense rolls?
If your rolls turn out dense, check a few things. First, make sure your yeast is fresh. Old yeast won’t rise well. Second, knead the dough enough to develop gluten. Lastly, let the rolls rise until they double in size. This step is key for a fluffy texture.
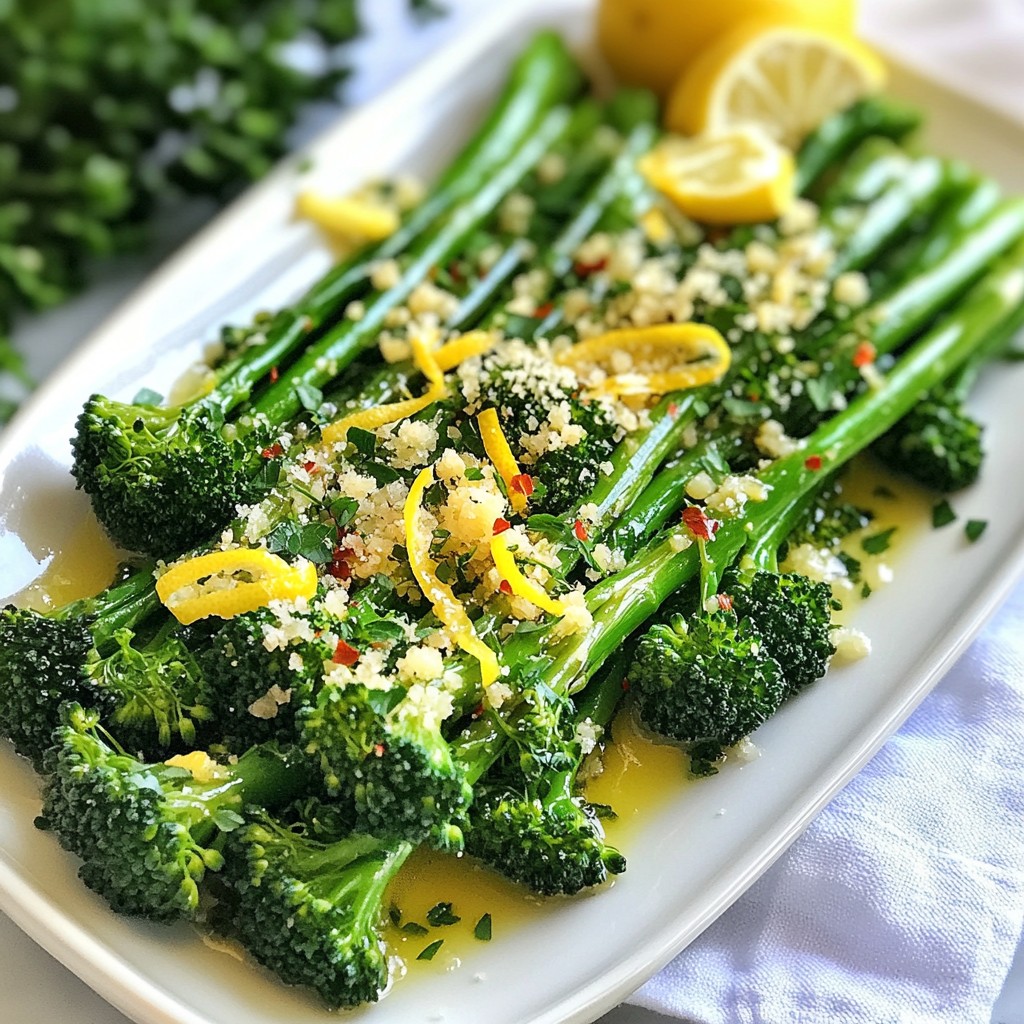
What to serve with buttery herb dinner rolls?
These rolls pair well with many dishes. Try serving them with soups, stews, or salads. They also complement roasted meats and veggies. For a special touch, spread some herb butter or honey on top. Enjoy them warm for the best flavor!
In this post, we explored how to make delicious dinner rolls. We covered key ingredients, step-by-step instructions, and tips to get the best texture. You learned about different variations, storage tips, and common questions. Baking is fun and rewarding. You can make rolls that suit your taste and dietary needs. Now, gather your ingredients, follow the steps, and get ready to enjoy fresh, homemade rolls. Happy baking!