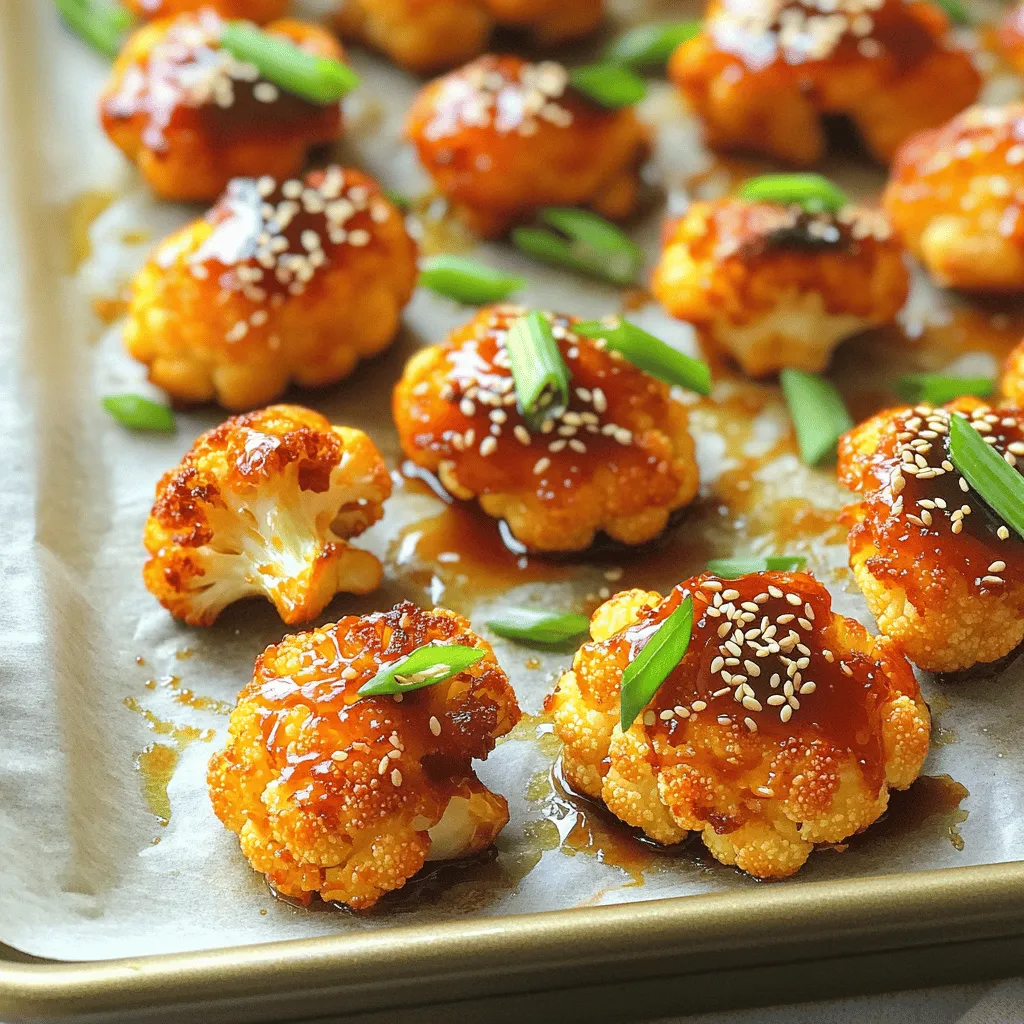
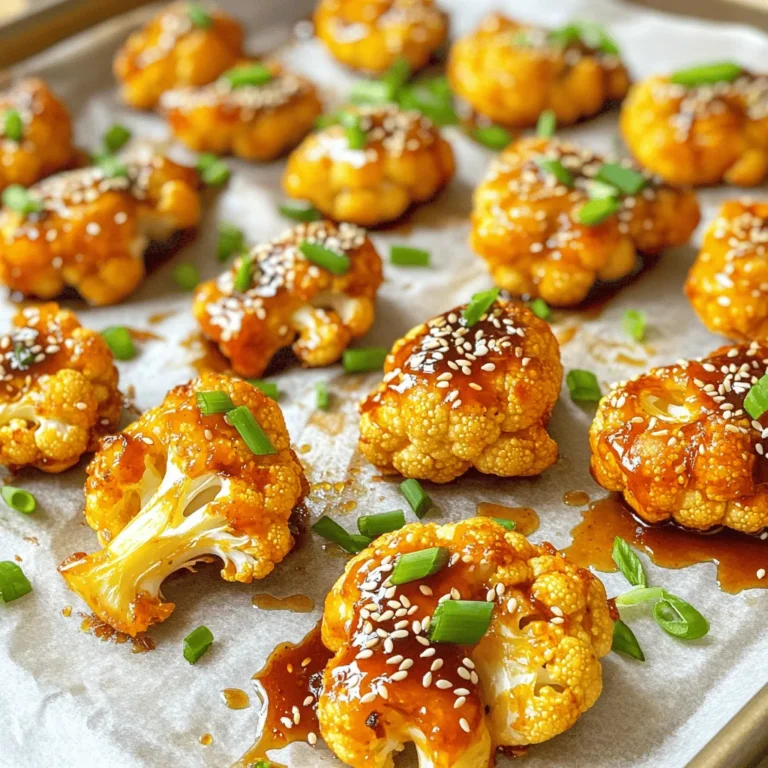
Looking for a tasty dish that’s simple to make? Korean Baked Cauliflower is your answer! This recipe combines crispy cauliflower with spicy gochujang and other yummy ingredients. It’s perfect as a snack or a side. I’ll guide you through each easy step, from prepping the marinade to achieving the perfect crunch. Let’s dive into this delicious adventure and turn your kitchen into a flavorful haven!
Ingredients
Main Ingredients
– 1 large head of cauliflower
– Gochujang chili paste
– Honey or maple syrup
– Soy sauce
– Sesame oil
Additional Ingredients
– Minced garlic
– Fresh ginger
– Rice vinegar
– Sesame seeds
– Chopped green onions
Seasoning and Adjustments
– Salt and pepper to taste
– You can swap honey with agave syrup.
– Use tamari for a gluten-free option.
Korean Baked Cauliflower is easy and fun to make. First, get your main ingredients. You need one big head of cauliflower. Cut it into small florets. Then, gather your flavor boosters. Gochujang is key for heat. You can find it in most stores. Honey or maple syrup adds sweetness. Soy sauce brings umami, and sesame oil adds richness.
Next, we need some extra goodies. Minced garlic gives a nice kick. Fresh ginger adds warmth. Rice vinegar helps balance the flavors. Don’t forget sesame seeds for crunch. Chopped green onions make it pretty and fresh.
Lastly, season it right. Salt and pepper will enhance the taste. You can also adjust the heat. If you want it hotter, add more gochujang. If you’re sensitive to spice, use less. You can even substitute some ingredients to fit your needs. Try tamari instead of soy sauce for a gluten-free dish. Enjoy cooking this tasty and simple recipe!
Step-by-Step Instructions
Preparation Steps
1. Prepping the oven and baking sheet
Start by preheating your oven to 425°F (220°C). This heat will make your cauliflower crispy. Next, line a baking sheet with parchment paper. This keeps the cauliflower from sticking.
2. Mixing the marinade ingredients
In a large mixing bowl, combine the marinade. Whisk together 3 tablespoons of gochujang, 2 tablespoons of honey or maple syrup, 2 tablespoons of soy sauce, and 1 tablespoon of sesame oil. Then, add 2 cloves of minced garlic, 1 tablespoon of grated fresh ginger, and 2 tablespoons of rice vinegar. Don’t forget to add salt and pepper to taste. Mix until everything is well blended.
Coating the Cauliflower
1. Tossing florets in marinade
Take your large head of cauliflower, cut into florets. Place the florets into the bowl with the marinade. Toss them gently until each piece is well coated. This step is key for flavor.
2. Spreading on the baking sheet
Once coated, spread the cauliflower evenly on the prepared baking sheet. Make sure to lay them in a single layer. This helps them cook evenly and get that nice crisp.
Baking the Cauliflower
1. Recommended baking time and temperature
Put the baking sheet in your preheated oven. Bake for about 25-30 minutes. The cauliflower should turn tender and slightly crispy on the edges.
2. Importance of stirring halfway through
Halfway through baking, stir the cauliflower. This ensures that all sides get that golden color. It prevents some pieces from cooking too much while others are still raw.
Tips & Tricks
Achieving the Perfect Texture
To get that crispy texture, try these tips:
– Cut the cauliflower into small florets. Smaller pieces cook more evenly.
– Toss the florets well in the marinade. Make sure every piece is coated.
– Spread the florets in a single layer on the baking sheet. This helps them crisp up.
To avoid mushy cauliflower, follow this advice:
– Don’t overbake; keep an eye on the time. Aim for 25-30 minutes.
– Stir halfway through baking. This helps them cook evenly.
Enhancing Flavor
To boost the flavor of your Korean Baked Cauliflower, consider these additions:
– Add a pinch of smoked paprika for a smoky twist.
– Mix in some chili flakes for extra heat.
For marinating time, here are my suggestions:
– Let the cauliflower sit in the marinade for at least 15 minutes.
– For more flavor, marinate for up to an hour.
Serving Suggestions
Pair your Korean Baked Cauliflower with these ideas:
– Serve it as a side with rice or noodles.
– Enjoy it with grilled chicken or tofu for a complete meal.
For presentation tips:
– Use a colorful plate to make it pop.
– Sprinkle extra sesame seeds and green onions on top before serving.

Variations
Different Flavor Profiles
You can change the taste of Korean Baked Cauliflower easily. For a spicier dish, add extra chili to the marinade. This gives a kick and heat. You can also play with sweetness. Try using different syrups like agave or brown sugar. This makes the dish more sweet and caramelized.
Dietary Adjustments
You can make this dish fit many diets. For a vegan option, use maple syrup instead of honey. Be sure to choose gluten-free soy sauce if you need it. You can also tweak it for low-carb or keto diets. Replace honey with a sugar substitute like erythritol. This keeps it tasty while lowering carbs.
Alternative Cooking Methods
If you want a healthier choice, try air frying the cauliflower. This method can cut down on oil and keep it crispy. Just adjust the time to about 15-20 minutes. Grilling cauliflower is another great option. It adds a smoky flavor that complements the spices well. Just make sure to watch it closely on the grill.
Storage Information
Storing Leftovers
To keep your Korean baked cauliflower fresh, follow these tips:
– Refrigerate: Place the cooled cauliflower in an airtight container.
– Avoid moisture: Make sure to let it cool before sealing.
– Use within 3-4 days: This keeps it tasty and safe to eat.
If you want to freeze it:
– Spread on a tray: Freeze the florets first to prevent clumping.
– Transfer to a bag: Once frozen, move them to a freezer-safe bag.
– Use within 2-3 months: This will keep the flavor intact.
Reheating Methods
You can reheat your leftovers in two ways: the oven or the microwave.
– Oven: Preheat to 350°F (175°C). Place cauliflower on a baking sheet. Heat for about 10-15 minutes, stirring once.
– Microwave: Heat for 2-3 minutes, checking halfway through.
To keep the texture:
– Oven gives a crispy edge.
– Microwave keeps it soft but may lose some crispness.
Shelf Life
In the fridge, your Korean baked cauliflower lasts about 3-4 days.
Signs of spoilage include:
– Off smell.
– Slimy texture.
– Discoloration or mold.
If you notice any of these, toss it out. Enjoy your delicious dish safely!
FAQs
What can I serve with Korean Baked Cauliflower?
You can serve Korean Baked Cauliflower as a side dish or a main course. Here are some tasty ideas:
– Rice: Steamed white or brown rice pairs well.
– Noodles: Try it with soba or udon noodles.
– Salad: A fresh green salad adds crunch.
– Kimchi: The spicy, tangy taste of kimchi complements this dish.
– Grilled Meats: Serve with chicken, beef, or tofu for a full meal.
– Dipping Sauce: A soy sauce or sesame dipping sauce works great.
Can I use frozen cauliflower for this recipe?
Yes, you can use frozen cauliflower. Frozen cauliflower is convenient and saves time. Here are some tips:
– Thaw First: Let it thaw and drain any excess water before cooking. This helps to avoid sogginess.
– Cooking Time: You may need to adjust the baking time since frozen florets can cook faster.
Fresh cauliflower gives a better texture. However, frozen works in a pinch.
How spicy is the Korean Baked Cauliflower?
The spice level comes from gochujang, which is Korean chili paste. It can be sweet and spicy. Here’s how to adjust the heat:
– Mild: Use less gochujang or mix with more honey.
– Spicy: Add more gochujang for extra heat.
– Taste Test: Always taste the marinade before coating the cauliflower.
This way, you can find the right heat for you!
In this blog, I covered how to make Korean Baked Cauliflower. You learned about the key ingredients, including gochujang, honey, and sesame oil. I walked you through the preparation and baking steps, along with tips for achieving the perfect texture.
This dish is versatile, with options for spice levels and cooking methods. Remember to store leftovers properly and enjoy them later. I’m excited for you to try this easy and tasty recipe! Let the flavors shine in your kitchen.


