
Latest & Greatest

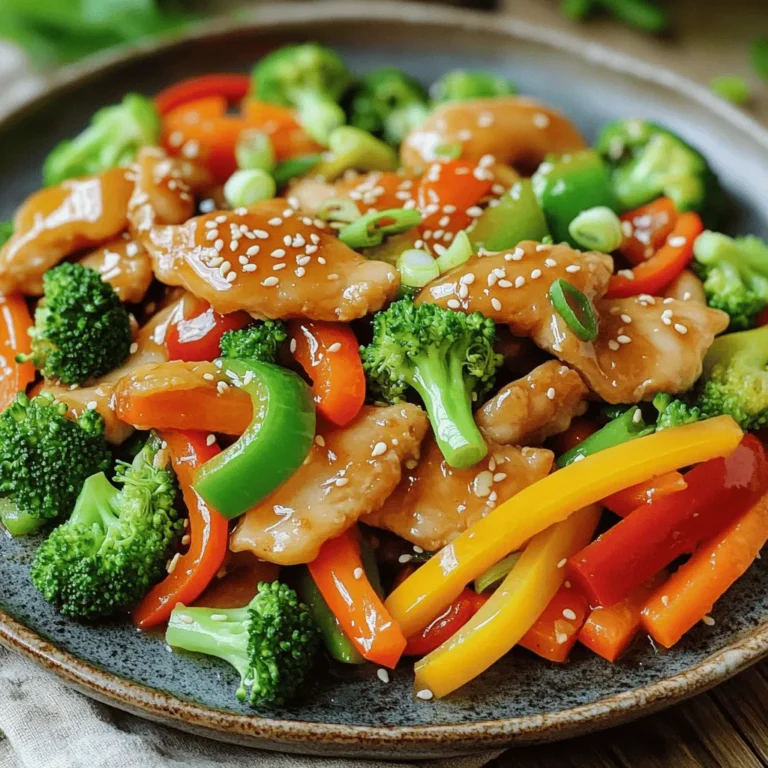
Sheet Pan Teriyaki Chicken and Veggies Delight
If you crave a quick and tasty meal, look no further! My Sheet Pan Teriyaki Chicken and Veggies Delight recipe
Read more…
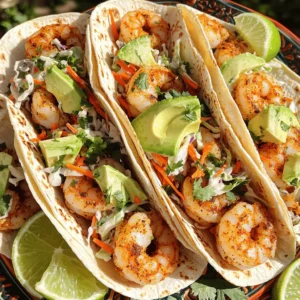
Bang Bang Shrimp Tacos Flavorful and Easy Recipe
Are you ready to bring some excitement to your dinner table? Bang Bang Shrimp Tacos offer bold flavor and crispy
Read more…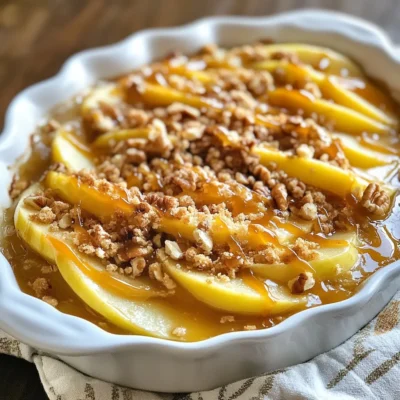
Best Apple Crisp Comforting Dessert Recipe Guide
Are you ready to dive into the cozy world of baking? In this guide, I’ll show you how to make
Read more…
Teriyaki Tofu Buddha Bowl Nourishing Vegan Delight
Are you ready to dive into a delicious and healthy meal? The Teriyaki Tofu Buddha Bowl is a nourishing vegan
Read more…
Pilgrim Hat Cookies Delightful and Easy Treats
Get ready to bake some fun with Pilgrim Hat Cookies! These delightful treats are not only easy to whip up,
Read more…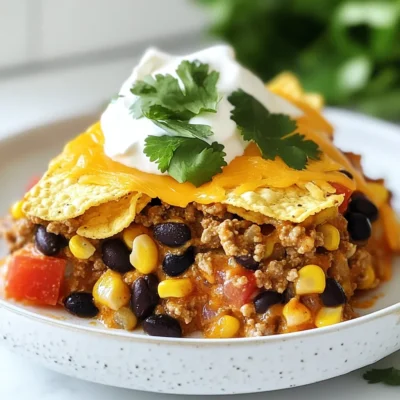
Taco Slow Cooker Casserole Flavorful and Easy Meal
Get ready for a weeknight dinner that’s both bursting with flavor and super easy to make! My Taco Slow Cooker
Read more…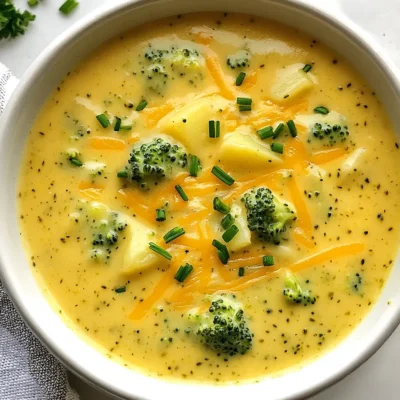
Broccoli Potato Cheese Soup Creamy Flavorful Delight
If you crave a warm, creamy bowl of goodness, you’ll love this Broccoli Potato Cheese Soup! It’s rich, flavorful, and
Read more…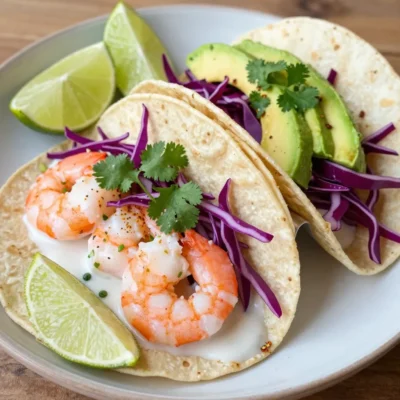
Coconut Lime Shrimp Tacos Flavorful and Fresh Meal
Get ready to enjoy a burst of flavor with Coconut Lime Shrimp Tacos! This dish combines sweet coconut, zesty lime,
Read more…browse recipes


Philly Cheesesteak Meatloaf Savory and Hearty Dish
Craving a twist on a classic? This Philly Cheesesteak Meatloaf brings rich flavors and comfort to your dinner table. With savory beef, zesty peppers,…
My Latest Desserts
My Latest Recipes

hey,
i’m !
I’m so happy you’re here!
My kitchen is filled with stories, flavors, and love and I’m so happy to share them with you. Here’s to dishes that feel like home.

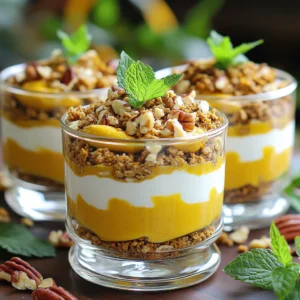
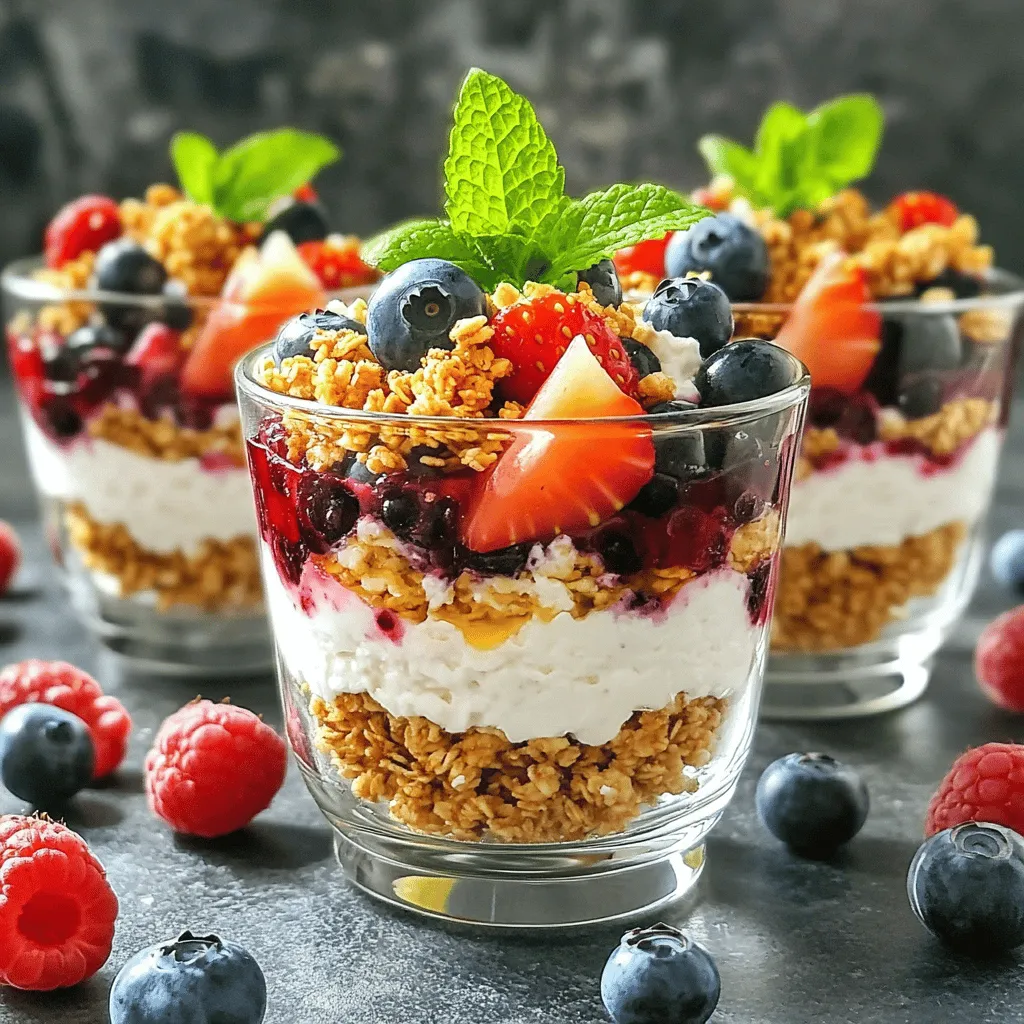
Cottage Cheese Berry Parfaits Fresh and Nutritious Treat
Are you ready for a tasty and healthy treat? Cottage Cheese Berry Parfaits are quick to make and bursting with flavor. With fresh berries,…