Latest & Greatest
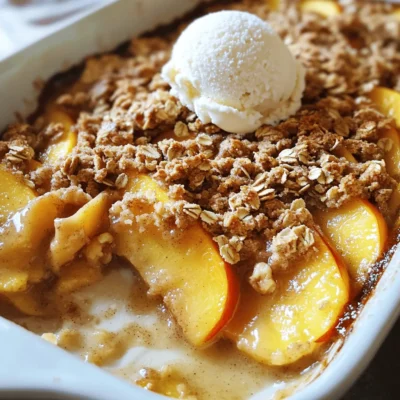
Easy Peach Crisp Simple and Tasty Dessert Delight
Are you ready to indulge in a warm, fruity delight? My Easy Peach Crisp is the perfect dessert for any
Read more…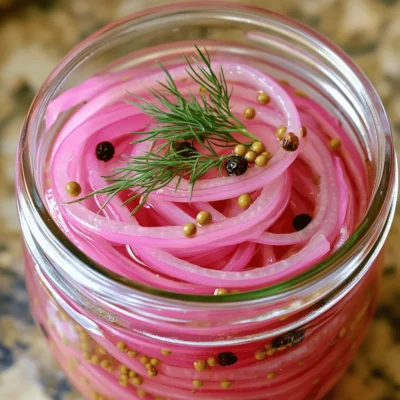
Homemade Pickled Red Onions Flavorful and Fresh Recipe
Homemade pickled red onions are simple, tasty, and full of flavor. In just a few steps, you can elevate any
Read more…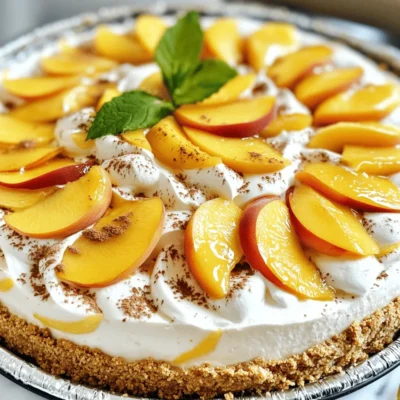
No Bake Peach Cheesecake Simple and Delicious Recipe
Are you ready to impress your friends and family with a dessert that’s both easy and crowd-pleasing? This No Bake
Read more…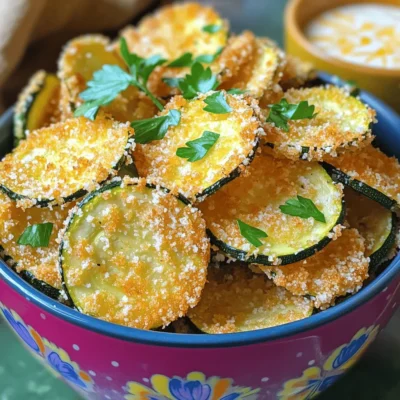
Air Fryer Zucchini Chips Crunchy and Flavorful Snack
Craving a delicious yet healthy snack? Look no further than these Air Fryer Zucchini Chips! With just a few simple
Read more…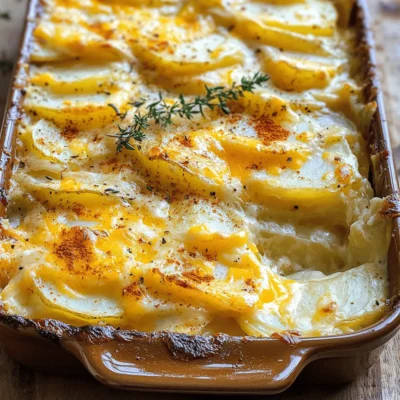
Cheesy Scalloped Potatoes Rich and Creamy Delight
Are you craving a comforting dish that warms the heart? Look no further than cheesy scalloped potatoes! This rich and
Read more…
Classic Lemon Bars Irresistible Tangy Delight
Get ready to bite into a classic treat that’s both tangy and sweet! These Classic Lemon Bars deliver a bright
Read more…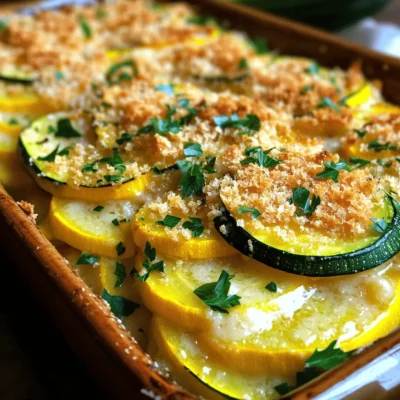
Zucchini Gratin with Yellow Squash Savory and Simple
If you’re looking for a dish that’s both tasty and simple, zucchini gratin with yellow squash is a perfect choice.
Read more…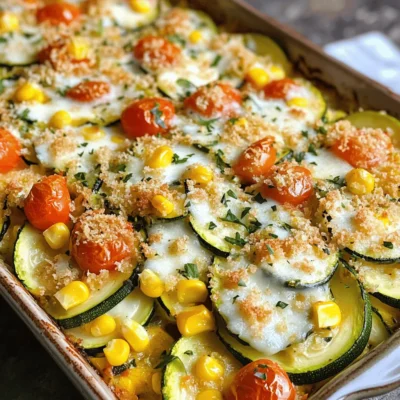
Easy Zucchini Casserole Delightfully Simple Recipe
If you’re looking for a quick, tasty, and healthy dish, you’ve come to the right place! My Easy Zucchini Casserole
Read more…browse recipes
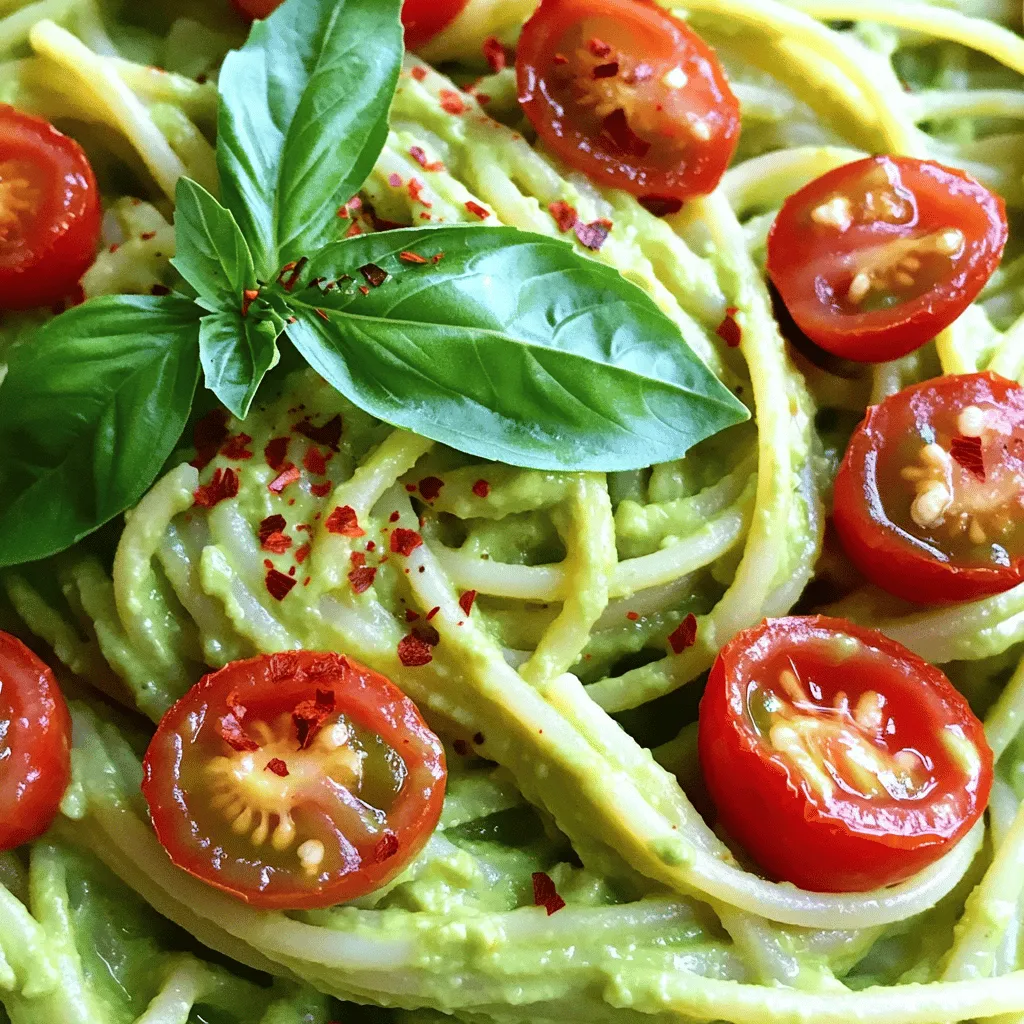
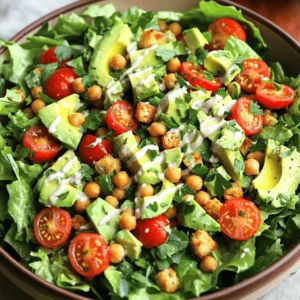
Creamy Avocado Pasta Quick and Flavorful Recipe
Are you ready to treat yourself to a deliciously creamy avocado pasta? This quick and flavorful recipe is perfect for busy weeknights or lazy…
My Latest Desserts
-
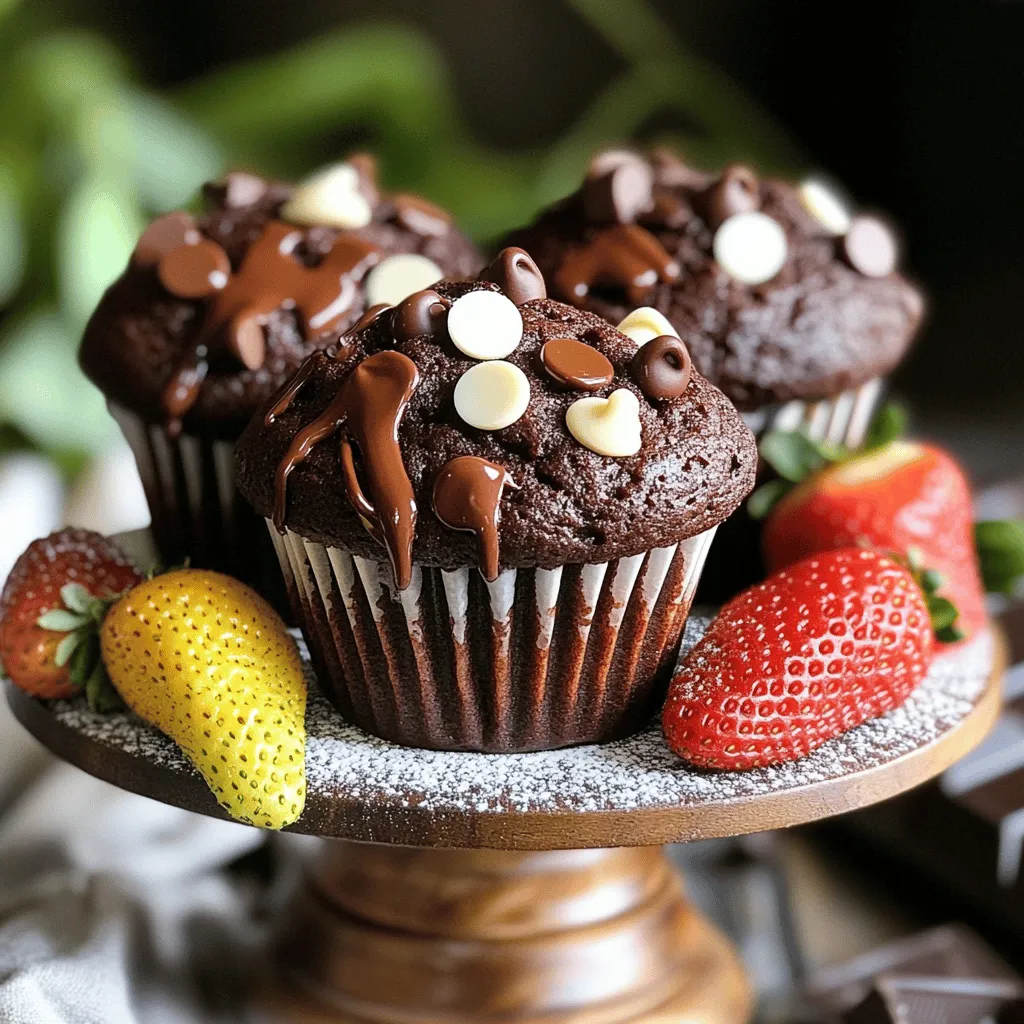
Delicious Double Chocolate Muffins Easy Recipe Guide
Craving a rich, chocolatey treat? You’re in the right place! In this guide, I’ll show you how to make delicious Read Full Recipe -
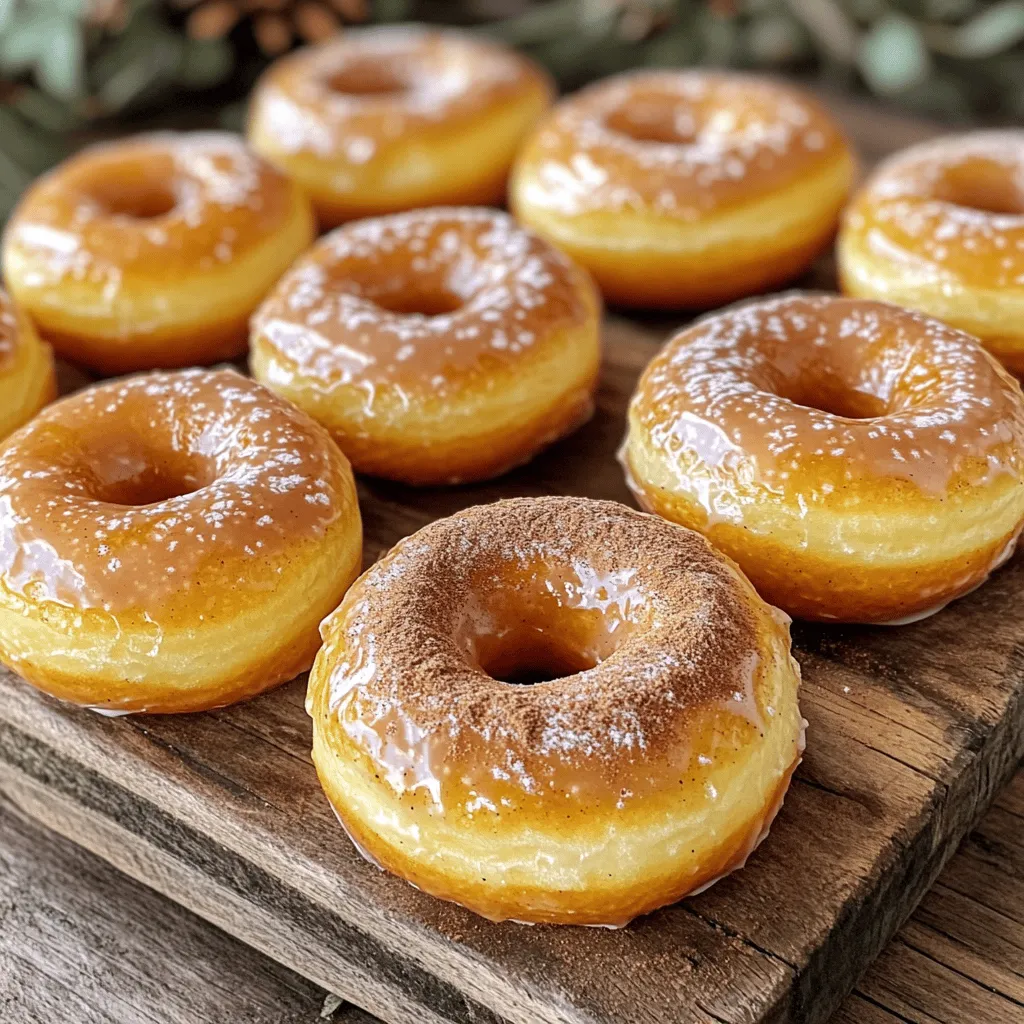
Thanksgiving Brioche Donuts Rich and Festive Delight
Are you ready to impress your guests this Thanksgiving? These Thanksgiving Brioche Donuts are perfect for holiday gatherings. Soft, rich, Read Full Recipe -
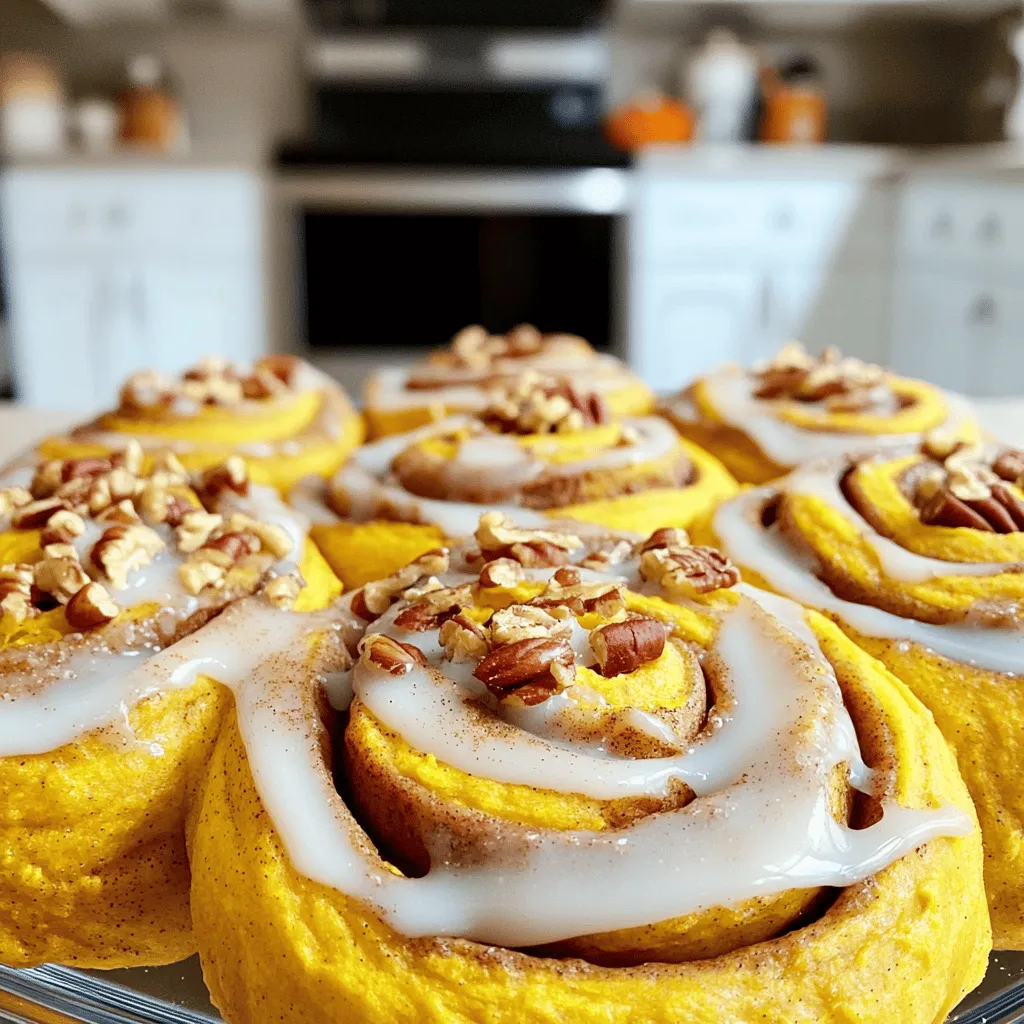
Make Ahead Pumpkin Cinnamon Rolls Savory Fall Delight
Autumn is here, and what better way to celebrate than with Make Ahead Pumpkin Cinnamon Rolls? These gooey, sweet rolls Read Full Recipe -
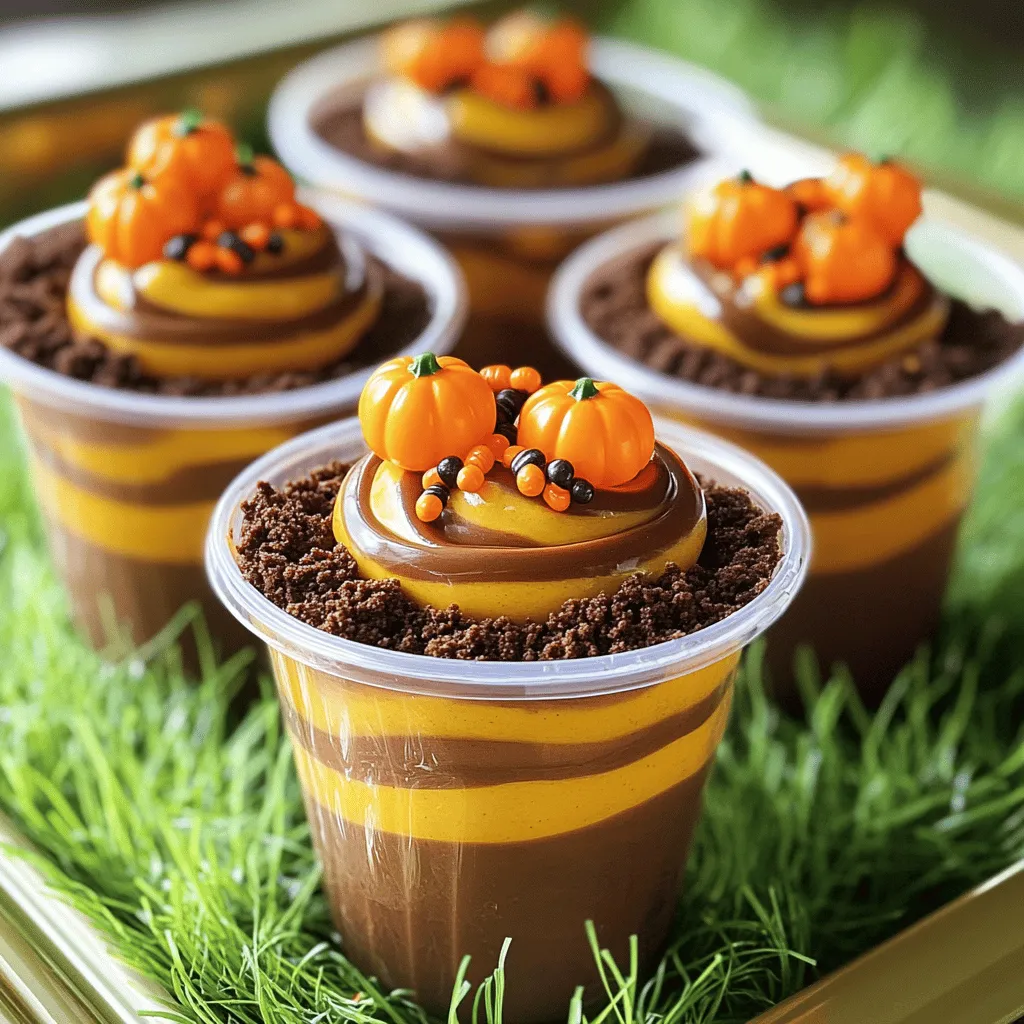
Pumpkin Patch Dirt Cups Tasty Treat for Fall Fun
Fall is here, and it’s time to whip up a fun treat! Pumpkin Patch Dirt Cups are easy to make Read Full Recipe -
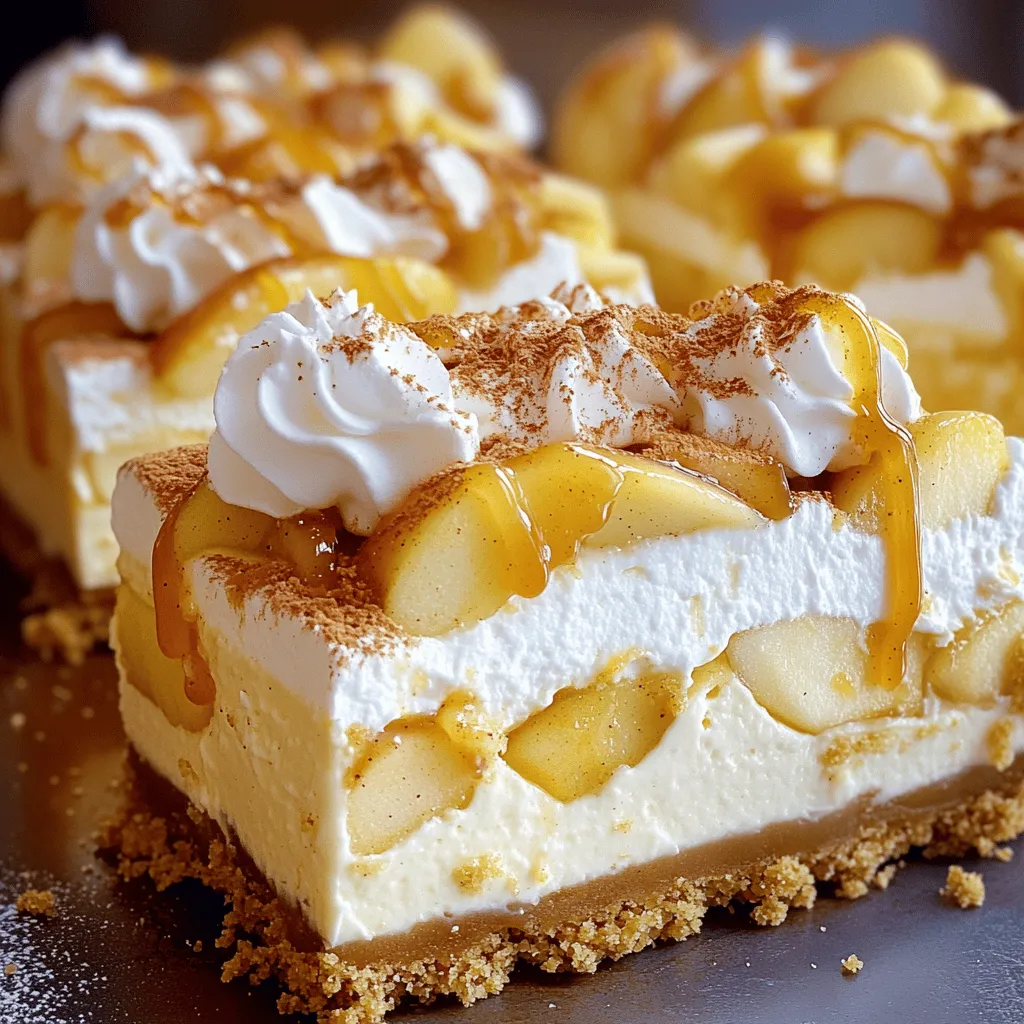
Salted Caramel Apple Pie Cheesecake Delight
Craving a dessert that’s both comforting and indulgent? Let me introduce you to my Salted Caramel Apple Pie Cheesecake Delight! Read Full Recipe -
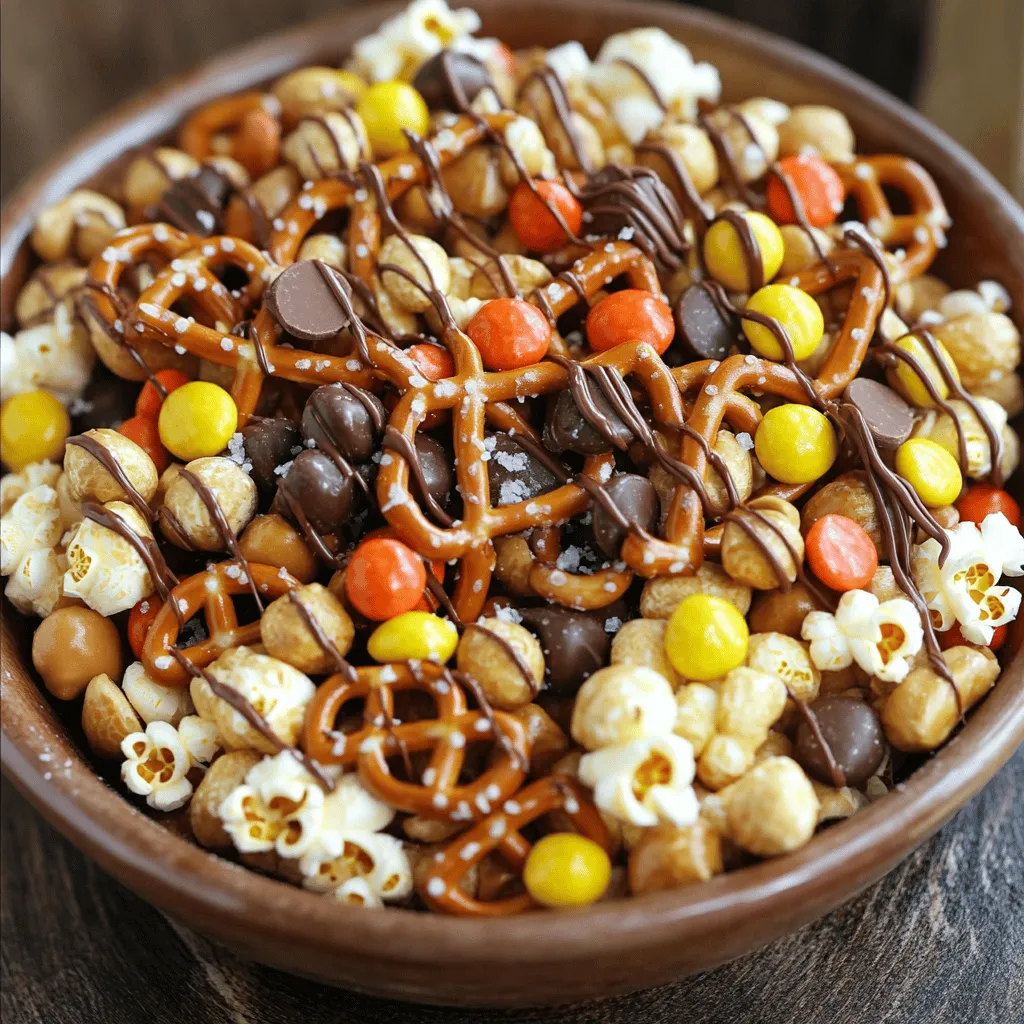
Minute Reese’s Snack Mix Tasty Treat for Everyone
Craving a sweet and crunchy snack? I’ve got just the treat for you! The Minute Reese’s Snack Mix is quick, Read Full Recipe -
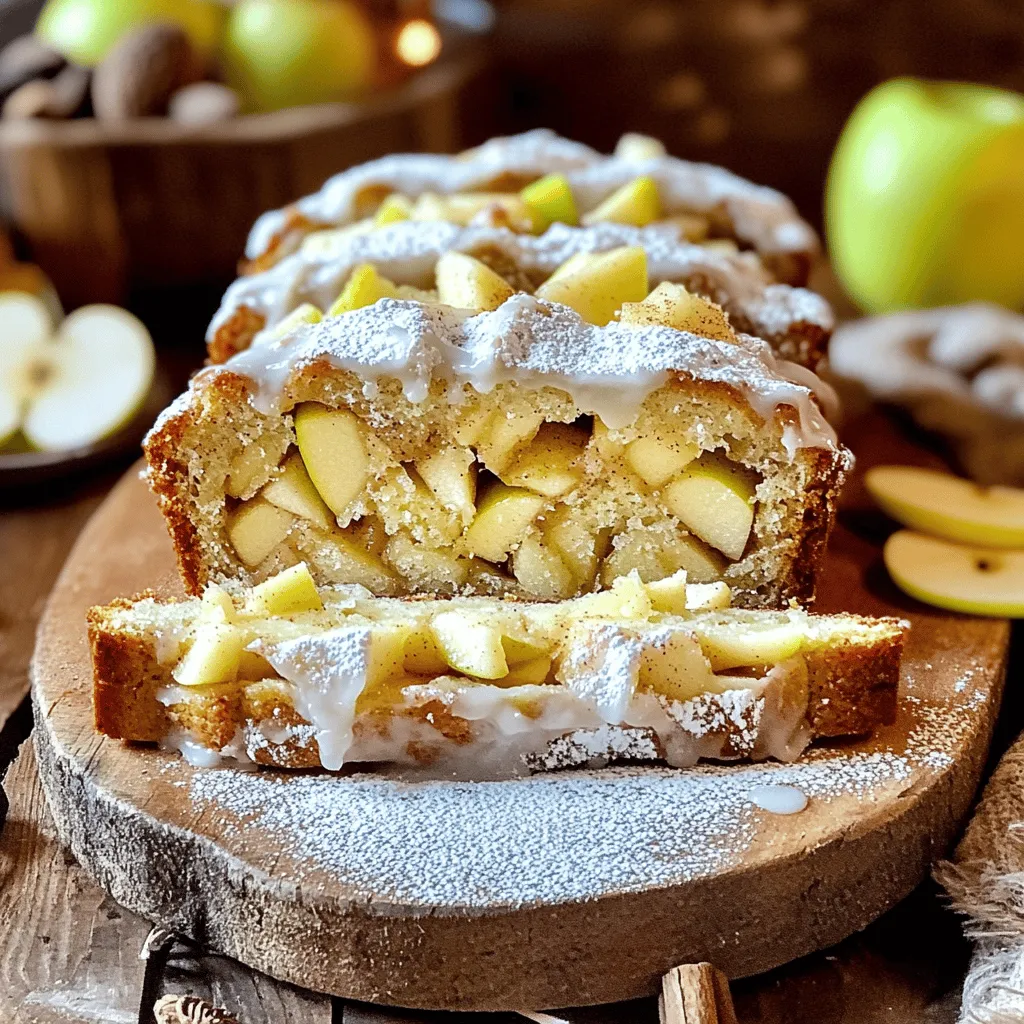
Amish Apple Fritter Bread Irresistible Homemade Treat
Craving a sweet treat that’s both heartwarming and delicious? This Amish Apple Fritter Bread is an easy, homemade delight that Read Full Recipe -
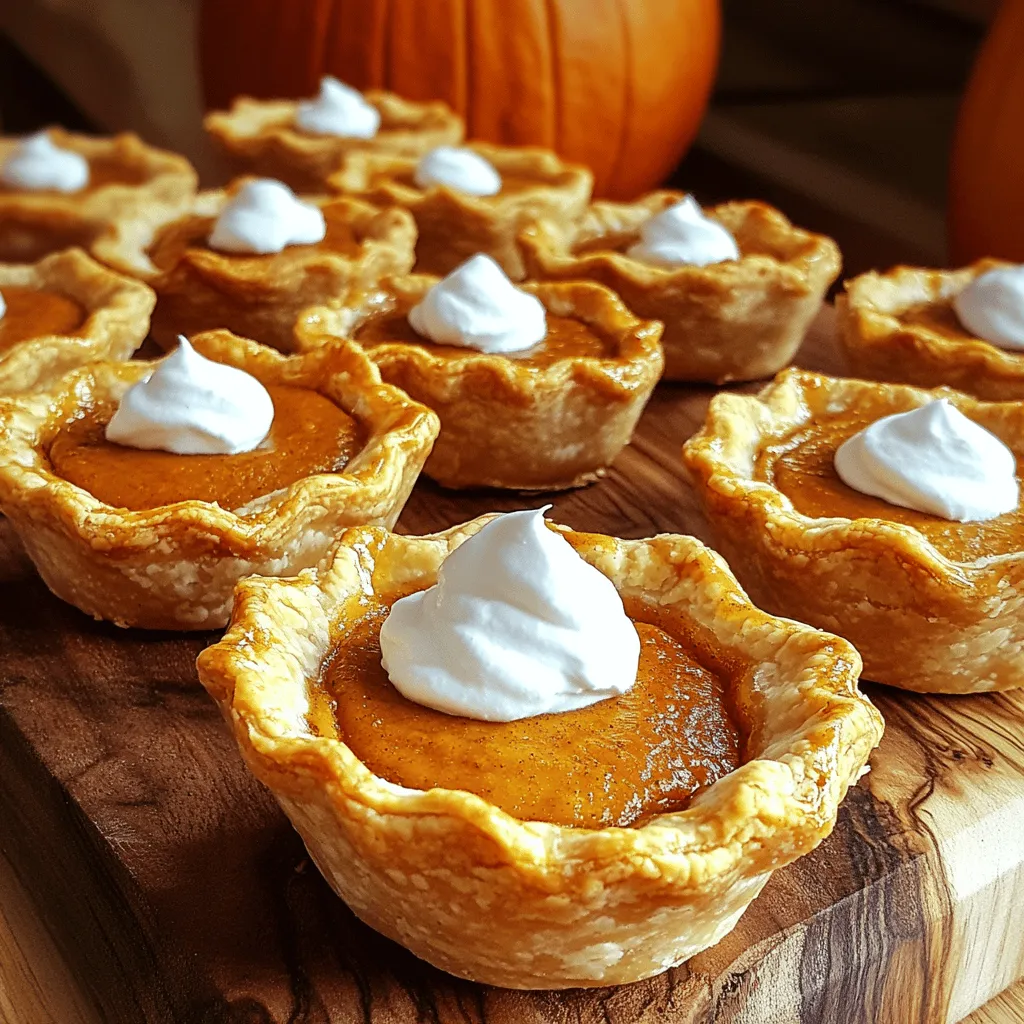
Mini Pumpkin Pies Simple Delightful Dessert Recipe
Are you craving a sweet treat that captures the essence of fall? Look no further! My mini pumpkin pies are Read Full Recipe -

Fruity Pebbles Yogurt Parfait Simple and Tasty Treat
Are you ready to whip up a fun and tasty treat? My Fruity Pebbles Yogurt Parfait is a colorful delight Read Full Recipe -
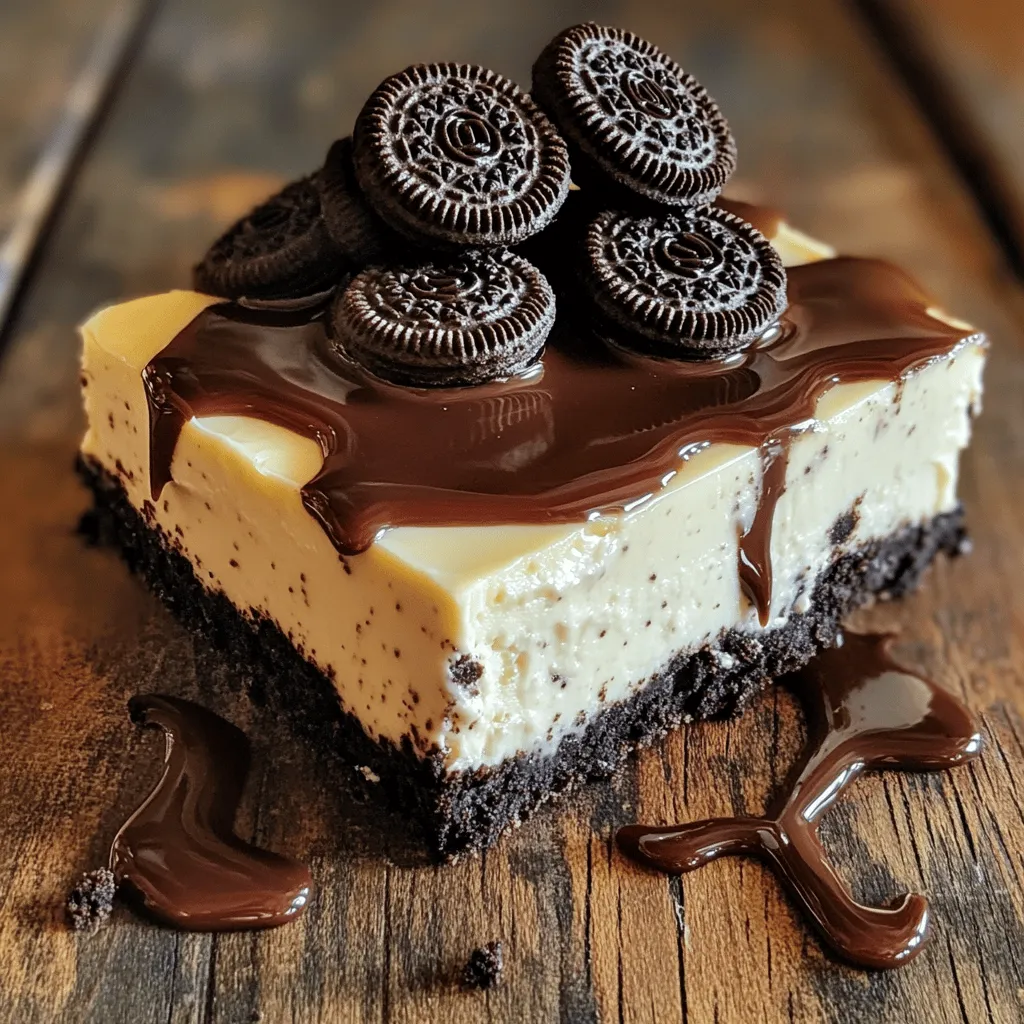
No-Bake Oreo Cheesecake Bars Delicious and Simple Treat
Looking for a simple and sweet dessert? You’ll love these No-Bake Oreo Cheesecake Bars! They are creamy, rich, and super Read Full Recipe
My Latest Recipes

hey,
i’m !
I’m so happy you’re here!
My kitchen is filled with stories, flavors, and love and I’m so happy to share them with you. Here’s to dishes that feel like home.
![To make a delightful raspberry swirl cheesecake, you will need the following ingredients: - 1 ½ cups graham cracker crumbs - ½ cup unsalted butter, melted - 2 tablespoons sugar - 16 oz cream cheese, softened - 1 cup sugar - 1 teaspoon vanilla extract - 3 large eggs - 1 cup sour cream - 1 cup fresh raspberries - 2 tablespoons raspberry jam Each ingredient plays a key role in creating the creamy texture and fruity flavor. The graham cracker crumbs create a crunchy base. The melted butter binds the crumbs together, making a firm crust. The cream cheese is the star of the show; it gives the cheesecake its rich and smooth texture. Sugar sweetens the cheesecake. You can adjust the amount to fit your taste. Vanilla extract adds warmth and depth. Eggs help it set, giving it a soft yet stable structure. Sour cream enhances the creaminess and provides a slight tang. Raspberries bring a burst of flavor. They add color and a sweet-tart contrast. Raspberry jam helps to intensify that fruity flavor while making the swirling easy. This combination of ingredients makes the cheesecake truly special. For the full recipe, you can refer to the [Full Recipe]. - Preheat the oven to 325°F (163°C). - In a bowl, mix 1 ½ cups of graham cracker crumbs, ½ cup of melted unsalted butter, and 2 tablespoons of sugar. - Press this mixture firmly into the bottom of a 9-inch springform pan to form the crust. Bake for 10 minutes, then cool it completely. - In a large bowl, beat 16 oz of softened cream cheese until it is very smooth. - Gradually add 1 cup of sugar and 1 teaspoon of vanilla extract, mixing well. - Add 3 large eggs one at a time, mixing after each egg. Then, gently fold in 1 cup of sour cream until just mixed. - In a small bowl, mash 1 cup of fresh raspberries with a fork. Mix in 2 tablespoons of raspberry jam until smooth. - Pour half of the cheesecake batter over the cooled crust. Then, dollop half of the raspberry mixture on top. - Use a knife or toothpick to swirl the raspberry into the batter gently. - Add the remaining cheesecake batter and dollop the rest of the raspberry mix on top. Swirl again for a pretty marbled effect. Enjoy making this treat! For the complete recipe, check the Full Recipe section above. To achieve a creamy texture, start with room-temperature cream cheese. This helps blend smoothly. Always mix at low speed to avoid air bubbles. Too much air makes cracks possible. To avoid cracks on the surface, do not overmix. Overmixing adds air, which can cause cracks while baking. Also, bake slowly at a lower temperature. This helps the cheesecake set evenly. Cooling is essential for a flawless finish. After baking, turn off the oven and crack the door. Let the cheesecake cool in the oven for an hour. Then, refrigerate for at least four hours. Creating the perfect swirl takes practice. Start by dolloping your raspberry mixture onto the cheesecake batter. Use a knife or toothpick to swirl gently. Don’t overdo it; a little goes a long way. Tools that help with swirling include a toothpick or a skewer. These let you control the swirl better. You can also use a butter knife for larger swirls. Timing is key for best results. Swirl just before baking. If you wait too long, the mixture will blend too much. A vibrant swirl makes your cheesecake stand out. For the full recipe, check out the Raspberry Swirl Cheesecake section. {{image_2}} You can swap raspberries for other berries. Strawberries and blueberries work great! Each berry gives a unique flavor. Strawberries add sweetness, while blueberries add a mild tartness. Mixing berries can create a fun twist. Think about what you love most. This lets you play with taste and color in your cheesecake. Want to change the flavor? Add chocolate or lemon zest for a new spin. Chocolate brings a rich depth, while lemon zest adds brightness. You can also try different crusts. Instead of graham crackers, use crushed cookies, like Oreos or gingersnaps. These small changes can make your cheesecake special and exciting. How you serve raspberry swirl cheesecake matters. I recommend adding fresh whipped cream on top. A drizzle of chocolate sauce or raspberry sauce is also a nice touch. Fresh mint leaves can brighten up your plate. You can even pair it with a scoop of vanilla ice cream. These choices make each slice even more delightful! For the complete process of making this delicious dessert, check out the Full Recipe. To keep your raspberry swirl cheesecake fresh, store it in the fridge. Place it in an airtight container. If you don't have one, wrap it tightly in plastic wrap. This method keeps the cheesecake moist and prevents it from absorbing odors. A springform pan is great for storage if you can't find a container. Just cover it with plastic wrap. If you want to slice it before storing, use a glass or ceramic dish. These materials help maintain flavor and texture. You can freeze your cheesecake! It freezes well and stays tasty for up to three months. To freeze, let the cheesecake cool completely. Wrap it in plastic wrap, then foil. This double layer prevents freezer burn. When you’re ready to eat, move it to the fridge for a night to thaw. Enjoy your creamy and delightful treat! For the full recipe, check out the Raspberry Swirl Cheesecake section. Cheesecake texture comes from key factors. The amount of cream cheese affects density. More cream cheese creates a denser cake. Mixing method also matters. Overmixing introduces air and can make it lighter. Eggs add structure, but too many can also lead to a lighter cake. Baking time is crucial; underbaking can leave it soft, while overbaking makes it dense. I suggest using room temperature ingredients for the best blend. This helps create that creamy, smooth texture we all love. Homemade cheesecake can last about a week in the fridge. Store it in an airtight container to keep it fresh. Look for signs of spoilage, like an off smell or a change in texture. If you see any cracks or water forming on top, it’s best to toss it. Always check the cheesecake before serving. If you want to keep it longer, freeze it! It can last up to three months in the freezer. Yes, you can use frozen raspberries! They work well in this recipe. Just make sure to thaw them first. Drain any extra liquid before mixing them in to avoid a watery cheesecake. When you mash them, they will blend nicely with the raspberry jam. This can add a great flavor and color to your swirl. Just remember, the texture may be a bit different than fresh raspberries, but the taste will still be delicious. This blog post covered all you need for a perfect raspberry swirl cheesecake. We explored the key ingredients, step-by-step instructions, and helpful tips. You learned how to make a creamy cheesecake with a beautiful raspberry swirl. Remember the variations and storage tips for best results. Enjoy making this treat for friends or family. Cheesecake is always a hit! Try different flavors to keep it fun. Your baking journey can be delicious and rewarding. Happy baking!](https://southerndishes.com/wp-content/uploads/2025/06/0f4da5cb-8307-4843-a41a-4b10aa737e9f-300x300.webp)
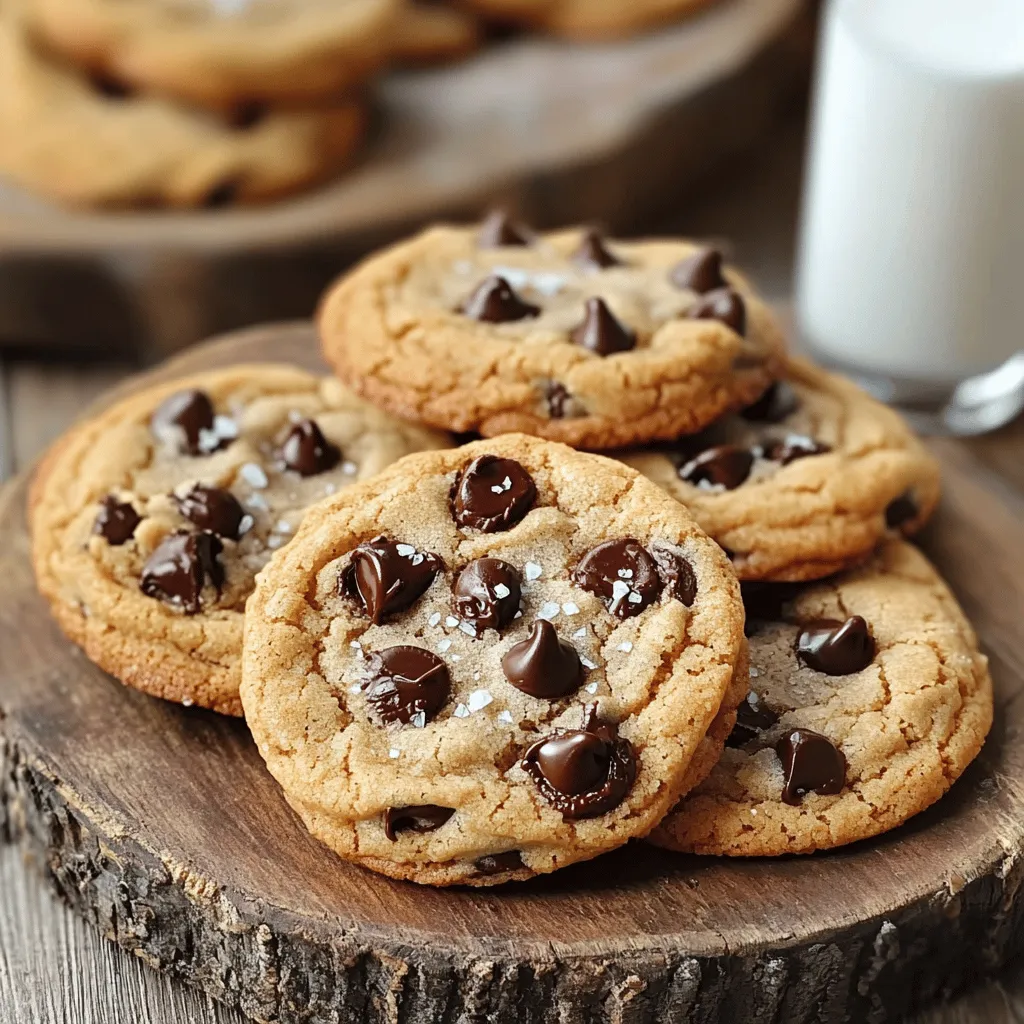
Chewy Brown Butter Chocolate Chip Cookies Recipe
Are you ready for the best cookie recipe ever? These Chewy Brown Butter Chocolate Chip Cookies are rich, warm, and packed with flavor. When…