
Latest & Greatest
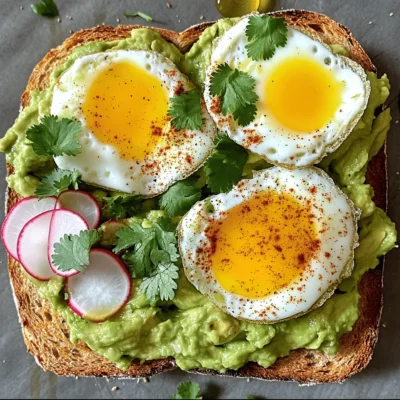
Nutritious Avocado Toast with Egg for a Quick Meal
Looking for a quick and tasty meal? Look no further than nutritious avocado toast topped with a perfectly cooked egg.
Read more…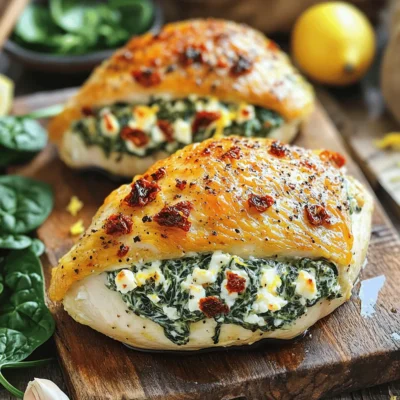
Spinach and Feta Stuffed Chicken Savory Dinner Delight
Get ready to impress your family with a delicious Spinach and Feta Stuffed Chicken! This savory dinner delight is easy
Read more…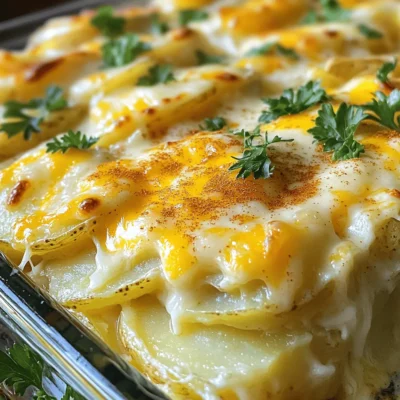
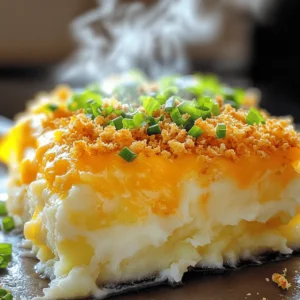
Cheesy Scalloped Potatoes Creamy and Comforting Dish
If you’re craving a warm, cheesy dish that’s both creamy and satisfying, you’re in the right place! Cheesy scalloped potatoes
Read more…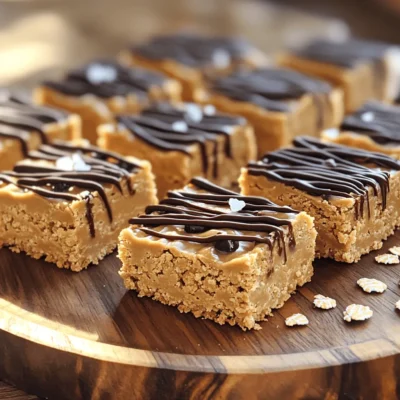
No-Bake Peanut Butter Bars Perfectly Simple Treat
Are you ready to whip up a sweet treat that’s both easy and delicious? My No-Bake Peanut Butter Bars are
Read more…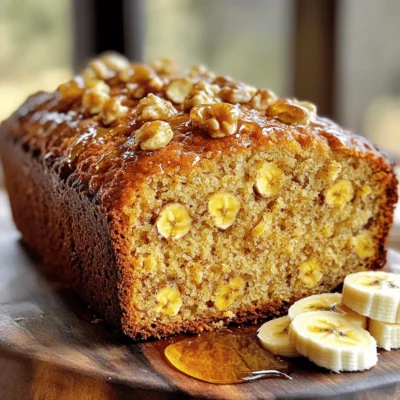
Classic Banana Bread Simple and Flavorful Recipe
Do you want to bake the perfect banana bread? You’re in the right place! My simple and flavorful recipe will
Read more…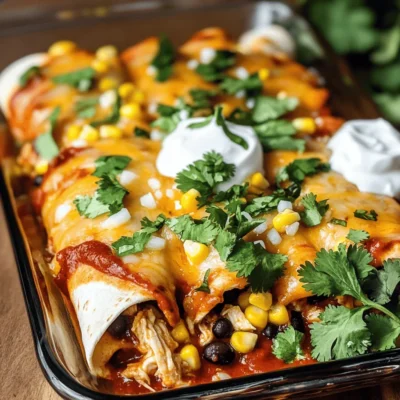
Easy Chicken Enchiladas Quick and Tasty Recipe
Are you ready to spice up your dinner routine? I’ve got a quick and tasty recipe for Easy Chicken Enchiladas
Read more…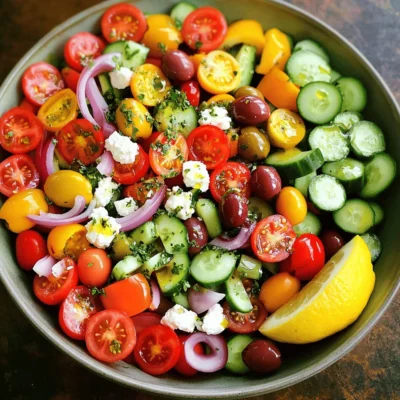
Healthy Greek Salad Fresh and Flavorful Delight
Looking for a simple yet delicious meal? You’ve found it! My Healthy Greek Salad is a fresh and flavorful delight
Read more…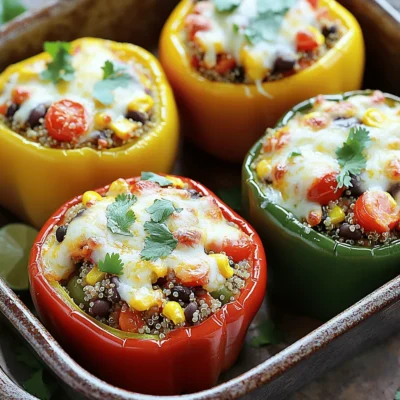
Stuffed Bell Peppers Loaded with Flavorful Goodness
Get ready to delight your taste buds with my stuffed bell peppers recipe, loaded with flavorful goodness! These colorful peppers
Read more…browse recipes
. This will provide you with all the steps and tips needed to create this delightful dish. This blog post covered how to make a delicious Pesto Caprese Pasta Salad. We explored the key ingredients, step-by-step cooking instructions, and helpful tips. I shared ways to personalize your salad and storage advice. You can enjoy this dish cold or at room temp, making it great for any occasion. Remember, fresh ingredients are key for the best flavor. With these tips and recipes, you are ready to impress anyone at your next meal!](https://southerndishes.com/wp-content/uploads/2025/04/8b8c71a6-0350-4894-a077-1c29391eb067.webp)
Pesto Caprese Pasta Salad Flavorful and Simple Dish
If you’re craving a dish that strikes the perfect balance between fresh flavors and ease, look no further! My Pesto Caprese Pasta Salad combines…
My Latest Desserts
-

Fruity Pebbles Yogurt Parfait Simple and Tasty Treat
Are you ready to whip up a fun and tasty treat? My Fruity Pebbles Yogurt Parfait is a colorful delight Read Full Recipe -
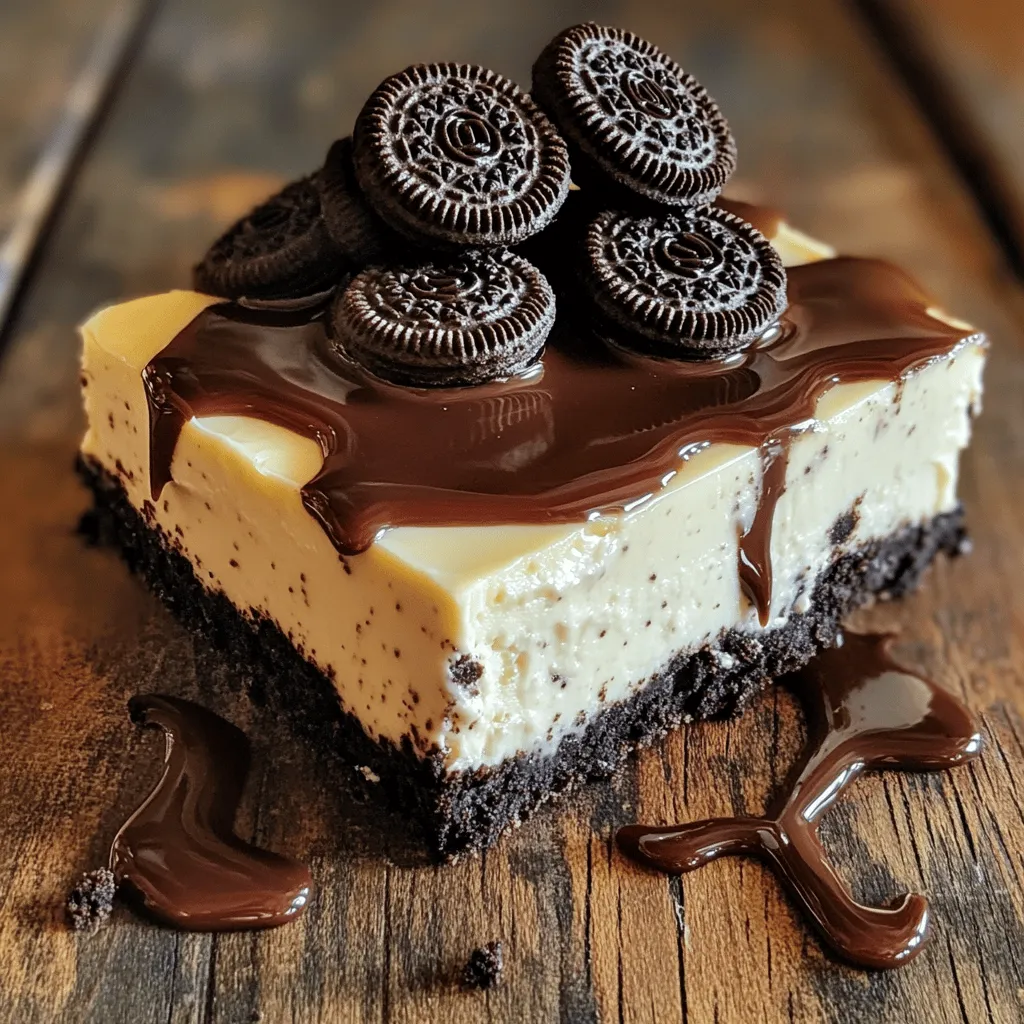
No-Bake Oreo Cheesecake Bars Delicious and Simple Treat
Looking for a simple and sweet dessert? You’ll love these No-Bake Oreo Cheesecake Bars! They are creamy, rich, and super Read Full Recipe -
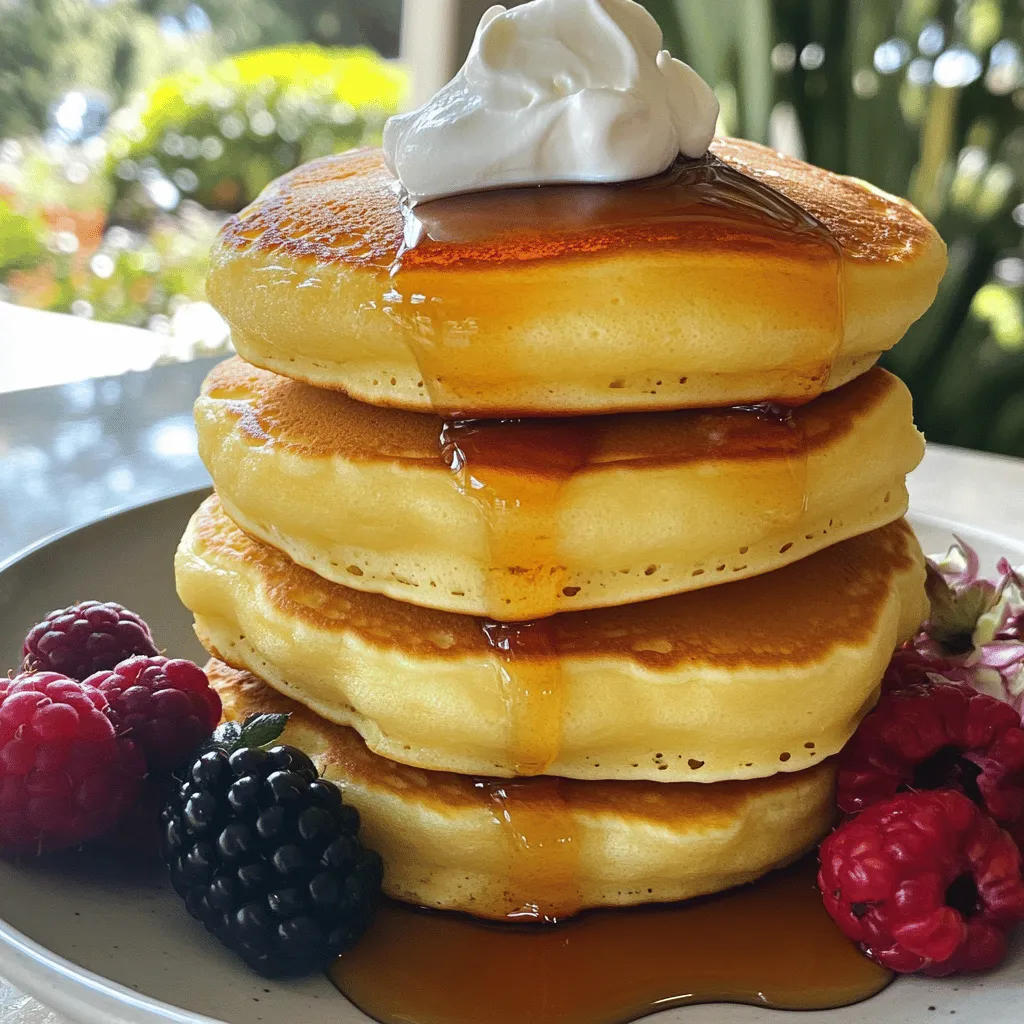
Fluffy Japanese Soufflé Pancakes Simple and Soft Delight
Are you ready to flip your breakfast game? Fluffy Japanese soufflé pancakes are a soft, delightful treat that will impress Read Full Recipe -
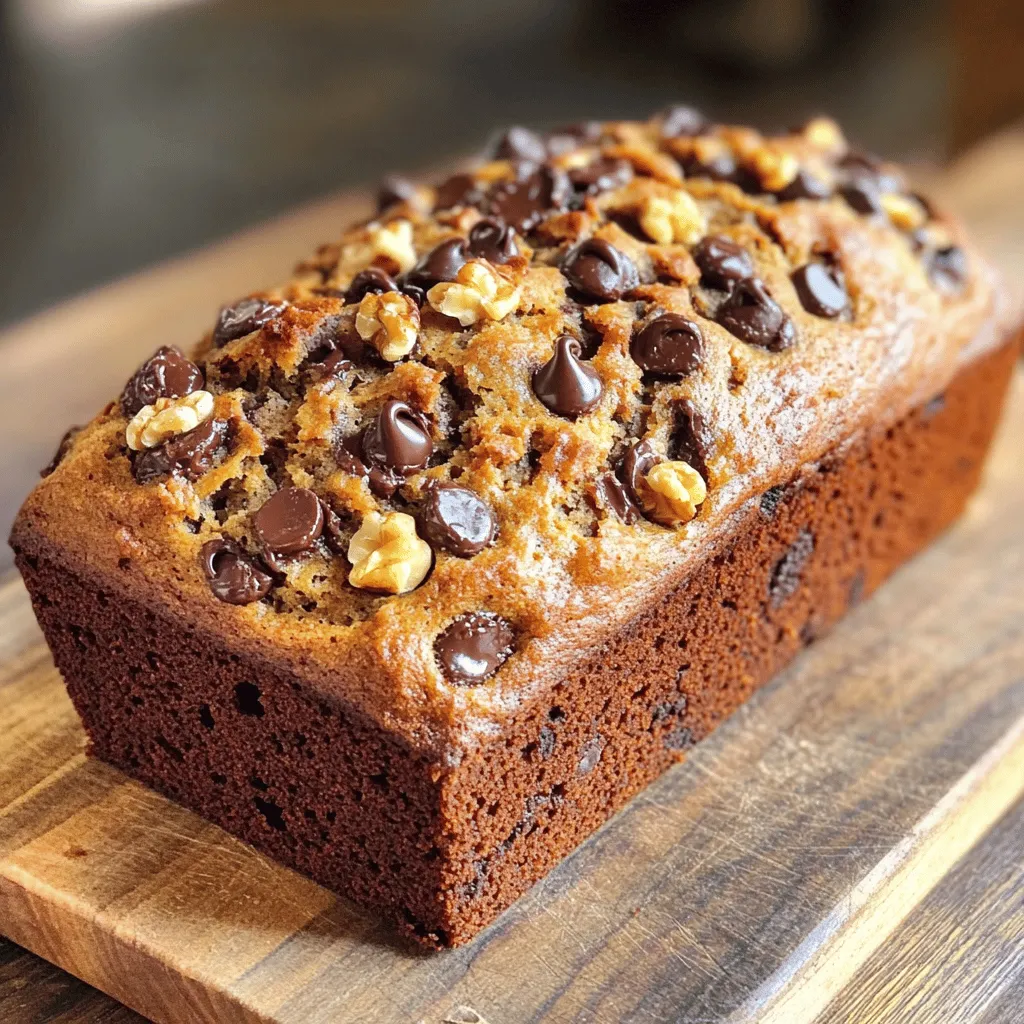
Chocolate Chip Banana Bread Rich and Flavorful Delight
Ready to indulge in a warm, gooey slice of Chocolate Chip Banana Bread? This rich and flavorful delight combines ripe Read Full Recipe -
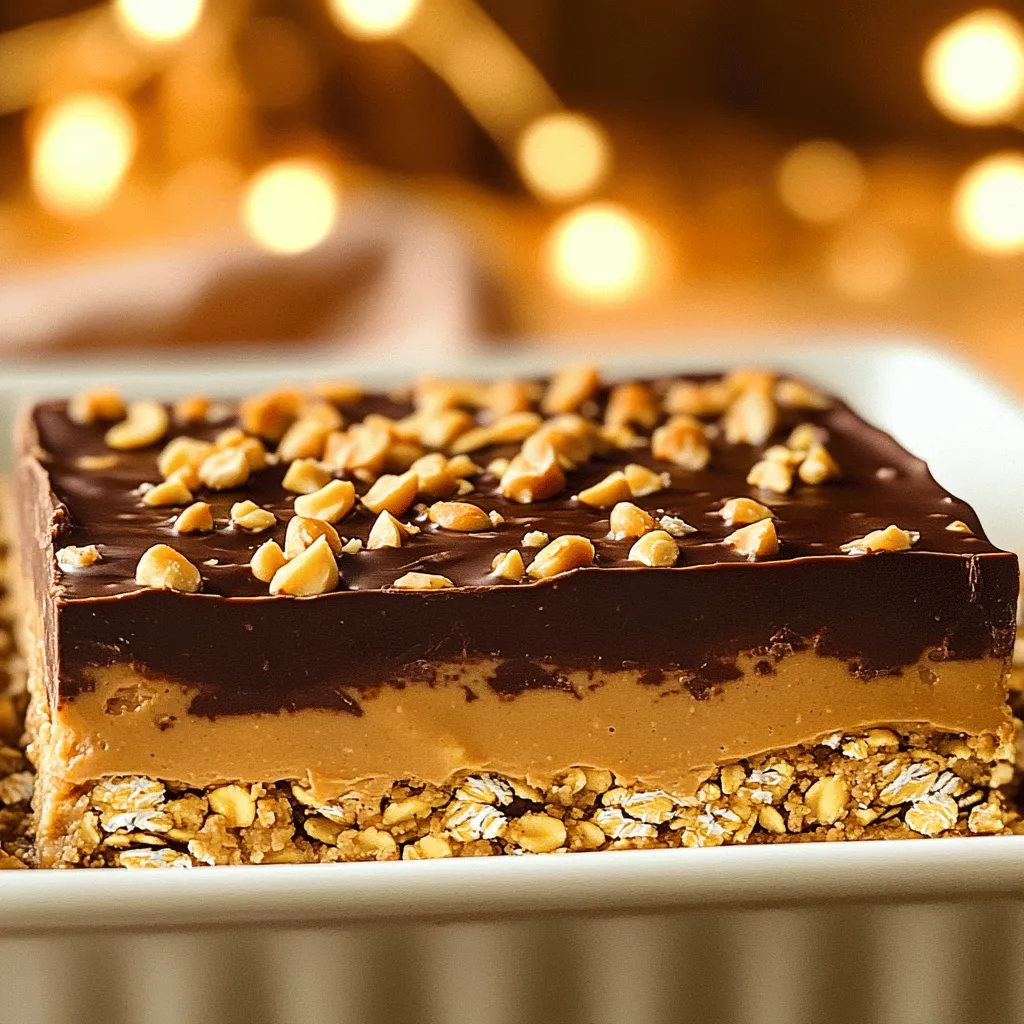
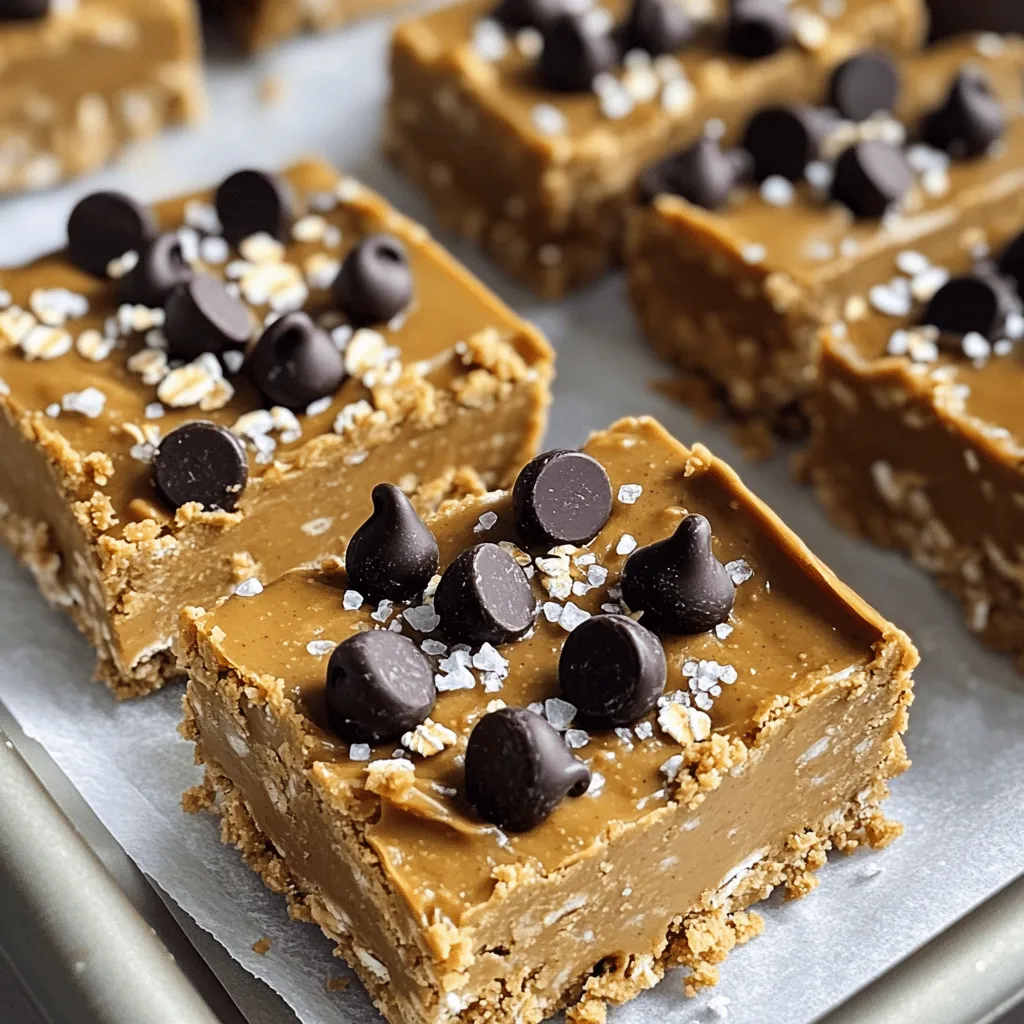
No Bake Peanut Butter Chocolate Bars Simple Delight
Are you craving a sweet treat that’s both simple and delicious? Look no further! I’m excited to share my recipe Read Full Recipe -
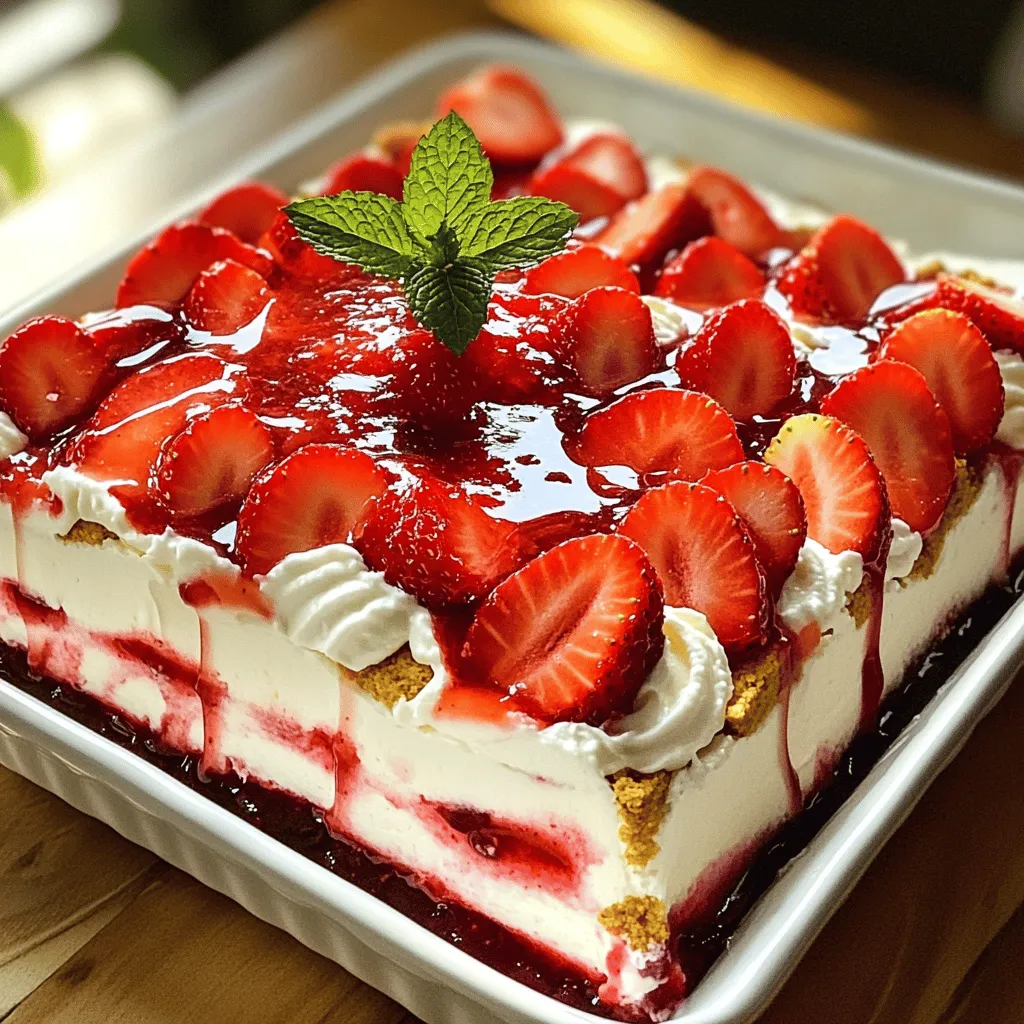
Strawberry Cheesecake Icebox Cake Delightful Dessert
Craving a cool, creamy dessert that’s as easy to make as it is delicious? Look no further than this Strawberry Read Full Recipe -
No Bake Peanut Butter Bars Quick and Easy Treat
Looking for a sweet treat that’s quick, easy, and requires no baking? I’ve got you covered with my No Bake Read Full Recipe -
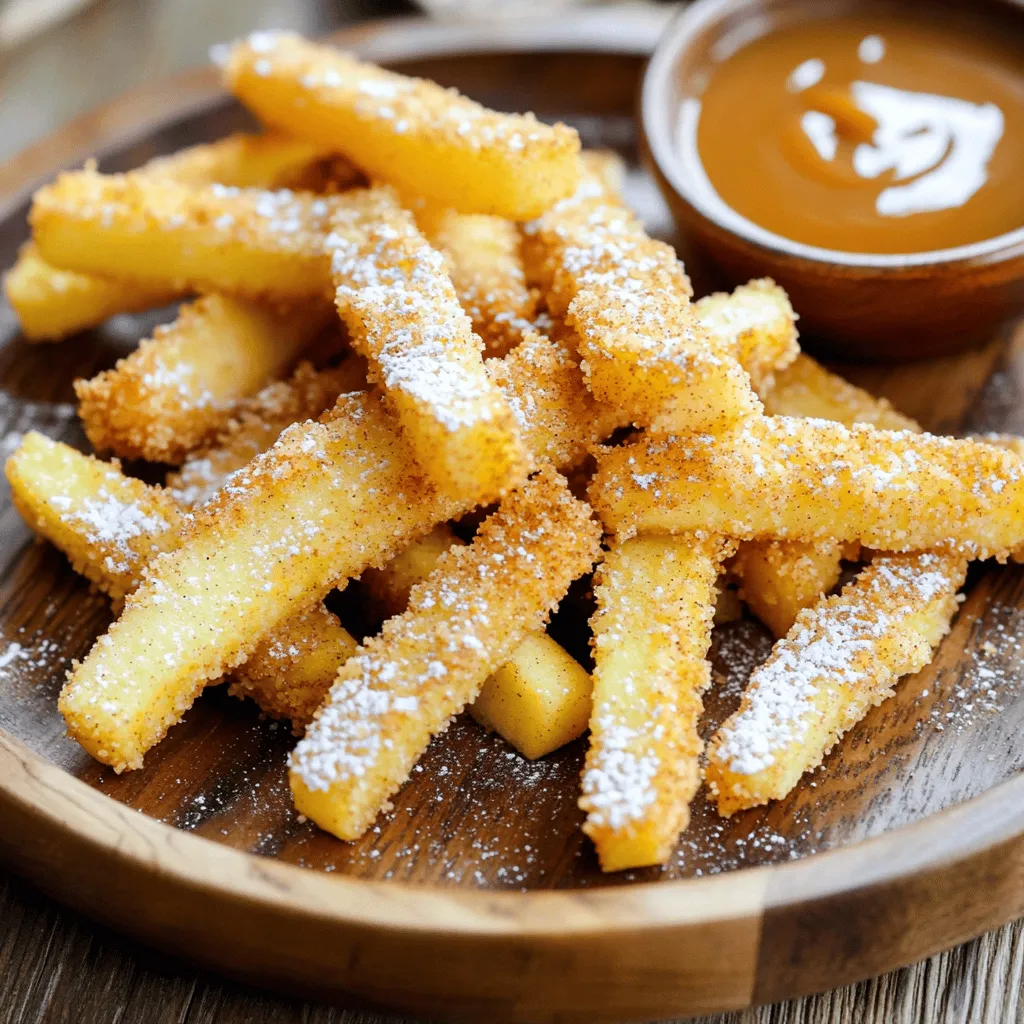
Air Fryer Apple Fries Delicious Crispy Snack Recipe
Craving a tasty snack that’s both fun and simple? Dive into my Air Fryer Apple Fries recipe! With a perfect Read Full Recipe -
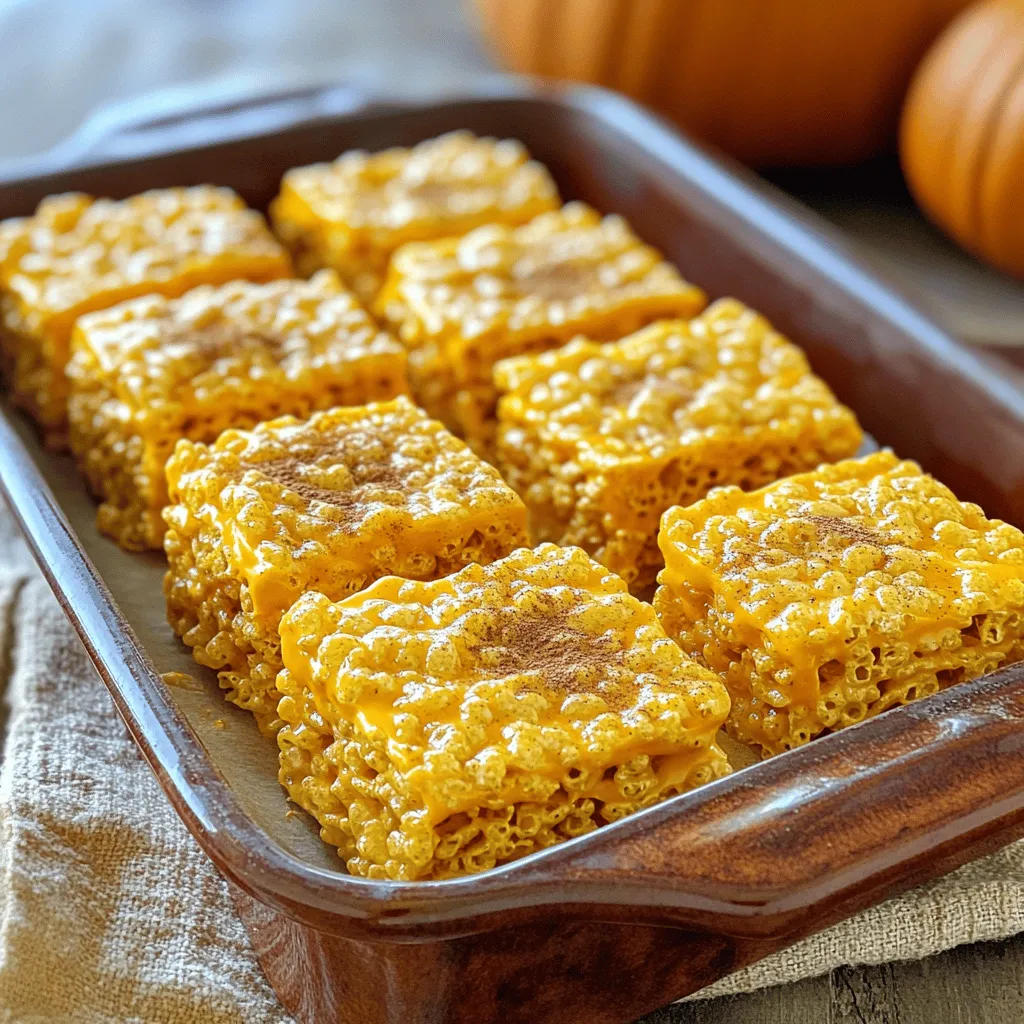
Pumpkin Spice Rice Krispie Treats Cozy Fall Delight
Fall is here, and what better way to celebrate than with Pumpkin Spice Rice Krispie Treats? These sweet, chewy delights Read Full Recipe -
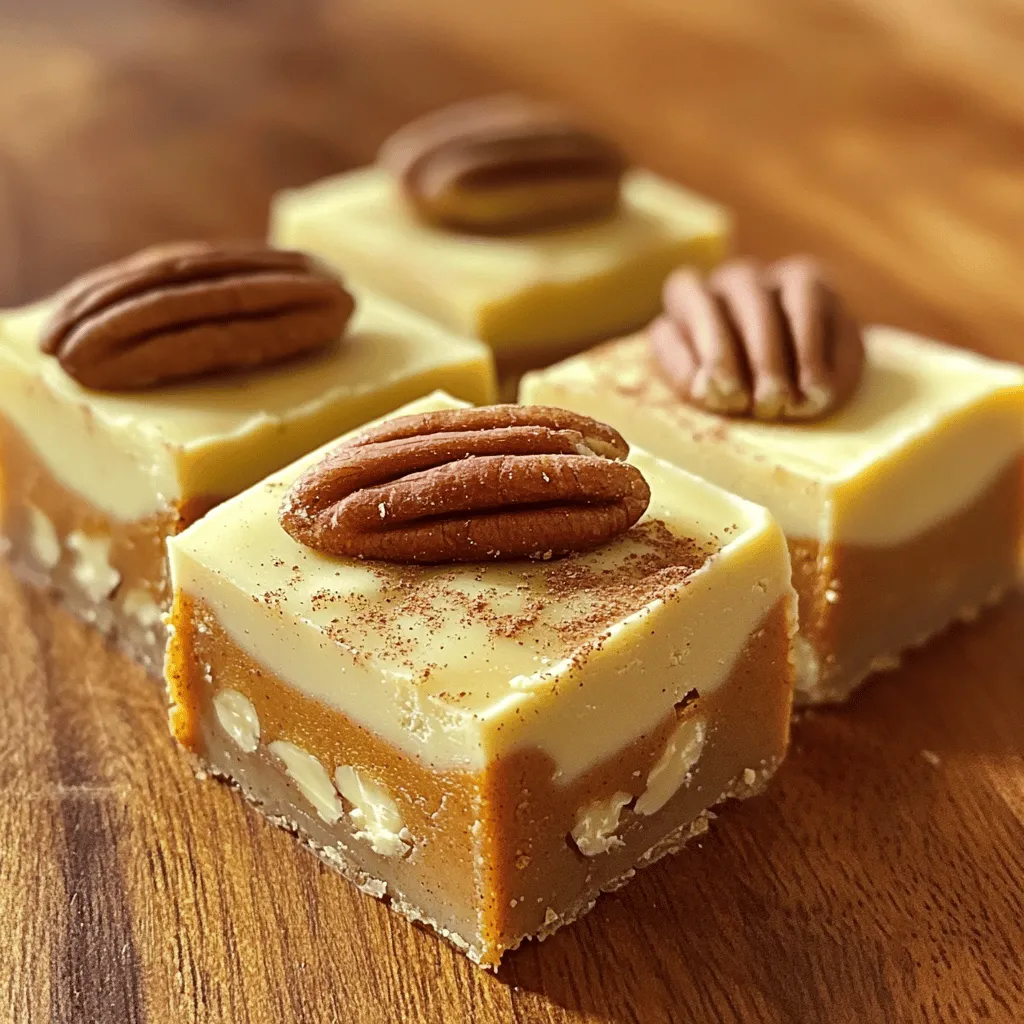
Pumpkin Spice Fudge Irresistible Fall Treat Recipe
Fall is here, and so is your new favorite treat: Pumpkin Spice Fudge! This sweet, creamy delight captures all the Read Full Recipe
My Latest Recipes

hey,
i’m !
I’m so happy you’re here!
My kitchen is filled with stories, flavors, and love and I’m so happy to share them with you. Here’s to dishes that feel like home.
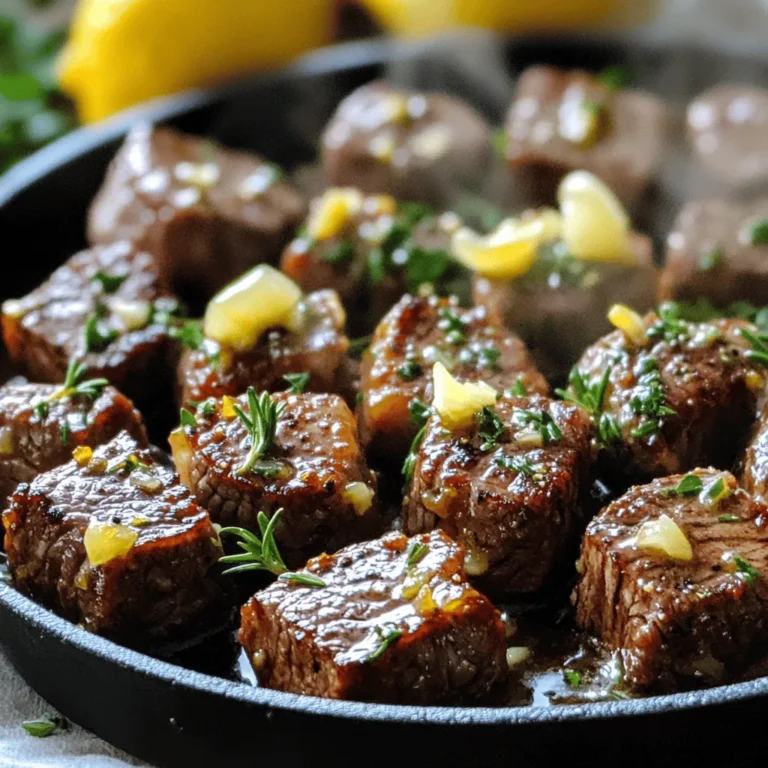
![- 1 lb (450g) large shrimp, peeled and deveined - 1 bunch asparagus, trimmed and cut into 2-inch pieces - 4 tablespoons unsalted butter - 4 cloves garlic, minced - 1 teaspoon lemon zest - 2 tablespoons fresh lemon juice - 1 teaspoon red pepper flakes - Salt and black pepper, to taste - Fresh parsley, chopped (for garnish) When I prepare garlic butter shrimp and asparagus, I love to start with fresh ingredients. Fresh shrimp gives the best texture and flavor. Look for shrimp that is firm and smells like the ocean. As for asparagus, choose bright green stalks. They should snap when you break them. The butter in this dish adds richness. It melts into a flavorful sauce and coats each shrimp and piece of asparagus. Garlic is key for depth. It brings a warm, savory note. The lemon zest and juice add a burst of brightness, balancing the richness. Red pepper flakes give a gentle heat. Adjust them based on your spice level. This dish is not only tasty but also colorful with green asparagus and pink shrimp. Each bite is a delight! For a final touch, sprinkle fresh parsley on top. It adds a pop of color and a hint of freshness. You can find the full recipe to make this dish easily at home. Enjoy every bite! - Rinse and dry shrimp under cold water. - Season with salt and pepper to taste. First, you want to make sure the shrimp are clean. Rinsing them helps remove any grit. Drying them with a paper towel makes them cook better. The salt and pepper add a nice flavor to the shrimp. - Sauté asparagus in butter until tender. - Remove and set aside cooked asparagus. Next, melt two tablespoons of butter in a large skillet. Add the asparagus pieces. Cook them for about three to four minutes. You want them to be crisp but tender. Once done, remove them from the skillet and set them aside. - Melt remaining butter in the skillet. - Add minced garlic and red pepper flakes. In that same skillet, add the last two tablespoons of butter. Once it melts, toss in the minced garlic and red pepper flakes. Cook this for about a minute. You want to smell that garlic, but don’t let it burn. - Add seasoned shrimp to the skillet. - Cook until shrimp turn pink and opaque. Now, add the shrimp back to the skillet. Cook them for about three to four minutes. They will turn pink and opaque when done. At this point, gently stir in lemon zest and lemon juice for added flavor. - Return asparagus to the skillet. - Mix everything together and heat through. After the shrimp are cooked, add the asparagus back to the skillet. Stir everything carefully to mix well. Heat it for another minute, so all the flavors blend. - Taste the dish and adjust seasonings. - Garnish with parsley before serving. Finally, taste your dish. You might want to add more salt, pepper, or lemon juice. Once you are happy, remove it from heat. Garnish with fresh parsley to make it look nice. Serve it warm for a delightful meal. For the full recipe, check the details above. When picking shrimp, you have two main choices: fresh or frozen. Fresh shrimp can taste great, but frozen shrimp is often just as good. Look for shrimp that smells clean and has a firm texture. Size matters too! Large shrimp, about 16-20 per pound, work best for this dish. They cook evenly and look impressive on the plate. To get tender asparagus, cook it just right. The best way is to sauté it until it's bright green and slightly soft. This usually takes about 3-4 minutes. When you shop for asparagus, choose stalks that are firm and straight. Look for bright green tips. This helps ensure you have fresh asparagus to complement your shrimp. To boost flavor, I love to make my own seasoning. A mix of lemon zest, garlic, and red pepper flakes gives a tasty kick. You can also add ingredients like cherry tomatoes or bell peppers for extra color and taste. These ideas make your garlic butter shrimp and asparagus even more special. For the full recipe, check out the Garlic Butter Shrimp & Asparagus Delight. {{image_2}} You can switch up the vegetables. Broccoli makes a great choice. It adds a nice crunch. Bell peppers bring color and sweetness. Snap peas add a fresh snap to the dish. Each of these options pairs well with garlic and butter. Feel free to mix them all in for a veggie medley! If you want to change the protein, shrimp is not the only option. Chicken works well too. Just cut it into bite-sized pieces. Cook it the same way as the shrimp. Tofu is another great choice. It soaks up all the garlic butter flavor. Just make sure to press it first to remove extra water. You can control the heat in this dish. If you like it spicy, keep the red pepper flakes. If you want less heat, reduce the amount. You can even leave them out. Add a dash of black pepper instead for flavor. Adjusting spice levels makes this dish perfect for anyone! For the full recipe, check out the [Full Recipe]. To store leftovers properly, place them in an airtight container. Make sure the shrimp and asparagus cool down first. Store in the fridge for up to 3 days. When you want to eat it again, check for any odd smells. If it smells fine, you can reheat it. Best practices for freezing garlic butter shrimp and asparagus include using freezer-safe bags. Remove as much air as you can before sealing. Label the bags with the date. You can freeze for up to 2 months. When ready to eat, thaw in the fridge overnight for best results. To reheat for the best texture and taste, use a skillet over low heat. Add a splash of water or broth to help steam the dish. Stir gently until heated through. This keeps the shrimp juicy and the asparagus tender. Avoid using the microwave, as it can make the shrimp rubbery. It takes about 10 minutes to prep. The total cooking time is around 10 minutes. So, in just 20 minutes, you can have this tasty dish ready to enjoy. Yes, you can use frozen shrimp. Frozen shrimp can save time and are often just as good. To use them, thaw them first under cold water. Pat them dry before cooking. This helps them cook evenly and keeps the dish tasty. This dish pairs well with several sides. Consider serving it with rice or quinoa. Garlic bread also makes a great choice. A fresh salad can add a nice touch too. These sides will balance the meal and enhance the flavors. To lighten up this dish, you can use less butter. Try using olive oil instead. You can also add more vegetables like bell peppers or broccoli. Using whole grain pasta instead of rice can add more fiber. These swaps keep the meal delicious and nutritious. For the full recipe, check the link. This dish of Garlic Butter Shrimp and Asparagus is simple and delicious. You can make it quickly using fresh ingredients. Remember to choose good shrimp and asparagus for the best taste. Feel free to explore variations, like different vegetables or proteins. Storing leftovers is easy, and reheating keeps flavors strong. Enjoy your cooking experience and make it a meal that delights you and others. This easy recipe will surely impress at your next gathering!](https://southerndishes.com/wp-content/uploads/2025/06/b29050bb-5d59-46b3-9234-6bebebfe1409-300x300.webp)
![- Zucchini and Preparation - 2 medium zucchinis, thinly sliced. Use a sharp knife for even cuts. This helps each chip cook the same. - Seasonings and Spices - 1 cup grated Parmesan cheese. This cheese adds a rich flavor. - 1 teaspoon garlic powder. This gives a strong garlic taste. - 1 teaspoon onion powder. It adds a nice depth. - 1 teaspoon smoked paprika. This gives a warm, smoky flavor. - Salt and pepper, to taste. Adjust to your liking. - Additional Ingredients (optional) - 2 tablespoons olive oil. This helps the spices stick and adds healthy fat. - Fresh parsley, chopped (for garnish). It adds color and freshness. Gather these ingredients to get started on the crispy garlic Parmesan zucchini chips. For a complete guide, check the Full Recipe. The blend of spices and the cheese makes these chips flavorful and addictive. Preheating the Oven First, preheat your oven to 225°F (110°C). This low temperature helps the zucchini dry out and get crispy. Mixing the Coating In a bowl, mix 1 cup of grated Parmesan cheese, 1 teaspoon of garlic powder, 1 teaspoon of onion powder, and 1 teaspoon of smoked paprika. Add salt and pepper to taste. This blend gives the chips a rich flavor. Coating the Zucchini Slice 2 medium zucchinis thinly. In the same bowl, drizzle 2 tablespoons of olive oil over the zucchini. Toss them gently in the spice mix until they are well-coated. Then, sprinkle the cheese mixture on top, pressing it down lightly to stick. Arranging Zucchini for Baking Line a baking sheet with parchment paper. Place the zucchini slices in a single layer. Make sure none overlap. This helps them bake evenly, leading to perfect crispiness. Timing and Temperature Bake the zucchini in your preheated oven for about 2 hours. Keep an eye on them. Check halfway through and rotate the baking sheet if needed. You want them crispy and golden. Cooling and Garnishing Once the zucchini chips are done, take them out of the oven. Let them cool for a few minutes. For the final touch, garnish with freshly chopped parsley. It adds a nice color and fresh taste. Enjoy your crispy snack! Thickness of Zucchini Slices Slice your zucchini about 1/8 inch thick. This thickness gives you the best crunch. If the slices are too thick, they will not crisp well. You can use a mandoline for even slices. Baking Techniques Baking at a low temperature is key. Set your oven to 225°F (110°C). This slow cook allows moisture to escape. Place zucchini slices in a single layer on the baking sheet. Avoid overlapping to ensure even cooking. Halfway through, check and rotate the baking sheet. This promotes uniform crispiness. Additional Seasonings While garlic and Parmesan shine, you can add more flavor. Try a pinch of cayenne for heat. A sprinkle of Italian herbs adds depth. For a twist, use lemon zest for brightness. Pairing Suggestions Zucchini chips taste great alone. For added fun, serve with dips. Marinara sauce makes a classic pairing. You can also try ranch or a spicy aioli. These sides boost flavor and make your chips even more enjoyable. For the full recipe and more details, check the [Full Recipe]. {{image_2}} You can switch up the cheese in these chips. Cheddar gives a sharp taste. Mozzarella adds a nice stretch and creaminess. If you're vegan, try a plant-based cheese. It melts well and tastes great too. Each cheese option creates a new flavor that enhances your snack. Want to kick it up a notch? Add red pepper flakes for heat. Just a pinch can make a big change. You can also drizzle hot sauce over the zucchini before baking. This adds a tasty zing and makes each bite exciting. Adjust the spice level to match your taste. Baking is the classic way to make these chips. But, air frying is a great option too. Air frying gives you a crispy texture with less oil. It may cut down on calories while still tasting delicious. Try both methods to see which you like best. You might find a new favorite way to enjoy these chips. To keep your Garlic Parmesan Zucchini Chips fresh, choose the right container. I recommend using an airtight container. Glass or plastic containers work great. Make sure the chips are completely cool before storing them. This step helps prevent moisture build-up. For short-term storage, you can keep them in the fridge. If you want to save them for longer, freezing is a good option. Just layer them between parchment paper to avoid sticking. How long do they last? When stored properly in the fridge, they stay fresh for about 3-4 days. If you choose to freeze them, they can last up to 2 months. However, keep in mind that freezing may change the texture. They might not be as crispy after thawing. For the best taste and texture, enjoy them within a few days. For the full recipe, check out the earlier sections of this article. To make Garlic Parmesan Zucchini Chips, follow these key steps: 1. Preheat the oven to 225°F (110°C) and line a baking sheet with parchment paper. 2. Mix seasonings: In a bowl, combine Parmesan cheese, garlic powder, onion powder, smoked paprika, salt, and pepper. 3. Prepare zucchini: Slice the zucchinis thinly. Then, drizzle olive oil over the slices and toss to coat. 4. Coat zucchini: Sprinkle the cheese mixture over the zucchini. Press down to help it stick. 5. Arrange on the baking sheet: Lay the zucchini slices in a single layer, avoiding overlaps. 6. Bake: Cook in the oven for about 2 hours or until crispy and golden. 7. Cool and garnish: Let the chips cool a bit and sprinkle chopped parsley before serving. This process creates a crunchy, cheesy snack, perfect for any occasion. If you want the full recipe, check the earlier section. Yes, you can use other vegetables! Here are some great alternatives: - Eggplant: Slices of eggplant can mimic the crispiness of zucchini. - Sweet Potatoes: Thinly sliced sweet potatoes offer a sweet twist. - Carrots: They add a nice crunch and sweetness to the mix. - Kale: For a healthier option, try kale leaves. They turn crispy and flavorful. Feel free to experiment with different veggies to find your favorite! Zucchini Chips pair well with various dips and snacks. Here are some tasty suggestions: - Marinara Sauce: A classic choice that adds a rich flavor. - Ranch Dressing: Creamy and cool, it complements the chips perfectly. - Hummus: A healthy, savory option that adds great texture. - Guacamole: This adds a creamy, tangy flavor that works well. These dips will take your snacking experience to the next level! This blog post covered how to make delicious zucchini chips. We explored the right ingredients, like zucchini, spices, and optional add-ins. I shared step-by-step instructions to prepare, bake, and garnish your chips. We discussed tips for perfect crispiness and offered fun variations, from cheese choices to spicy twists. Lastly, we looked at storage tips to keep your chips fresh. Now, you can enjoy tasty, homemade zucchini chips anytime. It’s a fun way to eat veggies!](https://southerndishes.com/wp-content/uploads/2025/07/5d02e02a-9b2d-4920-95ae-0899ff431fcc-300x300.webp)
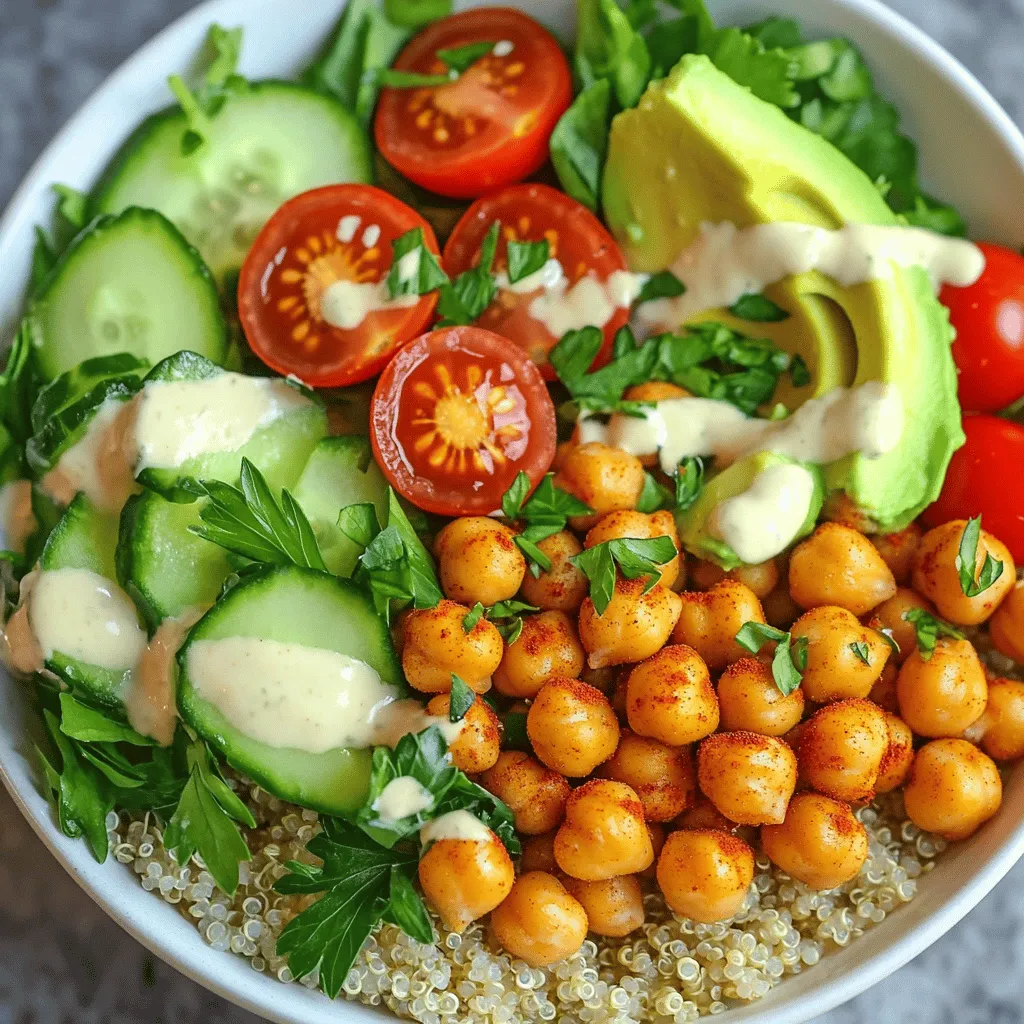
Crispy Chickpea Buddha Bowl Nutritious Delight
Looking for a tasty and healthy meal? Try my Crispy Chickpea Buddha Bowl! Packed with protein, fresh veggies, and crunchy chickpeas, it’s a delight…