
Latest & Greatest

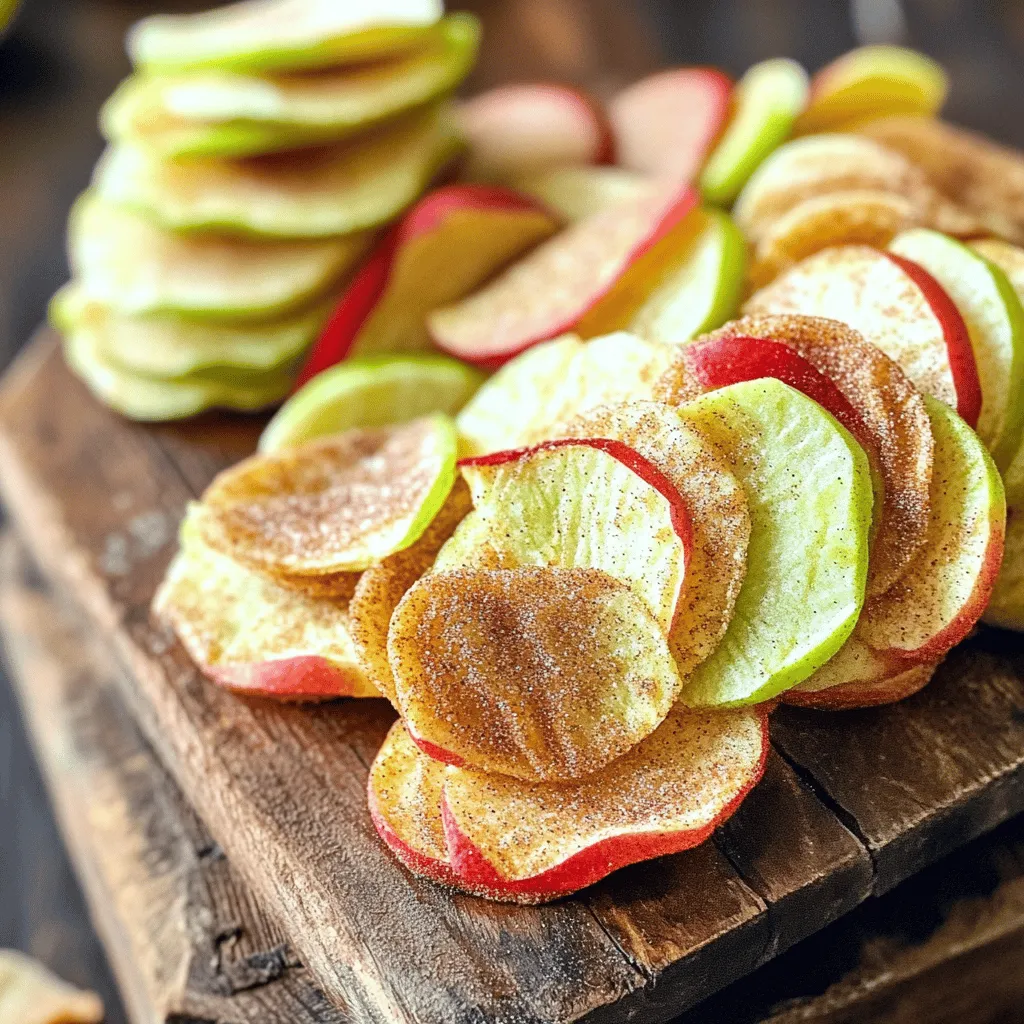
Air Fryer Cinnamon Apple Chips Crunchy and Sweet Snack
Ready for a snack that’s both crunchy and sweet? You’ll love these Air Fryer Cinnamon Apple Chips! With just a
Read more…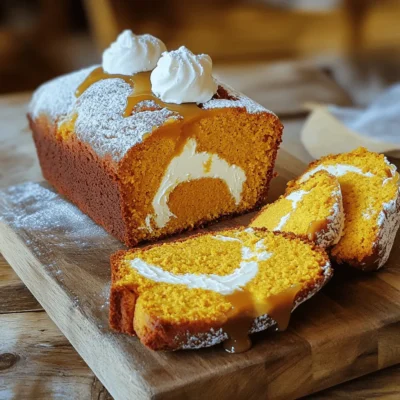
Pumpkin Spice Cream Cheese Loaf Irresistible Treat
Fall is here, and nothing says cozy like a warm slice of Pumpkin Spice Cream Cheese Loaf. This treat mixes
Read more…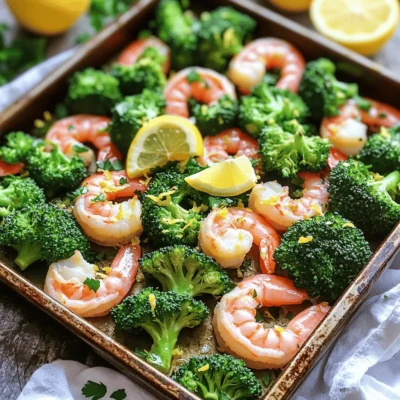
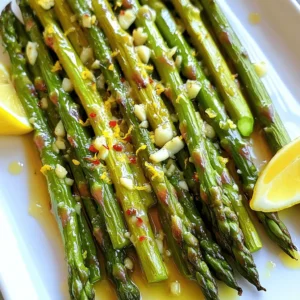
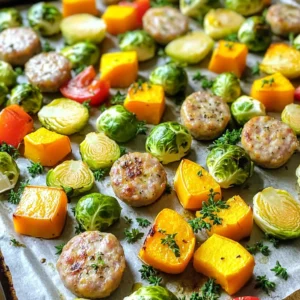
Sheet Pan Lemon Garlic Shrimp Broccoli Delight
Are you looking for a quick, tasty dinner? Get ready to fall in love with my Sheet Pan Lemon Garlic
Read more…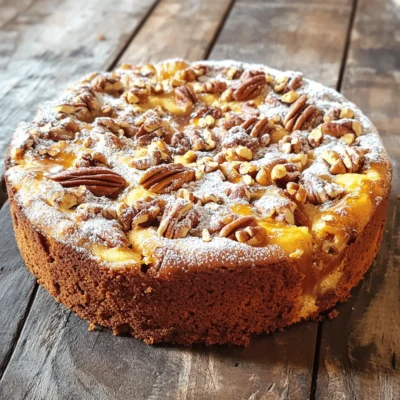
Maple Pecan Coffee Cake Irresistible and Simple Recipe
If you love sweet treats that are easy to make, you’ll adore this Maple Pecan Coffee Cake recipe. This cake
Read more…
Creamy Cajun Pasta With Sausage Flavorful Dinner Idea
Looking for a fun dinner idea that packs a punch? Creamy Cajun Pasta with Sausage is just what you need!
Read more…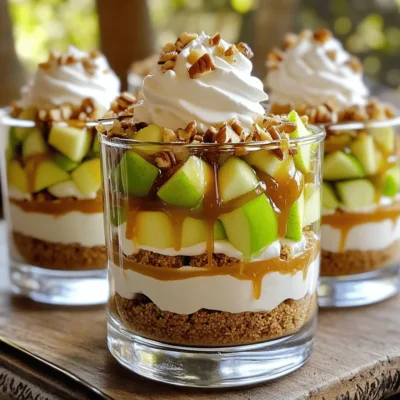
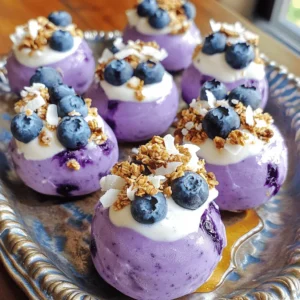
Caramel Apple Cheesecake Trifles Easy and Delicious Treat
Craving a dessert that’s easy to make and oh-so-delicious? Let’s dive into Caramel Apple Cheesecake Trifles! This layered treat combines
Read more…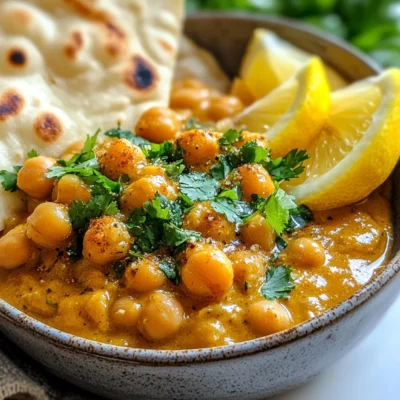
Butter Chickpeas Flavorful and Simple Recipe Guide
Get ready to spice up your dinner with my easy Butter Chickpeas recipe! This dish is rich, creamy, and packed
Read more…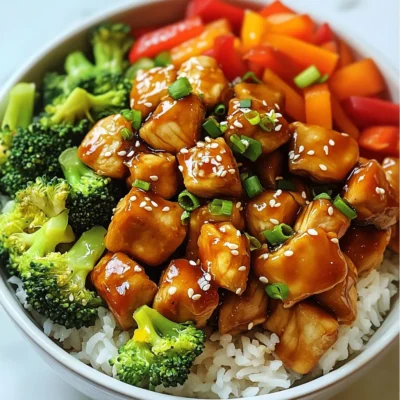
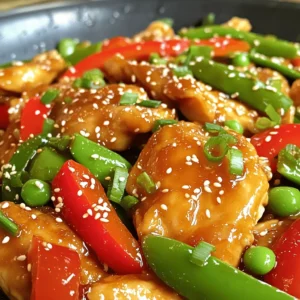
Teriyaki Chicken Bowl Simple and Tasty Recipe
Are you ready to create a delicious Teriyaki Chicken Bowl that impresses? This simple and tasty recipe gives you all
Read more…browse recipes

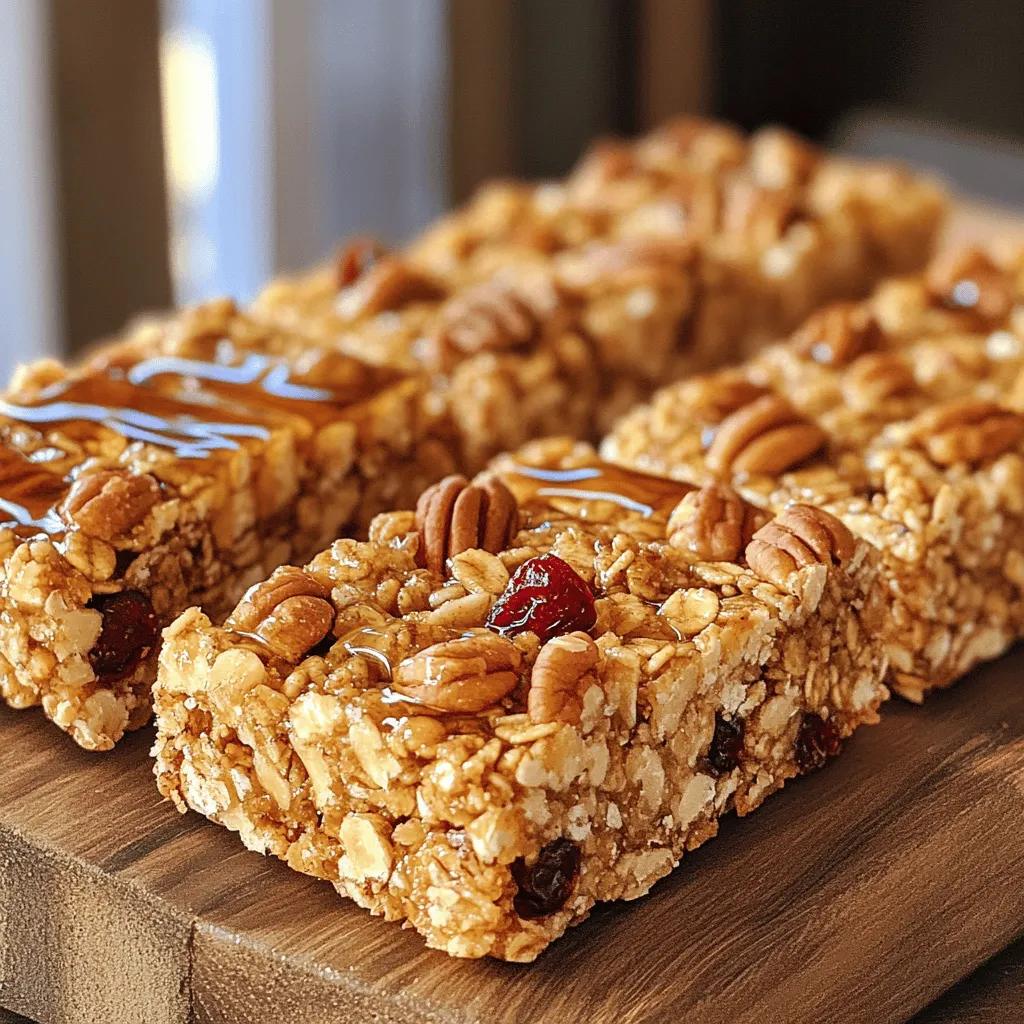
Maple Pecan Granola Bars Easy and Nutritious Treat
Craving a tasty snack that’s easy to make and packed with nutrition? Look no further! My Maple Pecan Granola Bars are the perfect treat…
My Latest Desserts
My Latest Recipes

hey,
i’m !
I’m so happy you’re here!
My kitchen is filled with stories, flavors, and love and I’m so happy to share them with you. Here’s to dishes that feel like home.

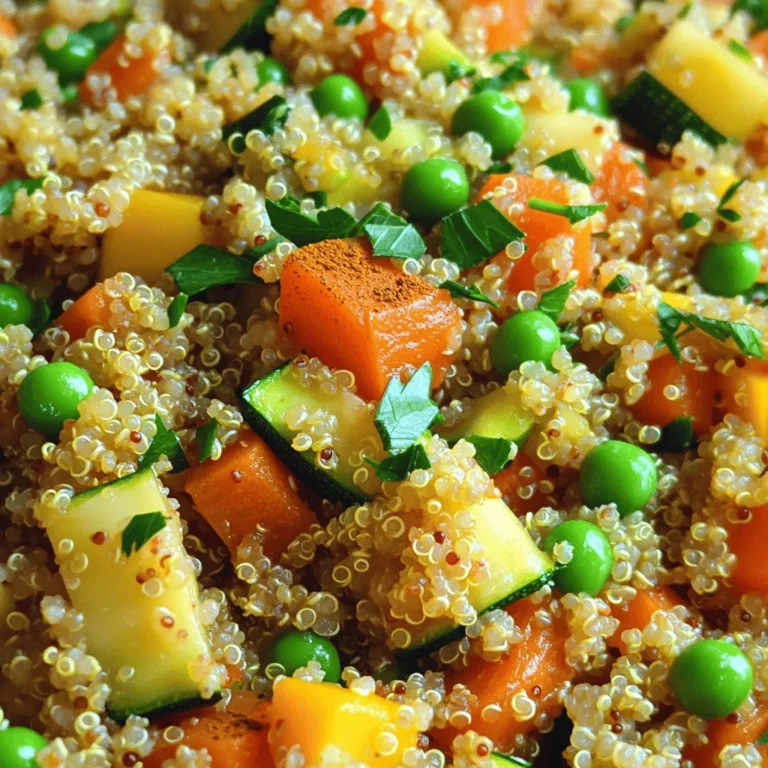
. To keep your zucchini noodles from getting soggy, salt them. After spiralizing, sprinkle salt over the noodles and let them sit for 10 minutes. This draws out moisture. Pat the noodles dry with a clean towel before cooking. For a perfect al dente texture, cook them only for a few minutes. Add them last to the stir fry. This way, they heat up without becoming mushy. To boost flavor, consider adding spices like garlic powder or onion powder. A splash of rice vinegar can add a nice tang. You can also use sauces like teriyaki or hoisin for a different twist. For a complete meal, add protein like chicken, shrimp, or tofu. Cook the protein first, then set aside. Add it back to the stir fry before serving. A good skillet or wok makes a big difference. I recommend using a non-stick skillet for easy cooking. A wok helps with even heat and quick cooking. You’ll also need a spiralizer for your zucchini noodles. If you don’t have one, a vegetable peeler works well too. A sturdy cutting board and sharp knife are must-haves for all your chopping needs. For the full recipe, check out the Zesty Zucchini Noodle Stir Fry. {{image_2}} You can add protein to your zucchini noodle stir fry. Options include chicken, shrimp, or tofu. For chicken, cut it into small pieces. Cook it for 5-7 minutes before adding veggies. Shrimp cooks fast, needing only 3-4 minutes. If using tofu, press it to remove water. Cook it until golden, about 5-6 minutes. Feel free to swap or add veggies. Carrots, bell peppers, and snap peas work well. You can try mushrooms, zucchini, or spinach too. In summer, use fresh corn or tomatoes. In winter, choose root vegetables like squash or sweet potatoes. The key is to keep the colors bright and flavors fresh. To make this dish gluten-free, use tamari instead of soy sauce. This simple swap keeps the flavor intact. For a vegan version, replace honey with maple syrup. You can also skip any animal products altogether. Enjoy this dish while keeping it healthy and tasty! To keep your Zucchini Noodle Stir Fry fresh, store leftovers in an airtight container. Place it in the fridge right away. This dish stays good for about 3 days. After that, the zucchini may get too soft. You can freeze this stir fry, but it needs care. First, let it cool completely. Then, pack it in a freezer-safe container. Make sure to remove as much air as you can. It will last for about 2 months in the freezer. When you’re ready to eat, thaw it overnight in the fridge. Reheat in a skillet over low heat. This helps keep the texture nice. For quick meals, you can prep this dish ahead of time. Spiralize the zucchinis and chop the veggies a day before. Store them in separate containers. Keep the sauce in another container. This way, everything stays fresh. When you’re ready to cook, just combine and stir-fry! This method saves you time and keeps flavors bright. If you don’t have a spiralizer, you can still make zucchini noodles. Use a vegetable peeler to create thin strips. You can also use a box grater to shred the zucchini. Both methods work well and give you a fun noodle shape. Yes, you can use frozen vegetables. However, they may make the dish a bit soggy. Frozen veggies often lose some crunch and flavor. If you use them, cook them less than fresh vegetables. This helps keep a nice texture in your stir fry. Zucchini noodles are low in carbs and calories. They are high in vitamins and fiber. This makes them a great choice for a healthy meal. They also help you feel full without adding extra calories. Zucchini noodles are a perfect swap for traditional pasta. To boost flavor, add fresh herbs like basil or cilantro. You can also use soy sauce or tamari for saltiness. Try adding a splash of rice vinegar for tang. For heat, sprinkle in crushed red pepper flakes. These simple tips will take your stir fry to the next level. You now have everything you need to create a delicious zucchini noodle stir fry. We covered main ingredients, step-by-step cooking, and helpful tips. Remember to balance the flavors with sauces and consider adding proteins to boost nutrition. You can easily adapt the recipe to fit your taste. Keep leftovers fresh and enjoy meal prep for quick meals later. With this guide, you can impress anyone with your cooking skills and enjoy healthy eating. Dive into your stir fry adventure today!](https://southerndishes.com/wp-content/uploads/2025/06/15039ce6-94a4-42ce-85db-f411afe534ba-300x300.webp)
Air Fryer Cinnamon Apple Chips Crunchy and Sweet Snack
Ready for a snack that’s both crunchy and sweet? You’ll love these Air Fryer Cinnamon Apple Chips! With just a few simple ingredients like…