

Latest & Greatest

Slow Cooker Chicken Pot Pie Soup Comforting Meal Idea
If you’re craving a warm, cozy meal, this Slow Cooker Chicken Pot Pie Soup is a must-try! With tender chicken,
Read more…
Harvest Sausage & Veggie Sheet Pan Delightful Dinner
Looking for a simple, tasty dinner option? You’ll love this Harvest Sausage & Veggie Sheet Pan recipe! It combines juicy
Read more…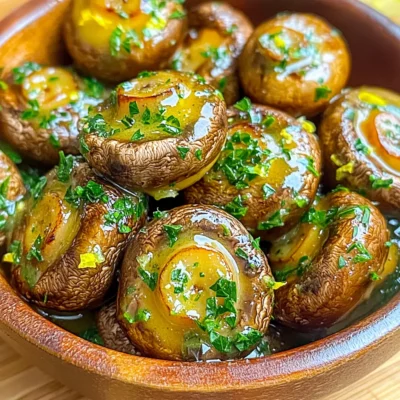
Air Fryer Garlic Butter Herb Mushrooms Delightful Dish
Are you ready to savor a dish that bursts with flavor? Air Fryer Garlic Butter Herb Mushrooms are here to
Read more…
Cinnamon Roll Overnight Oats High Protein Delight
Craving a sweet and satisfying breakfast without the guilt? Cinnamon Roll Overnight Oats High Protein Delight is your answer! This
Read more…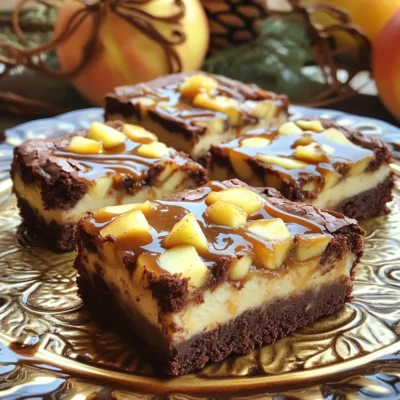
Caramel Apple Cheesecake Brownies Decadent Delight
Get ready to indulge in the sweetest treat with my Caramel Apple Cheesecake Brownies! These brownies are a perfect mix
Read more…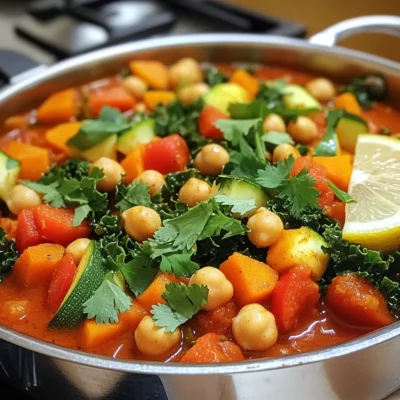
Moroccan Chickpea Harissa Stew One Pot Delight
Looking for a warm, tasty meal with a kick? My Moroccan Chickpea Harissa Stew is just what you need. This
Read more…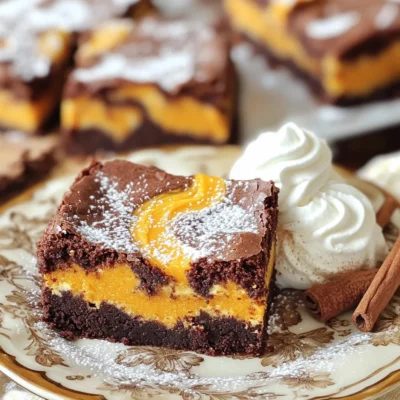
Pumpkin Cheesecake Swirl Brownies Irresistible Treat
Who can resist the rich, creamy delight of Pumpkin Cheesecake Swirl Brownies? This treat combines two favorite desserts into one
Read more…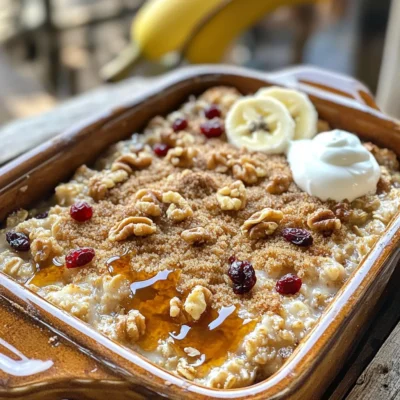
Maple Brown Sugar Baked Oatmeal Savory and Simple Dish
Are you ready to enjoy a warm and comforting breakfast? I’m excited to share my Maple Brown Sugar Baked Oatmeal
Read more…browse recipes


![To make zesty lemon bars, gather these items: - 1 cup all-purpose flour - 1/4 cup powdered sugar - 1/2 cup unsalted butter, softened - 2 large eggs - 1 cup granulated sugar - 1/4 cup fresh lemon juice (about 2 lemons) - Zest of 2 lemons - 1/2 teaspoon baking powder - Pinch of salt - Additional powdered sugar for dusting You can change your lemon bars with these fun options: - Add a teaspoon of vanilla extract for extra flavor. - Use lime juice and zest for a twist. - Fold in blueberries or raspberries for a fruity kick. You will find these tools helpful: - 8x8-inch baking pan - Parchment paper - Mixing bowls - Whisk or fork - Wire rack for cooling - Measuring cups and spoons These ingredients and tools will set you up for success in making delicious zesty lemon bars. For the full recipe, refer to the section above. Enjoy the tangy and refreshing taste! First, preheat your oven to 350°F (175°C). This step is key for even baking. Next, grab an 8x8-inch baking pan. Line it with parchment paper. Let the paper hang over the edges. This helps you lift the bars out later. In a medium bowl, mix 1 cup of all-purpose flour and 1/4 cup of powdered sugar. Then, add 1/2 cup of softened unsalted butter. Use a fork or your fingers to mix until it looks like coarse crumbs. Now, press this mixture evenly into the bottom of the pan. It should be smooth and flat. While the crust is baking, let's focus on the lemon filling. In a separate bowl, whisk together 2 large eggs, 1 cup of granulated sugar, 1/4 cup of fresh lemon juice, and the zest of 2 lemons. Add 1/2 teaspoon of baking powder and a pinch of salt. Mix until everything is smooth and well combined. Once the crust is lightly brown, pour the lemon filling over it. Bake again for 20-25 minutes. The filling should be set and not jiggle when you shake it. When done, remove it from the oven. Let the lemon bars cool completely in the pan on a wire rack. After cooling, use the parchment paper to lift them out. Dust the top with extra powdered sugar. Finally, cut into squares and enjoy your zesty lemon bars! To get that perfect sweet-tart balance, use fresh lemons. Fresh juice and zest give the best flavor. I personally squeeze the lemons right before use. This way, you get all the tanginess. If it tastes too sweet, add a bit more lemon juice. This small change makes a big difference. Many bakers overmix the filling. This can lead to dense bars. Mix just until combined for a light texture. Another mistake is not pre-baking the crust. A warm crust helps the filling set better. Also, check your oven temperature. Use an oven thermometer to ensure accuracy. This simple tool can improve your results. To keep your lemon bars fresh, store them in the fridge. Use an airtight container for the best results. They can last up to a week this way. For longer storage, freeze them. Wrap each bar in plastic wrap, then place in a freezer bag. This keeps them tasty for up to three months. Enjoy your zesty lemon bars anytime! Check the [Full Recipe] for more details. {{image_2}} You can make gluten-free lemon bars easily. Just swap the all-purpose flour for a gluten-free blend. Look for a mix that works well in baking. I recommend using a 1:1 gluten-free flour blend for best results. This change keeps your bars zesty and delicious for everyone. To make vegan lemon bars, replace the eggs with flaxseed meal. Mix 1 tablespoon of flaxseed meal with 2.5 tablespoons of water. Let it sit for five minutes. This mixture works like an egg. Use plant-based butter instead of regular butter. These small swaps give you tasty vegan lemon bars. Want to add a twist? Try infused flavors like lavender or coconut. For lavender, add 1 teaspoon of culinary lavender to the filling mix. This adds a floral note. If you prefer coconut, mix in 1/2 cup of shredded coconut. This change adds texture and a tropical flavor. You can find these ideas in the Full Recipe as well. To keep your zesty lemon bars fresh, store them in an airtight container. Place parchment paper between layers to prevent sticking. You can keep them in the fridge for up to a week. The cool air enhances their tangy flavor and keeps them firm. If you want to save lemon bars for later, freezing works great! First, let them cool completely. Cut them into squares, then wrap each piece in plastic wrap. Place the wrapped bars in a freezer-safe container. They can last up to three months in the freezer. When you’re ready to enjoy, just thaw them in the fridge overnight. Reheating lemon bars is simple. You can warm them in the microwave for about 10-15 seconds. This step softens the texture and brings back their fresh taste. You can also enjoy them cold right from the fridge. Either way, they remain a delightful treat. For the best experience, dust with powdered sugar just before serving. If you're interested in the complete process, check out the Full Recipe! Yes, you can use bottled lemon juice. However, fresh juice tastes better. Fresh lemons give your bars a bright flavor. Bottled juice often has added preservatives. For the best results, always choose fresh when you can. Lemon bars last about four to five days. Store them in the fridge for the best taste. Keep them covered to avoid drying out. You can freeze them for up to three months. Just cut them into squares before freezing for easy serving. You can use flaxseed meal as an egg substitute. Mix one tablespoon of flaxseed meal with three tablespoons of water. Let it sit for five minutes to thicken. This mixture works well in lemon bars. You can also try silken tofu or applesauce. To cut lemon bars, use a sharp knife. First, chill the bars in the fridge for a bit. This helps them set well. Dip the knife in hot water and wipe it dry before each cut. This method gives you clean, neat squares. For added flair, dust with powdered sugar after cutting. For the full recipe, check out the recipe section above. You learned how to make zesty lemon bars step-by-step. We covered ingredients, tools, and key techniques. I shared tips to avoid common mistakes and keep your bars fresh. You also discovered fun variations, like gluten-free and vegan options. Finally, I explained how to store and reheat your lemon treats. Baking lemon bars is simple and rewarding. Enjoy sharing them with friends and family!](https://southerndishes.com/wp-content/uploads/2025/05/b7a03847-672a-4d46-b1fe-47ade1f6fdb2.webp)
Zesty Lemon Bars Tangy and Refreshing Dessert Treat
Are you ready to brighten your day with a sweet and tangy treat? Zesty Lemon Bars are the perfect dessert to impress your friends…
My Latest Desserts
My Latest Recipes

hey,
i’m !
I’m so happy you’re here!
My kitchen is filled with stories, flavors, and love and I’m so happy to share them with you. Here’s to dishes that feel like home.


Apple Cider Donut Loaf Rich and Flavorful Delight
If you love the cozy taste of fall, you’ll adore my Apple Cider Donut Loaf! This rich and flavorful treat brings the warmth of…

