

Latest & Greatest
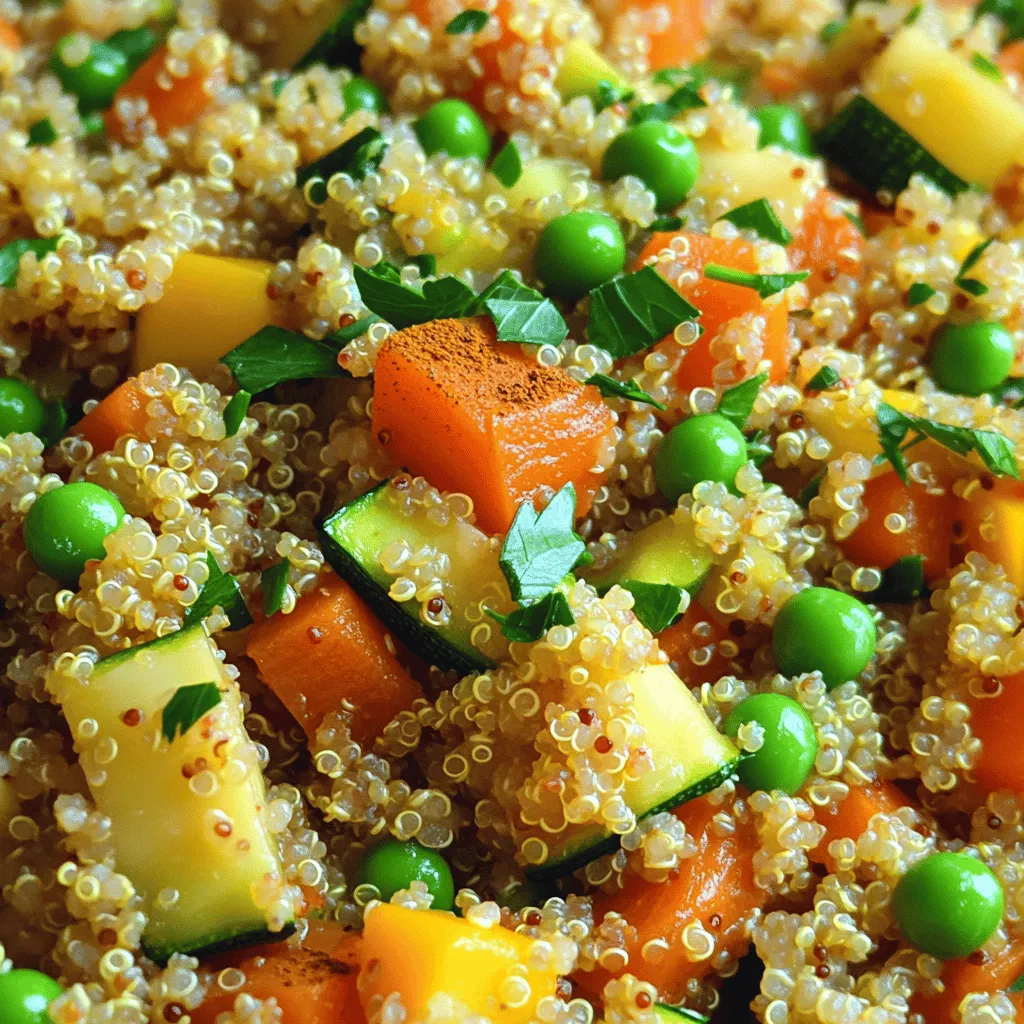
Quinoa Vegetable Pilaf Simple and Flavorful Recipe
Looking for a quick, tasty, and healthy meal? You’re in the right place! This Quinoa Vegetable Pilaf packs a punch
Read more…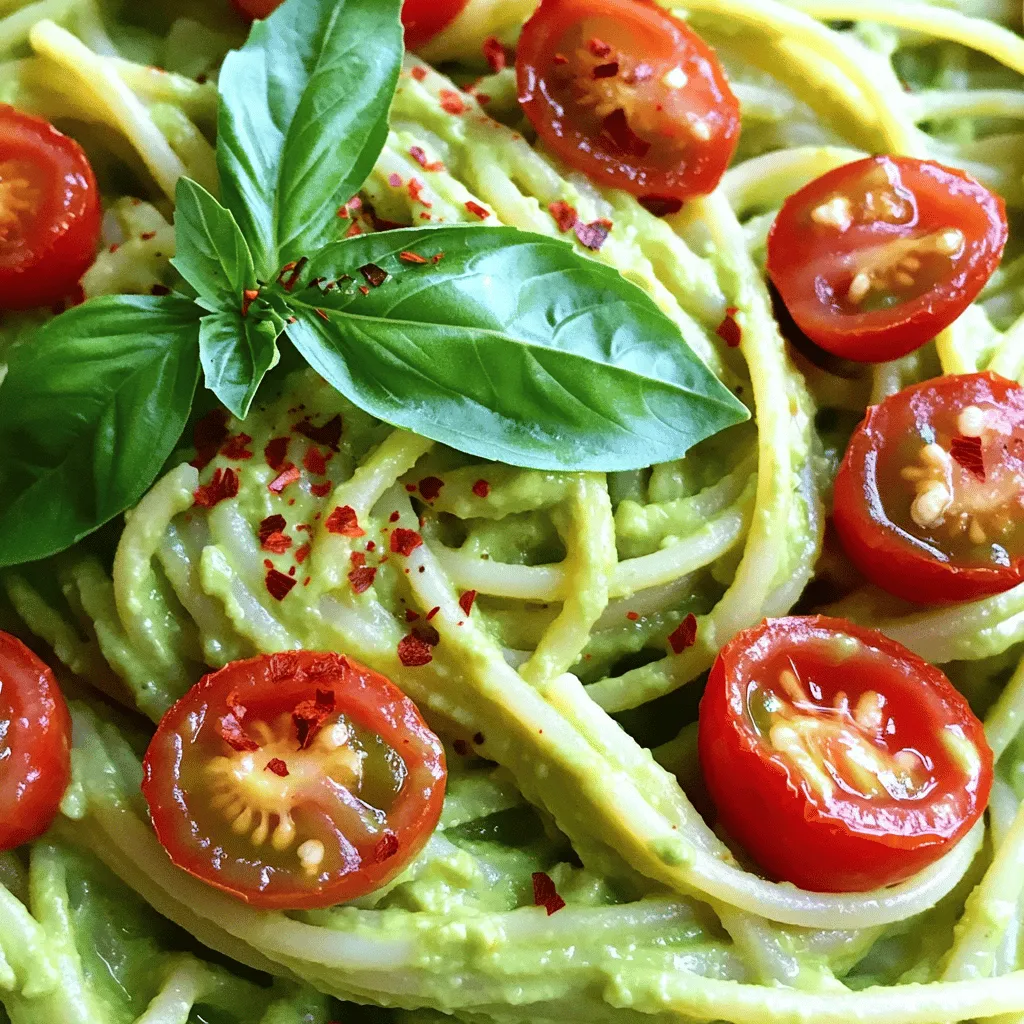
Creamy Avocado Pasta Quick and Flavorful Recipe
Are you ready to treat yourself to a deliciously creamy avocado pasta? This quick and flavorful recipe is perfect for
Read more…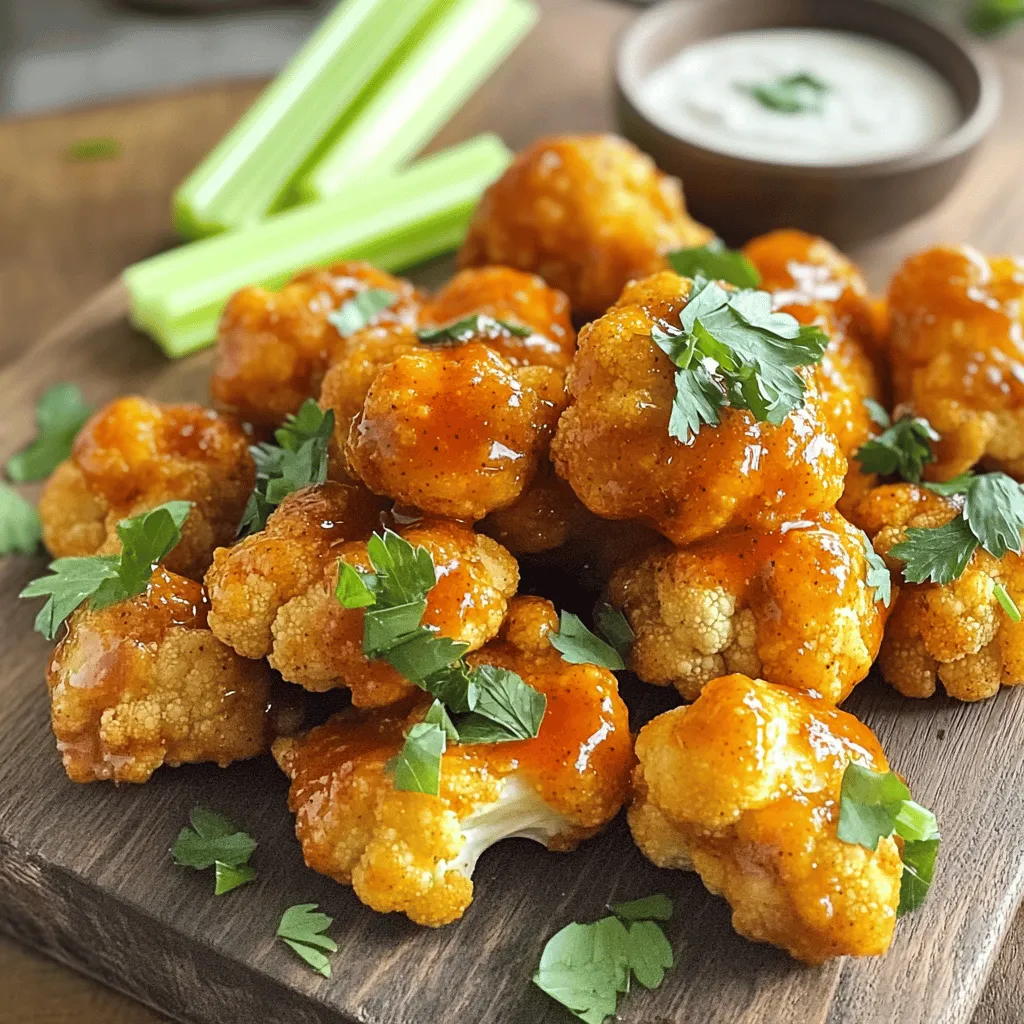
Vegan Cauliflower Buffalo Wings for Crispy Delight
If you crave a spicy, crispy snack, you’ll love these Vegan Cauliflower Buffalo Wings! This fun twist on a classic
Read more…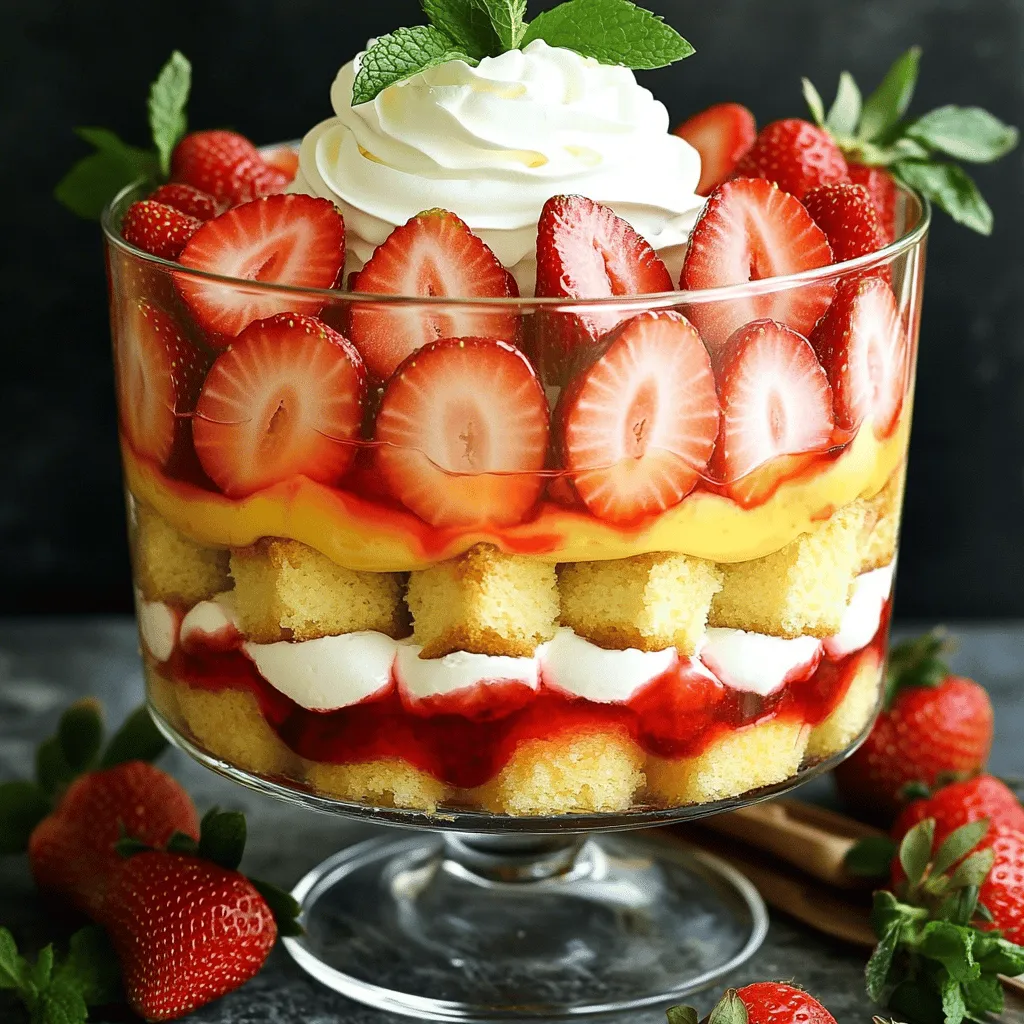
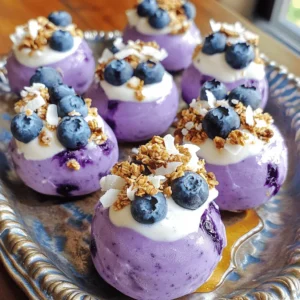
Strawberry Shortcake Trifle Delightful Summer Dessert
Looking for a refreshing dessert that screams summer? Let me introduce you to the Strawberry Shortcake Trifle, a delightful treat
Read more…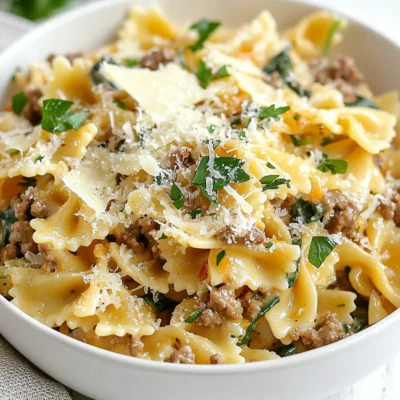
Creamy Parmesan Beef Bowtie Pasta Easy Dinner Recipe
Looking for a simple yet delicious dinner? My Creamy Parmesan Beef Bowtie Pasta checks all the boxes! This tasty dish
Read more…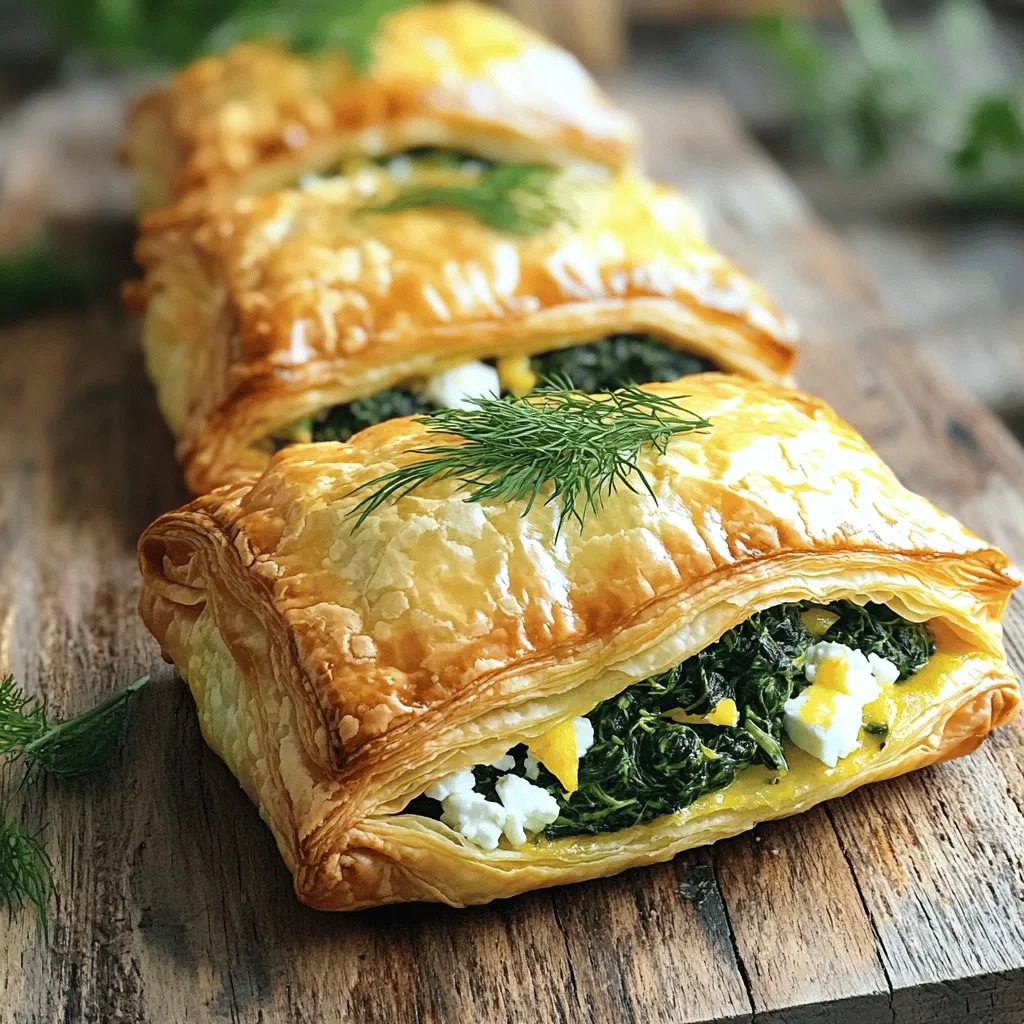
Savory Spinach and Feta Puff Pastry Delightful Treat
Looking for a delightful treat that’s both easy to make and packed with flavor? My Savory Spinach and Feta Puff
Read more…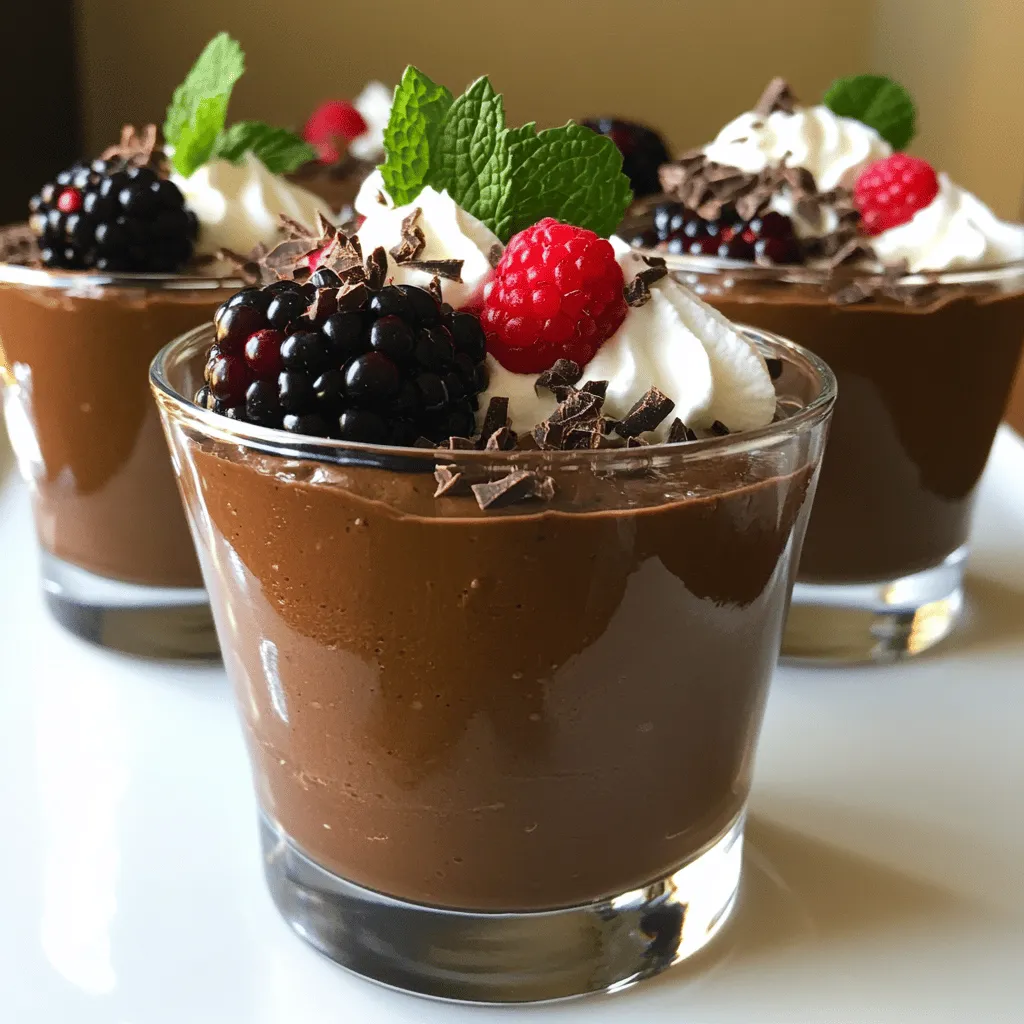
Dairy-Free Chocolate Avocado Mousse Rich and Decadent
Are you ready to indulge in a rich dessert without dairy? I’m excited to share my recipe for Dairy-Free Chocolate
Read more…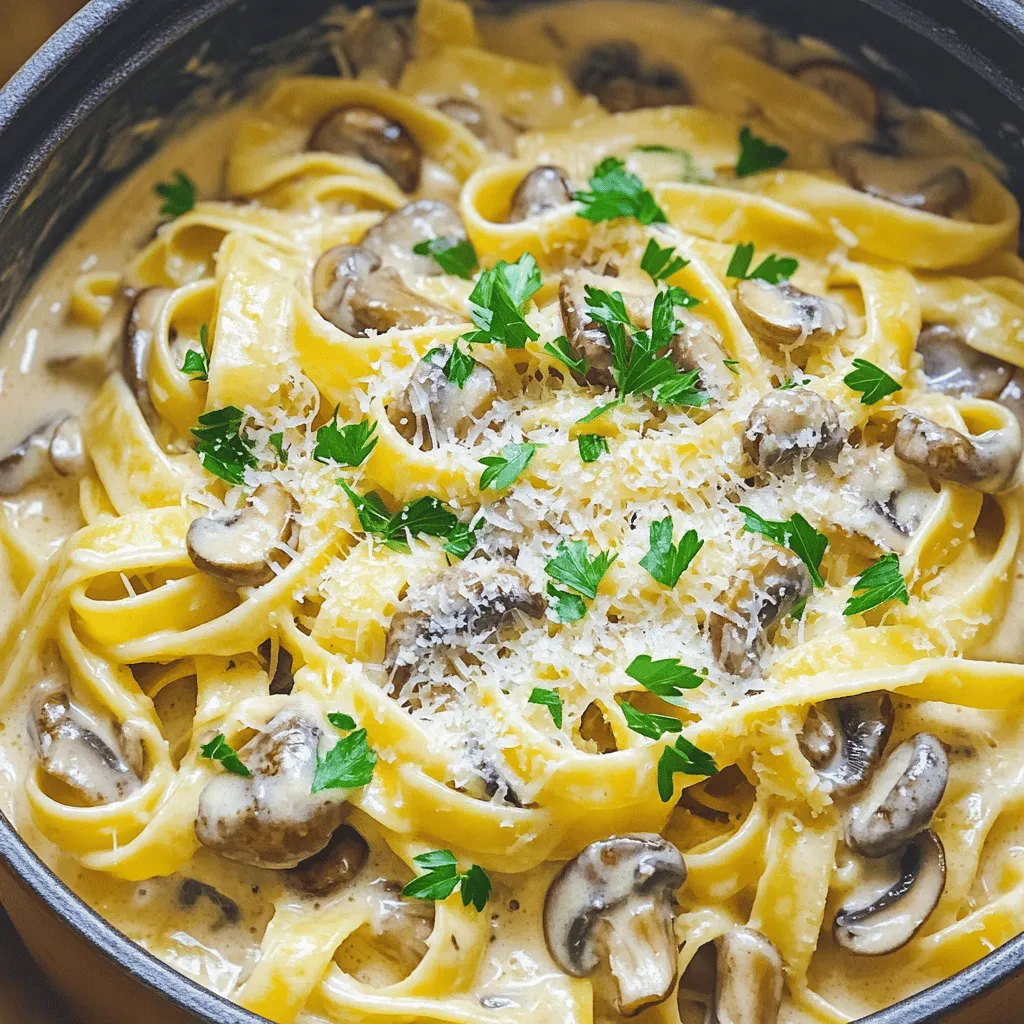
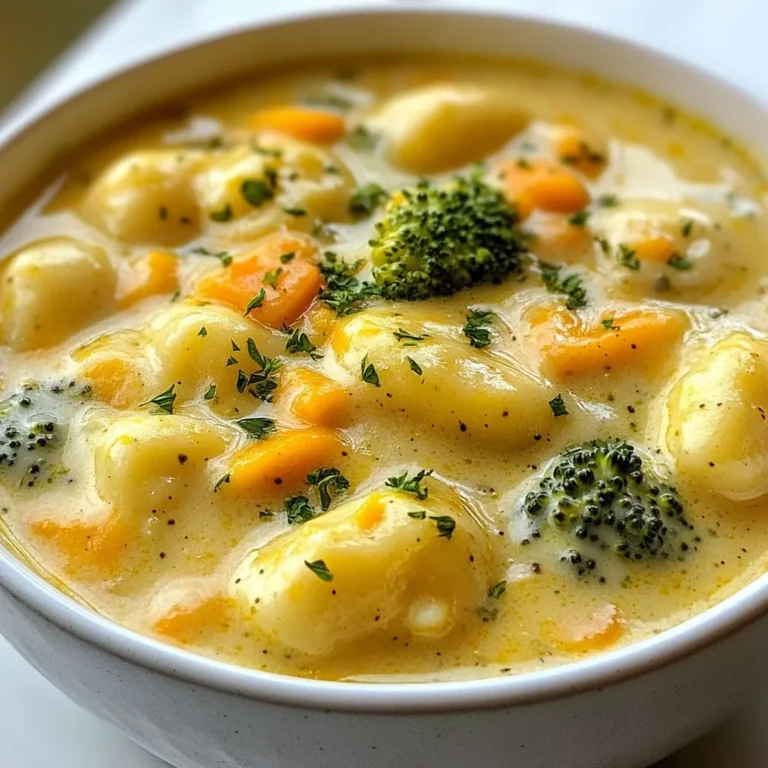
One-Pot Creamy Mushroom Pasta Delicious Comfort Meal
Are you in the mood for a warm, creamy comfort meal? This One-Pot Creamy Mushroom Pasta is the answer! With
Read more…browse recipes

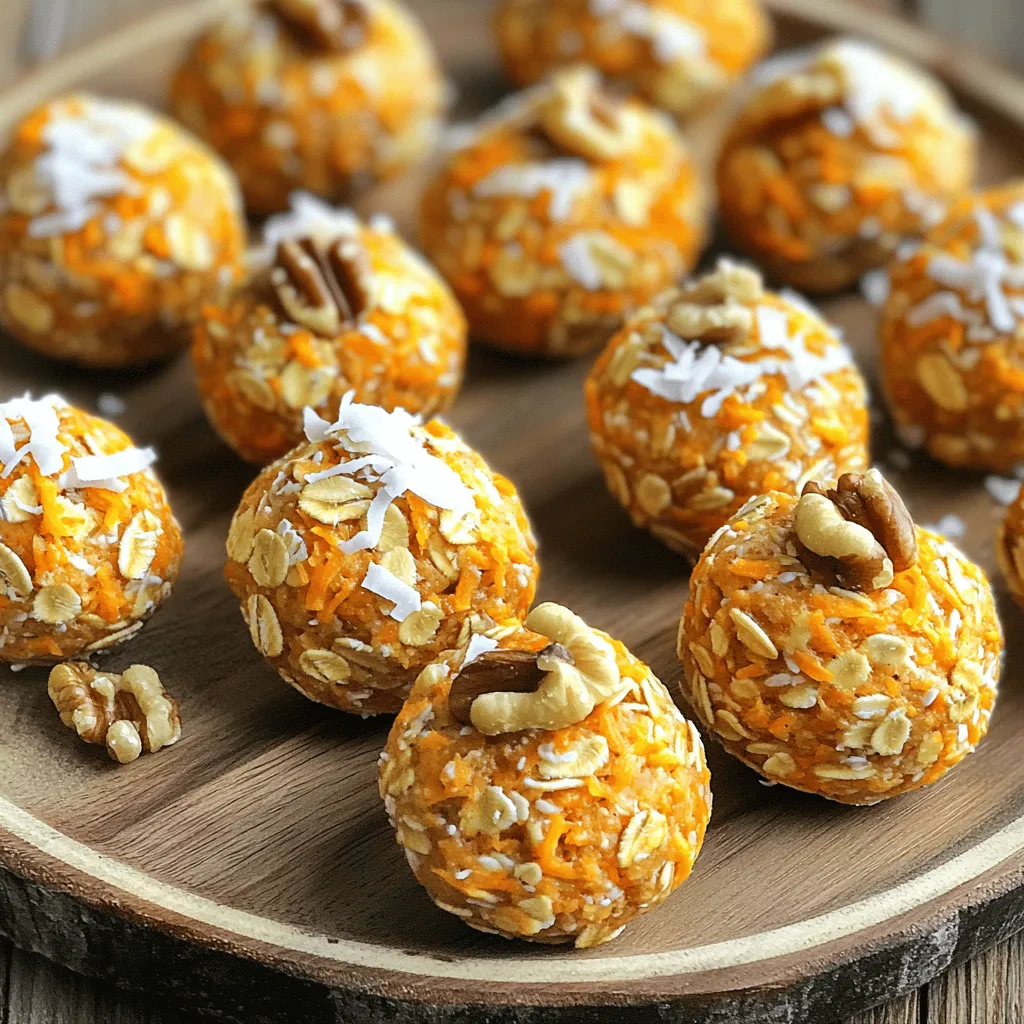
Carrot Cake Energy Bites Healthy and Tasty Snack
Looking for a healthy snack that’s both tasty and packed with energy? You’ll love these Carrot Cake Energy Bites! They combine sweet, wholesome flavors…
My Latest Desserts
My Latest Recipes

hey,
i’m !
I’m so happy you’re here!
My kitchen is filled with stories, flavors, and love and I’m so happy to share them with you. Here’s to dishes that feel like home.
. This link has all the steps and tips you need for perfect muffins. In this post, we explored how to make delicious pumpkin streusel muffins. We covered main ingredients, spices, and the perfect streusel topping. After sharing step-by-step instructions, I offered tips to ensure your muffins turn out great. We also discussed variations to suit different diets and how to store and enjoy them later. These muffins are tasty, simple, and can fit many preferences. Enjoy the baking process and share your creations!](https://southerndishes.com/wp-content/uploads/2025/08/15668586-9763-4cc4-9a74-c18ad73bddde-300x300.webp)

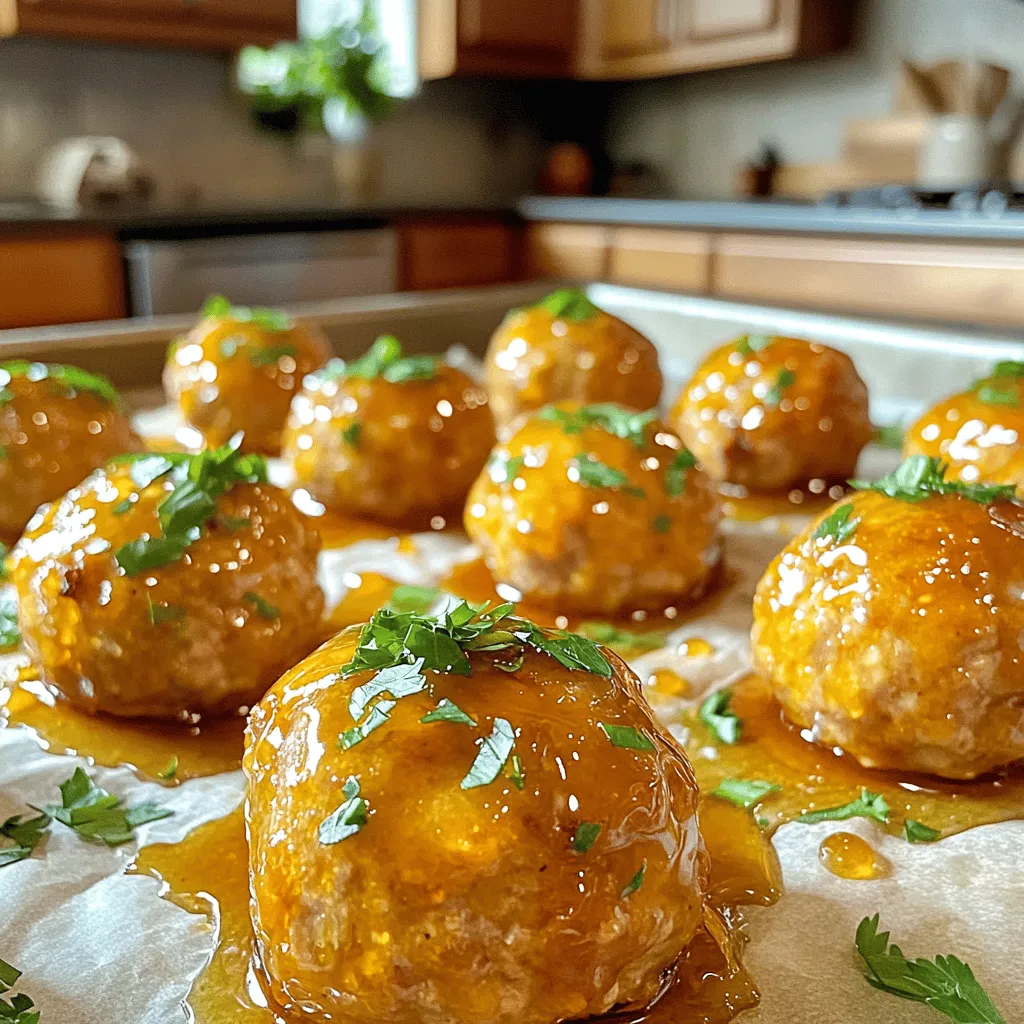
Honey Garlic Turkey Meatballs Easy and Tasty Recipe
Looking for an easy and tasty meal? Honey Garlic Turkey Meatballs are the perfect choice! With ground turkey, sweet honey, and savory garlic, this…