Latest & Greatest
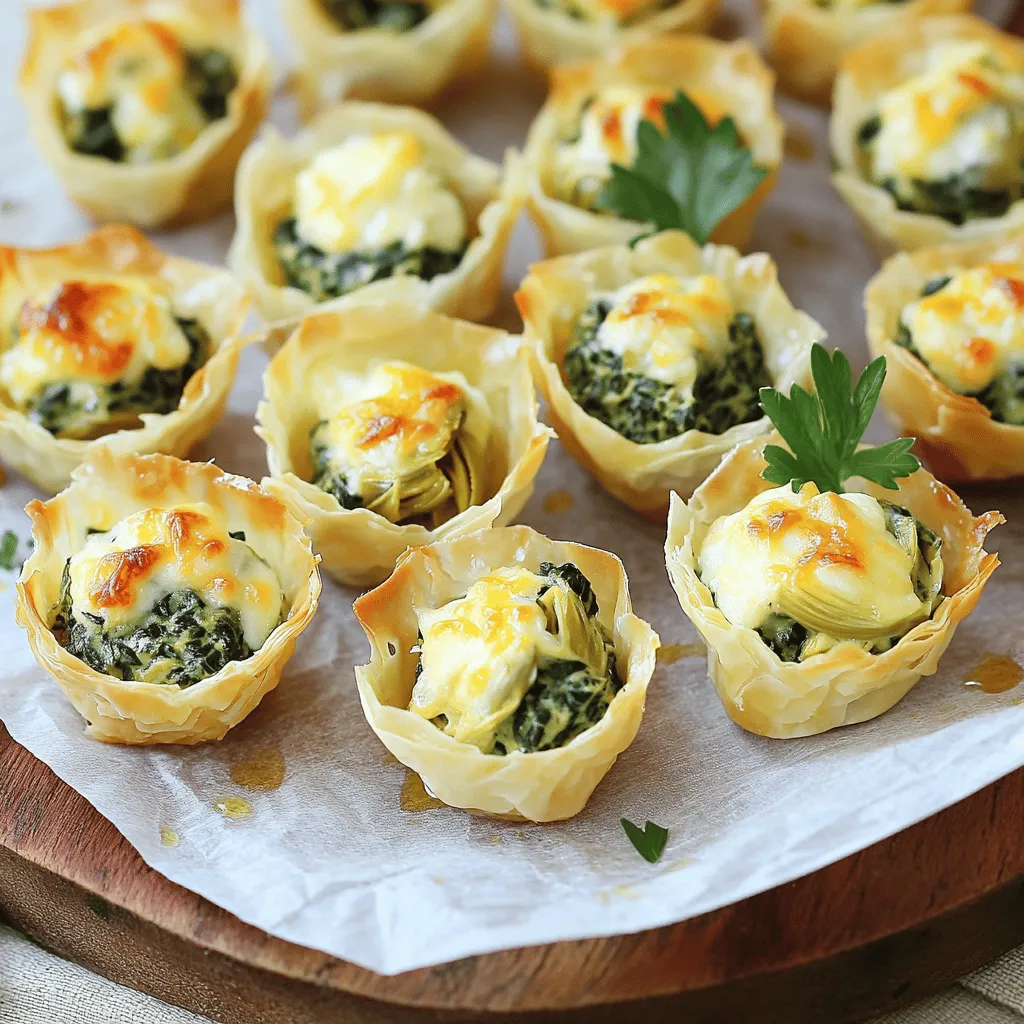
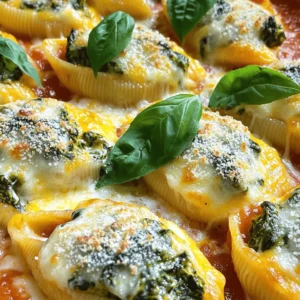
Spinach Artichoke Dip Bites Tasty and Simple Appetizer
Looking for a crowd-pleasing appetizer that is both tasty and simple? These Spinach Artichoke Dip Bites are just what you
Read more…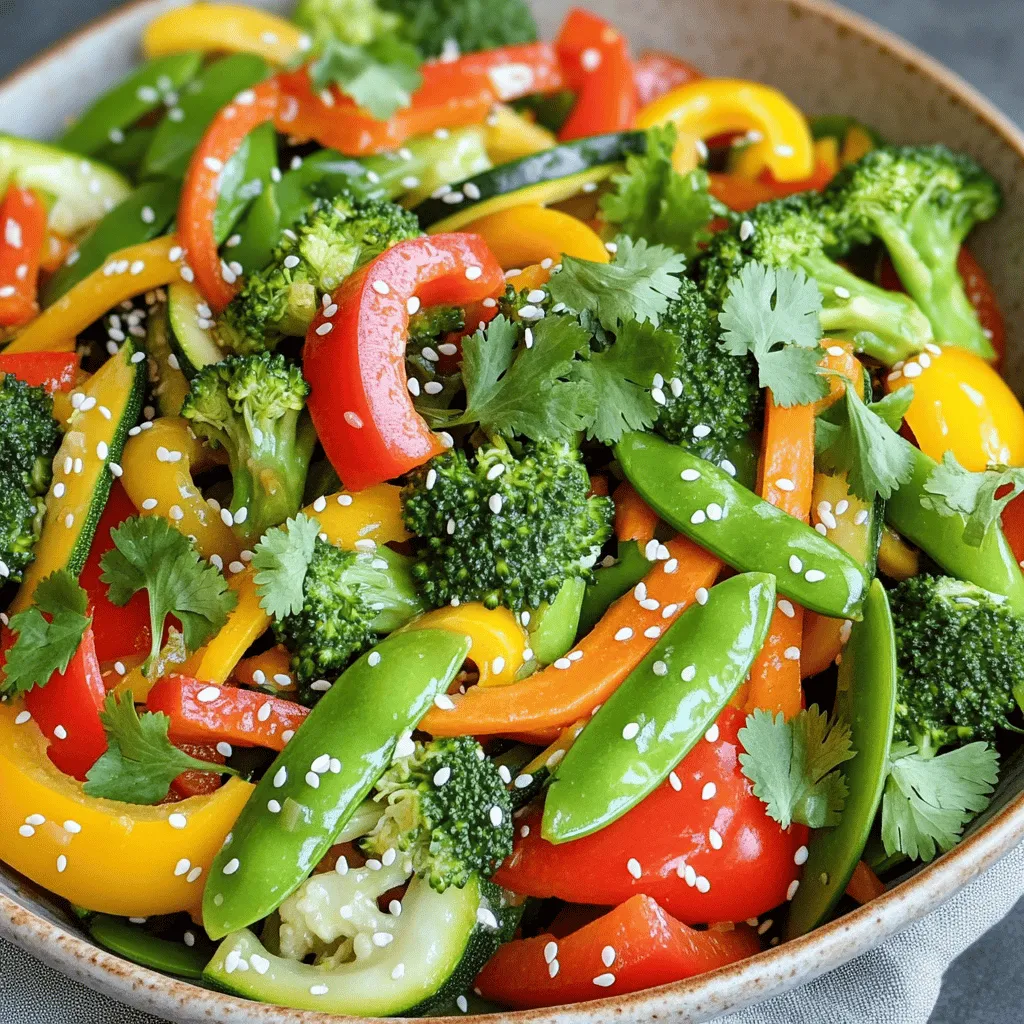
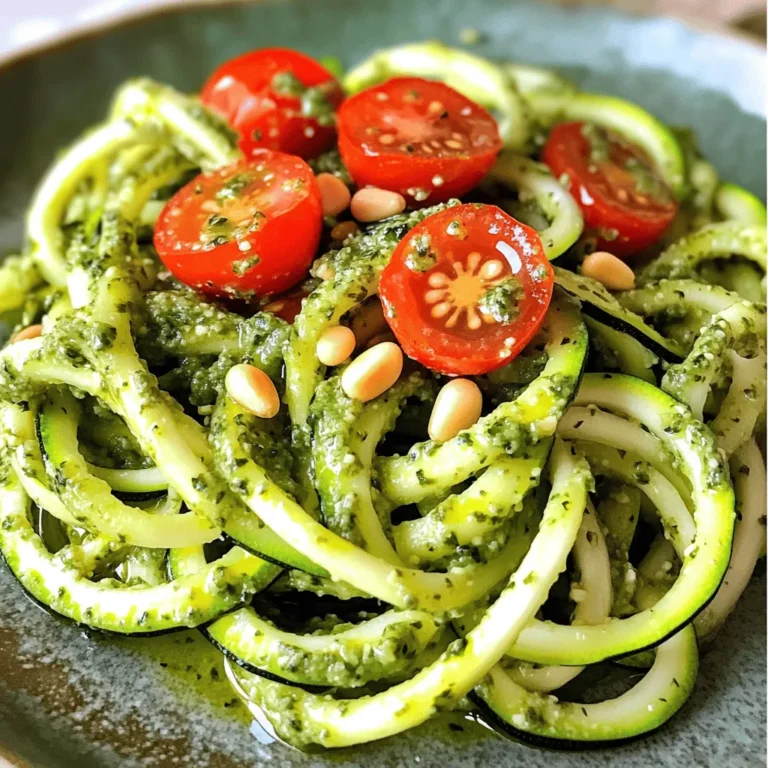
Quick and Easy Vegetable Stir Fry Tasty and Healthy Meal
Looking for a quick and tasty meal? You’re in the right place! My Quick and Easy Vegetable Stir Fry is
Read more…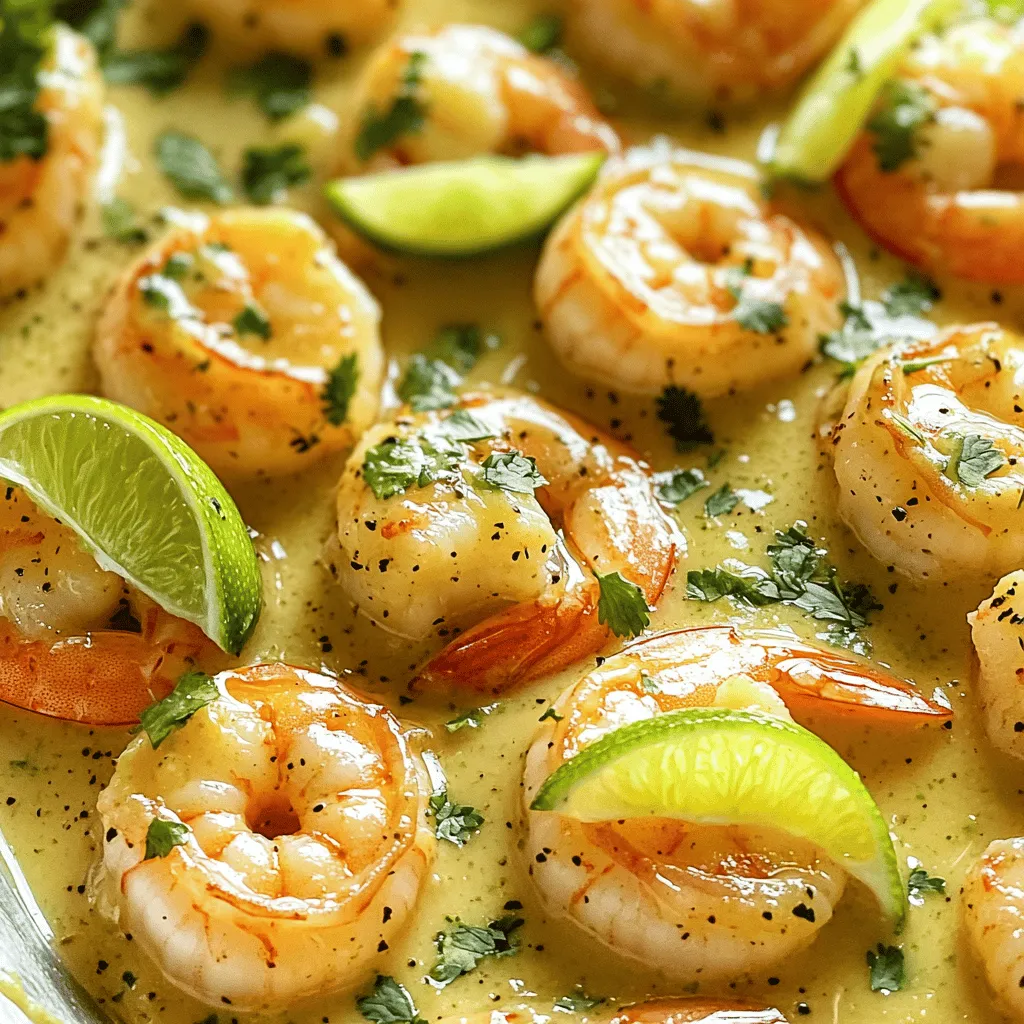
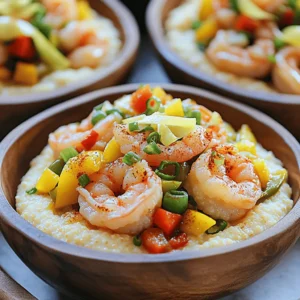
Coconut Lime Shrimp Flavorful Dish with Fresh Ingredients
If you crave a burst of flavor, you’re in for a treat! This Coconut Lime Shrimp dish combines juicy shrimp
Read more…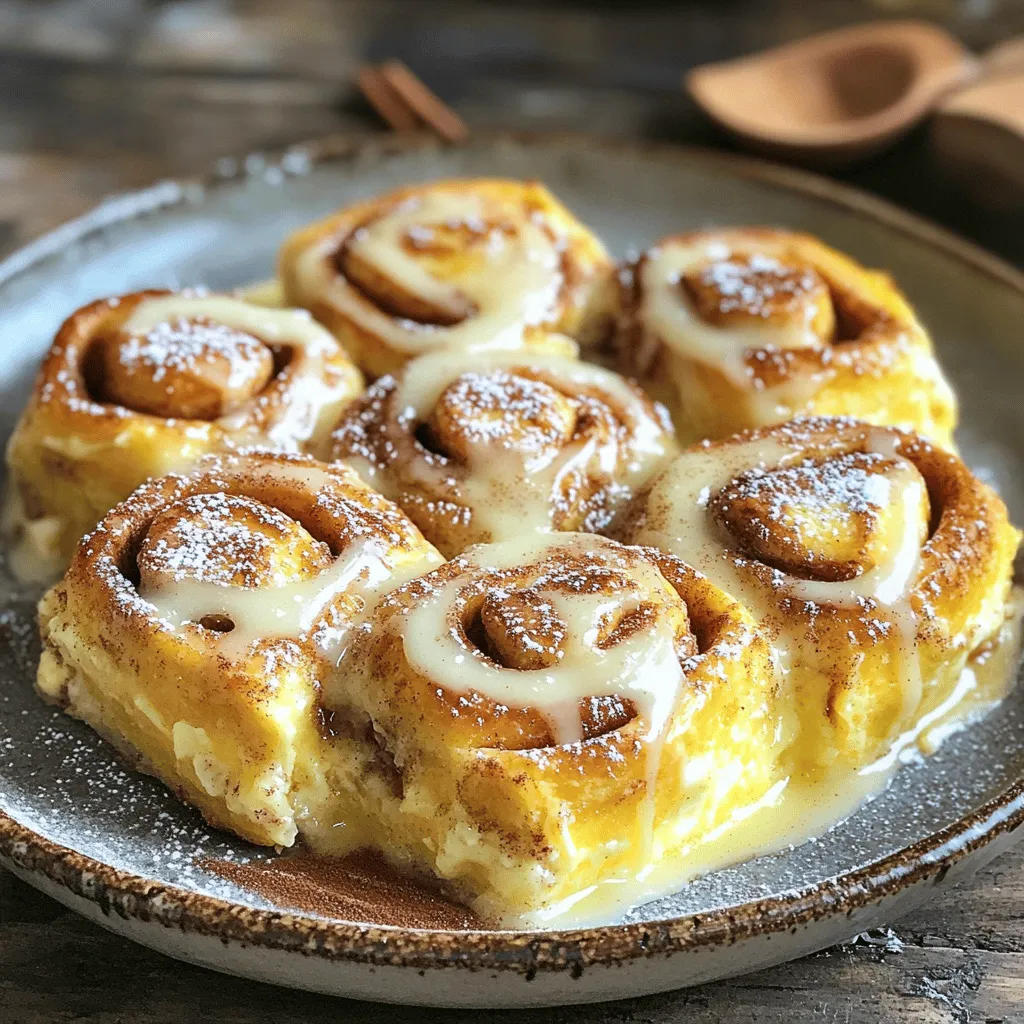
Cinnamon Roll Casserole Delightful and Easy Recipe
Are you ready for a warm and sweet treat? My Cinnamon Roll Casserole is an easy way to enjoy breakfast
Read more…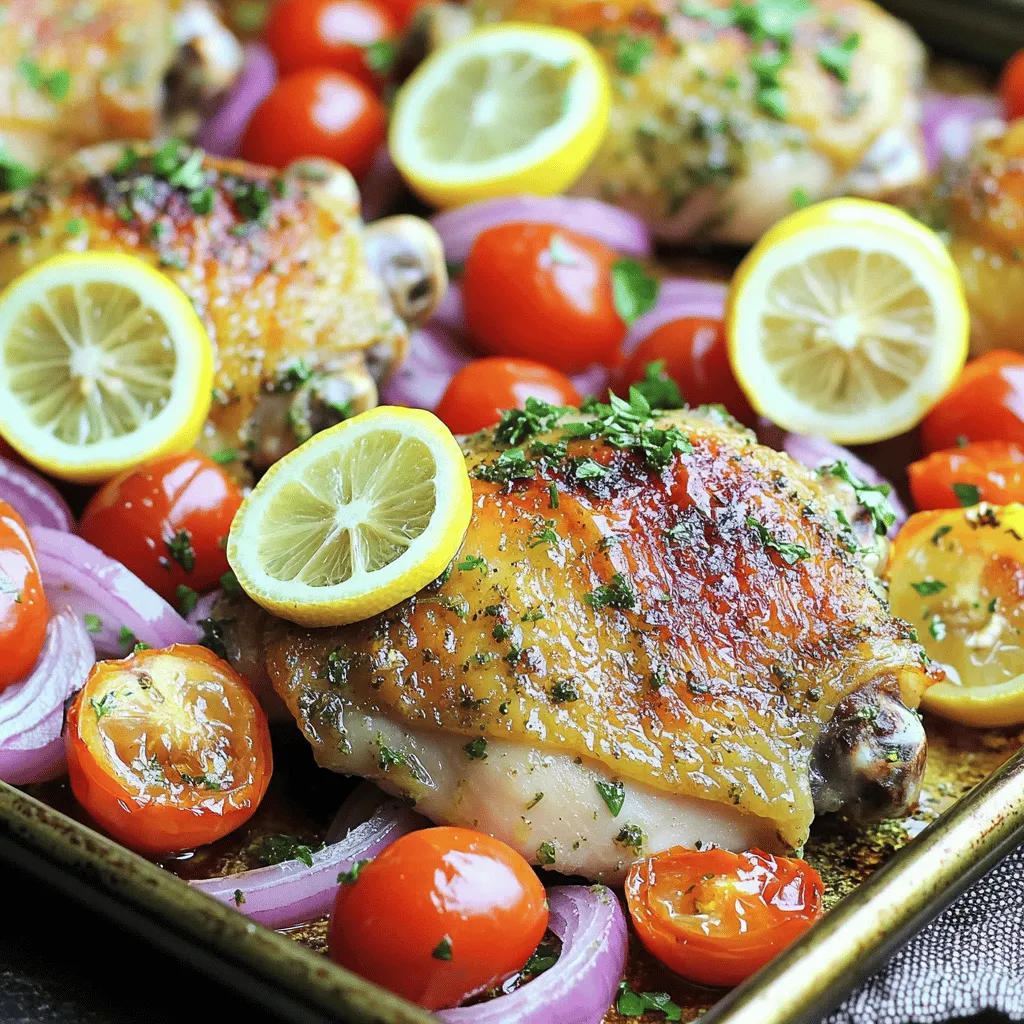
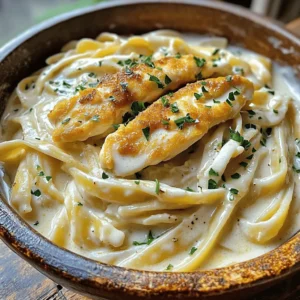
Sheet Pan Lemon Garlic Herb Chicken Flavorful Delight
Are you ready to impress your family with a simple yet delicious meal? The Sheet Pan Lemon Garlic Herb Chicken
Read more…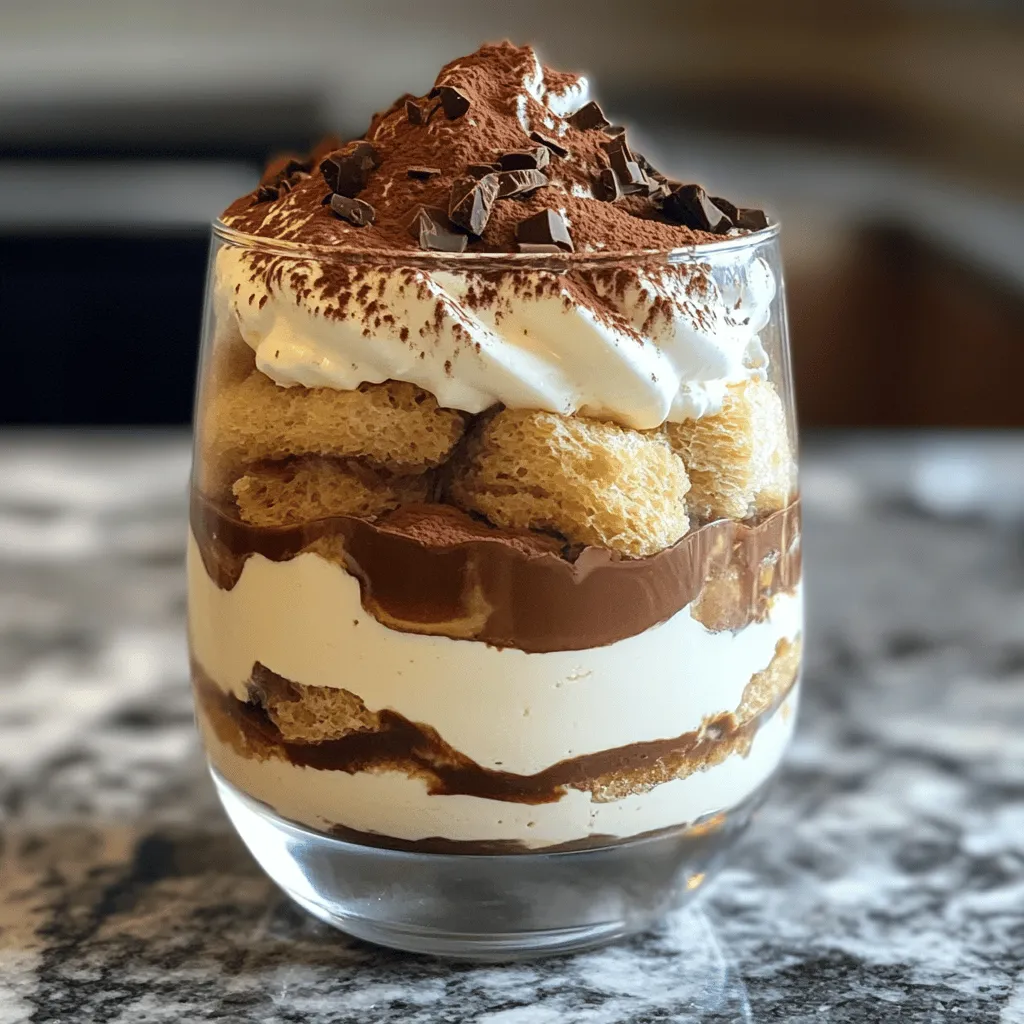
Easy No-Bake Tiramisu Delightful and Simple Recipe
If you crave a dessert that is both delicious and easy to make, you’re in the right place! This Easy
Read more…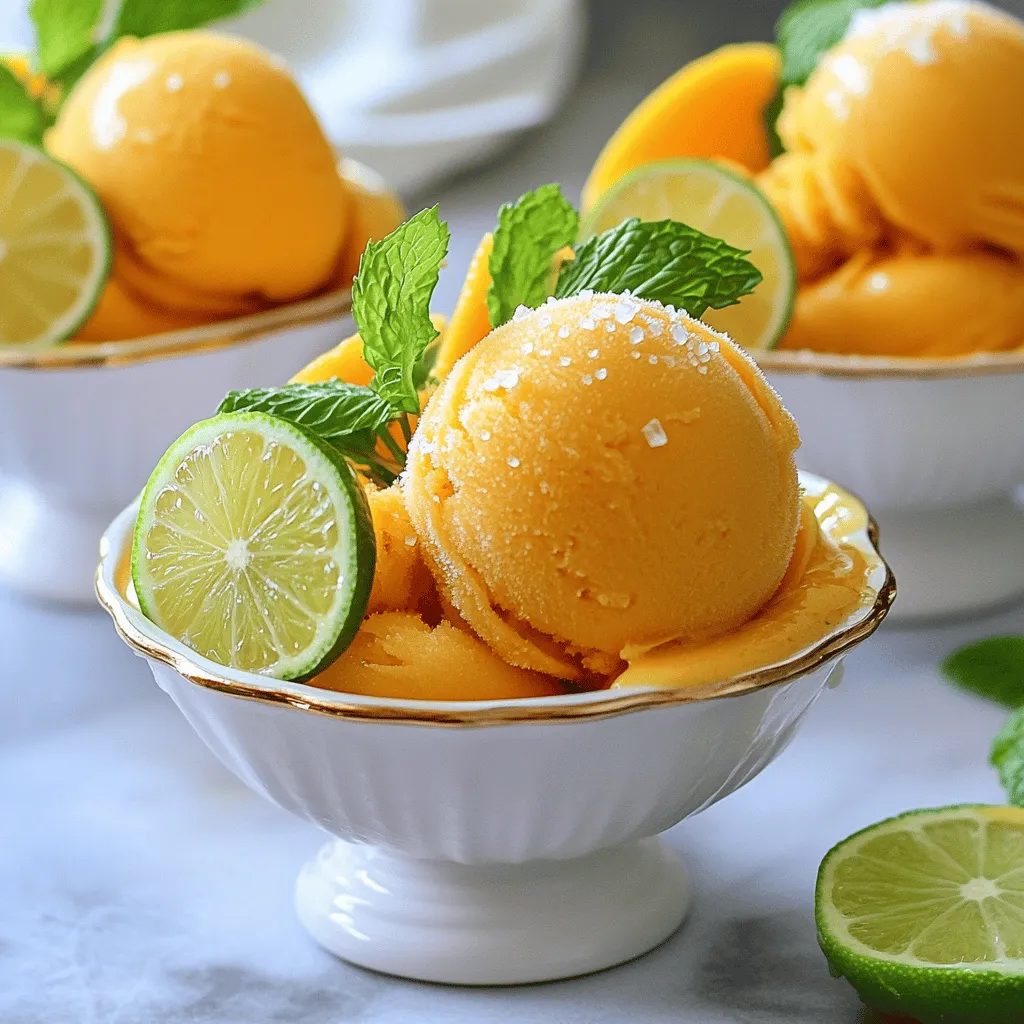
Mango Sorbet Delightful and Easy Summer Treat
Summer is here, and nothing beats a cool, fruity treat! Mango sorbet is easy to make and perfect for warm
Read more…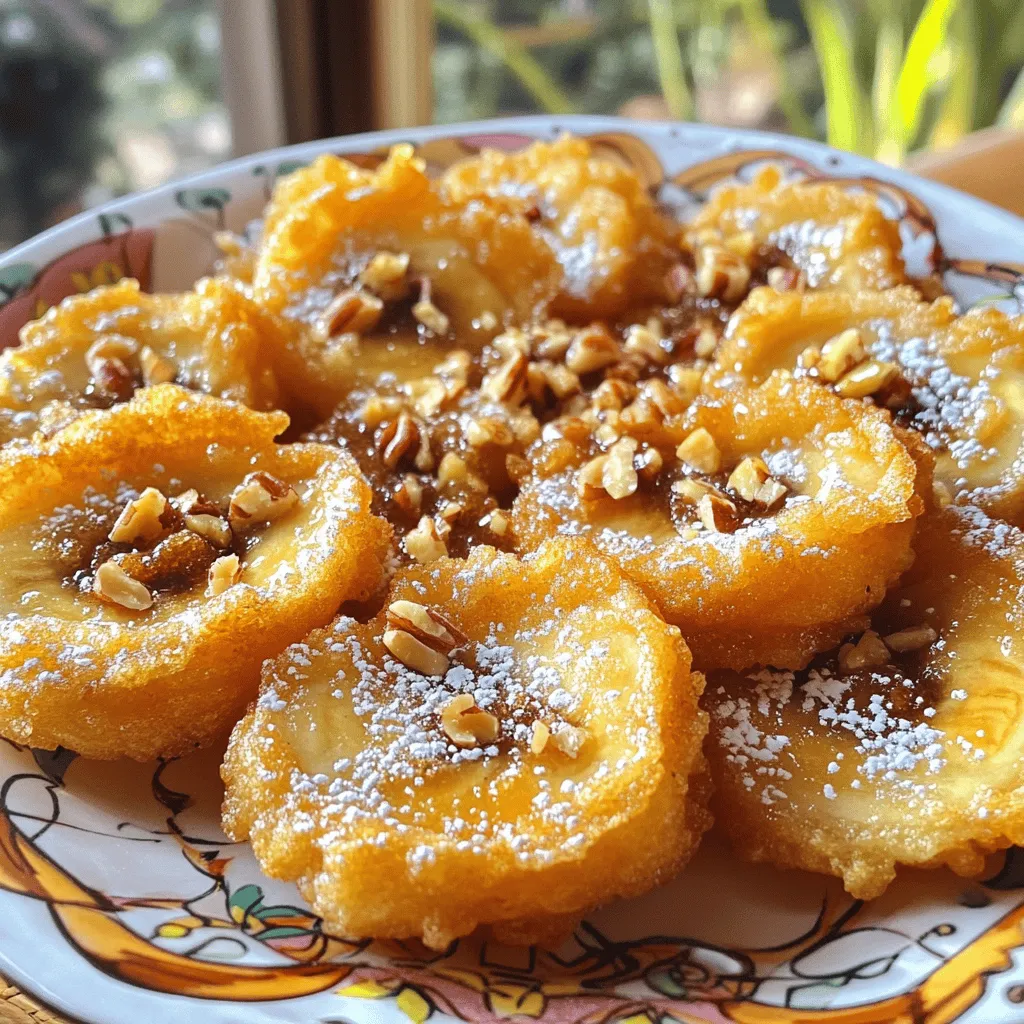
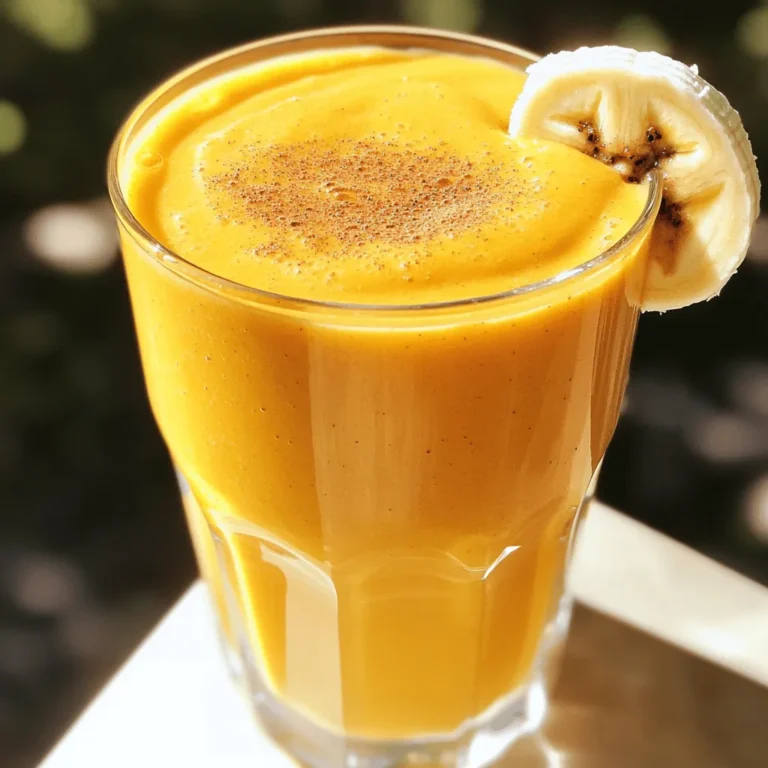
Fried Banana With Brown Sugar Sweet and Simple Delight
If you’re looking for a simple yet sweet treat, you’ve come to the right place. Fried banana with brown sugar
Read more…browse recipes
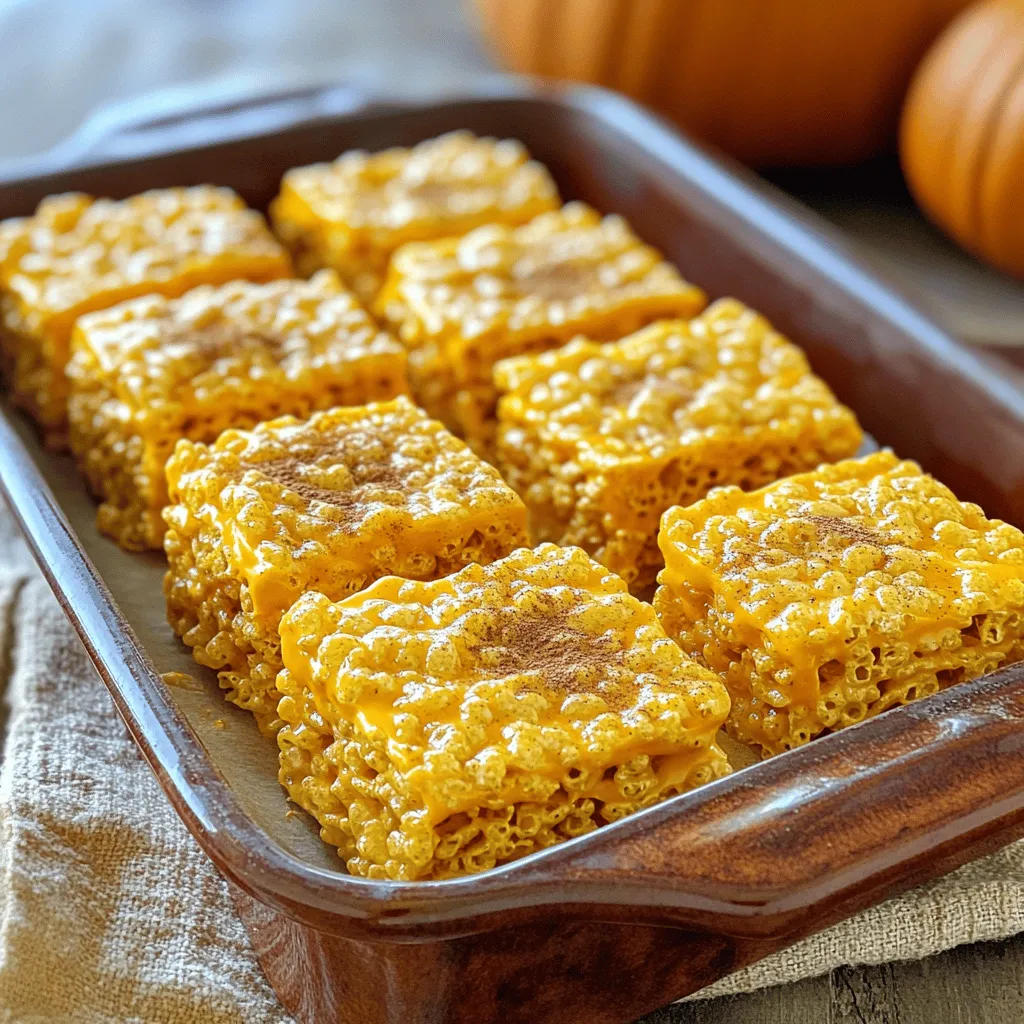
Pumpkin Spice Rice Krispie Treats Cozy Fall Delight
Fall is here, and what better way to celebrate than with Pumpkin Spice Rice Krispie Treats? These sweet, chewy delights bring the cozy flavors…
My Latest Desserts
-
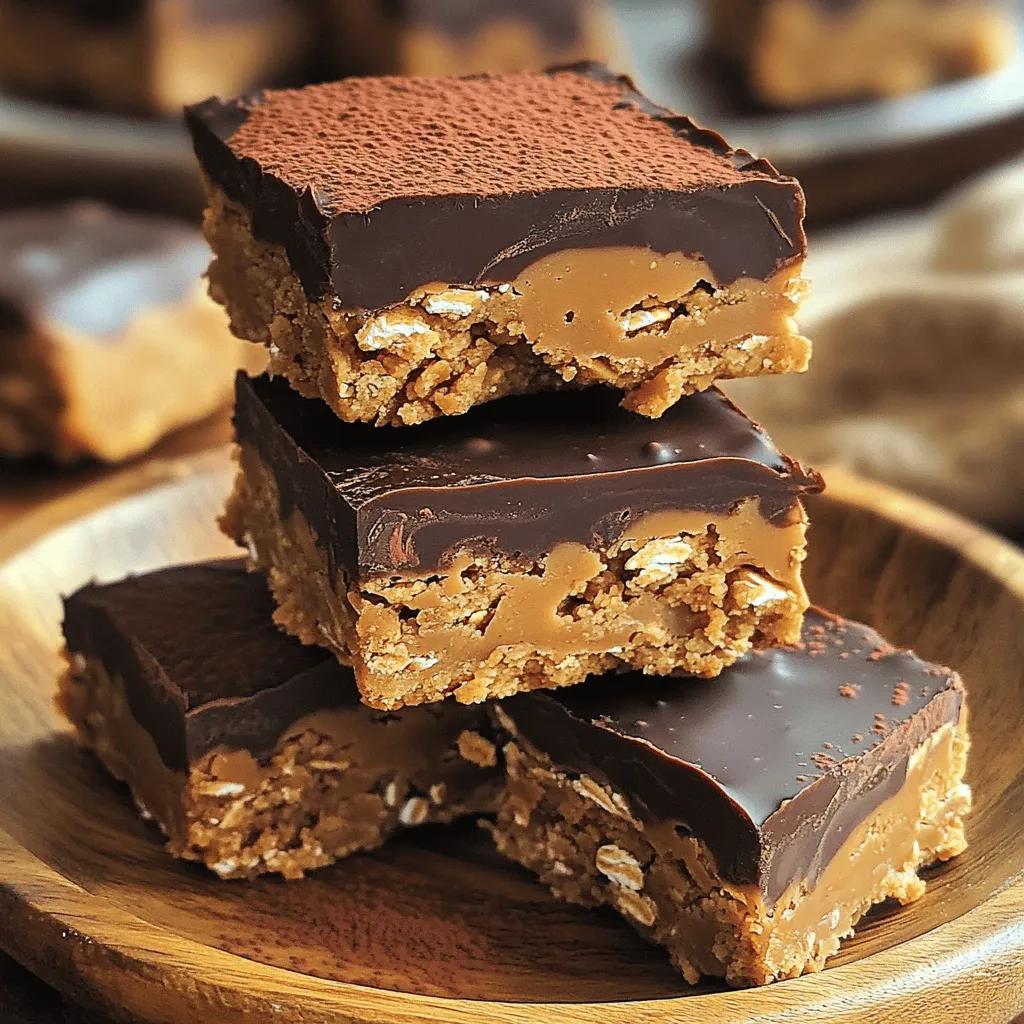
No Bake Peanut Butter Bars Simple and Tasty Treat
Craving a sweet treat that’s easy to whip up? You’ll love these no bake peanut butter bars! With just a Read Full Recipe -
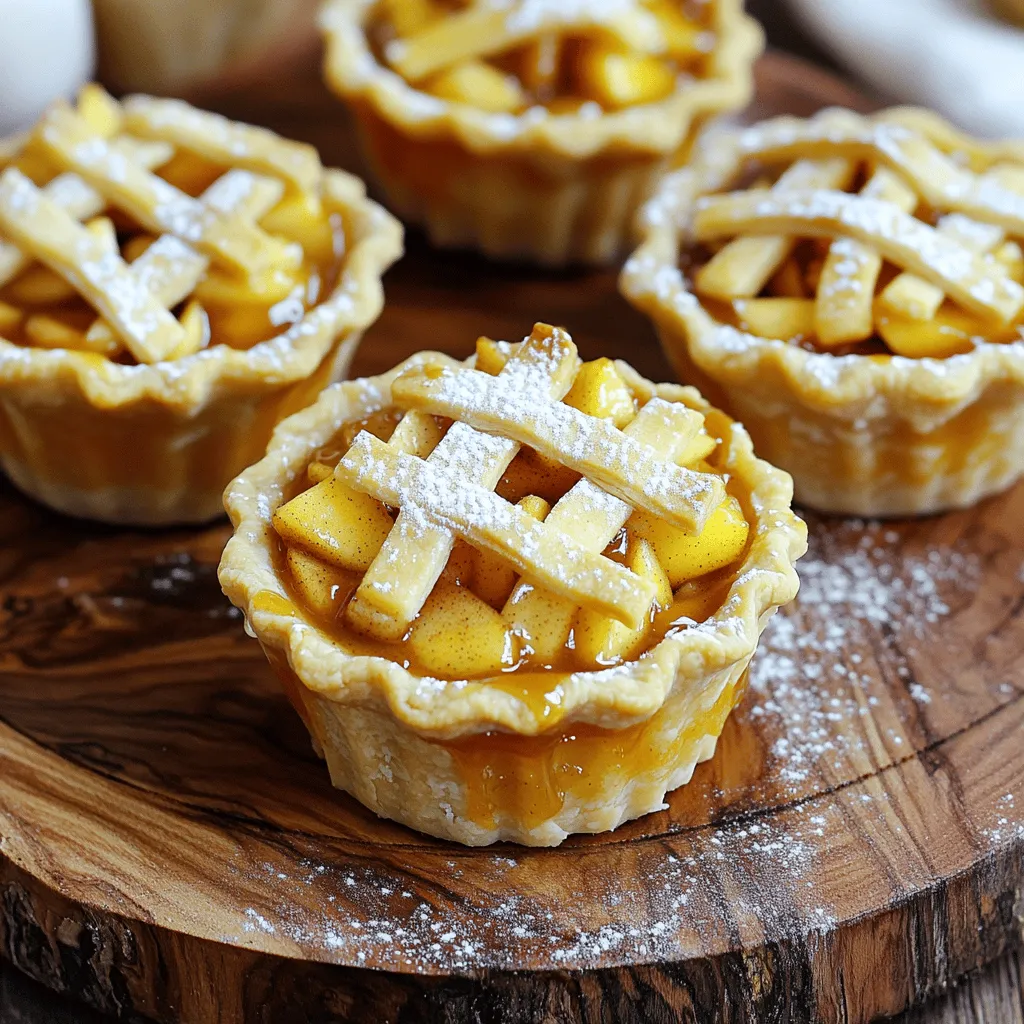
Apple Pie Cups Delightful Dessert for Any Occasion
Are you ready to enjoy a delightful dessert that fits any occasion? Apple Pie Cups bring the classic flavors of Read Full Recipe -

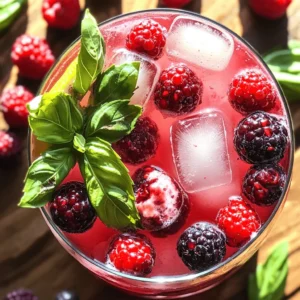
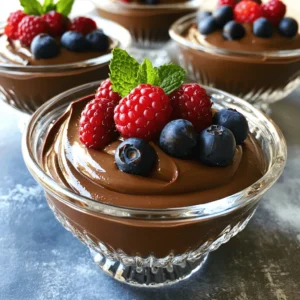
No-Bake Summer Berry Lasagna Delightful and Easy Recipe
Imagine serving a cool, tasty dessert on a hot summer day! This No-Bake Summer Berry Lasagna is the answer. It’s Read Full Recipe -
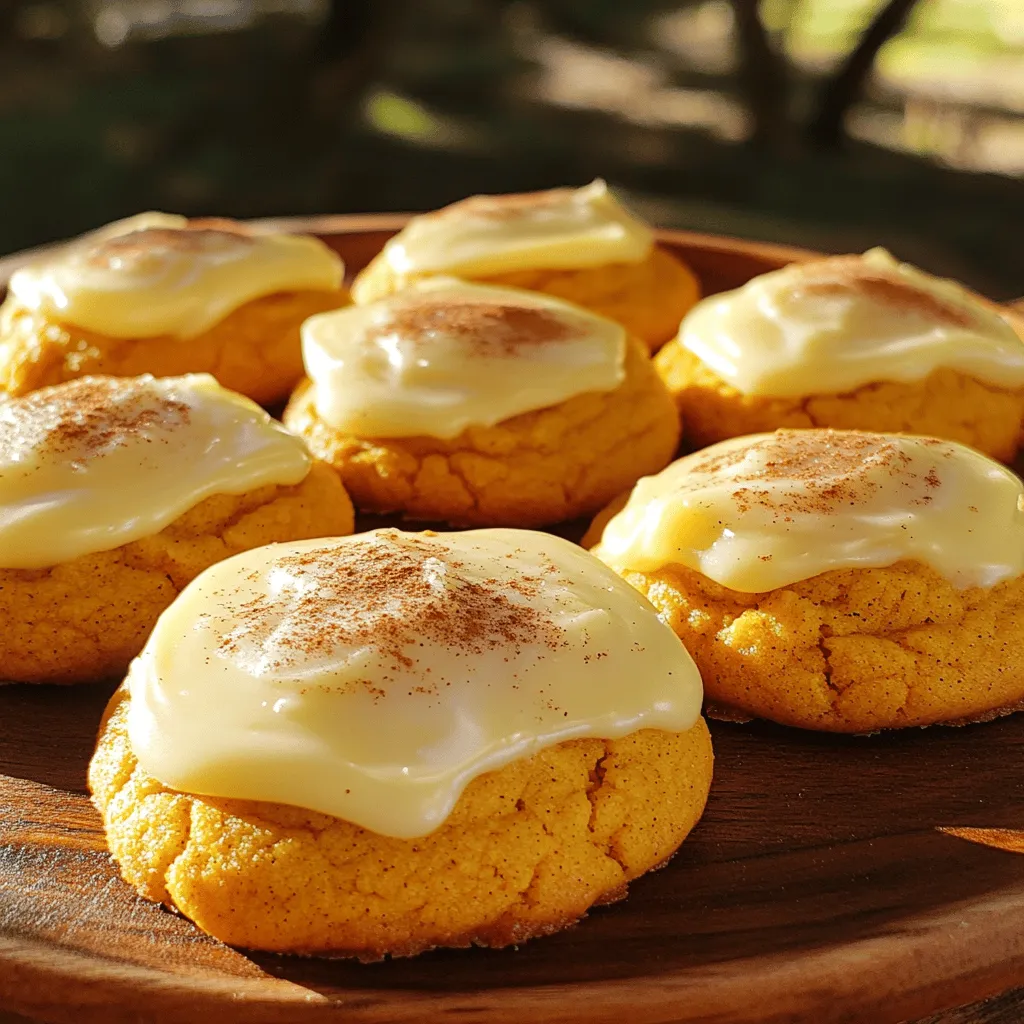
Soft Pumpkin Cookies with Cream Cheese Icing Delight
If you love soft, tender cookies bursting with fall flavors, you’re in for a treat! My Soft Pumpkin Cookies with Read Full Recipe -
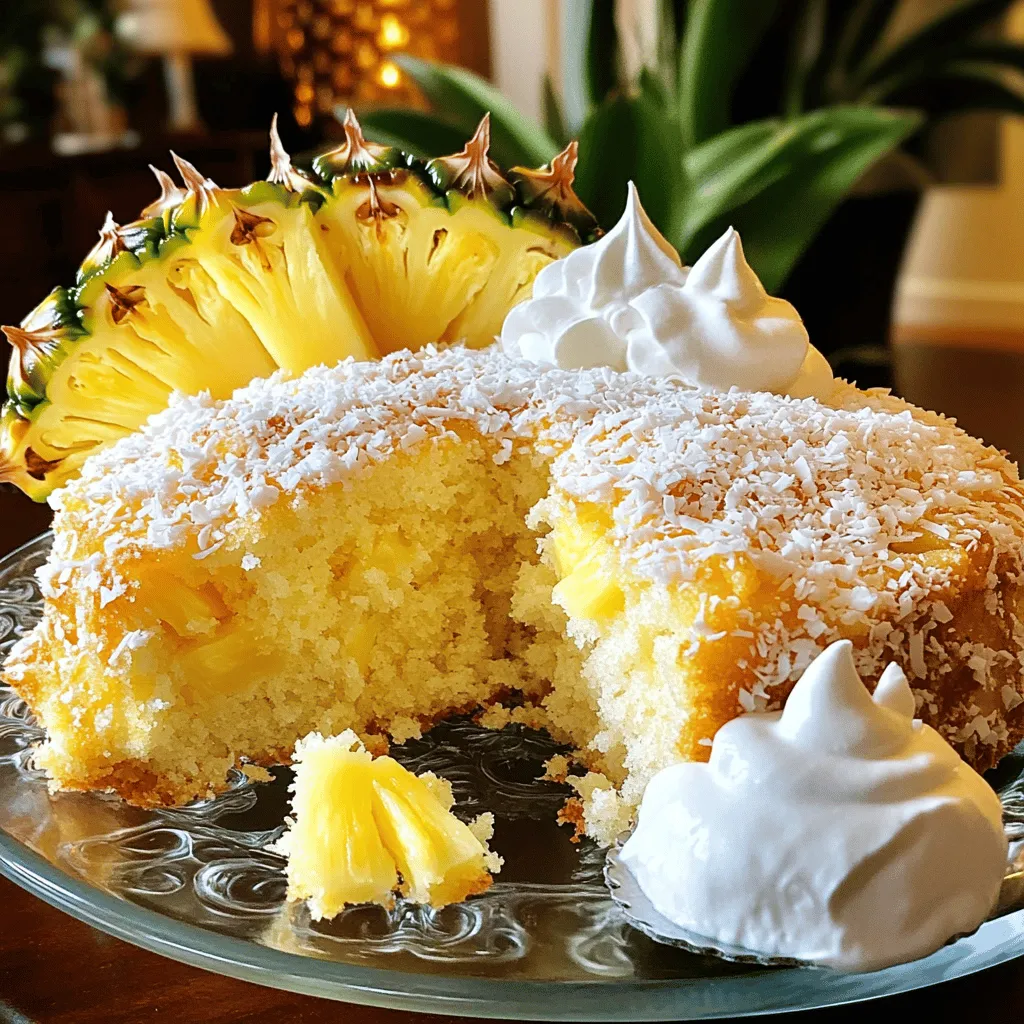
Pineapple Heaven Cake Delightful and Easy Recipe
Are you ready to create a dessert that tastes like a tropical vacation? My Pineapple Heaven Cake is here to Read Full Recipe -
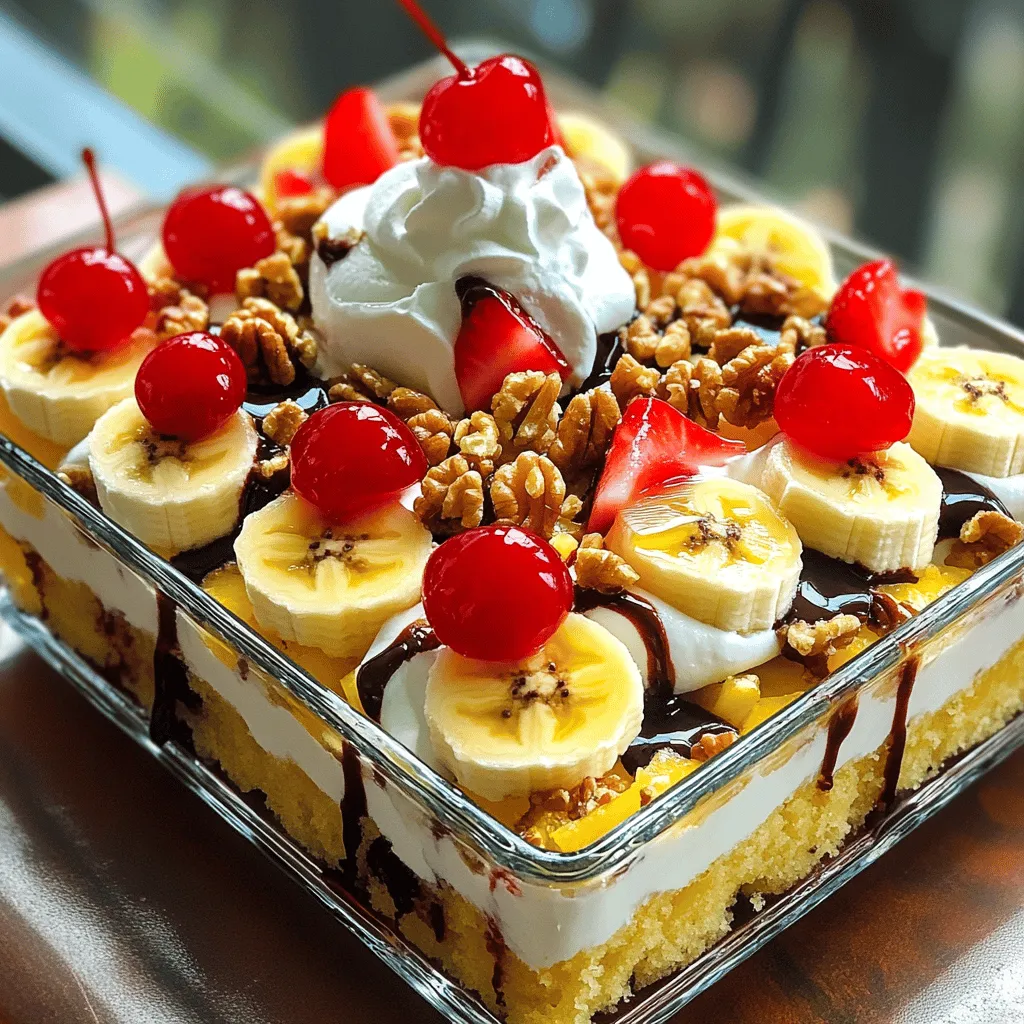
No-Bake Banana Split Cake Easy and Delicious Delight
If you love easy desserts, get ready for a treat! My No-Bake Banana Split Cake combines classic flavors with a Read Full Recipe -
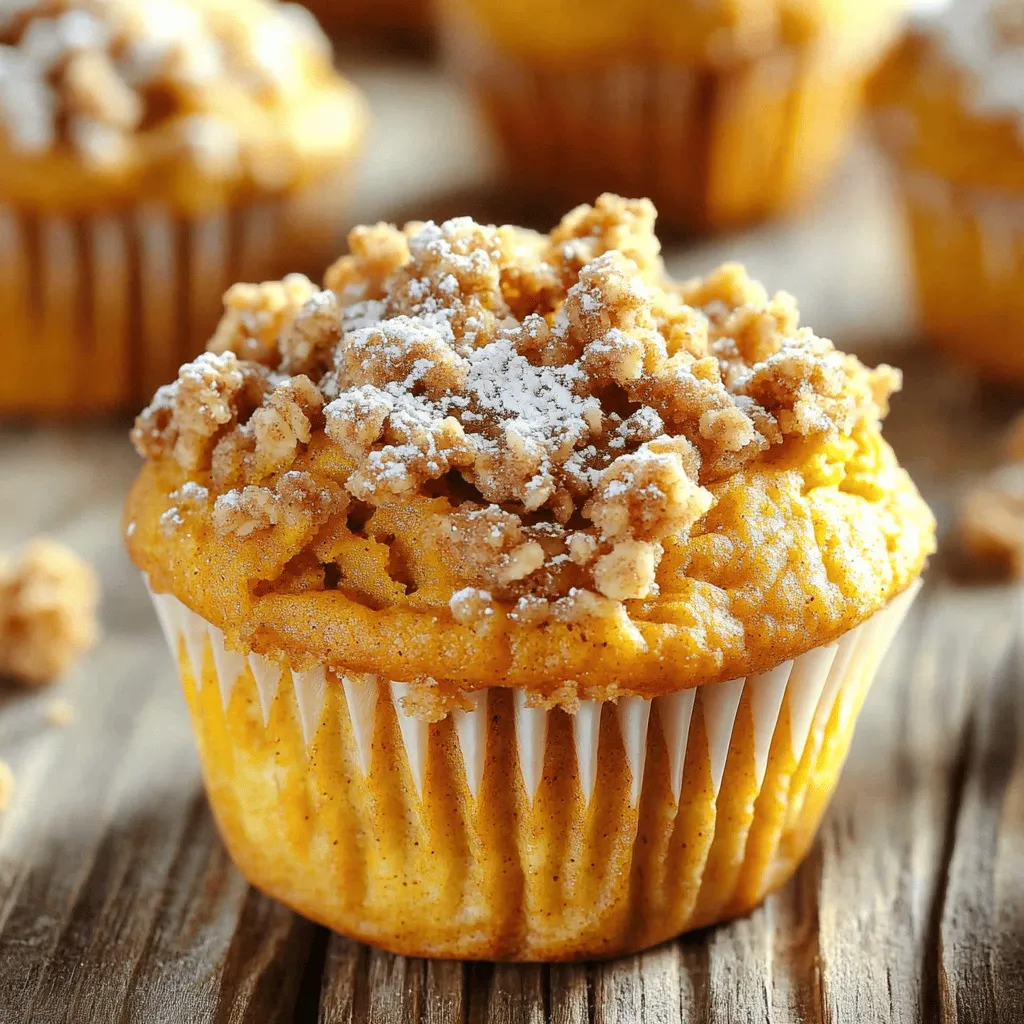
Pumpkin Streusel Muffins Delightful and Easy Recipe
Get ready to delight your taste buds with my simple Pumpkin Streusel Muffins recipe! These muffins are bursting with fall Read Full Recipe -
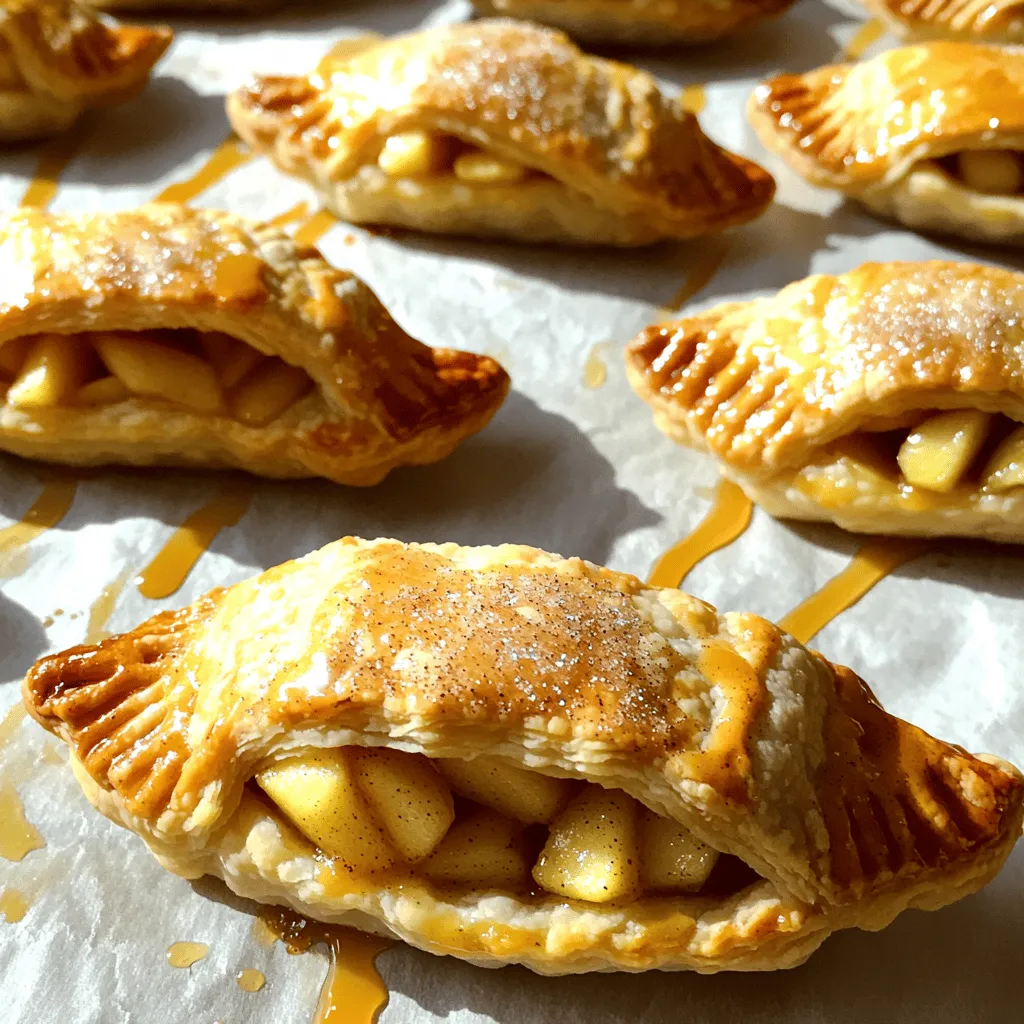
Mini Apple Hand Pies Delightful and Easy Recipe
If you love sweet treats, you’ll adore these Mini Apple Hand Pies! They are simple to make and bursting with Read Full Recipe -
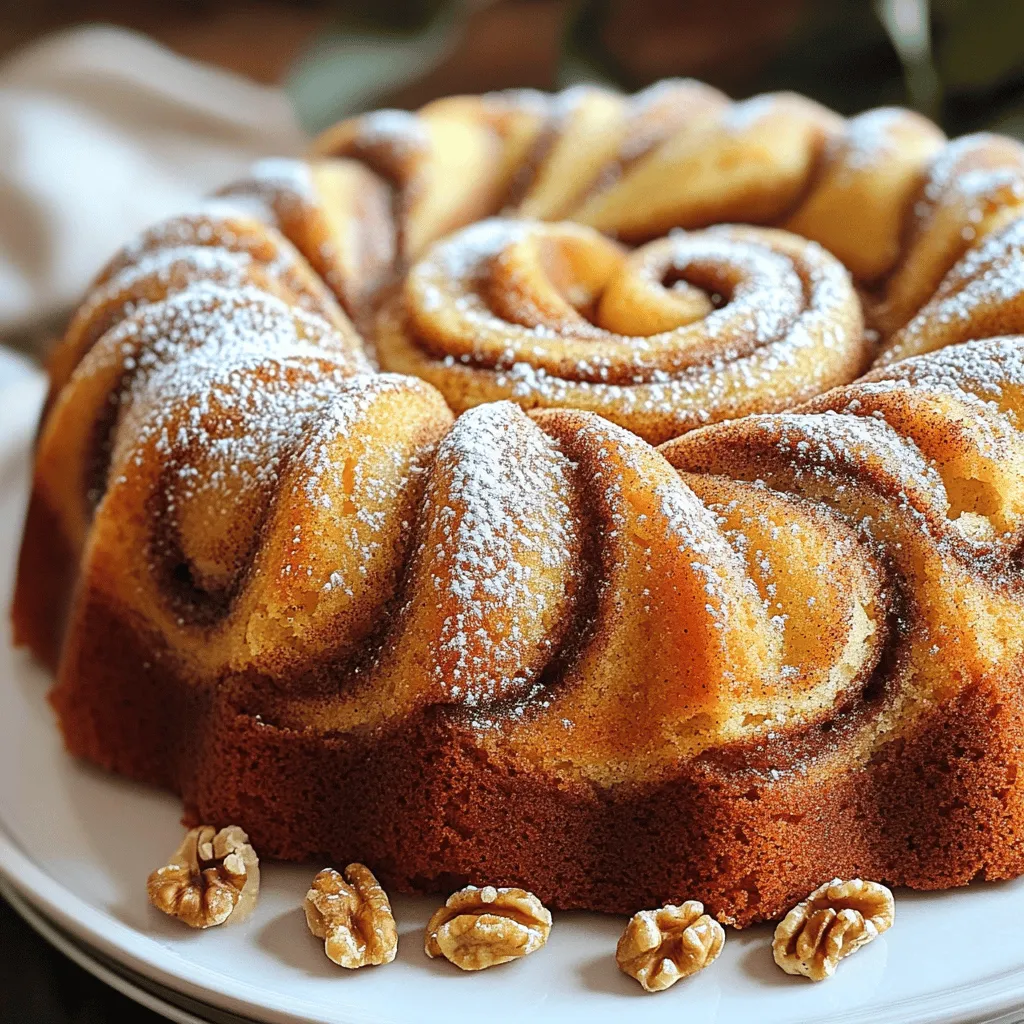
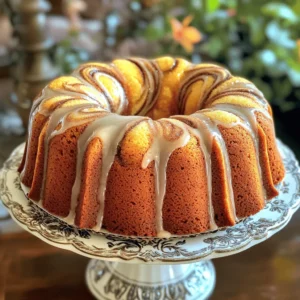
Cinnamon Swirl Bundt Cake Easy and Delicious Recipe
Are you ready to bake something that will make your kitchen smell divine? This Cinnamon Swirl Bundt Cake is not Read Full Recipe -
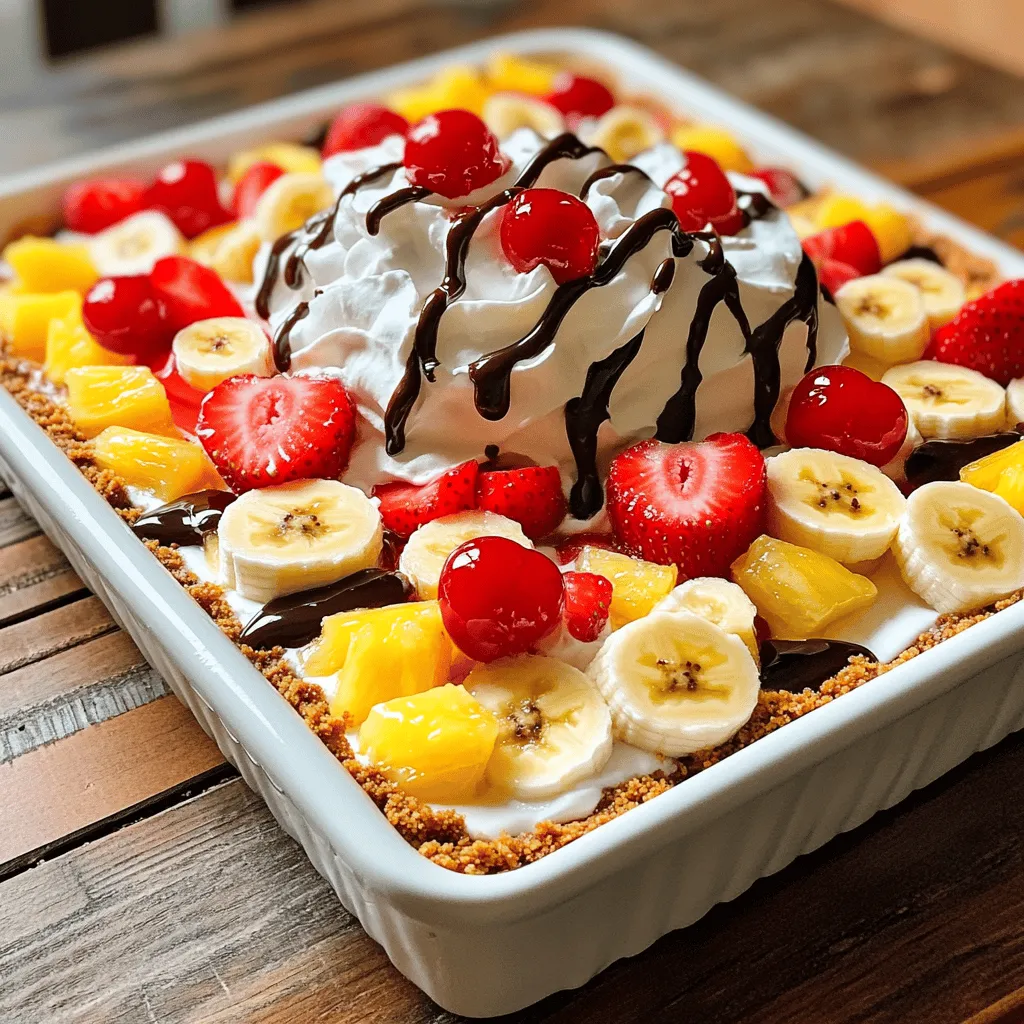
No-Bake Banana Split Cake Simple Sweet Delight
Craving something sweet and easy to whip up? This No-Bake Banana Split Cake is your answer! With creamy layers and Read Full Recipe
My Latest Recipes

hey,
i’m !
I’m so happy you’re here!
My kitchen is filled with stories, flavors, and love and I’m so happy to share them with you. Here’s to dishes that feel like home.
![- 2 cups rolled oats - 1 cup mixed nuts (almonds, walnuts, cashews, or your choice), chopped - 1/2 cup almond butter or peanut butter - 1/4 cup honey or maple syrup (for a vegan option) - 1/4 cup unsweetened coconut flakes - 1/4 cup dried cranberries or other dried fruit Each serving has around 200 calories. You get about 10 grams of fat, 5 grams of protein, and 30 grams of carbs. These bars are great for a quick snack or breakfast. They give you energy without too much sugar. You can find the full recipe in the article above. Enjoy making your own nutty granola bars! 1. Preheat your oven to 350°F (175°C). 2. Line an 8x8 inch baking dish with parchment paper. Leave some paper hanging over the edges for easy removal later. 3. In a large mixing bowl, add the rolled oats, chopped nuts, coconut flakes, dried cranberries, salt, and optional cinnamon. Mix them well until they are evenly spread. 1. In a small saucepan, warm the almond butter and honey over low heat. Stir them gently until they blend well. 2. Once mixed, take it off the heat and stir in the vanilla extract. 3. Pour this warm mixture over your dry ingredients. Mix thoroughly until everything is coated and combined. 4. Transfer the mixture to your prepared baking dish. Press it firmly and evenly into the bottom with your spatula or hands. 1. Place the dish in the preheated oven. Bake for 15 to 20 minutes. 2. Watch closely to ensure the edges are golden brown but not burnt. 3. When done, take them out and let them cool completely in the pan. Use the parchment paper to lift the bars out. Cut them into squares or rectangles as you like. For the full recipe, check the details above. To make the best nutty granola bars, you need to mix well. Start by combining all dry ingredients in a big bowl. This helps the oats and nuts blend. Use a spatula or your hands to mix thoroughly. Pressing the mixture firmly is key. After you pour it into the baking dish, use your hands to press down. This will help the bars hold together when baked. If you skip this step, your bars may crumble. Want to spice things up? Add a pinch of cinnamon or a dash of nutmeg to your mix. These spices add warmth and depth to your bars. You can also include a splash of vanilla extract for extra sweetness. For fun add-ins, consider chocolate chips, seeds, or even dried fruits like apricots or raisins. These will add texture and flavor. Mix and match your favorites to keep things interesting. When it's time to serve, think about presentation. Arrange your granola bars on a wooden cutting board. This gives a nice rustic look. You can also wrap individual bars in parchment paper. Tie them with twine for a cute touch. Pair your bars with a glass of milk, a cup of tea, or yogurt. They make a great snack anytime. Enjoy them after school, on a hike, or at work. For a full recipe, check out the [Full Recipe]. {{image_2}} You can easily make a nut-free version of these bars. Instead of using nut butter and mixed nuts, try seeds like pumpkin or sunflower seeds. This swap keeps your bars crunchy and full of flavor. Seeds provide healthy fats too, making them a great alternative. Want to mix things up? Here are some fun flavor ideas: - Chocolate Chip Granola Bars: Add 1/2 cup of chocolate chips to your mixture. This makes a sweet treat for chocolate lovers. - Tropical Granola Bars: Use dried mango and coconut flakes instead of cranberries. The tropical taste brings a sunny vibe to your snacks. These bars fit many diets. For a vegan option, replace honey with maple syrup. This keeps the bars sweet without using animal products. If you need them gluten-free, use certified gluten-free oats. These changes make the bars suitable for everyone! For the full recipe, check out Nutty Granola Bars. To keep your nutty granola bars fresh, use an airtight container. This helps prevent moisture from ruining their texture. If you prefer, you can store them in the refrigerator. The cold can help extend their shelf life. However, they may become a bit firmer when chilled. Choose what works best for you. Nutty granola bars stay fresh for about one week at room temperature. If you want them to last longer, you can freeze them. Wrap each bar in plastic wrap or foil before placing them in a freezer bag. This way, they can last up to three months. When you're ready to eat them, just thaw them in the fridge overnight. If your granola bars get stale, don't worry! You can refresh them. Preheat your oven to 350°F (175°C). Place the bars on a baking sheet and warm them for about 5 to 10 minutes. This will help bring back some of their original texture. Enjoy your tasty snack again! To make nutty granola bars vegan, simply swap out honey for maple syrup. Maple syrup gives a sweet touch without using animal products. You can also use a nut butter made from sunflower seeds if you need a nut-free option. This keeps your bars tasty and vegan-friendly. Yes, you can use other nuts or seeds in your granola bars. Almonds, walnuts, or cashews work great. If you want to use seeds, try sunflower or pumpkin seeds. Keep the ratio the same: one cup of nuts or seeds for the recipe. This will keep your texture perfect. Granola bars offer many health benefits. They are full of oats, which give you energy and fiber. Nuts provide healthy fats and protein, while dried fruits add vitamins. These bars are a good snack that can help you feel full and satisfied. You can find nutty granola bars at many stores. Check your local grocery store or health food store. Online retailers like Amazon also offer a wide range of choices. Look for brands that use natural ingredients for the best taste. To make granola bars allergy-friendly, you can replace common allergens. Use seed butter instead of nut butter for nut allergies. For gluten sensitivity, choose gluten-free oats. Always check labels to avoid allergens. This way, everyone can enjoy your tasty bars. This blog post covered how to make delicious granola bars. We discussed essential and optional ingredients, step-by-step instructions, tips for perfecting texture, and creative serving ideas. I also shared variations and storage tips to keep your bars fresh. Making granola bars at home is easy and fun. You can tailor them to your taste and dietary needs. Enjoy your tasty, homemade treats that are perfect for any time of the day!](https://southerndishes.com/wp-content/uploads/2025/05/26d3f632-159b-4131-82fd-a1c075050c59-300x300.webp)
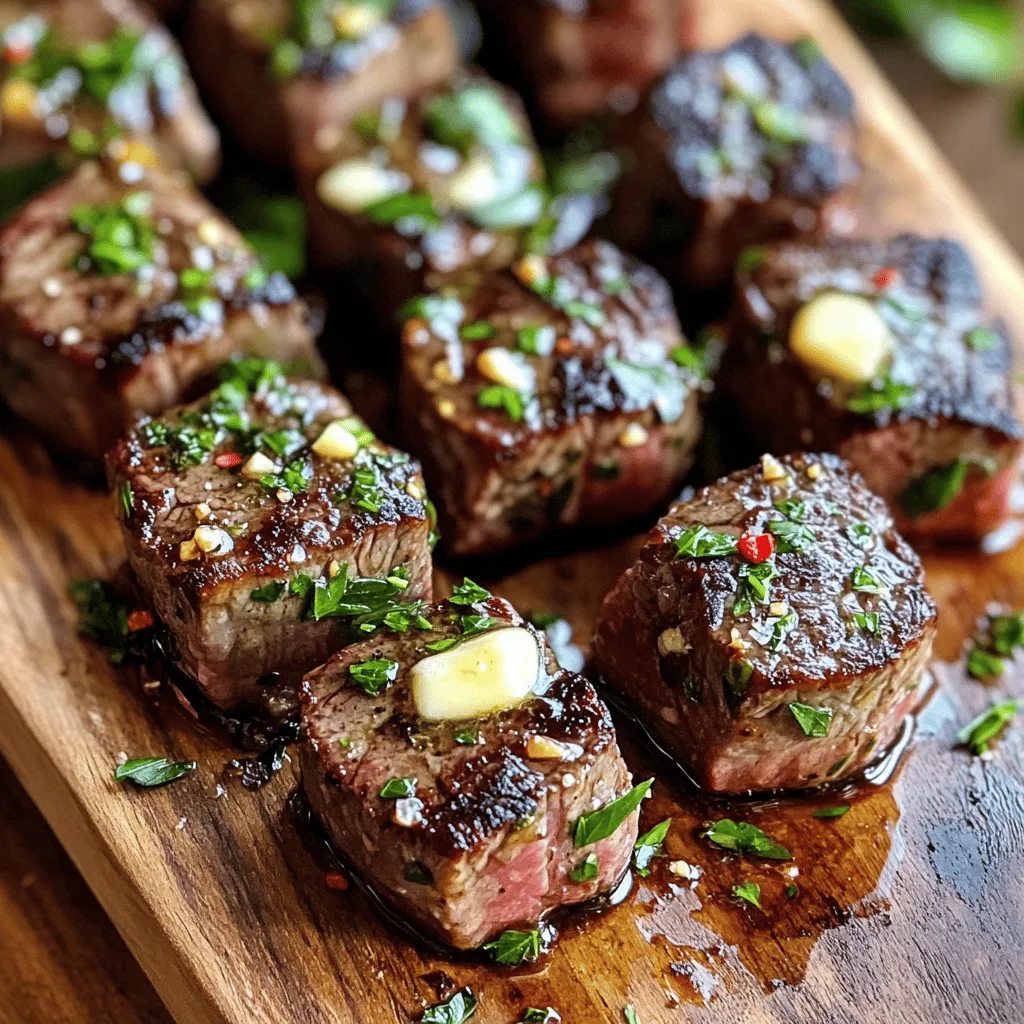
Garlic Butter Steak Bites Flavorful and Simple Recipe
If you’re craving something delicious and quick, you’re in for a treat! Garlic Butter Steak Bites offer mouth-watering flavor in every bite. With just…