Apple Cider Mocktail Delightful Drink for Every Occasion
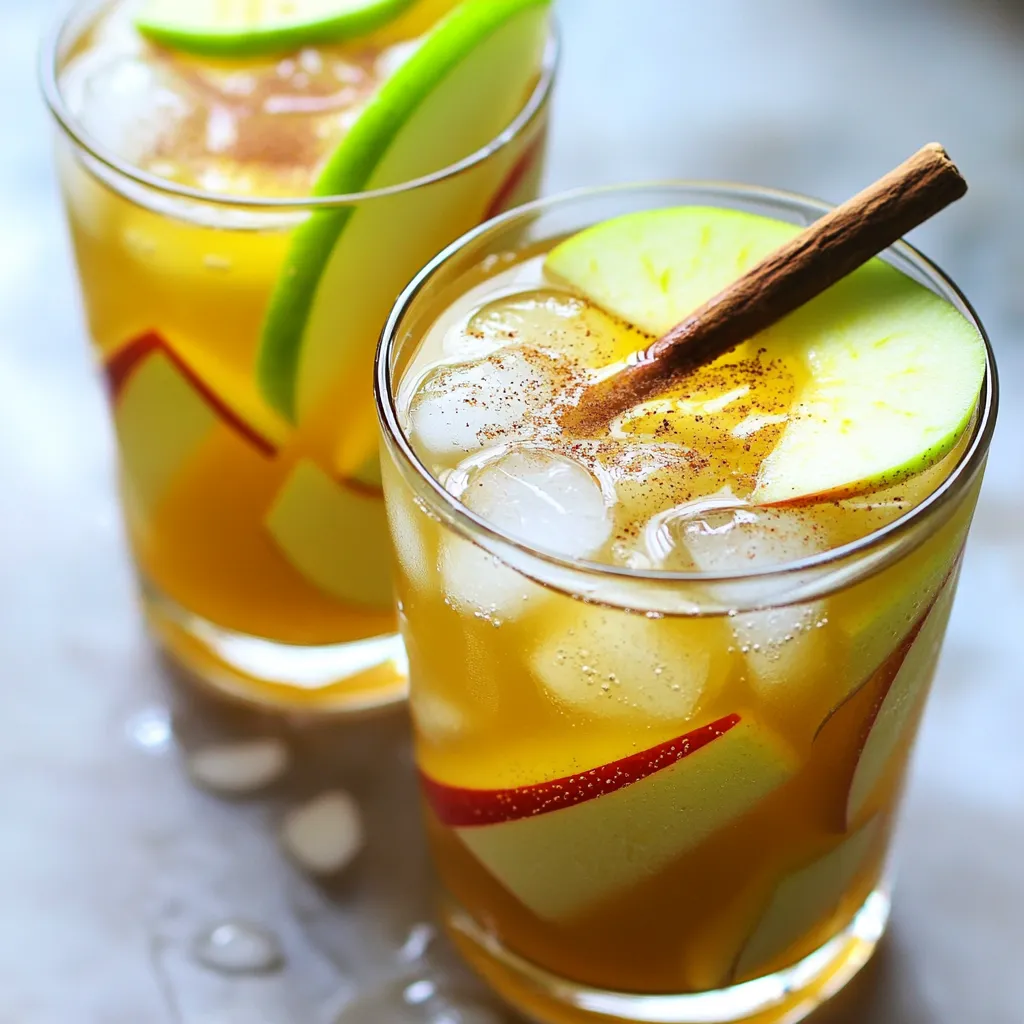
Are you ready to sip on something delicious? The Apple Cider Mocktail is your perfect drink for any event. Packed
Are you ready to sip on something delicious? The Apple Cider Mocktail is your perfect drink for any event. Packed
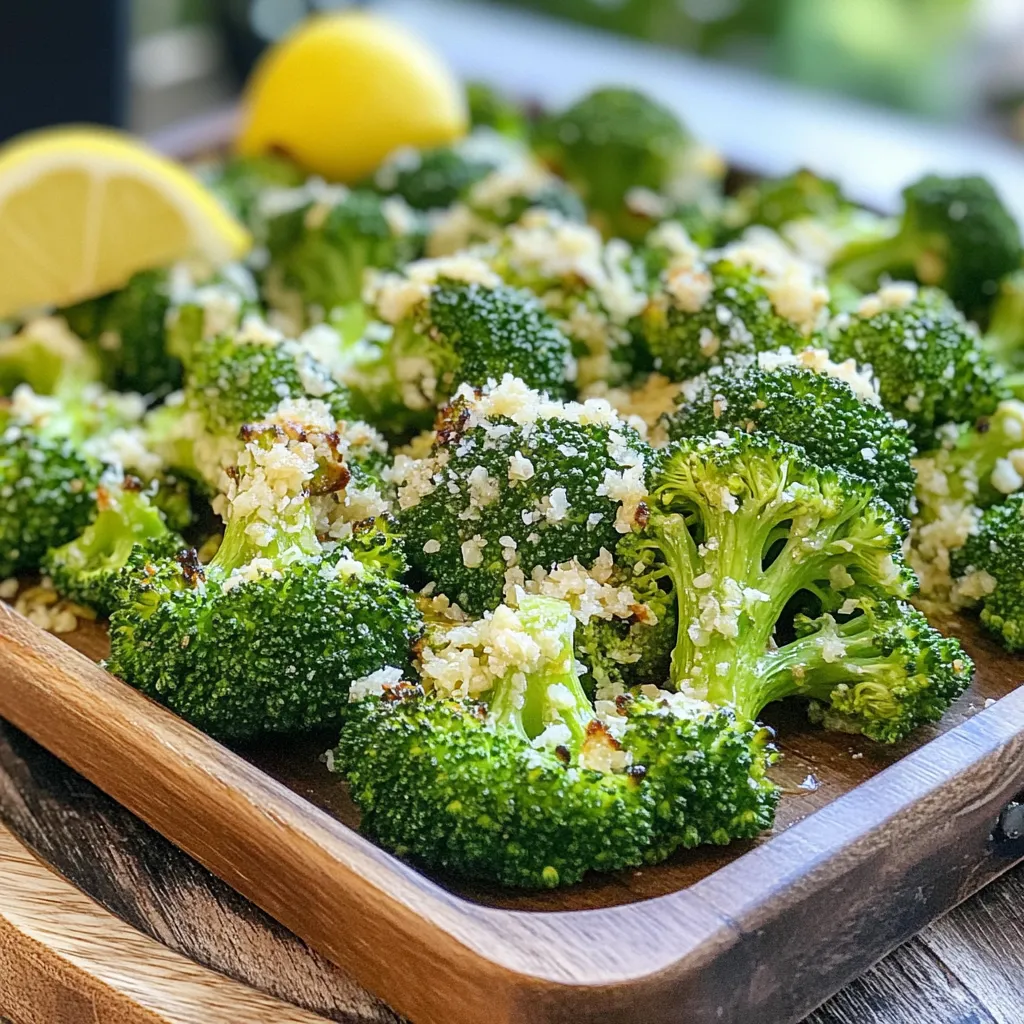
Looking for a simple and tasty way to enjoy broccoli? Try my Air Fryer Parmesan Garlic Broccoli! This quick recipe
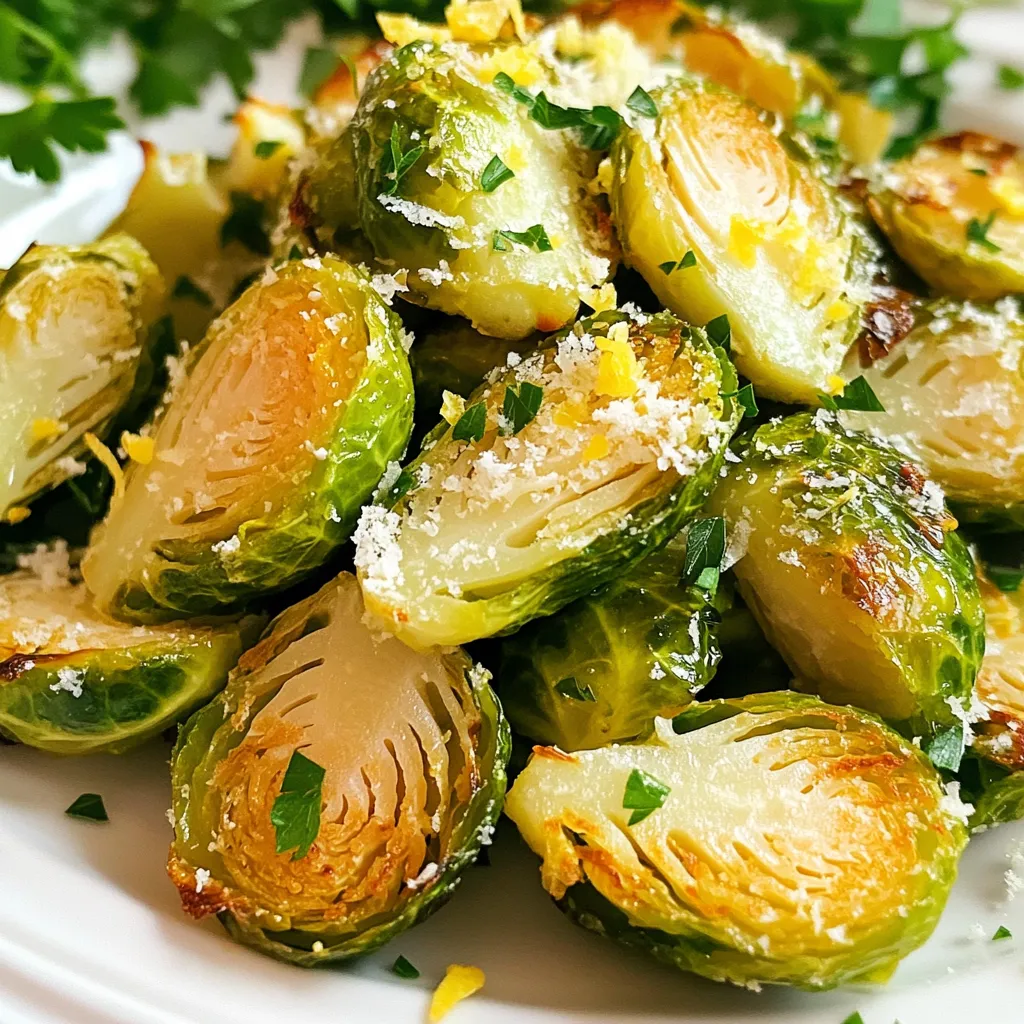
Craving a tasty side dish that’s easy and quick? Let me introduce you to Air Fryer Garlic Parmesan Brussels Sprouts!
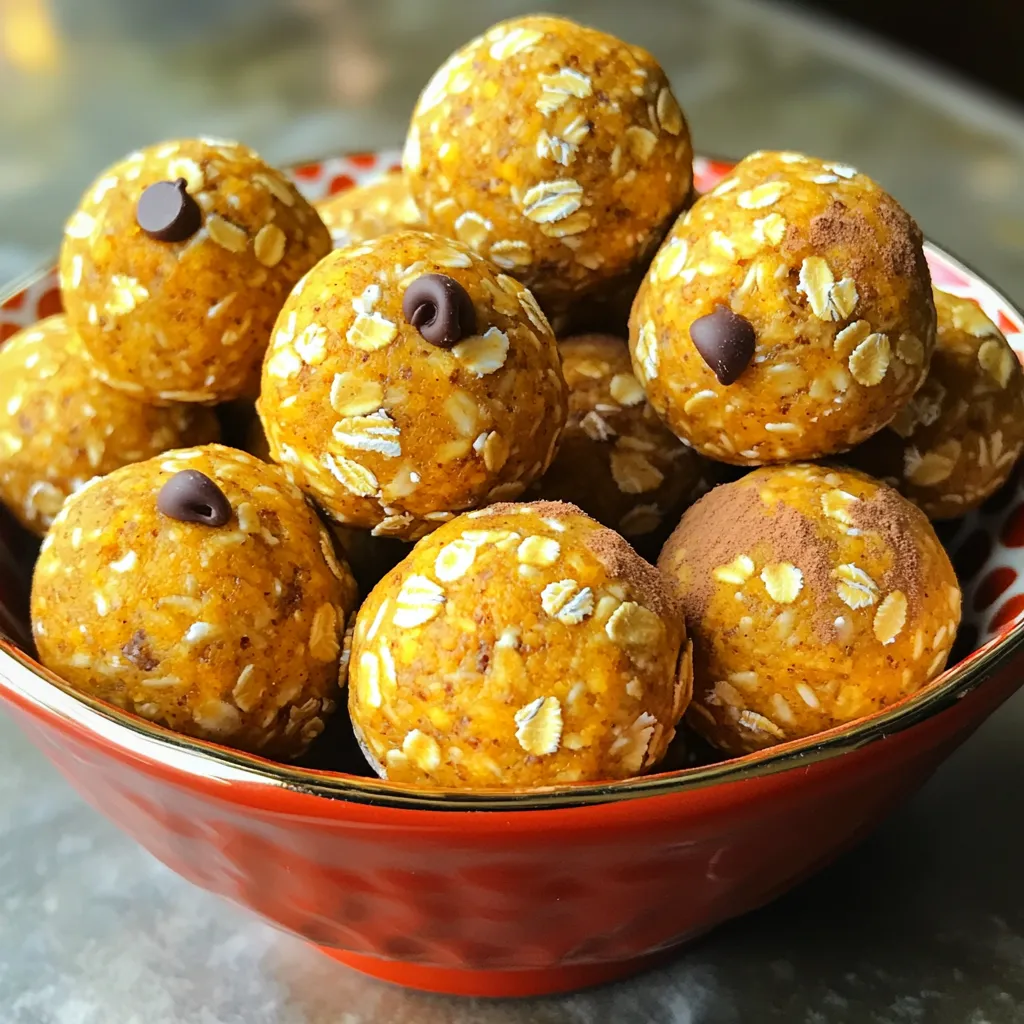
Looking for a quick and tasty snack? These No Bake Pumpkin Spice Protein Balls are perfect! In just a few
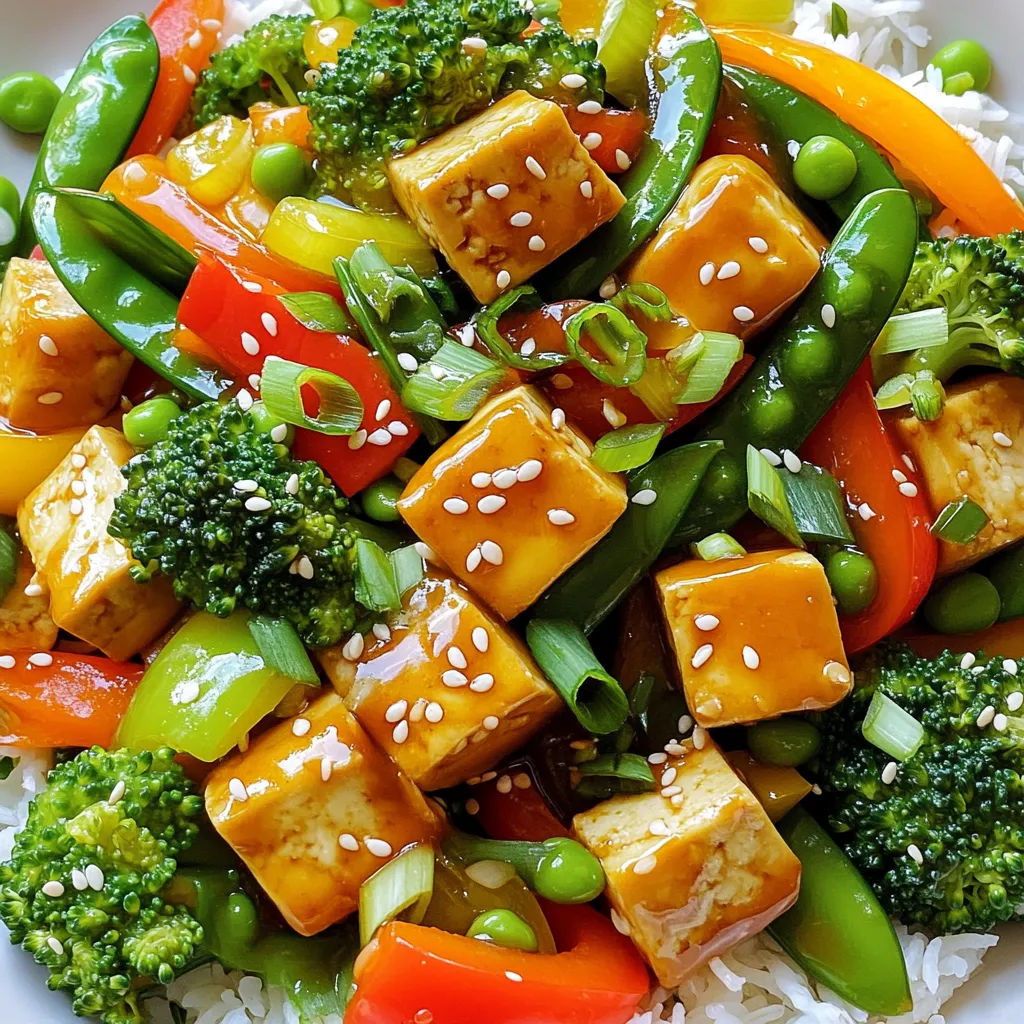
Are you ready to savor a tasty and easy meal? This Honey Garlic Tofu Stir Fry will quickly become your

Indulge in the zesty goodness of Lemon Poppy Seed Loaf, a moist delight that will brighten your day! This simple
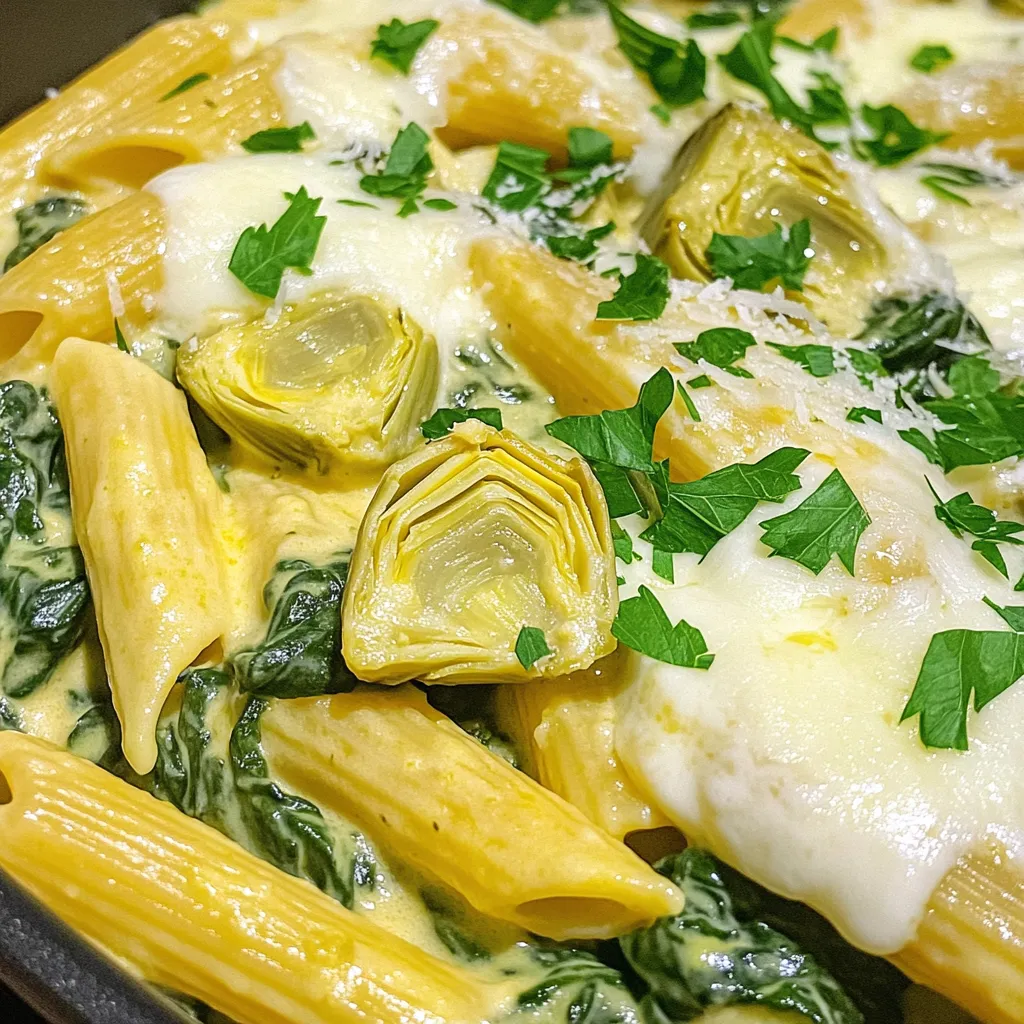
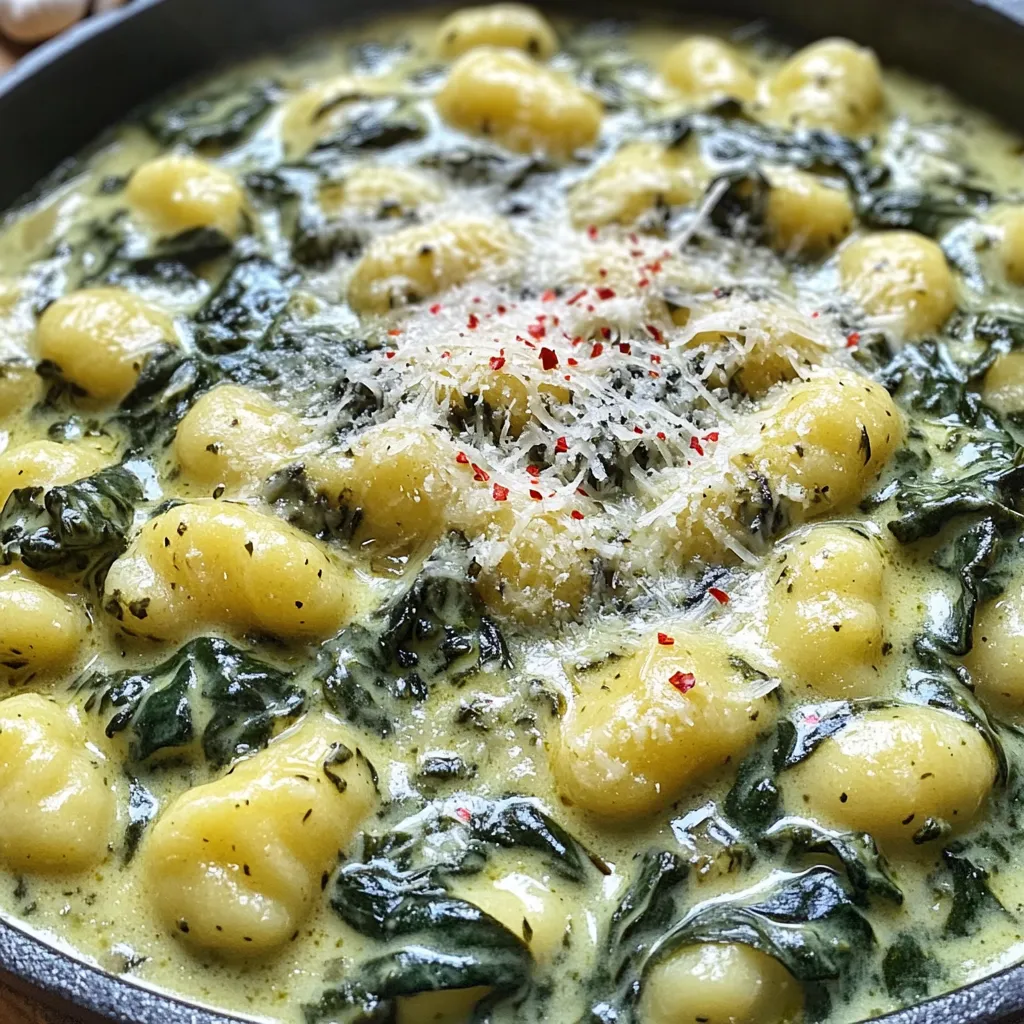
Craving a creamy, rich dish that’s easy to make? Look no further! My One Pot Spinach Artichoke Pasta is both
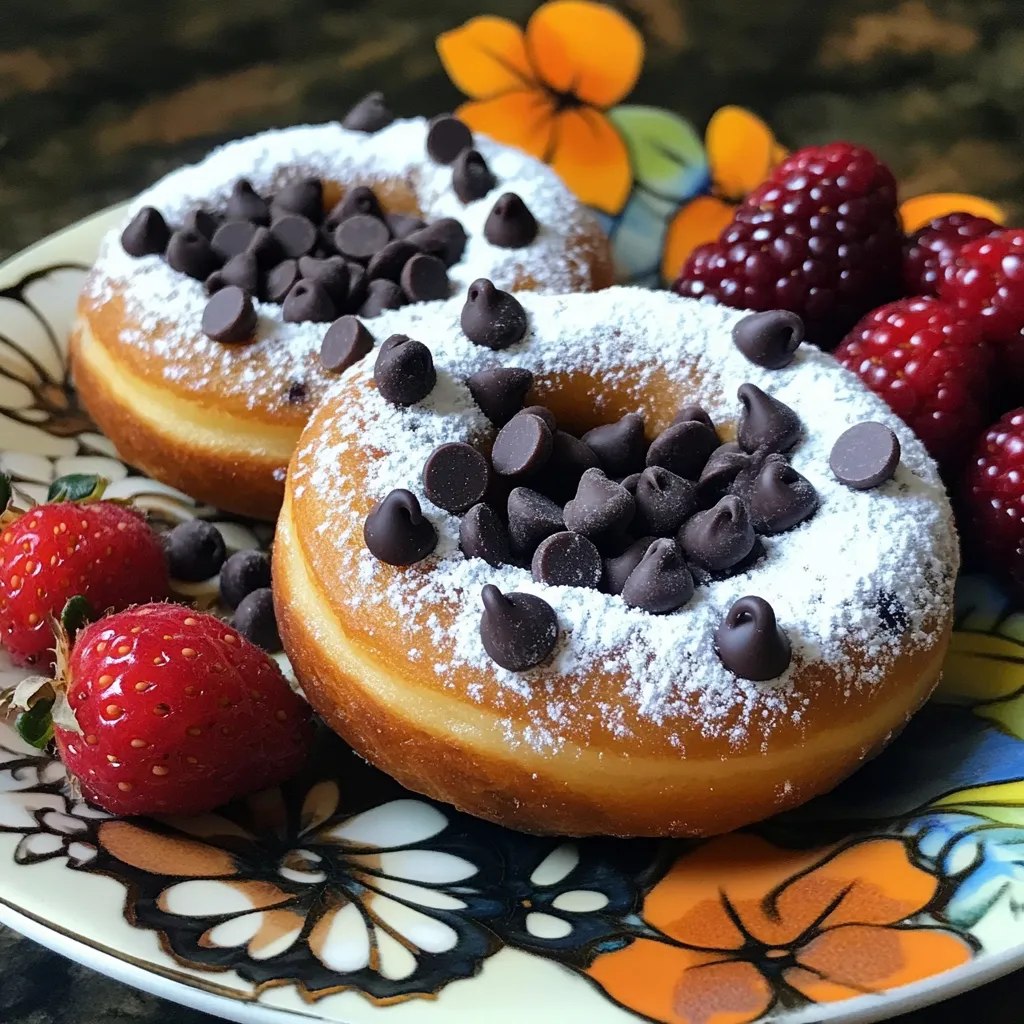
Are you craving something sweet that won’t derail your health goals? You’re in luck! These Chocolate Chip Protein Donuts are
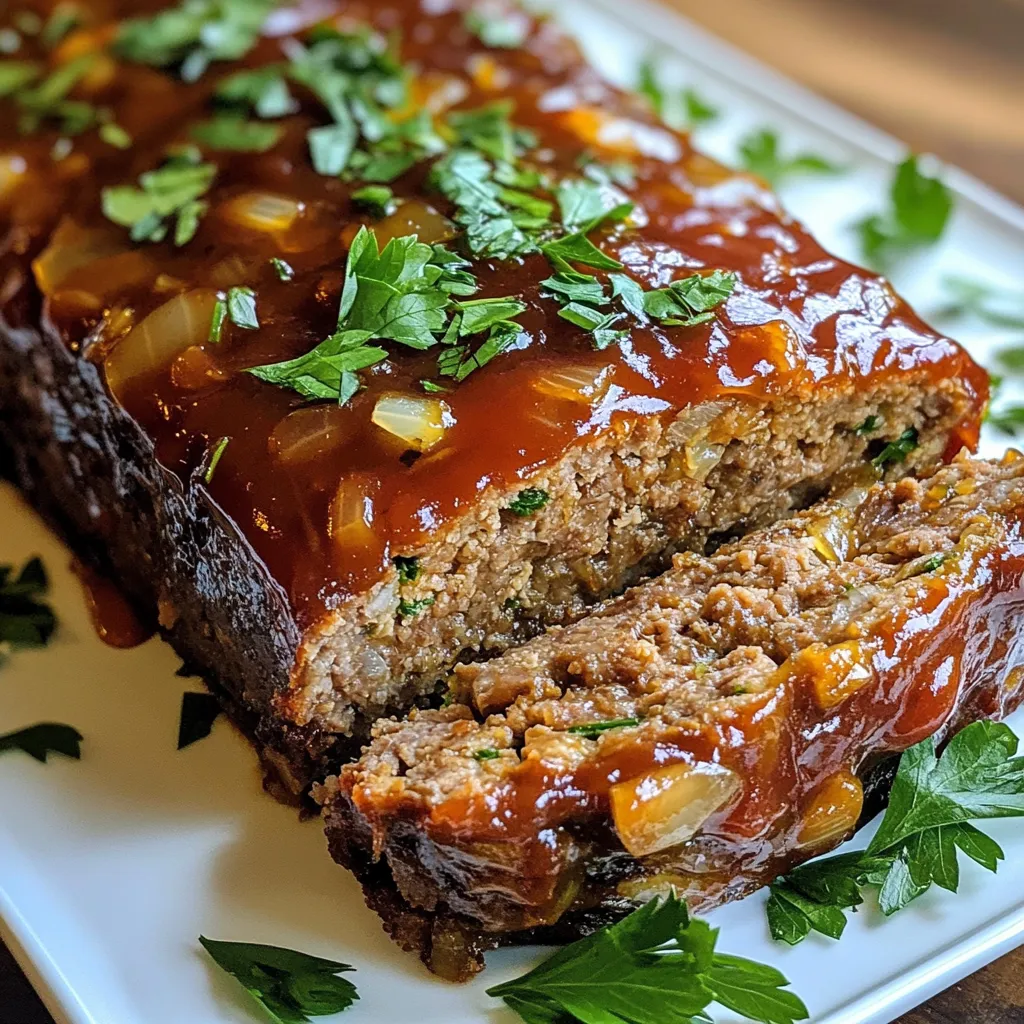
Welcome to the ultimate comfort food recipe! Onion Soup Meatloaf combines rich flavor with simple ingredients to create a dish
Welcome to a culinary experience where creamy meets comforting! In this post, I’ll guide you through making Creamy One-Pot Parmesan
