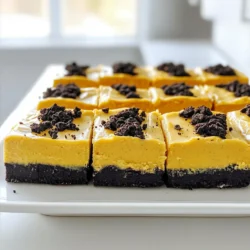
No Bake Pumpkin Oreo Bars
Indulge in the ultimate fall treat with these No Bake Pumpkin Oreo Bars! Made with a buttery Oreo crust and a creamy pumpkin filling, this easy recipe is perfect for any dessert lover. In just 20 minutes of prep, you can create a delightful dessert that's chilled to perfection, making it ideal for gatherings or cozy nights in. Click through for the full recipe and impress everyone with this delicious treat! #PumpkinDesserts #NoBakeTreats #FallRecipes #Cookies