
Latest & Greatest

Best Pumpkin Cheesecake Rich and Creamy Delight Recipe
If you love the cozy flavors of fall, this Best Pumpkin Cheesecake recipe is for you! With rich cream cheese
Read more…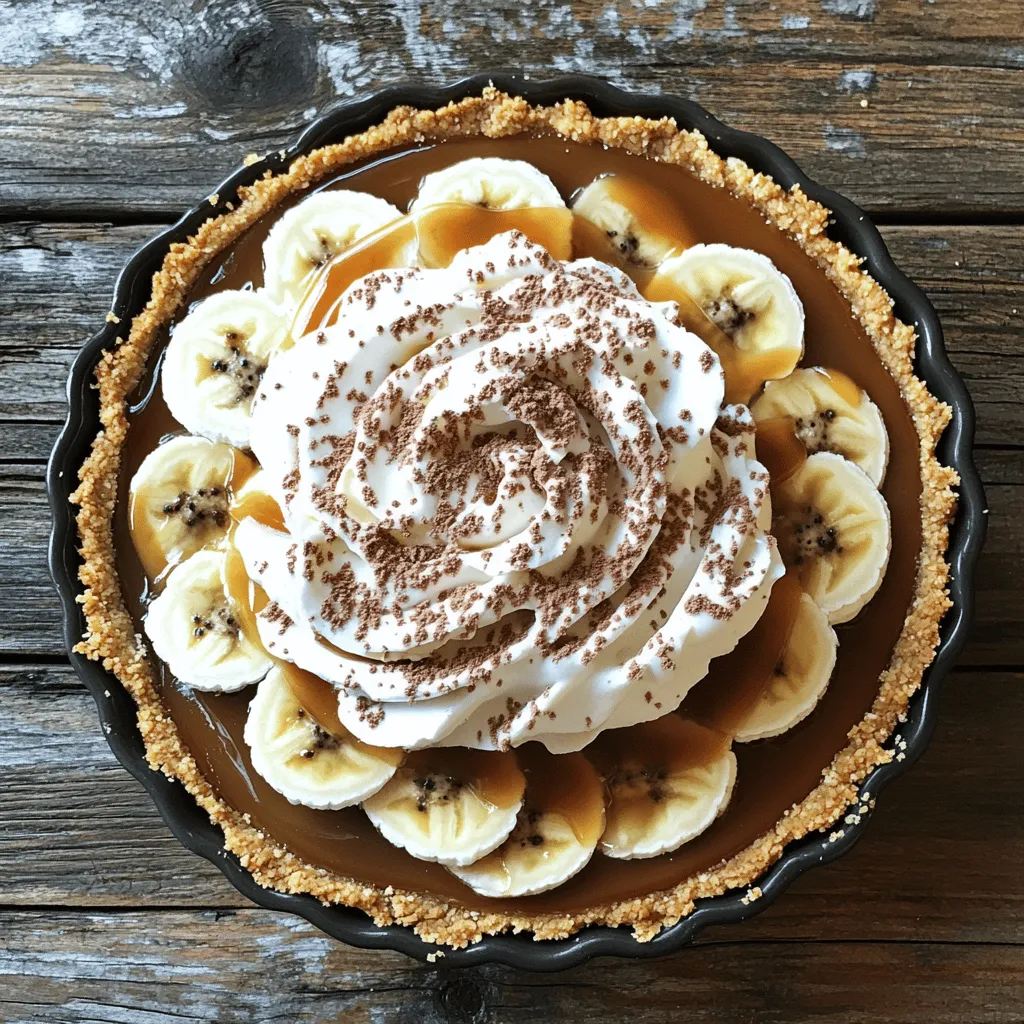
Easy Banoffee Pie with Caramel and Cream Delight
Are you craving a sweet treat that’s simple and decadent? Look no further! This Easy Banoffee Pie with Caramel and
Read more…
Red Velvet Cake Delight Simple and Tasty Recipe
Red Velvet Cake is a timeless favorite that never fails to impress. This deep red treat is not just beautiful;
Read more…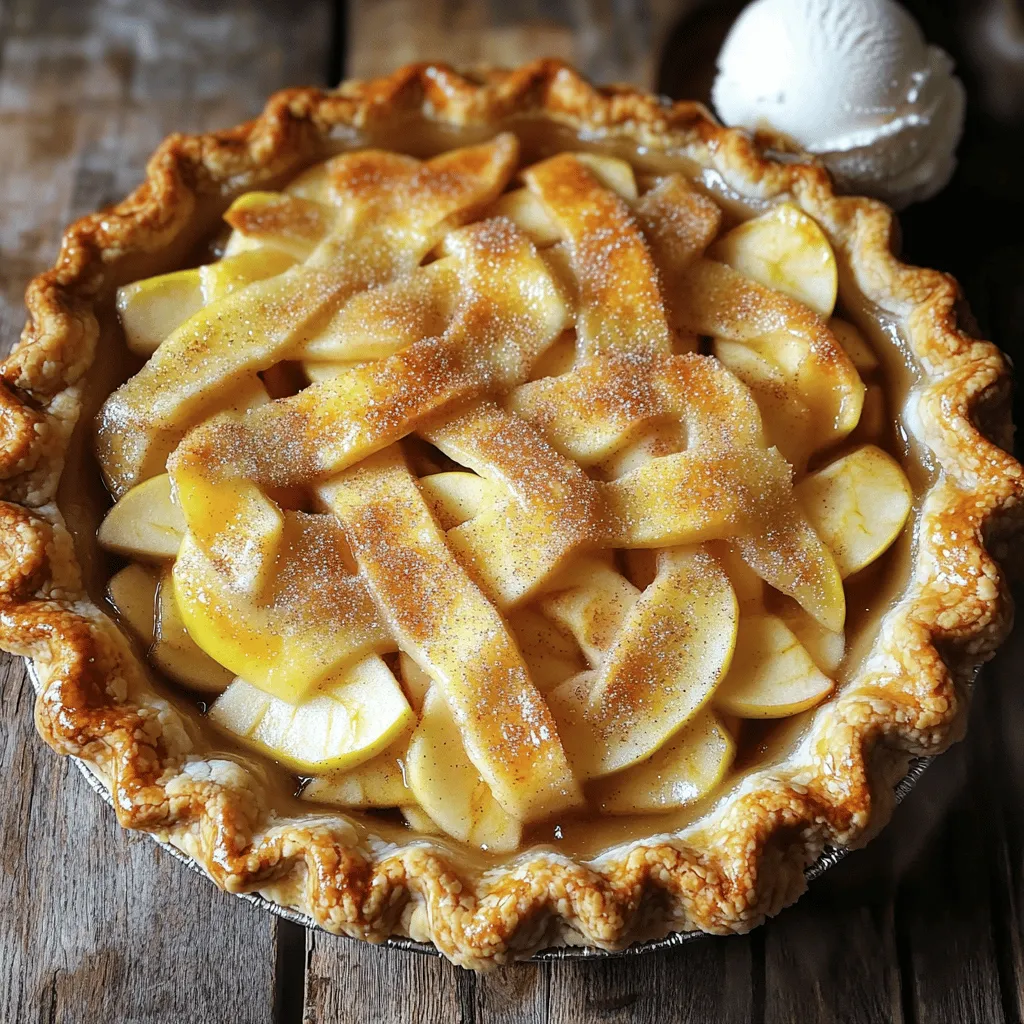
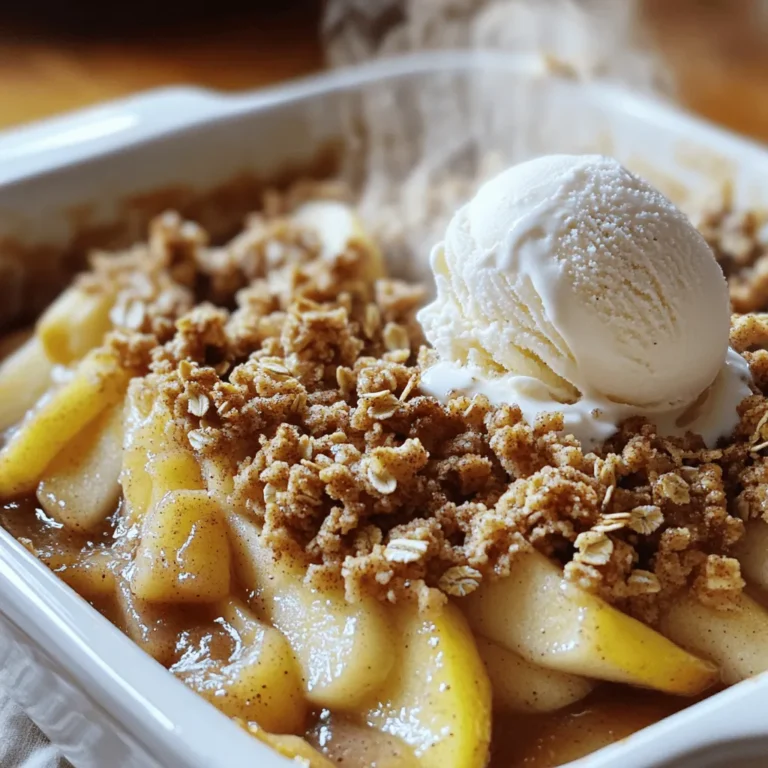
Apple Pie Delight Simple Steps for Perfect Recipe
Are you ready to bake the perfect apple pie? In “Apple Pie Delight: Simple Steps for Perfect Recipe,” I will
Read more…
Crockpot Mexican Chicken Flavorful and Simple Recipe
Looking for a simple, tasty meal? You’re in the right place! This Crockpot Mexican Chicken is packed with bold flavors
Read more…
Spring Hash Brown Crust Quiche Delightful and Easy Recipe
Looking for a quick, tasty dish for spring? Try my Spring Hash Brown Crust Quiche! This recipe combines crispy hash
Read more…browse recipes


Cast Iron Skillet Pizza Perfect Crust Every Time
Cast Iron Skillet Pizza is a game changer for pizza lovers! With the right ingredients and simple steps, you can achieve a perfect crust…
My Latest Desserts
-

Fruity Pebbles Yogurt Parfait Simple and Tasty Treat
Are you ready to whip up a fun and tasty treat? My Fruity Pebbles Yogurt Parfait is a colorful delight Read Full Recipe -

No-Bake Oreo Cheesecake Bars Delicious and Simple Treat
Looking for a simple and sweet dessert? You’ll love these No-Bake Oreo Cheesecake Bars! They are creamy, rich, and super Read Full Recipe -

Fluffy Japanese Soufflé Pancakes Simple and Soft Delight
Are you ready to flip your breakfast game? Fluffy Japanese soufflé pancakes are a soft, delightful treat that will impress Read Full Recipe -
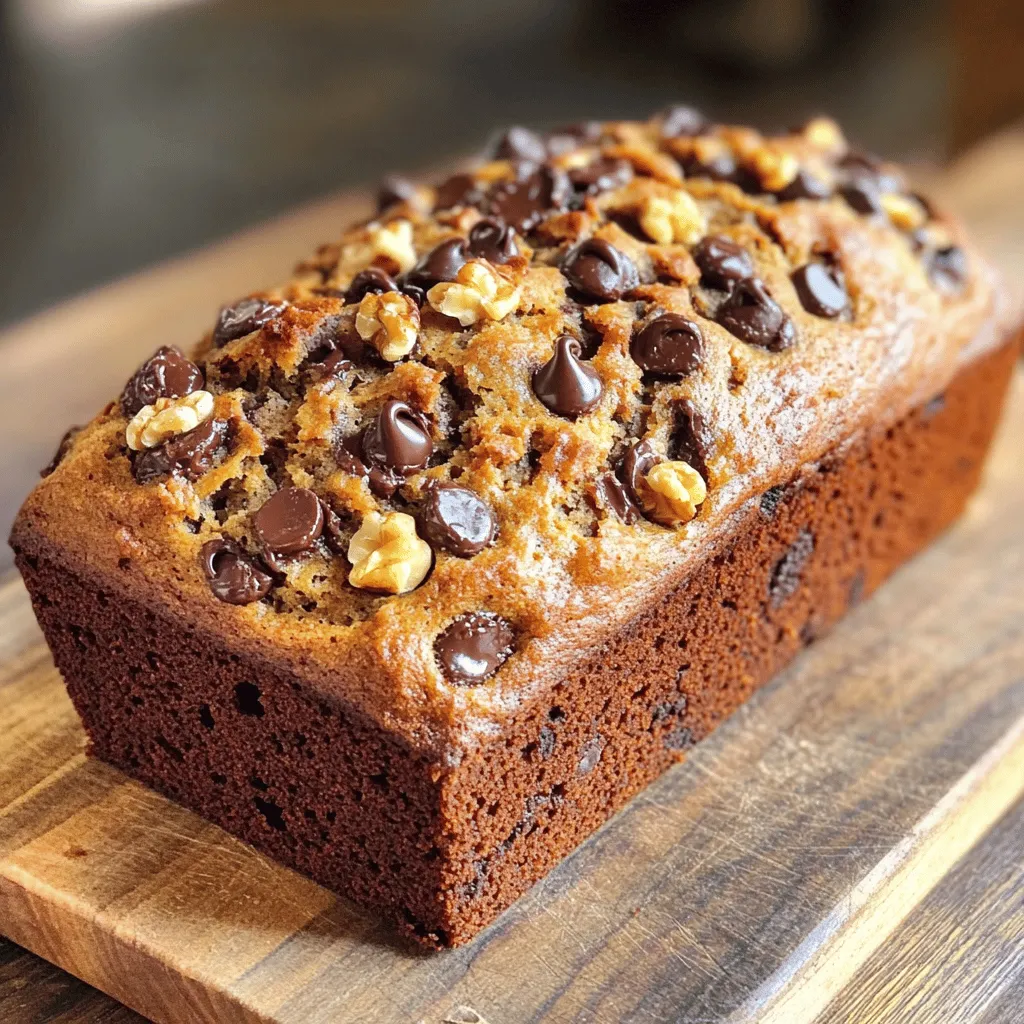
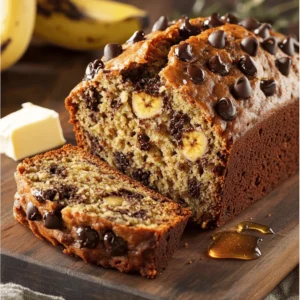
Chocolate Chip Banana Bread Rich and Flavorful Delight
Ready to indulge in a warm, gooey slice of Chocolate Chip Banana Bread? This rich and flavorful delight combines ripe Read Full Recipe -

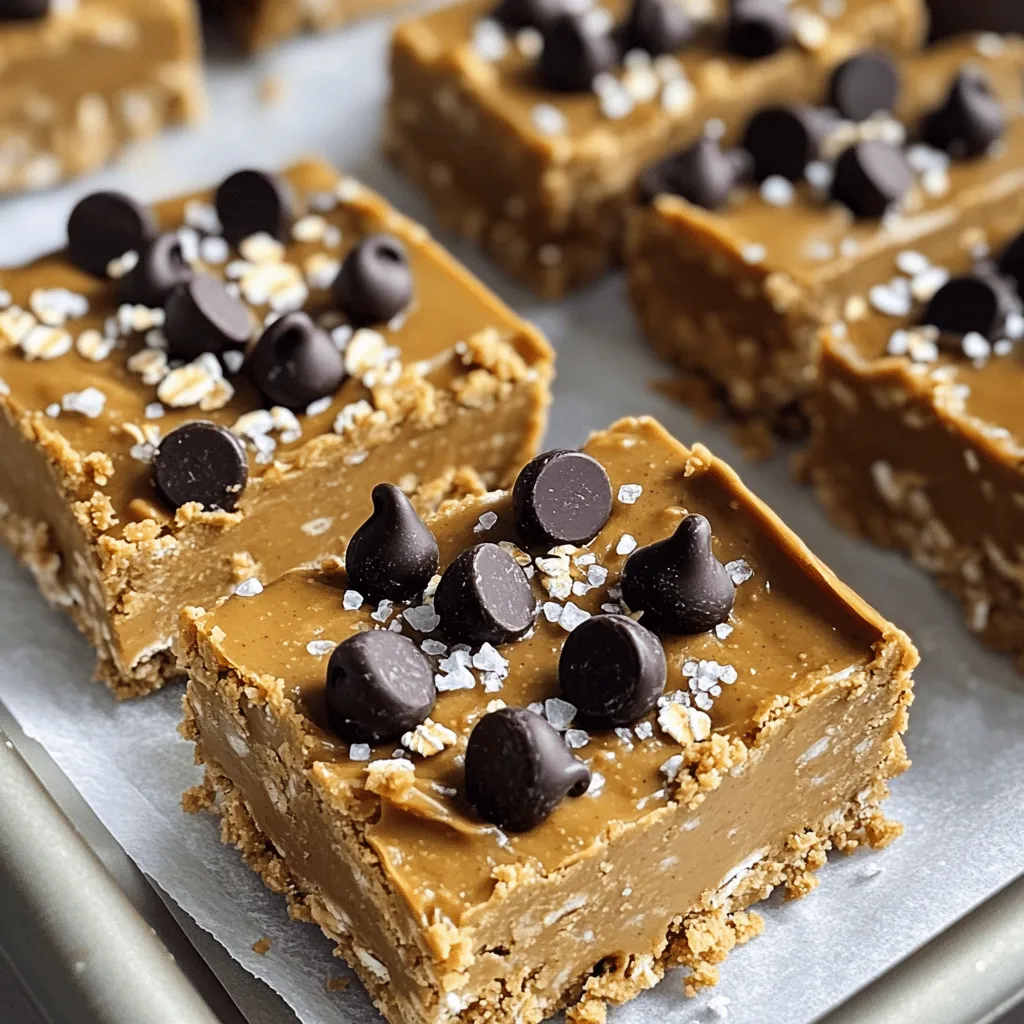
No Bake Peanut Butter Chocolate Bars Simple Delight
Are you craving a sweet treat that’s both simple and delicious? Look no further! I’m excited to share my recipe Read Full Recipe -

Strawberry Cheesecake Icebox Cake Delightful Dessert
Craving a cool, creamy dessert that’s as easy to make as it is delicious? Look no further than this Strawberry Read Full Recipe -
No Bake Peanut Butter Bars Quick and Easy Treat
Looking for a sweet treat that’s quick, easy, and requires no baking? I’ve got you covered with my No Bake Read Full Recipe -

Air Fryer Apple Fries Delicious Crispy Snack Recipe
Craving a tasty snack that’s both fun and simple? Dive into my Air Fryer Apple Fries recipe! With a perfect Read Full Recipe -
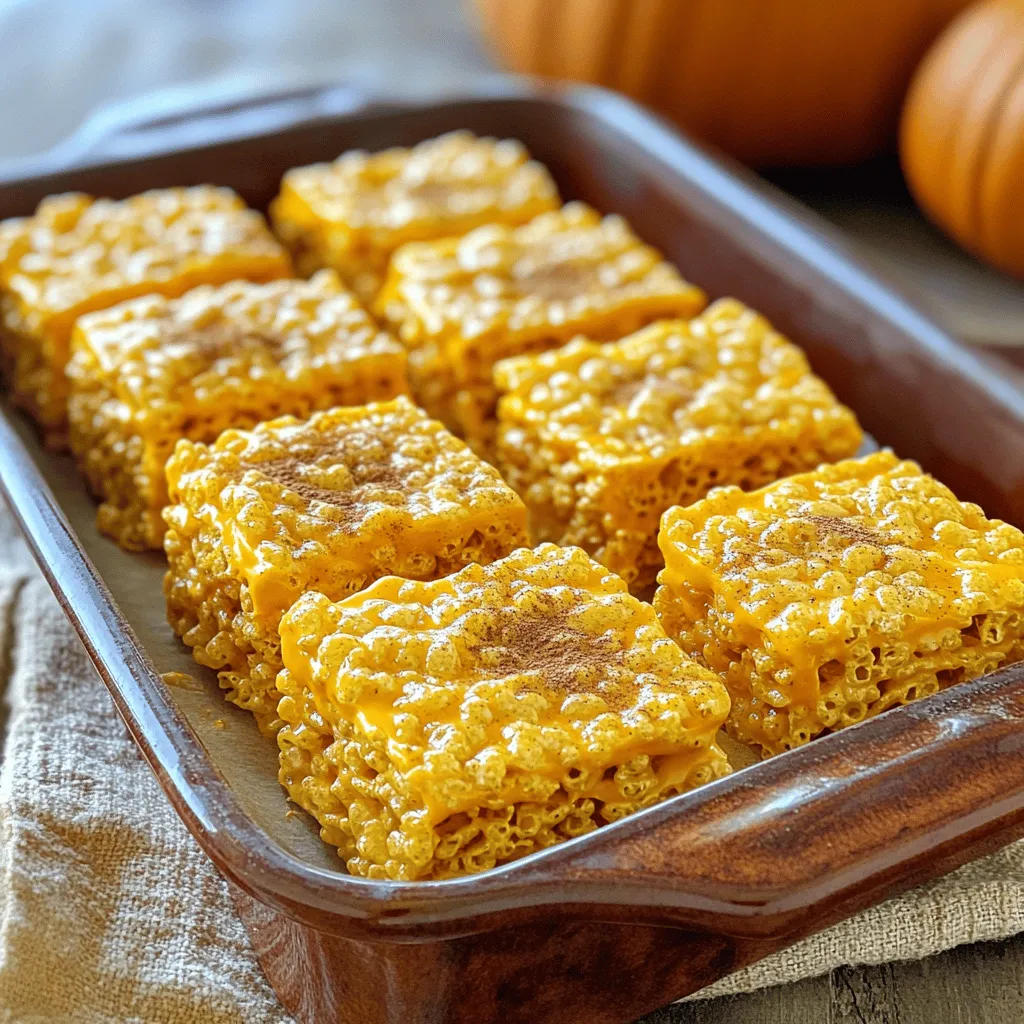
Pumpkin Spice Rice Krispie Treats Cozy Fall Delight
Fall is here, and what better way to celebrate than with Pumpkin Spice Rice Krispie Treats? These sweet, chewy delights Read Full Recipe -

Pumpkin Spice Fudge Irresistible Fall Treat Recipe
Fall is here, and so is your new favorite treat: Pumpkin Spice Fudge! This sweet, creamy delight captures all the Read Full Recipe
My Latest Recipes

hey,
i’m !
I’m so happy you’re here!
My kitchen is filled with stories, flavors, and love and I’m so happy to share them with you. Here’s to dishes that feel like home.


![Here’s what you need to make herb roasted chicken thighs: - 4 bone-in, skin-on chicken thighs - 1 tablespoon olive oil - 2 cloves garlic, minced - 1 tablespoon fresh rosemary, finely chopped - 1 tablespoon fresh thyme leaves - 1 tablespoon fresh parsley, finely chopped - Zest of 1 lemon - Salt and pepper to taste - 1 cup cherry tomatoes, halved - 1 lemon, sliced into rounds Each ingredient adds its own flavor. The chicken thighs are juicy and full of taste. The olive oil helps the skin crisp up nicely. Fresh herbs make every bite burst with flavor. Garlic provides a warm, rich taste. Lemon zest adds a bright note that balances the dish. Cherry tomatoes roast well and add sweetness. You can easily adjust the amount of herbs based on your taste. Use more or less garlic if you love it, or skip it for a milder flavor. The lemon slices not only look nice but add more tang when you eat them. For the full recipe, check out the section below. Enjoy cooking! - Preheat the oven to 425°F (220°C). - In a small bowl, mix olive oil, garlic, rosemary, thyme, parsley, lemon zest, salt, and pepper. This creates a flavorful herb paste. - Pat the chicken thighs dry with paper towels. Drying the skin makes it crispy. - Rub the herb paste all over the chicken. Make sure to get it under the skin for more flavor. - Place the chicken thighs in a large baking dish, skin side up. - Scatter the halved cherry tomatoes and lemon slices around the chicken. This adds color and flavor. - Roast for 30-35 minutes. The chicken should be golden and crispy. Check the internal temperature; it should reach 165°F (75°C). - After roasting, let the chicken rest for 5 minutes before serving. This keeps it juicy. For the full recipe, check the [Full Recipe]. To get that perfect crispy skin, start with dry chicken. I pat the chicken thighs dry with paper towels. This step helps remove moisture. Next, use a good amount of salt on the skin. Salt draws out more moisture while cooking. Place the chicken skin-side up in the oven. High heat is key, so roast at 425°F (220°C). This heat crisps the skin nicely. For maximum flavor, marinate the chicken for at least one hour. You can even marinate overnight for deeper flavor. Use a mix of herbs, garlic, and olive oil for the best taste. The herbs I like the most are rosemary, thyme, and parsley. They add fresh, bright notes to the chicken. Presentation matters! Serve the chicken on a large platter. Surround it with roasted cherry tomatoes and lemon slices. This makes the dish pop with color. Drizzle the pan juices over the chicken before serving. This adds extra flavor and makes it look appealing. For the full recipe, check out the recipe section above. {{image_2}} You can switch up the herbs in this recipe. If you want a different taste, try using basil or oregano. These herbs give a fresh flavor. You can also use dried herbs if fresh ones are not available. Just remember, dried herbs are stronger, so use less. For a spicy kick, add some crushed red pepper flakes. Experimenting with herbs lets you make the dish your own. Roasting vegetables with chicken adds more flavor. You can add carrots, bell peppers, or zucchini. Chop them into chunks and toss them with olive oil and salt. This makes a colorful side. You can use any veggies you like. Just make sure they cook well with the chicken. They will soak up the tasty juices from the chicken. You can use an air fryer for a quicker option. Set it to 400°F (200°C) and cook the chicken for about 25 minutes. This makes the skin crispy. A slow cooker is another choice. Cook on low for 6 hours or high for 3 hours. This keeps the chicken very juicy. Both methods offer unique textures and flavors. For the full recipe, check out the detailed instructions above! To store leftovers, let the chicken cool first. Place it in an airtight container. This keeps it fresh and safe to eat. Store the chicken in the fridge for up to four days. If you want to keep it longer, consider freezing. To freeze cooked chicken thighs, wrap each piece tightly in plastic wrap. Then, place them in a freezer-safe bag. Remove as much air as you can. Label the bag with the date. This way, the chicken stays good for up to three months. When ready to eat, thaw the chicken thighs in the fridge overnight. For reheating, use the oven for best results. Preheat your oven to 350°F (175°C). Place the chicken in a baking dish with a bit of broth or water. Cover it with foil to keep the moisture in. Heat for about 20-25 minutes, or until warmed through. This keeps the chicken juicy and tasty. For more details, check the Full Recipe for the perfect herb roasted chicken thighs. To check if the chicken is done, use a meat thermometer. Insert it into the thickest part of the thigh. The safe internal temperature for chicken is 165°F (75°C). Look for clear juices running from the chicken. If the juices run clear, the chicken is likely ready. Always let the chicken rest for a few minutes after cooking. This helps the juices settle, keeping it moist. Yes, you can use chicken breasts. However, thighs are juicier and more flavorful. If you choose breasts, reduce cooking time. Chicken breasts often cook faster than thighs. They will need about 25-30 minutes at the same oven temperature. Adjust the herb paste amount, as you may need less for smaller pieces. Herb roasted chicken thighs taste great with many sides. Here are some tasty options: - Roasted vegetables like carrots, zucchini, and bell peppers - Creamy mashed potatoes or garlic mashed potatoes - A fresh green salad with lemon vinaigrette - Rice pilaf with herbs and nuts - Crusty bread to soak up the pan juices These sides make a complete meal and complement the chicken’s flavors perfectly. For more ideas, check the Full Recipe. This article covered a tasty herb-roasted chicken recipe. You learned how to prep, season, and roast chicken thighs for crispy skin. We explored storage tips and cooking variations to suit your taste. Remember, you can swap herbs or add veggies for extra flavor. Experimenting will lead to delicious results. Enjoy making this dish for your family and friends!](https://southerndishes.com/wp-content/uploads/2025/06/d232d54a-c4ee-407f-bd62-cf4530192078-300x300.webp)
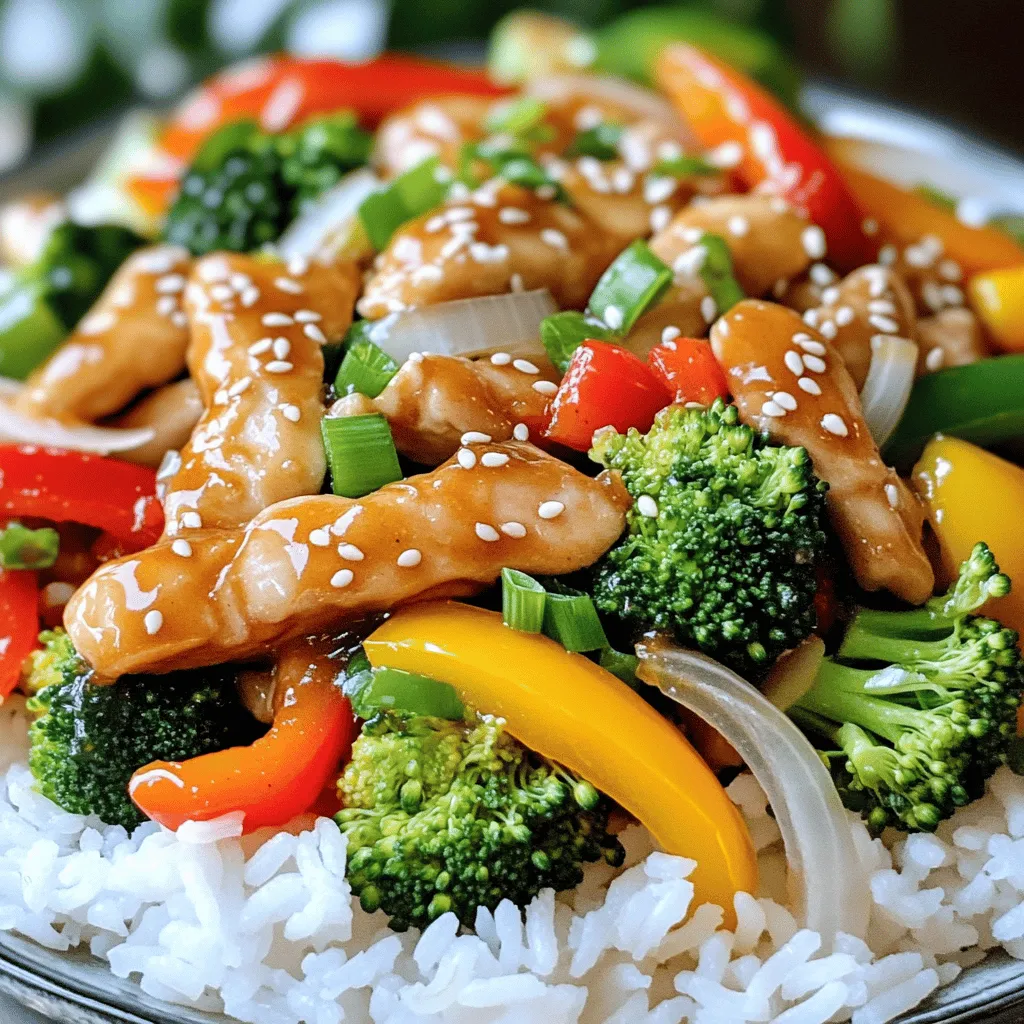
Honey Garlic Chicken Stir Fry Flavorful Weeknight Meal
Are you looking for a quick and tasty dinner? Honey Garlic Chicken Stir Fry is your answer! In just one pan, you can whip…