

Latest & Greatest
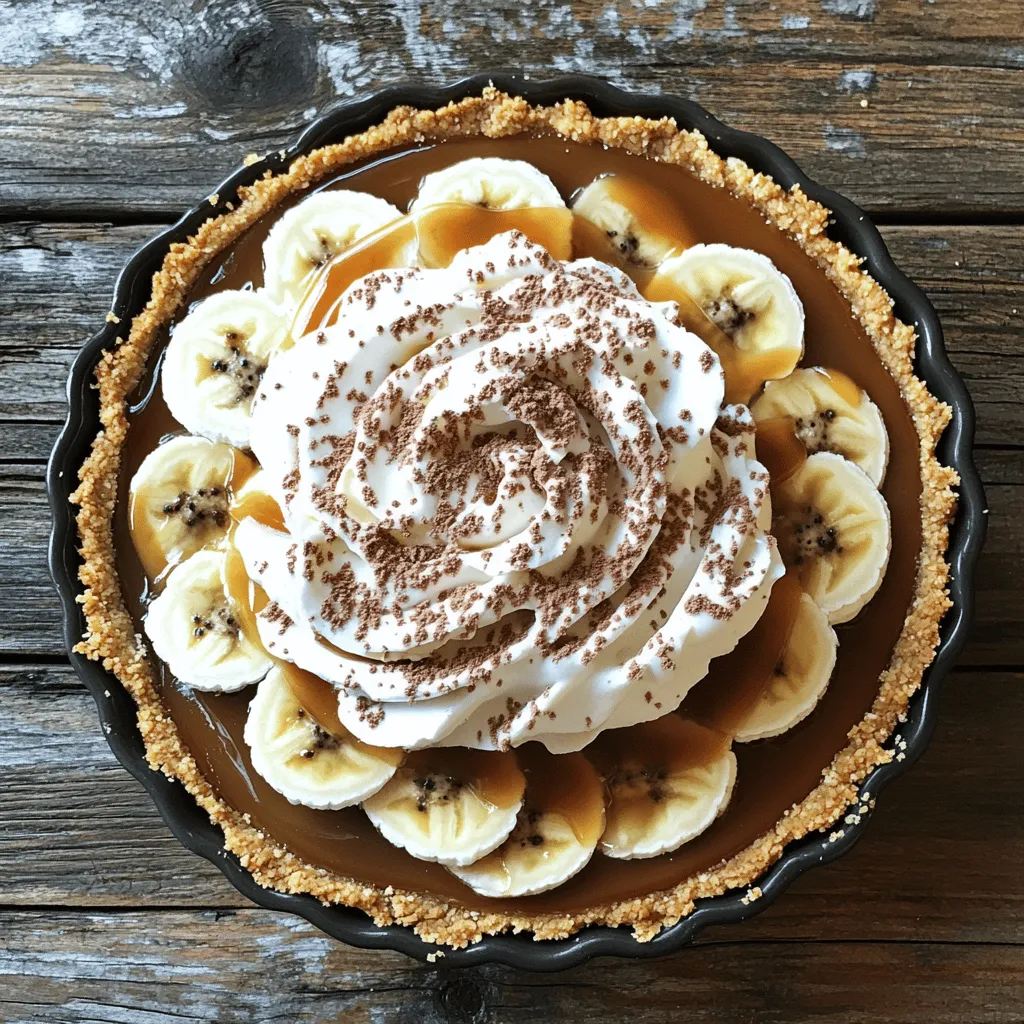
Easy Banoffee Pie with Caramel and Cream Delight
Are you craving a sweet treat that’s simple and decadent? Look no further! This Easy Banoffee Pie with Caramel and
Read more…
Red Velvet Cake Delight Simple and Tasty Recipe
Red Velvet Cake is a timeless favorite that never fails to impress. This deep red treat is not just beautiful;
Read more…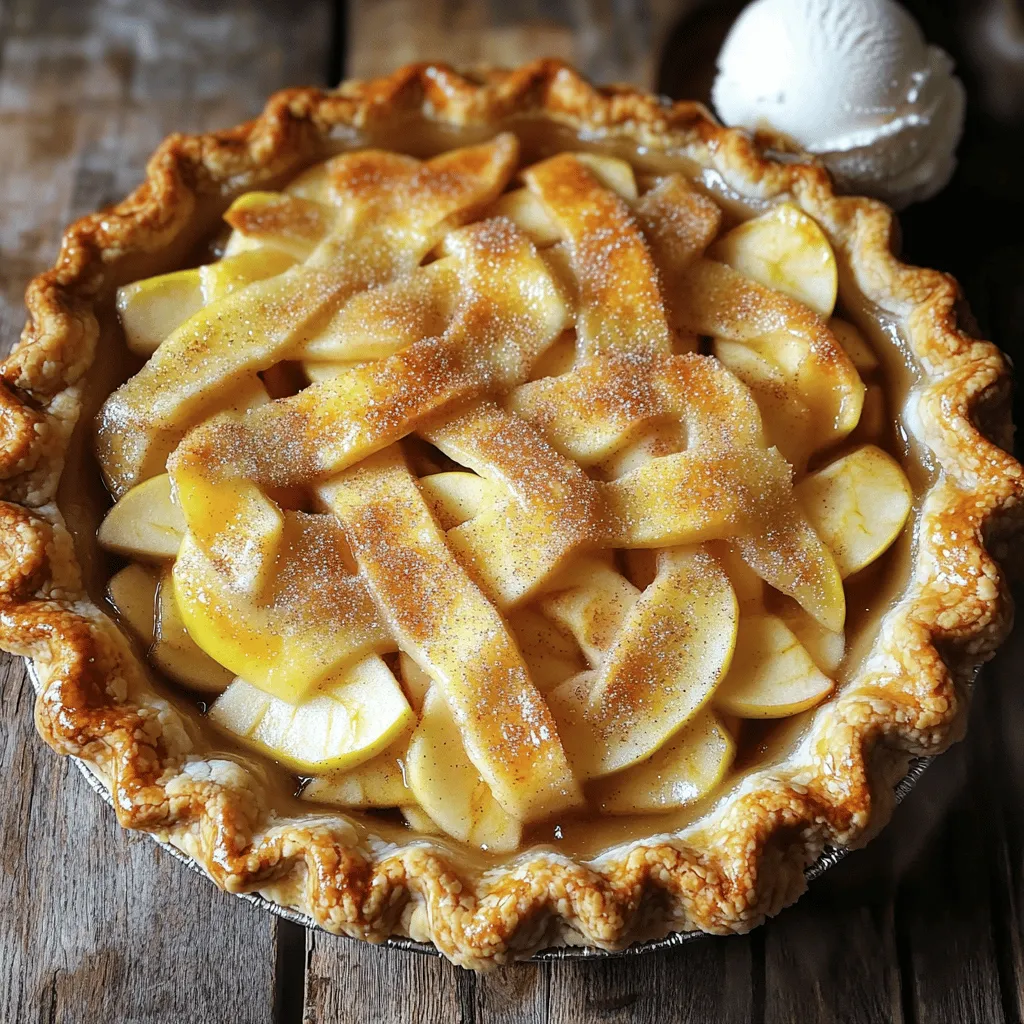
Apple Pie Delight Simple Steps for Perfect Recipe
Are you ready to bake the perfect apple pie? In “Apple Pie Delight: Simple Steps for Perfect Recipe,” I will
Read more…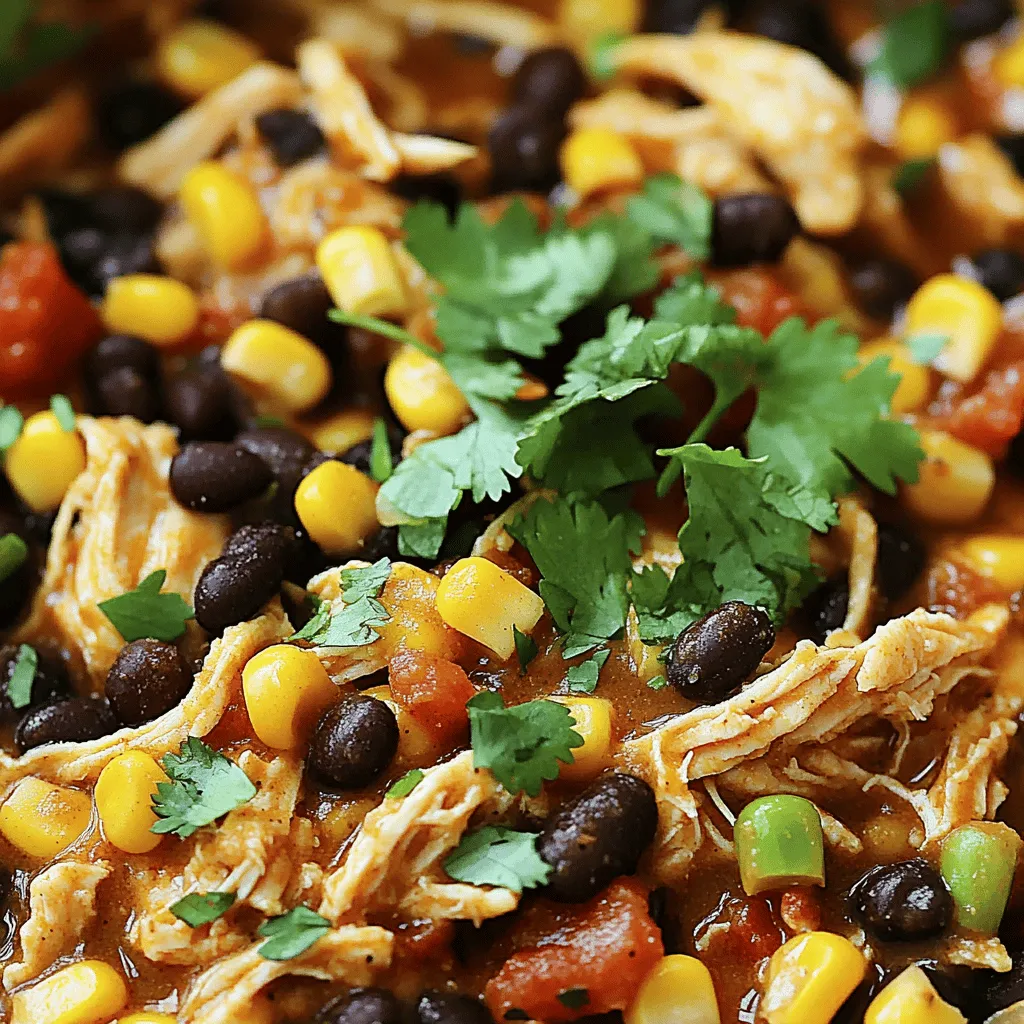
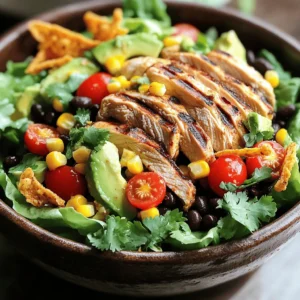
Crockpot Mexican Chicken Flavorful and Simple Recipe
Looking for a simple, tasty meal? You’re in the right place! This Crockpot Mexican Chicken is packed with bold flavors
Read more…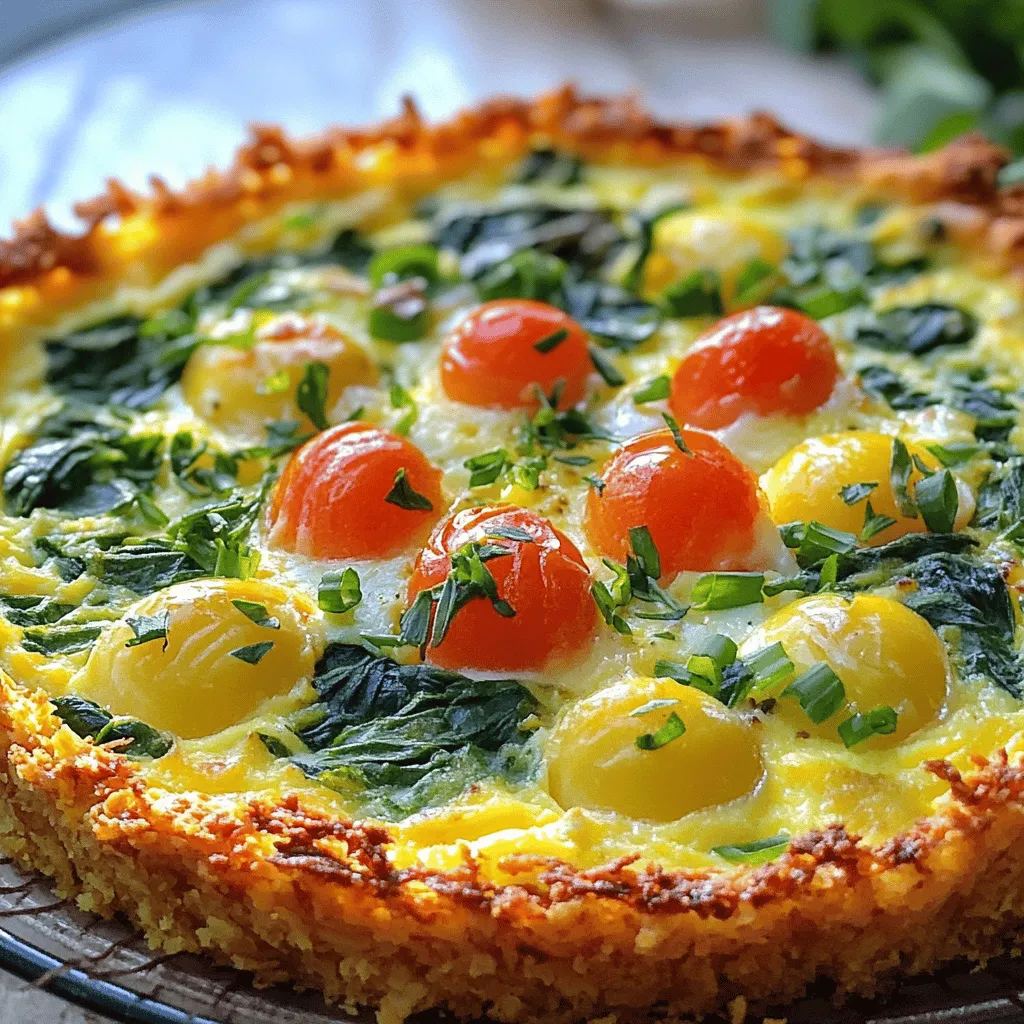
Spring Hash Brown Crust Quiche Delightful and Easy Recipe
Looking for a quick, tasty dish for spring? Try my Spring Hash Brown Crust Quiche! This recipe combines crispy hash
Read more…browse recipes
. To make great cauliflower fried rice, you need to avoid overcooking the cauliflower. Overcooked cauliflower turns mushy. You want it tender yet slightly crunchy. Cook the riced cauliflower for just 5-7 minutes, stirring often. This gives it a nice texture. For a crispy finish, use high heat when cooking. Start with a hot skillet and add a little oil. This helps the cauliflower get golden brown. Spread the rice out in the pan. Let it sit for a bit before stirring. This way, you get those tasty crispy bits. If you need a soy sauce alternative, try coconut aminos. It gives a sweet, salty flavor without soy. You can also use tamari for a gluten-free option. Feel free to swap in your favorite veggies. Bell peppers, broccoli, or snap peas are great. You can even add spinach or kale for extra nutrients. Mix and match to keep things fun and fresh. To add more flavor, consider spices like cumin or paprika. A splash of sesame oil enhances the taste too. If you love heat, add sriracha for a spicy kick. For a beautiful presentation, garnish with sliced green onions. A sprinkle of sesame seeds adds nice crunch. You can serve it in bowls or on plates. Make it look as good as it tastes! For the full recipe, check out the [Full Recipe]. {{image_2}} You can boost your cauliflower fried rice with protein. Chicken, shrimp, and tofu work great. For chicken, use cooked, diced chicken breast. For shrimp, add fresh or frozen shrimp. Cook them until pink. If you prefer tofu, use firm tofu. Cube it and sauté until golden. To add protein, cook your choice of meat or tofu first. Set it aside. Then, combine it back into the skillet with the riced cauliflower. This step ensures that every bite is tasty and filling. Using fresh, seasonal vegetables makes this dish even better. In spring, try peas and asparagus. In summer, add zucchini and bell peppers. In fall, use carrots and Brussels sprouts. In winter, think about kale or root veggies. To adapt your dish, swap out the mixed vegetables for what’s in season. This keeps your meal fresh and exciting. Plus, seasonal produce often tastes better and is more affordable. If you love heat, spice up your fried rice. Start with sriracha or chili paste. A teaspoon can add a nice kick. You can also mix in chopped spicy peppers like jalapeños or serranos. For a spicy blend, sprinkle in some chili flakes or a spice mix. Just be careful to taste as you go. This way, you can control the heat level. Adjusting spice makes this dish fun and personal. For the full recipe, check out the [Full Recipe]. Enjoy making your own versions of cauliflower fried rice! Store your cauliflower fried rice in an airtight container. Glass or plastic containers work well. Make sure the lid fits snugly to keep air out. Place it in the fridge if you plan to eat it within a few days. For longer storage, freeze it in portion-sized bags. Remove as much air as possible before sealing to prevent freezer burn. The best way to reheat cauliflower fried rice is in a skillet. Heat it over medium heat. Add a splash of water or oil to keep it moist. Stir often to heat evenly. You can also use a microwave. Place it in a microwave-safe dish. Cover it with a damp paper towel to keep it from drying out. Heat in short bursts, stirring in between. To keep the texture nice, avoid overheating. Cauliflower can become mushy if cooked too long. Aim for just a few minutes of reheating, whether on the stove or in the microwave. This way, your dish remains tasty and fresh! To rice cauliflower, you can use a food processor or a box grater. I find the food processor works best for speed. Cut the cauliflower into florets. Then pulse in short bursts until it looks like rice. Avoid over-processing, as it can turn mushy. If you don’t have a food processor, use a box grater. Grate the florets until they resemble rice. This method takes a bit longer but works well. Yes, you can make cauliflower fried rice ahead of time. Cook the dish and let it cool fully. Then store it in an airtight container. Place it in the fridge for up to three days. For longer storage, freeze it for up to three months. When you’re ready to eat, simply reheat it in a skillet or microwave. Just remember, fresh cauliflower fried rice tastes best! Cauliflower fried rice is low in calories compared to regular fried rice. A serving has about 100 calories, depending on added ingredients. Cauliflower is a great alternative to rice. It is low in carbs and high in fiber. This dish also offers vitamins C and K. Plus, you get antioxidants from the mixed veggies. It makes a healthy choice for any meal. For the full recipe, check out the details above! Cauliflower fried rice is easy and fun to make. You learned about the key ingredients, like the riced cauliflower, sesame oil, and eggs. We went through each step, from prepping the cauliflower to cooking it just right. You picked up tips for great texture, flavor boosts, and even tasty variations. Don’t forget storage tips, as leftovers can stay fresh. Embrace this flexible dish, and feel free to explore different proteins or veggies. Enjoy making this quick meal your own!](https://southerndishes.com/wp-content/uploads/2025/05/386dbf5a-1917-4769-8648-d97ef5a3faef.webp)
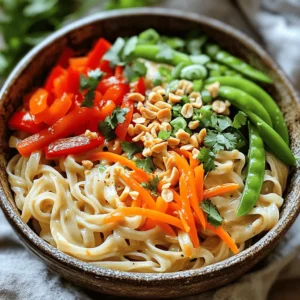
Cauliflower Fried Rice Flavorful and Healthy Dish
If you’re searching for a tasty, healthy dish, cauliflower fried rice is a winner! This flavorful meal swaps out white rice for nutrient-rich cauliflower,…
My Latest Desserts
-

No-Bake Oreo Cheesecake Bars Delicious and Simple Treat
Looking for a simple and sweet dessert? You’ll love these No-Bake Oreo Cheesecake Bars! They are creamy, rich, and super Read Full Recipe -
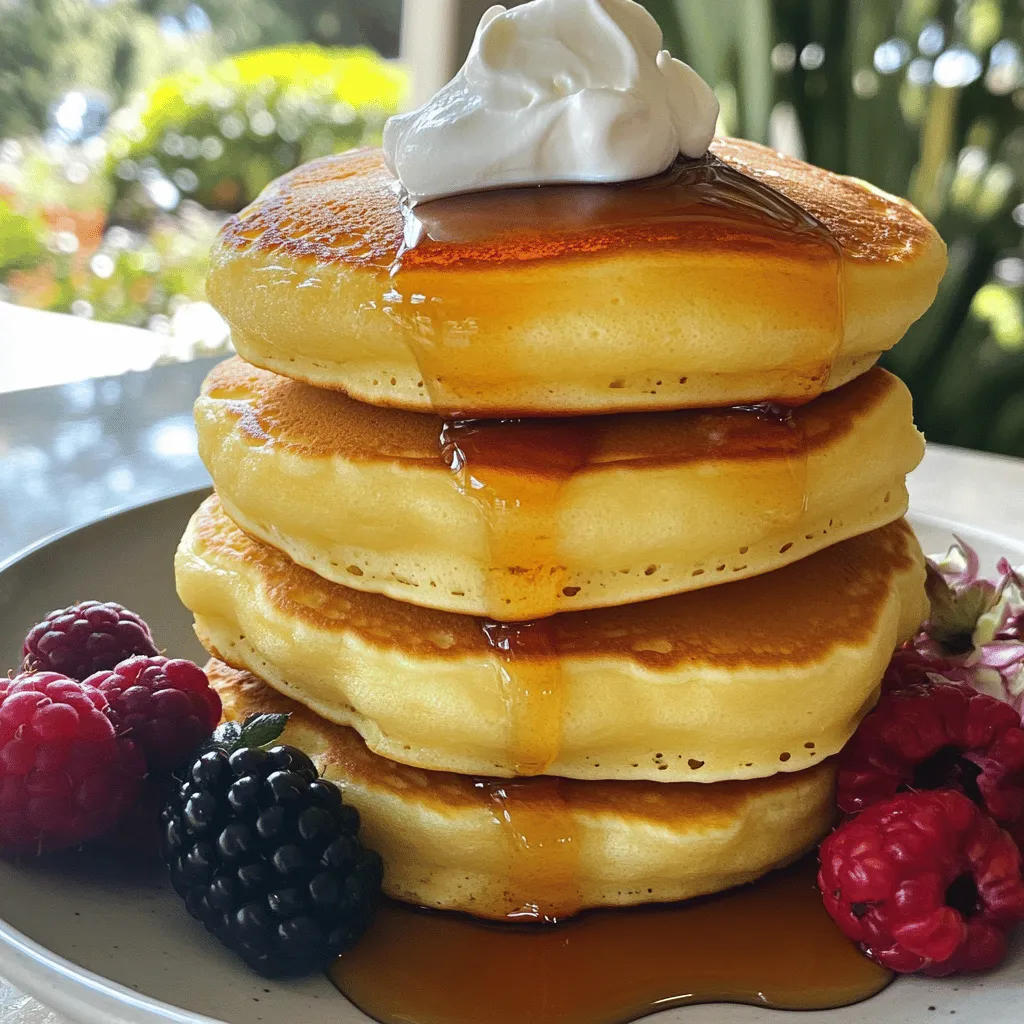
Fluffy Japanese Soufflé Pancakes Simple and Soft Delight
Are you ready to flip your breakfast game? Fluffy Japanese soufflé pancakes are a soft, delightful treat that will impress Read Full Recipe -
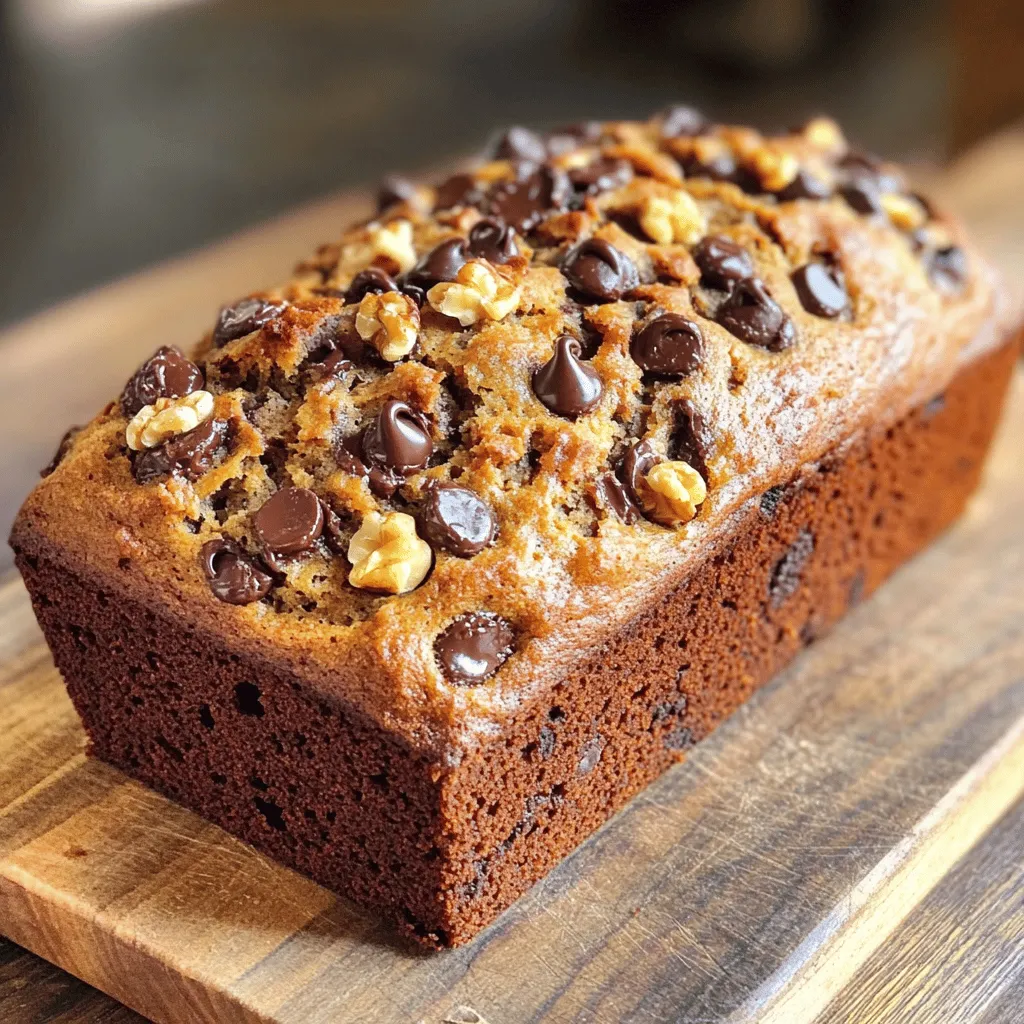
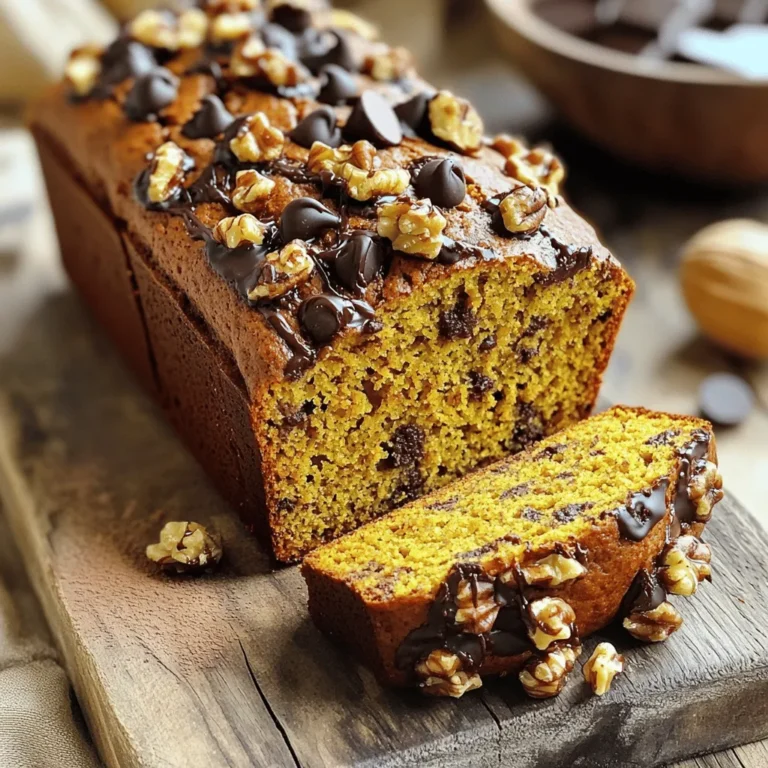
Chocolate Chip Banana Bread Rich and Flavorful Delight
Ready to indulge in a warm, gooey slice of Chocolate Chip Banana Bread? This rich and flavorful delight combines ripe Read Full Recipe -
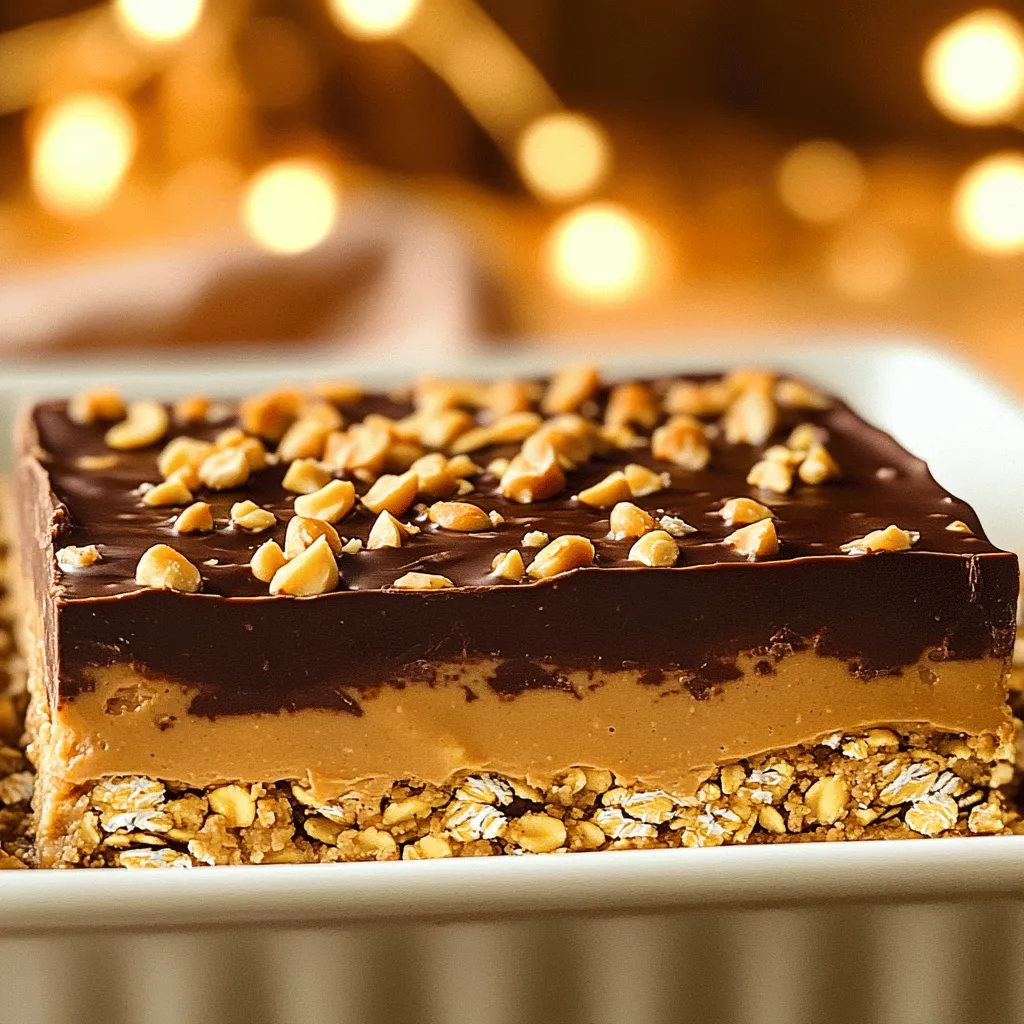
No Bake Peanut Butter Chocolate Bars Simple Delight
Are you craving a sweet treat that’s both simple and delicious? Look no further! I’m excited to share my recipe Read Full Recipe -

Strawberry Cheesecake Icebox Cake Delightful Dessert
Craving a cool, creamy dessert that’s as easy to make as it is delicious? Look no further than this Strawberry Read Full Recipe -
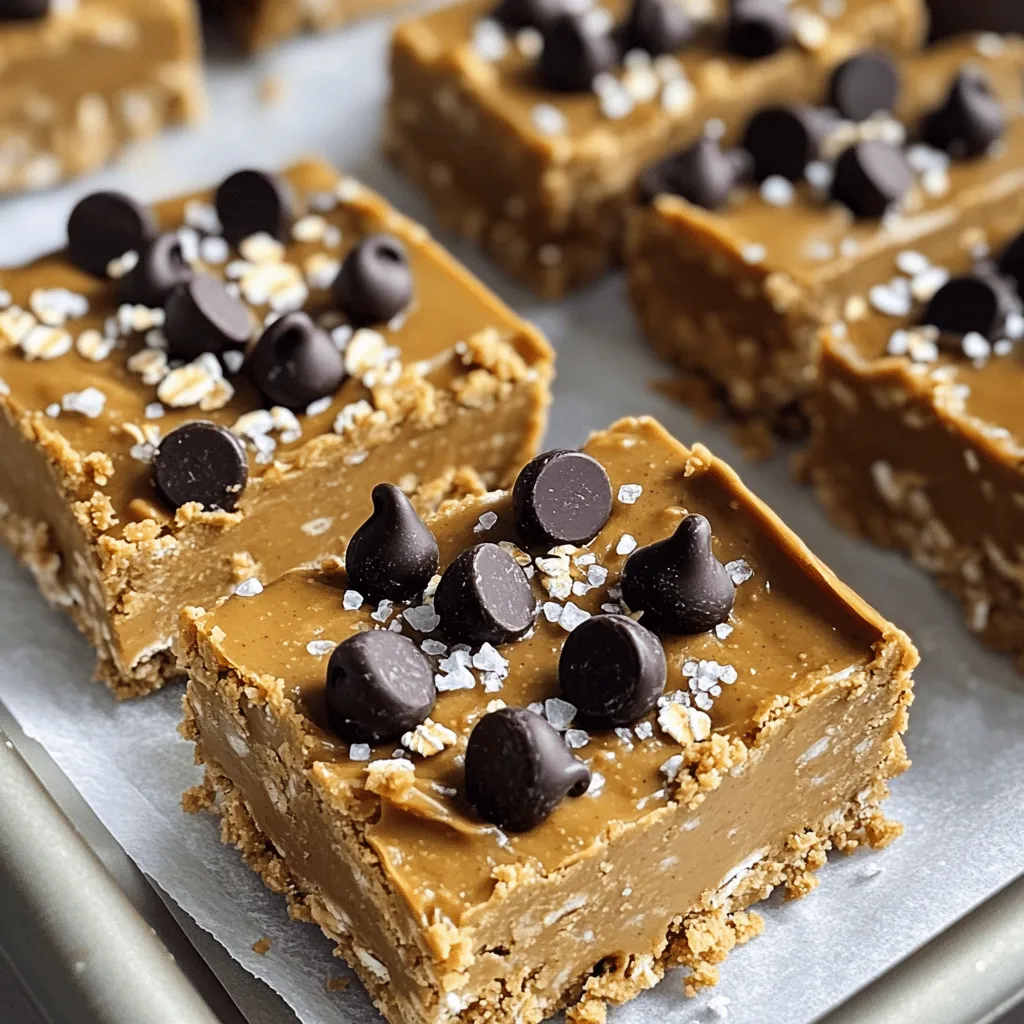
No Bake Peanut Butter Bars Quick and Easy Treat
Looking for a sweet treat that’s quick, easy, and requires no baking? I’ve got you covered with my No Bake Read Full Recipe -
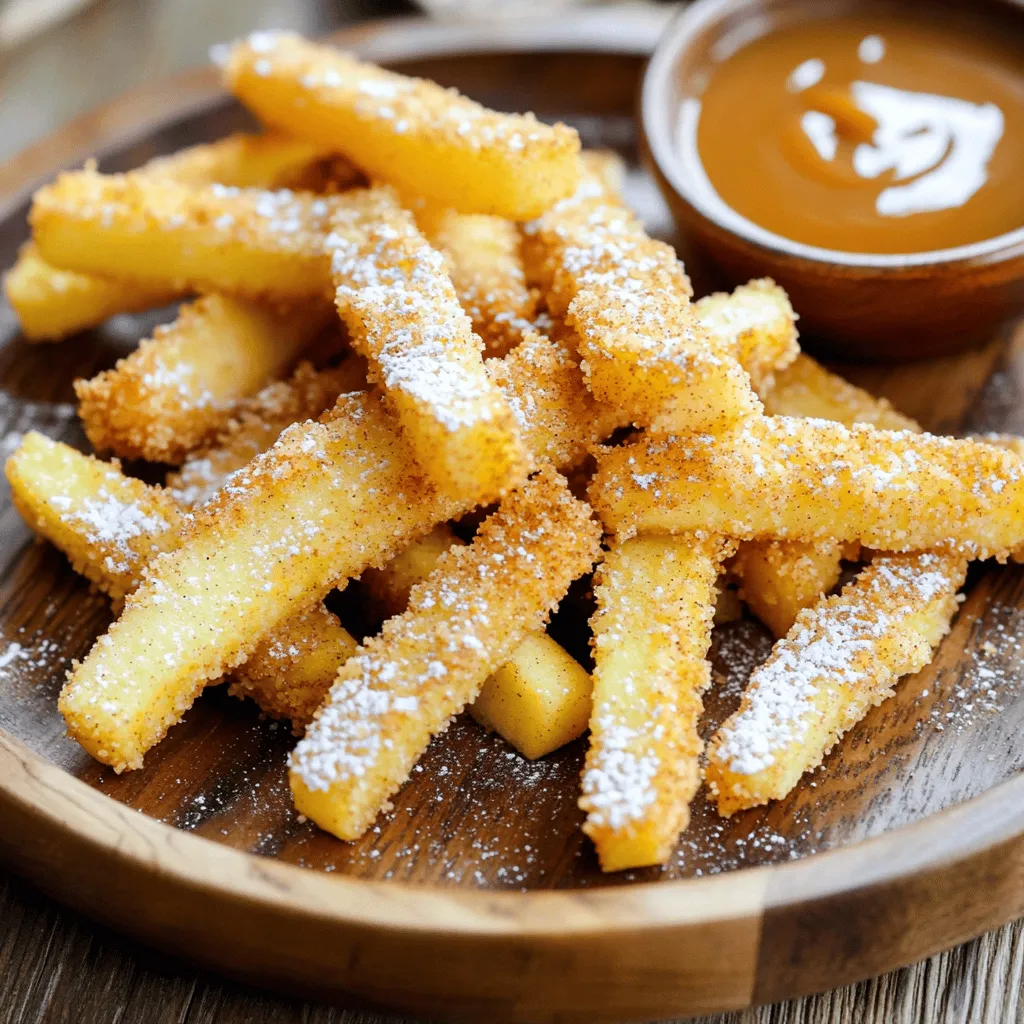
Air Fryer Apple Fries Delicious Crispy Snack Recipe
Craving a tasty snack that’s both fun and simple? Dive into my Air Fryer Apple Fries recipe! With a perfect Read Full Recipe -
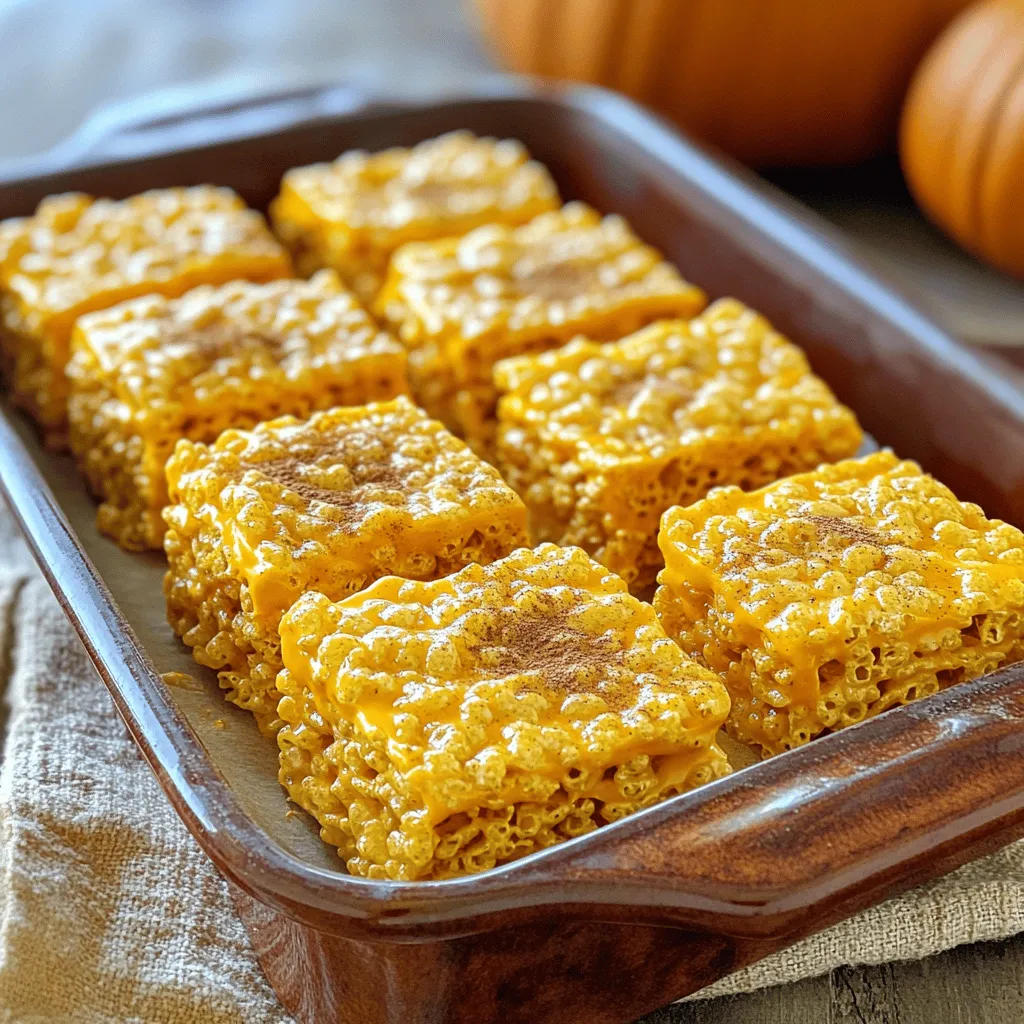
Pumpkin Spice Rice Krispie Treats Cozy Fall Delight
Fall is here, and what better way to celebrate than with Pumpkin Spice Rice Krispie Treats? These sweet, chewy delights Read Full Recipe -
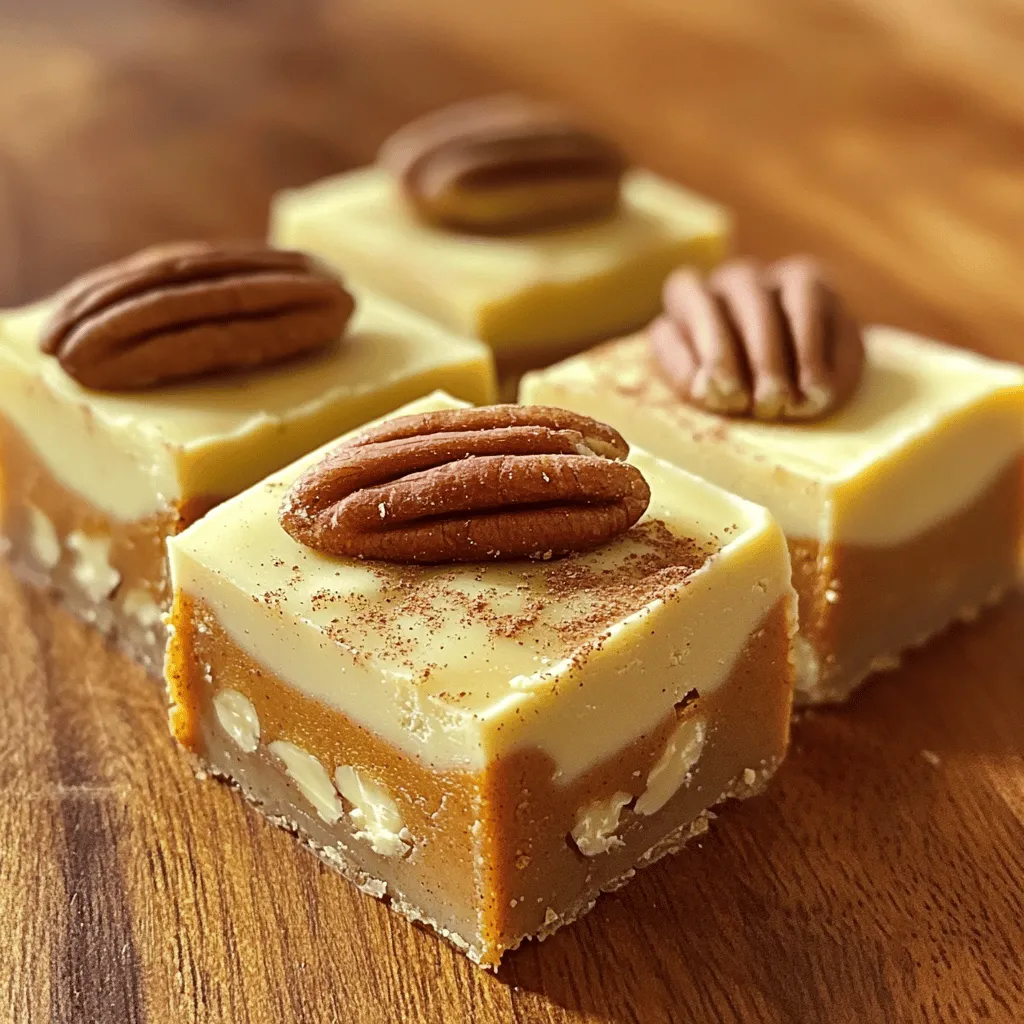
Pumpkin Spice Fudge Irresistible Fall Treat Recipe
Fall is here, and so is your new favorite treat: Pumpkin Spice Fudge! This sweet, creamy delight captures all the Read Full Recipe -
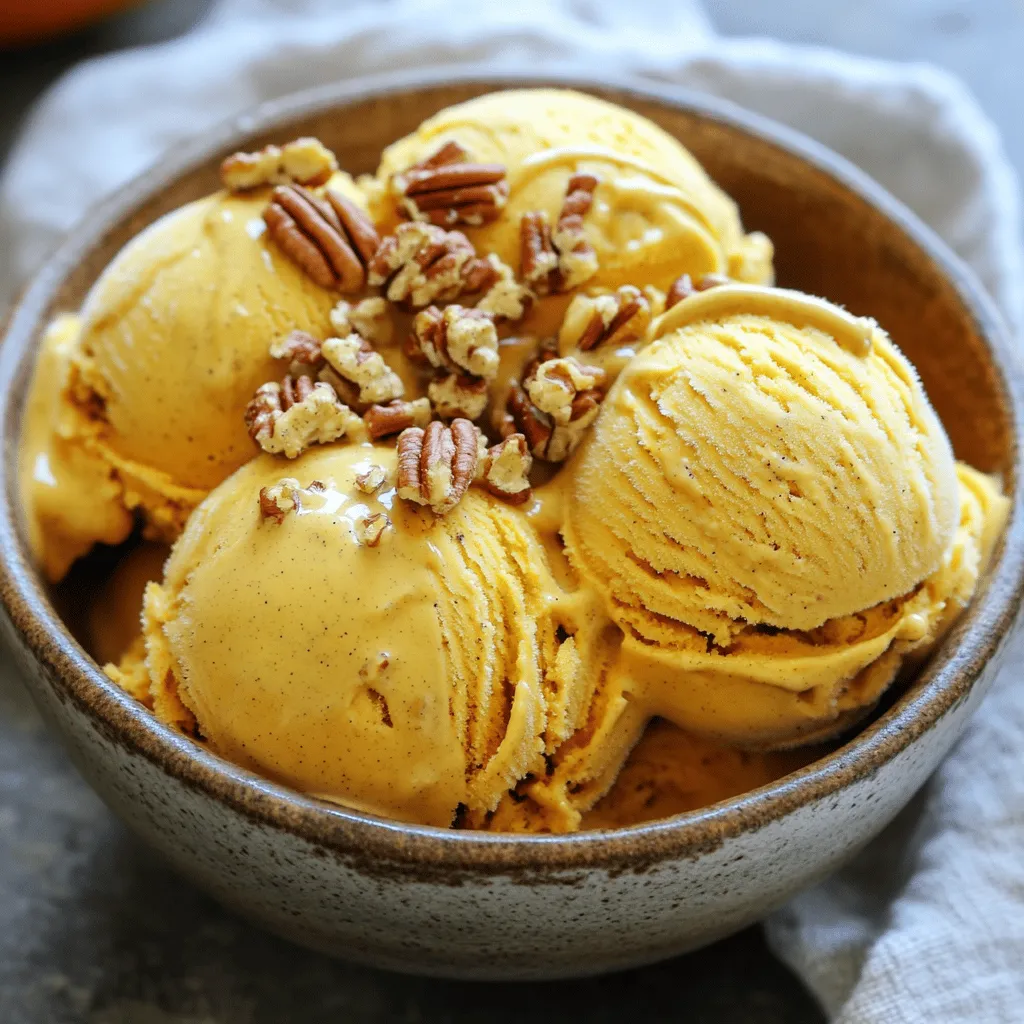
Pumpkin Spice Ice Cream Delightful Fall Treat Recipe
Get ready to savor fall with a creamy delight: Pumpkin Spice Ice Cream! This treat blends rich flavors of pumpkin, Read Full Recipe
My Latest Recipes

hey,
i’m !
I’m so happy you’re here!
My kitchen is filled with stories, flavors, and love and I’m so happy to share them with you. Here’s to dishes that feel like home.
Chewy Brown Butter Chocolate Chip Cookies Delight
Are you ready for the best cookies ever? These Chewy Brown Butter Chocolate Chip Cookies are a game changer! With rich brown butter, a…