Latest & Greatest
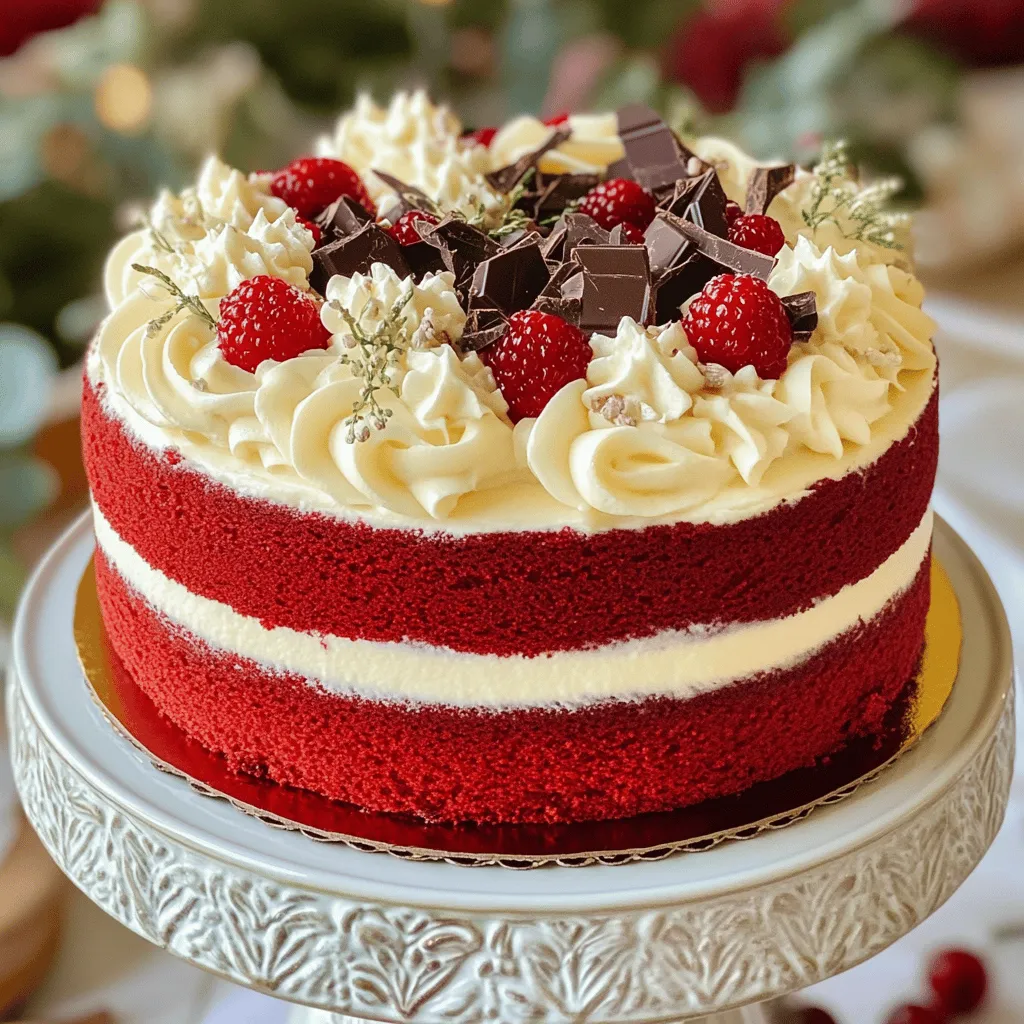
Red Velvet Cake Delight Simple and Tasty Recipe
Red Velvet Cake is a timeless favorite that never fails to impress. This deep red treat is not just beautiful;
Read more…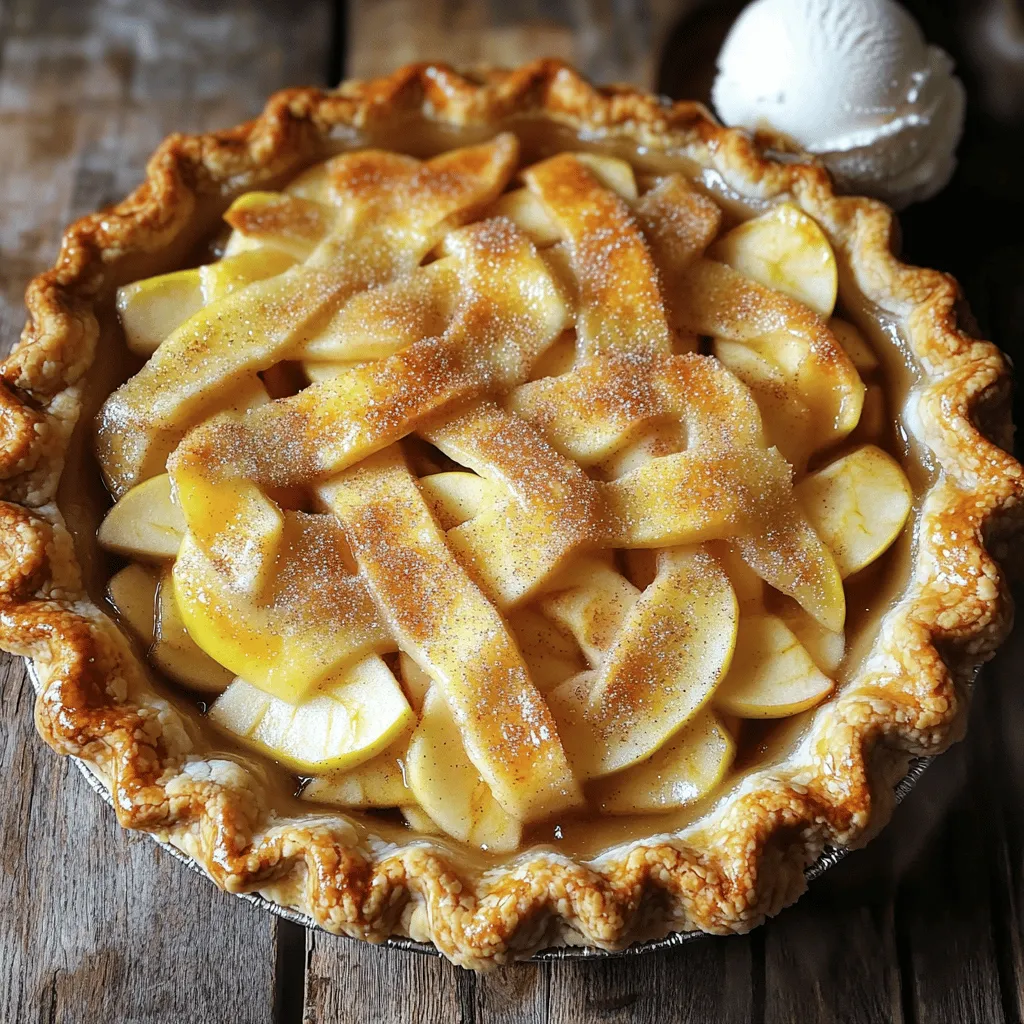
Apple Pie Delight Simple Steps for Perfect Recipe
Are you ready to bake the perfect apple pie? In “Apple Pie Delight: Simple Steps for Perfect Recipe,” I will
Read more…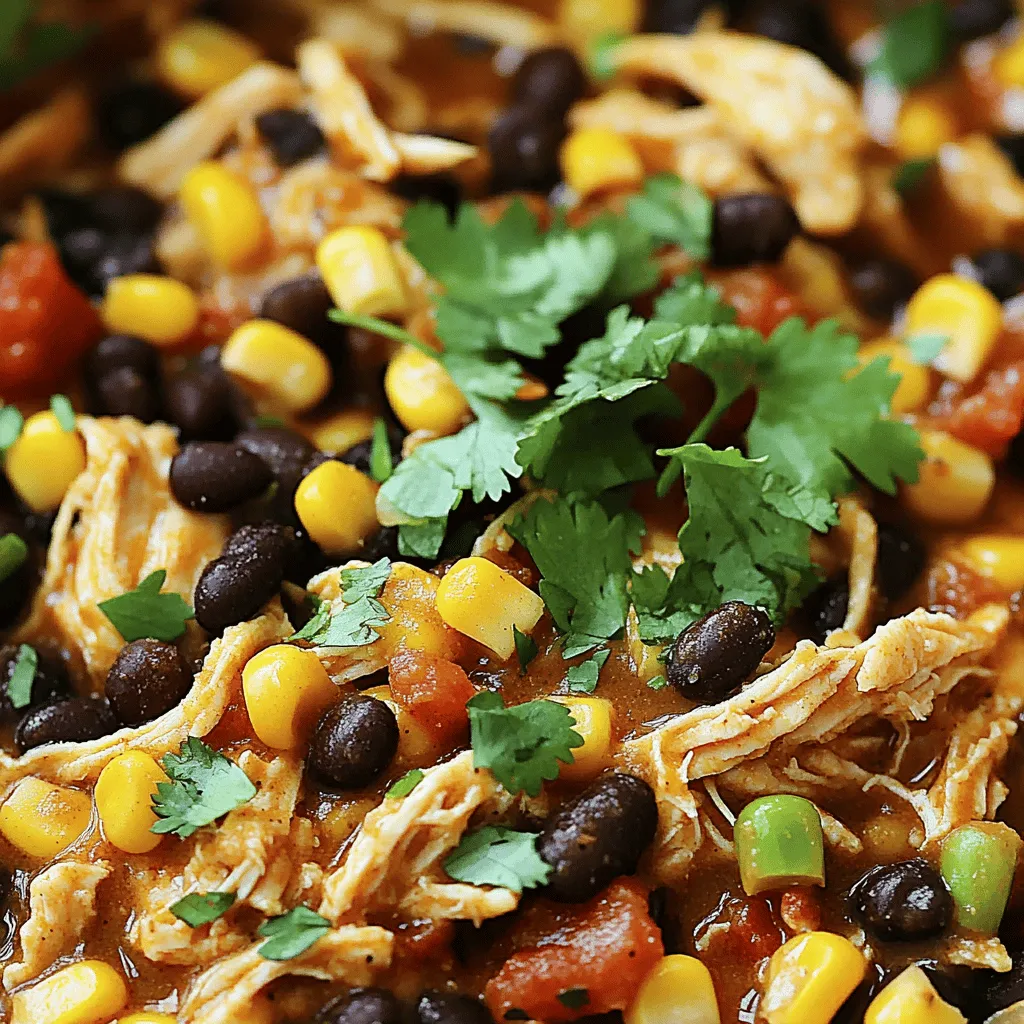
Crockpot Mexican Chicken Flavorful and Simple Recipe
Looking for a simple, tasty meal? You’re in the right place! This Crockpot Mexican Chicken is packed with bold flavors
Read more…
Spring Hash Brown Crust Quiche Delightful and Easy Recipe
Looking for a quick, tasty dish for spring? Try my Spring Hash Brown Crust Quiche! This recipe combines crispy hash
Read more…browse recipes
![- Zucchini and Yellow Squash Essentials - 2 medium zucchinis, thinly sliced - 2 medium yellow squashes, thinly sliced - Dairy and Seasoning Components - 1 cup grated Gruyère cheese - 1 cup heavy cream - 2 cloves garlic, minced - 1 teaspoon fresh thyme leaves - 1/2 teaspoon salt - 1/4 teaspoon black pepper - Topping Ingredients for Gratin - 1/2 cup breadcrumbs - 2 tablespoons olive oil - Fresh parsley, chopped (for garnish) Gathering these ingredients sets the stage for a great dish. Fresh zucchini and yellow squash bring color and flavor. Gruyère cheese adds a rich taste. Heavy cream gives the gratin its creamy texture. Using fresh herbs like thyme enhances the dish. Don't skip the garlic; it adds depth. The breadcrumbs on top create a crunchy finish that contrasts with the soft veggies. This combination makes every bite a delight. I recommend picking the freshest veggies for the best taste. You can find the full recipe [here]. Slicing Zucchini and Yellow Squash Start by washing your zucchinis and yellow squashes. Grab a sharp knife and slice them into thin rounds, about 1/4 inch thick. Thin slices cook well and absorb flavors nicely. You want to create a beautiful mix of colors for your dish. Aim for even slices to ensure they cook evenly. Seasoning the Mixture In a large bowl, combine your sliced zucchinis and yellow squashes. Add minced garlic, fresh thyme, salt, and black pepper. Toss everything together gently. The salt brings out the moisture and flavor in the veggies. Make sure each piece is well coated with the seasoning for a tasty outcome. Layering Techniques for Optimal Flavor Grease your baking dish with olive oil to prevent sticking. Start layering half of your seasoned zucchini and squash mixture evenly across the bottom. This base will soak up all the flavors. Then, pour half of the cheese and cream mixture over the first layer. Sprinkle half of the grated Gruyère cheese on top. Repeat the process with the remaining vegetables, cheese, and cream. Finish with the rest of the Gruyère cheese. This layered approach creates rich, deep flavors in every bite. Adding Cheese and Cream In a separate bowl, mix your heavy cream with half of the grated Gruyère cheese. This blend adds a creamy texture and cheesy goodness to your gratin. Pour this mixture over each layer to ensure an even distribution. Setting the Oven Temperature Preheat your oven to 375°F (190°C). A hot oven is key to a perfectly baked gratin. It helps the dish cook evenly while achieving a lovely golden crust on top. Baking Time and Doneness Indicators Place your assembled gratin in the oven and bake for 35-40 minutes. You know it’s done when the top is golden and bubbly. Let it cool for about 5 minutes before serving. This brief cooling time helps set the layers, making it easier to serve. For a delightful finish, garnish with fresh parsley right before you serve. Enjoy your Zucchini Gratin with Yellow Squash! For the full recipe, see the section above. Achieving the Right Creaminess To get that perfect creaminess, use heavy cream. It makes the dish rich. Mix it well with your cheese. This helps it melt evenly. You want every bite to be smooth. If you find it too thick, add a splash of milk. This will balance the texture. Ensuring a Golden Top A golden top makes your gratin look great. To achieve this, sprinkle breadcrumbs evenly on top. Drizzle a bit of olive oil over the breadcrumbs. This will help them brown nicely. Bake until the top is golden and bubbly. The oven's heat should create a crunchy layer. Presentation Ideas for Zucchini Gratin For a rustic look, serve it in the baking dish. It adds charm to your table. You can also portion it onto individual plates. Garnish each plate with chopped parsley. This adds color and freshness. Pairing with Main Dishes Zucchini gratin pairs well with many main dishes. Try it with grilled chicken or fish. It also complements roasted meats nicely. For a vegetarian option, serve it with a hearty salad. This balance makes your meal satisfying. {{image_2}} Alternative Cheeses to Use You can switch the Gruyère cheese for other types. Cheddar gives a sharp taste. Mozzarella melts well and adds creaminess. Feta adds a nice tang. Try a mix for unique flavors. Adding Proteins or Other Vegetables To boost protein, add cooked chicken or turkey. Cooked bacon adds a smoky flavor. For veggies, consider spinach or bell peppers. They add color and nutrition. Mixing in these extras makes the dish your own. Gluten-Free Breadcrumb Options If you need gluten-free crumbs, use crushed rice crackers. Ground nuts work too, like almonds. These keep the crunch without gluten. Make sure to check labels for safety. Making it Vegan-Friendly To make this dish vegan, use plant-based cheese. Coconut cream can replace heavy cream. Use nutritional yeast for a cheesy flavor. Swap breadcrumbs for a gluten-free option if needed. This way, everyone can enjoy it! For the full recipe, check the details above. To keep your zucchini gratin fresh, store leftovers in the fridge. Use an airtight container. It stays good for about three days. When you store it, let it cool first. This helps avoid extra moisture, which can make it soggy. If you want to keep it longer, freezing is an option. Cut the gratin into portions. Wrap each piece in plastic wrap. Then place the wrapped portions in a freezer bag. They can last up to three months in the freezer. When you're ready to eat, just thaw it in the fridge overnight. Reheat your zucchini gratin gently to keep it tasty. The best way is to use an oven. Preheat your oven to 350°F (175°C). Place the gratin in a baking dish and cover it with foil. This helps it heat evenly. Bake for about 20-25 minutes. Check that it's hot throughout. You can also use a microwave for quick reheating. Put a portion in a microwave-safe dish. Heat it for about 1-2 minutes. Stir halfway through to ensure even heating. But be careful; it might lose some texture compared to the oven method. For perfect serving, let it rest for a minute before enjoying. You want to savor every bite of this delicious zucchini gratin with yellow squash. For the full recipe, you can refer back to the earlier sections. Can I make this dish ahead of time? Yes, you can prepare the gratin a day in advance. Just layer the veggies and cream mix, then cover and refrigerate. Bake it just before serving. This saves time and allows flavors to meld. What can I substitute for heavy cream? If you want a lighter option, use half-and-half or whole milk. For a dairy-free choice, try coconut cream or cashew cream. Both can give you a creamy texture without heavy cream. How do I know when the gratin is done? The gratin is done when it’s golden on top and bubbly around the edges. A knife should slide easily through the layers. If it’s still firm, bake it a bit longer. What dishes pair well with zucchini gratin? This dish goes great with roasted chicken or grilled fish. You can also serve it with a fresh salad or crusty bread for a full meal. The flavors complement each other nicely. Can I use frozen zucchini and squash for this recipe? You can use frozen zucchini and squash, but make sure to thaw and drain them first. Excess water can make the gratin soggy. Fresh veggies give the best texture and flavor. How many calories are in zucchini gratin? One serving of zucchini gratin has about 300 calories. This can vary based on the cheese and cream you use. It's a tasty way to enjoy veggies while keeping calories in check. Is zucchini gratin healthy? Zucchini gratin can be healthy if you use less cream and cheese. Zucchini and squash are low in calories and high in vitamins. This dish is a nice way to eat more vegetables. For the full recipe, check out the Zucchini & Yellow Squash Gratin. This blog post covers making a tasty zucchini and yellow squash gratin. You learned about essential ingredients, preparation steps, and baking tips. I shared ways to enhance texture and flavor while offering serving and storage advice. You even found answers to common questions. In my view, this dish is fun and flexible. You can easily adapt it to fit your needs. Enjoy your cooking journey and don't hesitate to try new flavors and ingredients!](https://southerndishes.com/wp-content/uploads/2025/06/3f63e3fa-56ac-445f-ac53-c157ca3968fc.webp)
Zucchini Gratin with Yellow Squash Savory and Simple
If you’re looking for a dish that’s both tasty and simple, zucchini gratin with yellow squash is a perfect choice. This creamy, cheesy delight…
My Latest Desserts
-
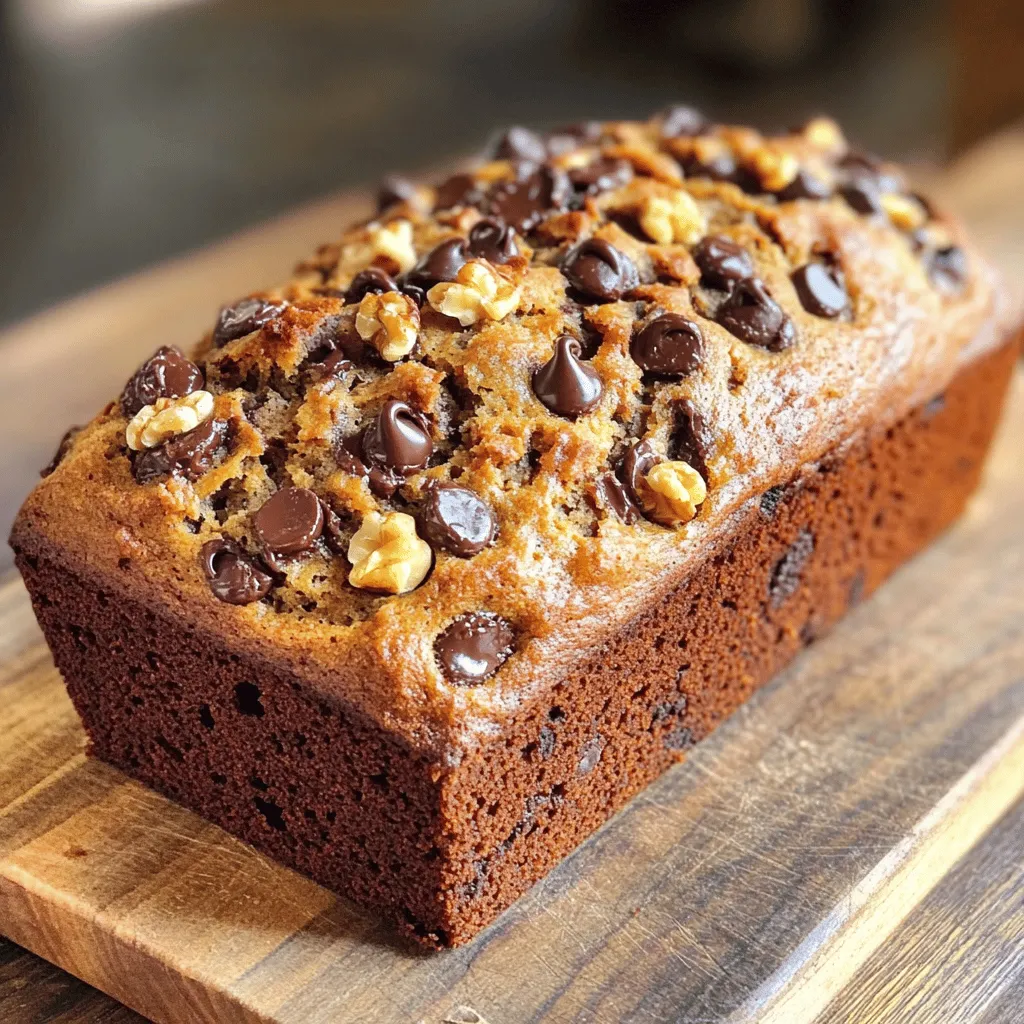
Chocolate Chip Banana Bread Rich and Flavorful Delight
Ready to indulge in a warm, gooey slice of Chocolate Chip Banana Bread? This rich and flavorful delight combines ripe Read Full Recipe -
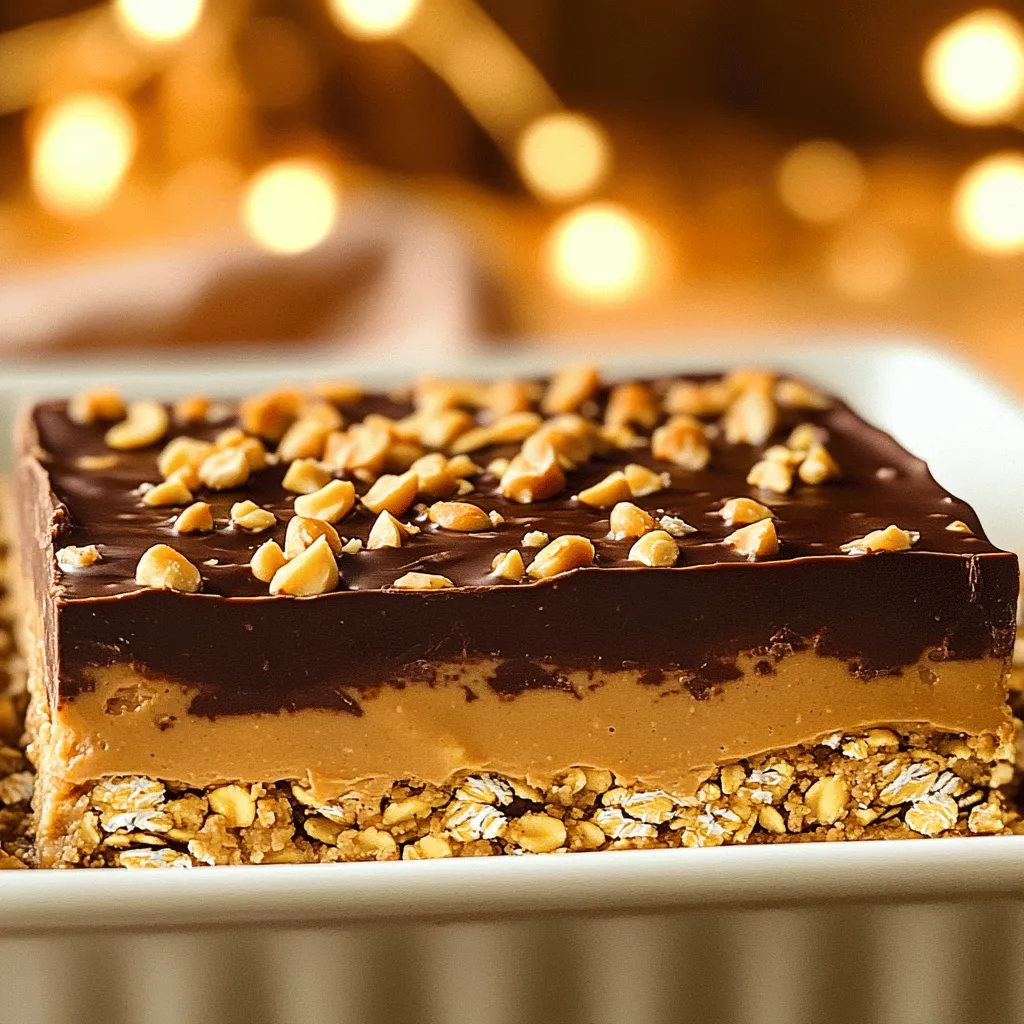
No Bake Peanut Butter Chocolate Bars Simple Delight
Are you craving a sweet treat that’s both simple and delicious? Look no further! I’m excited to share my recipe Read Full Recipe -
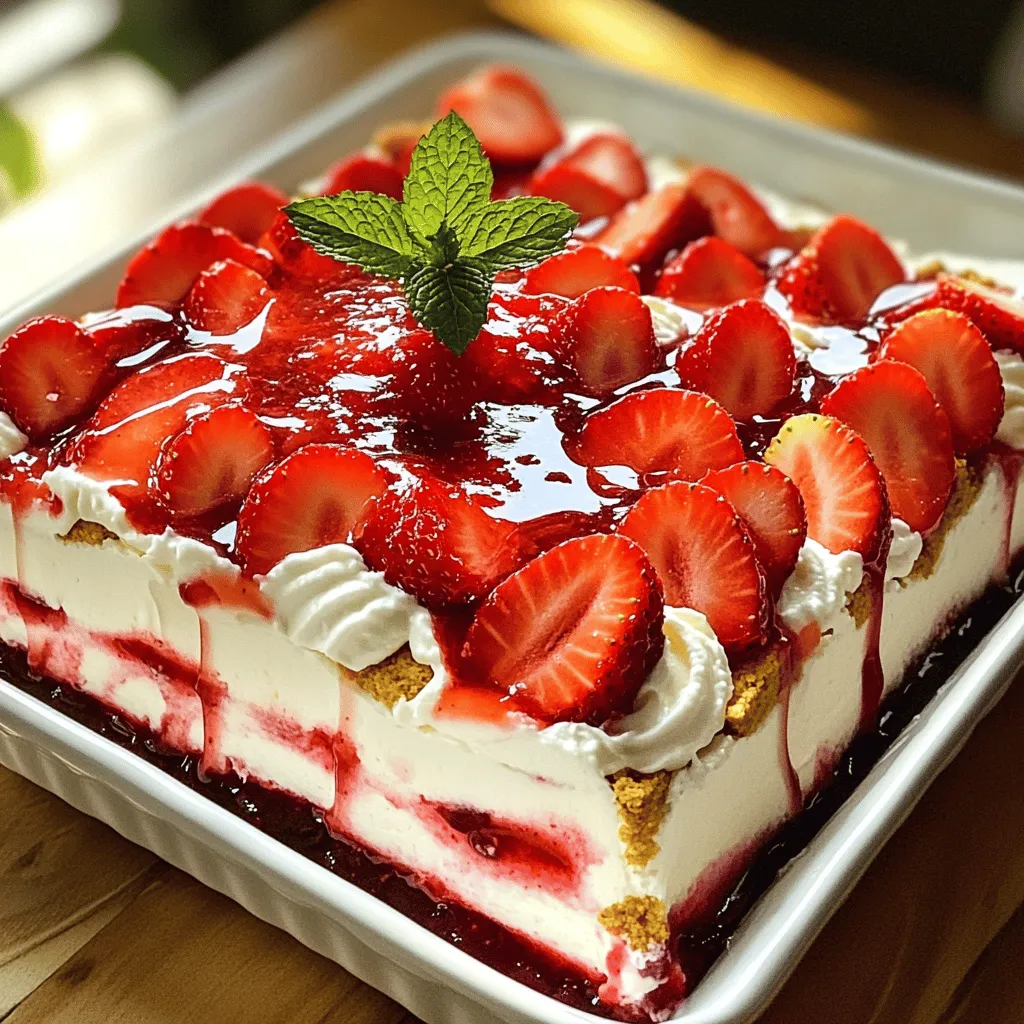
Strawberry Cheesecake Icebox Cake Delightful Dessert
Craving a cool, creamy dessert that’s as easy to make as it is delicious? Look no further than this Strawberry Read Full Recipe -
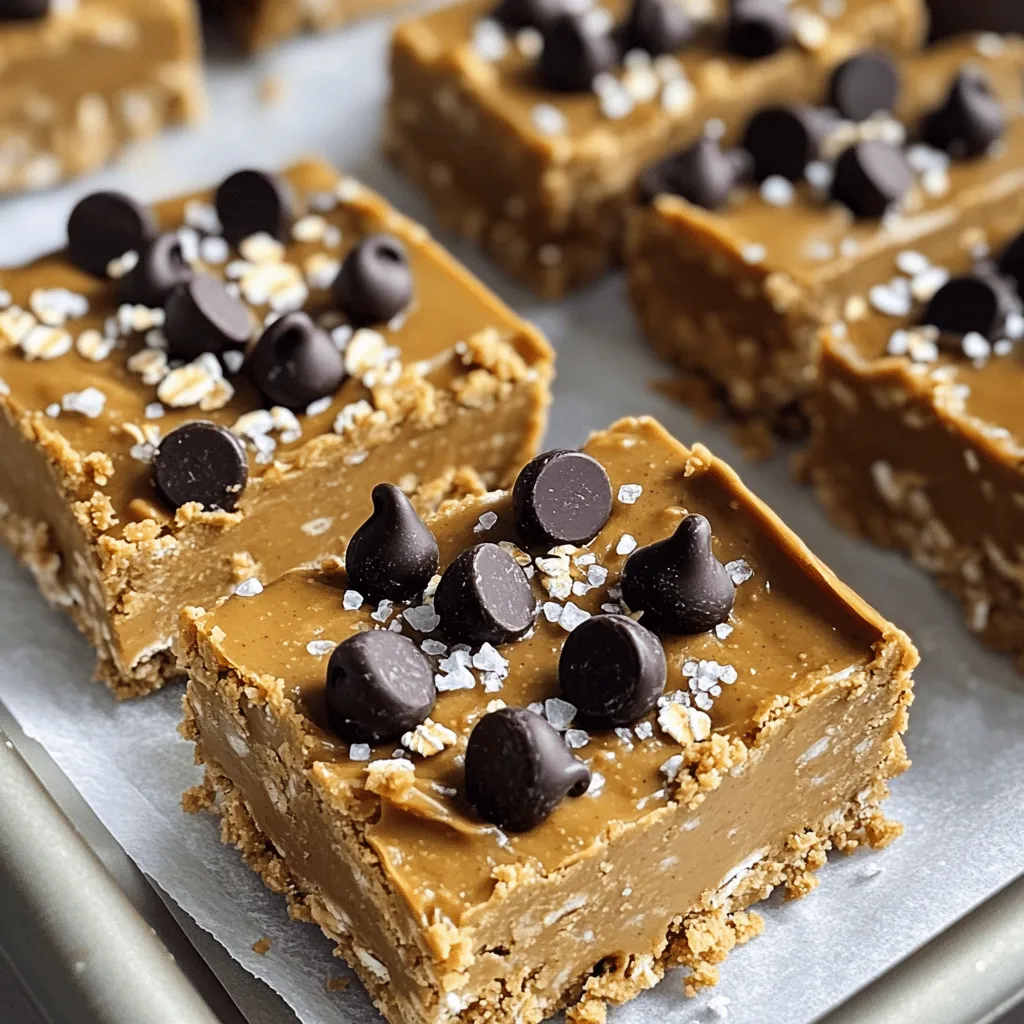
No Bake Peanut Butter Bars Quick and Easy Treat
Looking for a sweet treat that’s quick, easy, and requires no baking? I’ve got you covered with my No Bake Read Full Recipe -
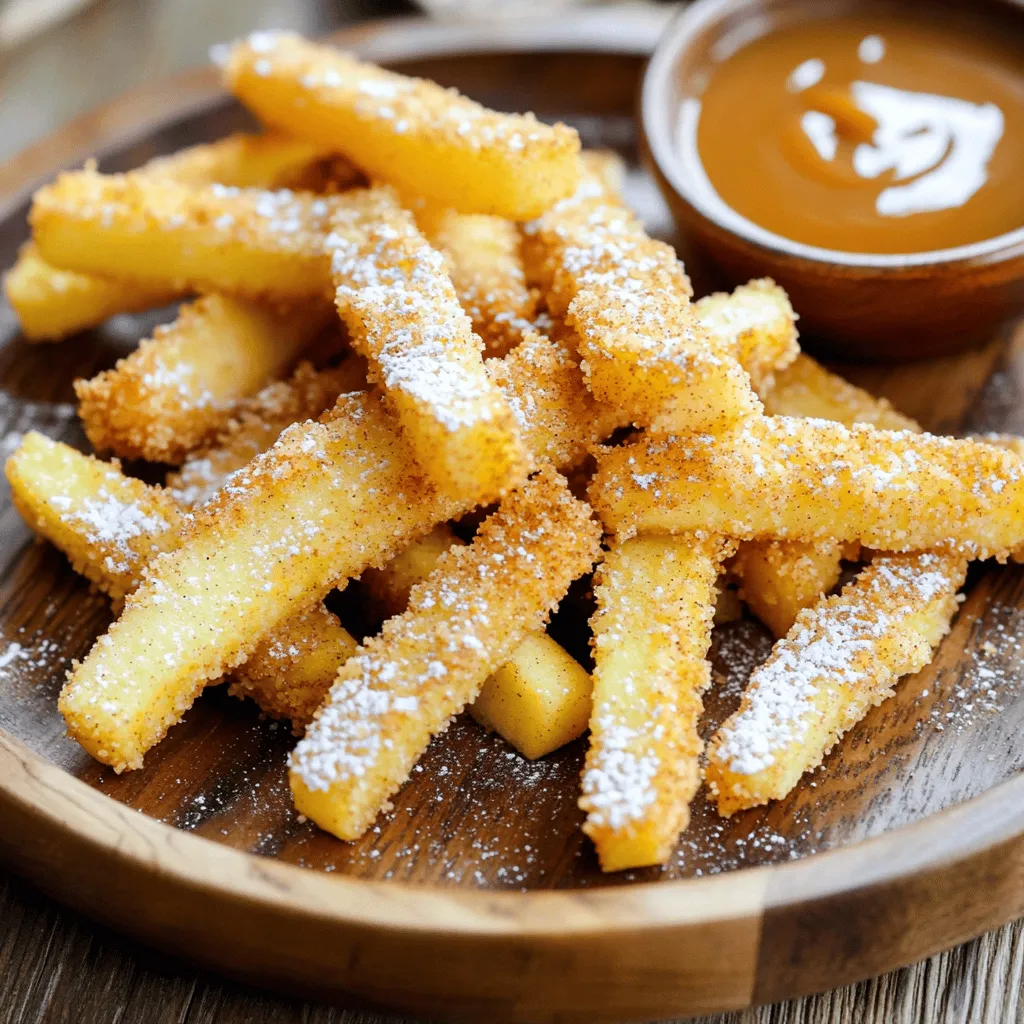
Air Fryer Apple Fries Delicious Crispy Snack Recipe
Craving a tasty snack that’s both fun and simple? Dive into my Air Fryer Apple Fries recipe! With a perfect Read Full Recipe -
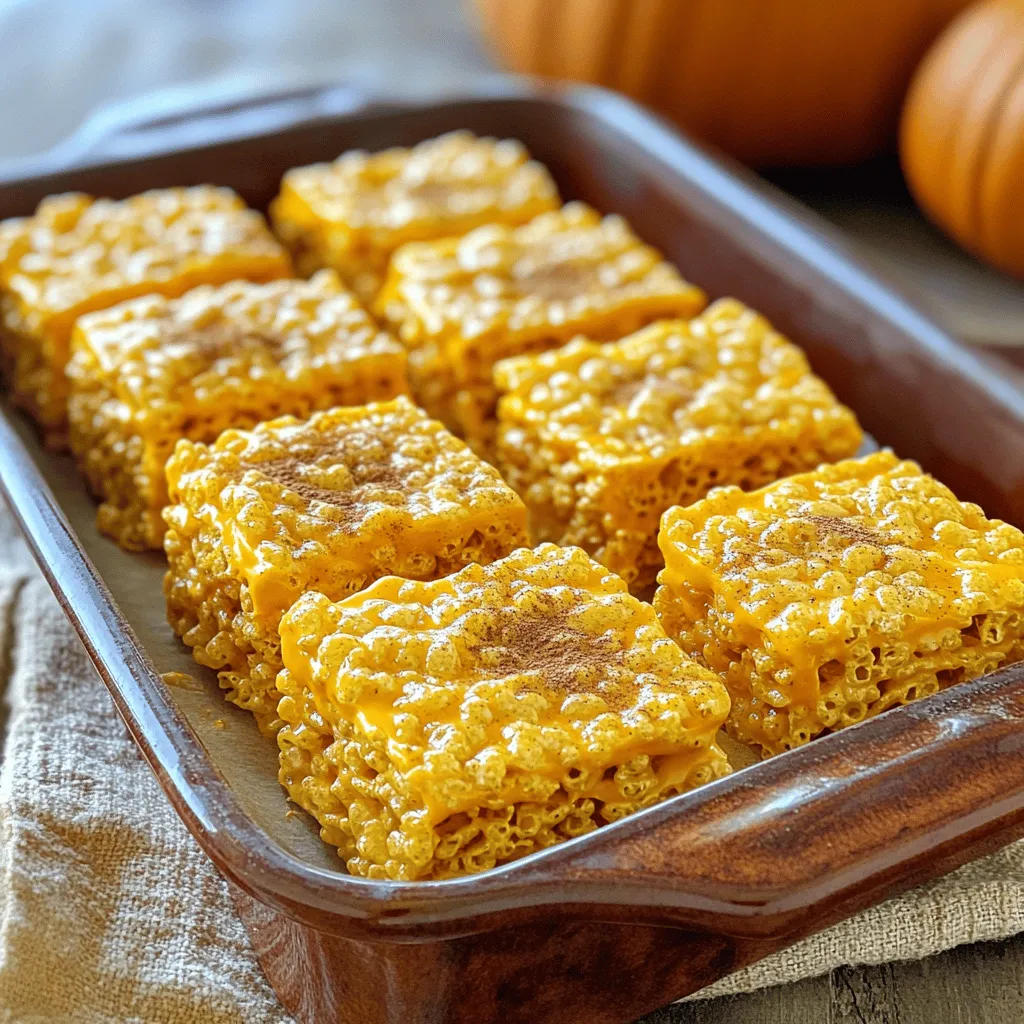
Pumpkin Spice Rice Krispie Treats Cozy Fall Delight
Fall is here, and what better way to celebrate than with Pumpkin Spice Rice Krispie Treats? These sweet, chewy delights Read Full Recipe -
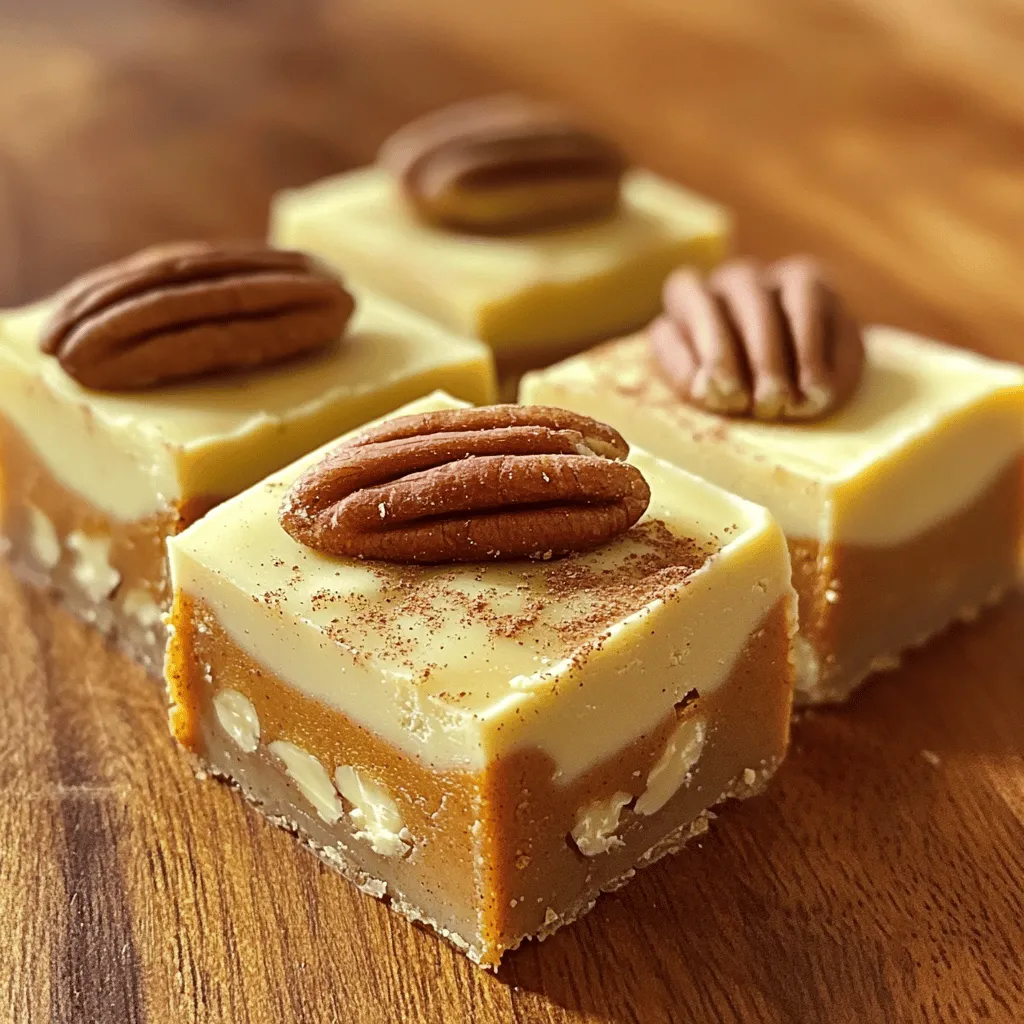
Pumpkin Spice Fudge Irresistible Fall Treat Recipe
Fall is here, and so is your new favorite treat: Pumpkin Spice Fudge! This sweet, creamy delight captures all the Read Full Recipe -
Pumpkin Spice Ice Cream Delightful Fall Treat Recipe
Get ready to savor fall with a creamy delight: Pumpkin Spice Ice Cream! This treat blends rich flavors of pumpkin, Read Full Recipe -
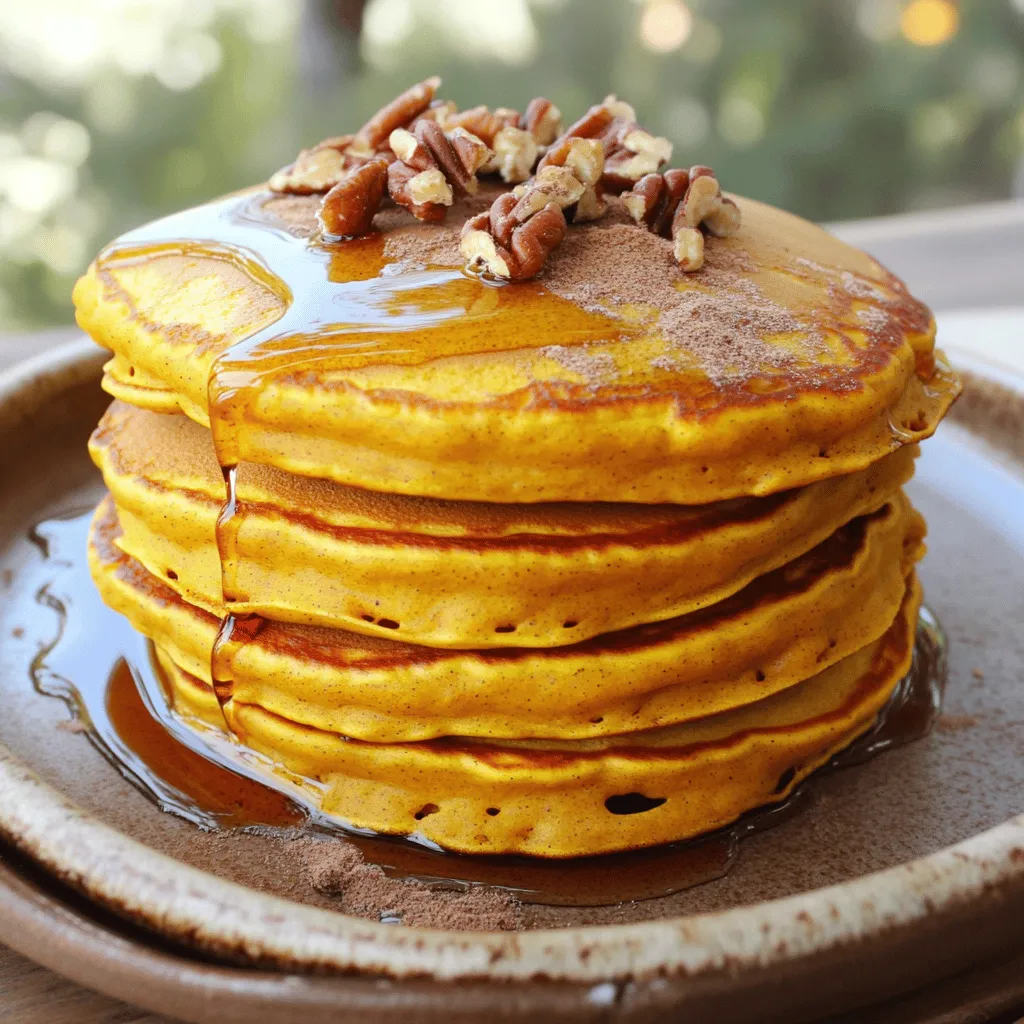
Pumpkin Spice Pancakes Delightful Fall Breakfast Recipe
Looking for a cozy breakfast that screams fall? Let’s make pumpkin spice pancakes! This simple recipe combines soft, fluffy pancakes Read Full Recipe -
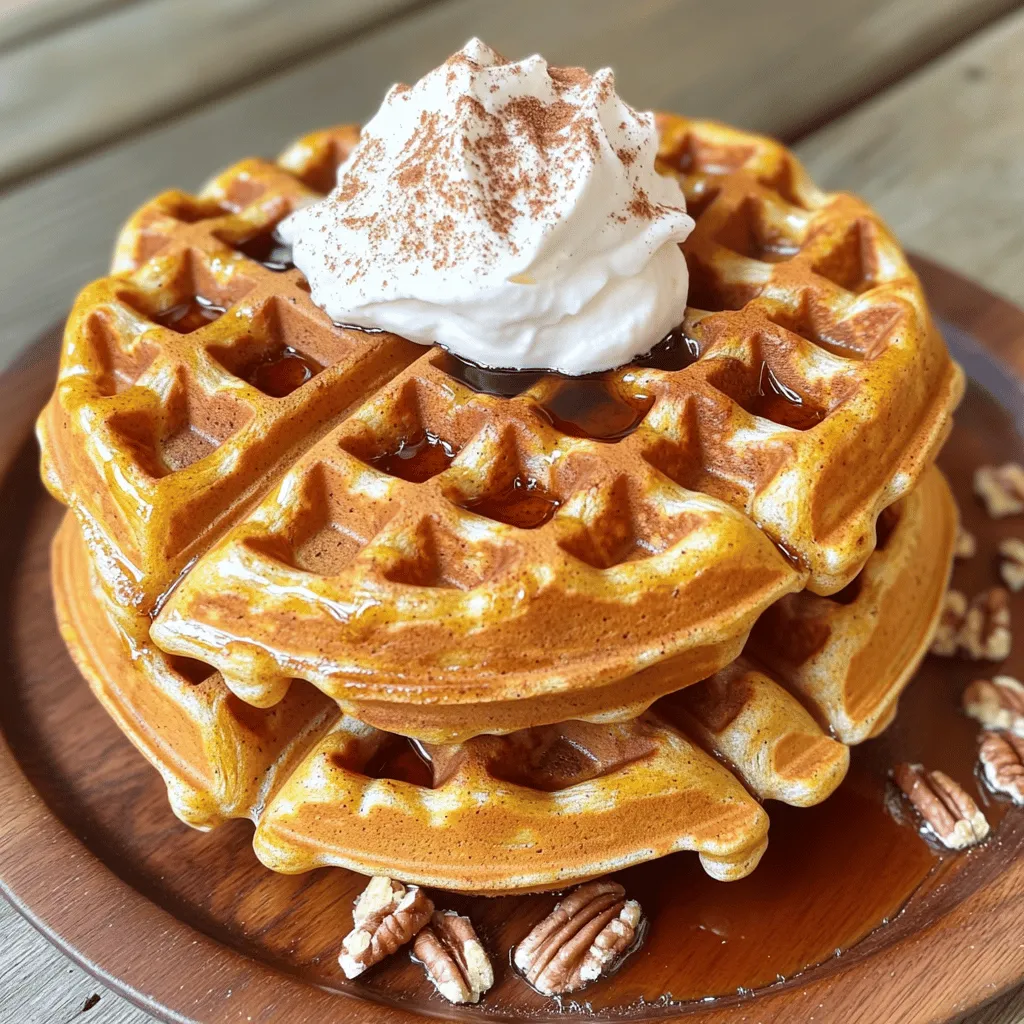
Pumpkin Spice Waffles Cozy Fall Breakfast Treat
Cozy up this fall with my delicious Pumpkin Spice Waffles! These warm, fluffy treats are packed with pumpkin goodness and Read Full Recipe
My Latest Recipes
hey,
i’m !
I’m so happy you’re here!
My kitchen is filled with stories, flavors, and love and I’m so happy to share them with you. Here’s to dishes that feel like home.
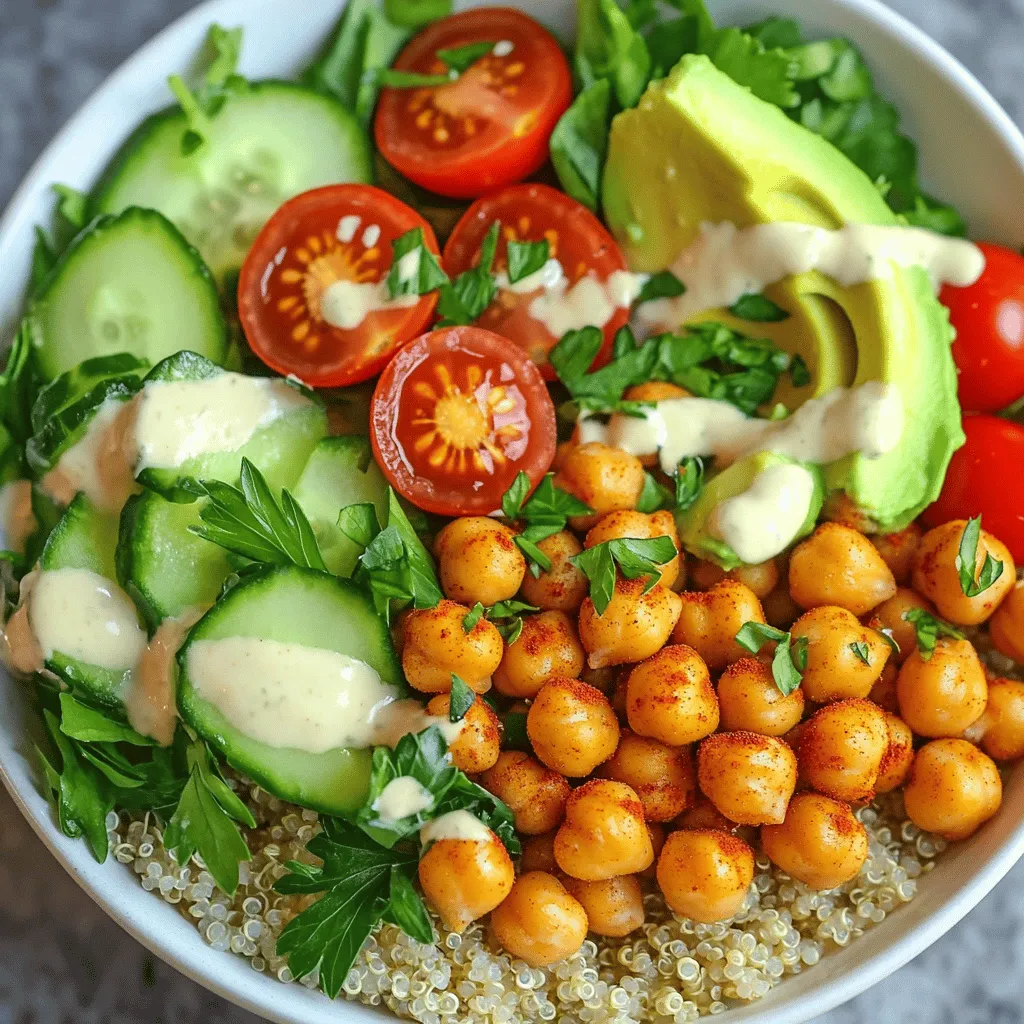
Crispy Chickpea Buddha Bowl Nutritious Delight
Looking for a tasty and healthy meal? Try my Crispy Chickpea Buddha Bowl! Packed with protein, fresh veggies, and crunchy chickpeas, it’s a delight…








![- 1 cup uncooked long-grain white rice - 2 cups broccoli florets (fresh or frozen) - 1 can (10.5 oz) cream of mushroom soup (or homemade) - 1 cup shredded cheddar cheese - 1 cup milk - 1 small onion, finely chopped - 2 cloves garlic, minced - 1 teaspoon garlic powder - 1 teaspoon onion powder - Salt and pepper to taste - 1 tablespoon olive oil - 1/2 cup breadcrumbs (optional, for topping) The key to a great Cheesy Broccoli Rice Casserole lies in the ingredients. First, the rice gives the dish its base. I always choose long-grain white rice. It cooks well and keeps a nice texture. The broccoli brings both color and nutrients. Fresh or frozen, either works nicely. Next, cream of mushroom soup adds a rich creaminess. You can make it homemade for a personal touch. Don't forget the cheddar cheese! It melts beautifully and gives a wonderful flavor. Milk helps to blend everything together. Now, let’s add some depth with the additional ingredients. Onions and garlic create a fragrant base. I finely chop the onion and mince the garlic for easy cooking. Garlic powder and onion powder give extra flavor. You can adjust salt and pepper to your taste. Finally, I often drizzle olive oil for a little richness. If you love a crunchy topping, breadcrumbs are a great option. They add a nice texture. Together, these ingredients create a comforting dish that warms the heart. For the full recipe, check [Full Recipe]. - Preheat oven to 350°F (175°C). - Cook rice in boiling water and prepare broccoli. Start by preheating your oven to 350°F. This ensures your casserole bakes evenly. Next, bring 2 cups of water to a boil in a large saucepan. Add 1 cup of uncooked rice. Cover the pot, reduce heat to low, and let it simmer. In about 18-20 minutes, the rice will be fluffy and ready. While the rice cooks, prepare 2 cups of broccoli florets. If you use fresh broccoli, blanch it in boiling water for 2 minutes. After that, plunge it into ice water. This stops the cooking process. If you are using frozen broccoli, just thaw and drain. - Combine cooked rice, sautéed onions, garlic, and other ingredients in a bowl. In a skillet, heat 1 tablespoon of olive oil over medium heat. Add 1 finely chopped onion and sauté it until soft. This takes about 5 minutes. Then, add 2 minced garlic cloves and stir for another minute. In a large bowl, mix the cooked rice, sautéed onions, garlic, and broccoli. Now, add 1 can of cream of mushroom soup, 1 cup of milk, and 1 cup of shredded cheddar cheese. Also, sprinkle in 1 teaspoon each of garlic powder and onion powder. Season with salt and pepper to your taste. Stir everything until well combined. - Transfer to greased baking dish, add toppings, and bake for 25-30 minutes. Pour the mixture into a greased 9x13-inch baking dish. For an extra crunch, sprinkle 1/2 cup of breadcrumbs and more cheese on top. This adds a nice texture to your dish. Bake in the preheated oven for 25-30 minutes. You want it to be hot and bubbly, with melted cheese on top. Once done, let it cool for a few minutes before serving. For the complete recipe, check the [Full Recipe]. To make sure your rice is fluffy and not sticky, follow these steps: - Use long-grain white rice. - Rinse it under cold water before cooking. - Use a 2:1 water-to-rice ratio. - Once boiling, reduce heat and cover. Let it simmer for 18-20 minutes. For perfect sautéing of onions and garlic: - Use medium heat to avoid burning. - Add olive oil to the pan first. - Sauté the onions until they turn translucent. This takes about 5 minutes. - Add garlic last, cooking for just one minute. This keeps the garlic fragrant. The right cheese makes this dish shine. Consider these options: - Cheddar cheese adds a sharp flavor. - Gruyère gives a creamy texture. - Mozzarella melts beautifully for a gooey effect. To achieve the perfect cheesy crust: - Sprinkle extra cheese on top before baking. - Add breadcrumbs if you like a bit of crunch. - Bake until the cheese is golden and bubbly. Adding herbs and spices can elevate your casserole: - Try thyme or rosemary for a fresh taste. - A pinch of red pepper flakes adds spice. - Consider a sprinkle of paprika for color and flavor. For extra veggies, think about: - Adding chopped bell peppers for sweetness. - Mixing in spinach for a healthy boost. - Throwing in peas for a pop of color and flavor. For the full recipe, check the Full Recipe section. {{image_2}} You can easily change the base of this dish. Instead of rice, try quinoa or another grain. Quinoa gives a nutty flavor and boosts protein. For the cream of mushroom soup, you can use a creamy cauliflower soup or a homemade version. This switch can make the dish lighter and just as tasty. To make a gluten-free version, use gluten-free breadcrumbs or skip them completely. You can also replace the cream of mushroom soup with a gluten-free version or a blend of cashews and vegetable broth for a creamy texture. If you want a vegetarian or vegan dish, swap the cheddar cheese for a plant-based cheese. Nutritional yeast is a great choice for added flavor. Using seasonal vegetables can enhance freshness. In spring, add asparagus or peas for a lovely crunch. In fall, try adding roasted butternut squash for sweetness. You can also mix different cheeses based on what you have. A blend of mozzarella, gouda, or pepper jack can change the flavor profile. These variations keep the casserole exciting and new every time you make it. For the full recipe, check out the section above! To keep your cheesy broccoli rice casserole fresh, place it in an airtight container. Make sure to let it cool down before sealing. This dish stays good in the fridge for about 3 to 5 days. If you plan to eat it later in the week, store it right after dinner. You can freeze the casserole for up to 3 months. Just wrap it tightly in plastic wrap and then in aluminum foil. This helps keep out air. When you’re ready to enjoy it, set it in the fridge overnight to thaw. For the best taste, reheat in the oven. Set it to 350°F (175°C) and bake for about 20 minutes. Cover it with foil to stop it from drying out. You can also use the microwave, but be careful. Stir it halfway through to heat evenly. Enjoy your cheesy goodness! How to make Cheesy Broccoli Rice Casserole ahead of time? You can prepare this casserole a day in advance. Cook the rice and mix all ingredients. Place the mixture in your baking dish. Cover it tightly and store it in the fridge. When you're ready to bake, add a few extra minutes to the cooking time. Can I use frozen broccoli instead of fresh? Yes, frozen broccoli works well here. It saves time and is easy to use. Just thaw it and drain any excess water before mixing it into your casserole. What can I serve with Cheesy Broccoli Rice Casserole? This dish pairs well with grilled chicken or roasted meats. You can also serve it with a side salad for freshness. It makes a great main or side dish for any meal. How do I know when the casserole is done baking? The casserole is done when it is hot and bubbly. The cheese on top should be melted and slightly golden. You can also check with a knife; it should come out clean. Can I add meat to the recipe? Absolutely! You can include cooked chicken, ham, or even ground beef. Just mix the meat in with the other ingredients before baking. What can I use instead of cream of mushroom soup? You can use cream of chicken soup or a homemade white sauce. If you want a dairy-free option, try a cashew cream or a thick vegetable broth. Are there any dairy-free options for this casserole? Yes, you can use dairy-free cheese and almond or oat milk. Make sure to check labels to ensure all ingredients fit your diet. This blog post shared a simple and tasty Cheesy Broccoli Rice Casserole recipe. We covered essential and extra ingredients, step-by-step instructions, and helpful tips. You can customize this dish to fit your taste and dietary needs. Feel free to mix in your favorite vegetables or cheeses. Remember, leftovers can be stored and reheated easily. Enjoy making this cheesy comfort food for your family today!](https://southerndishes.com/wp-content/uploads/2025/07/9792f75e-4f1d-4ac6-aec4-0bf8c855e545-300x300.webp)

