Latest & Greatest
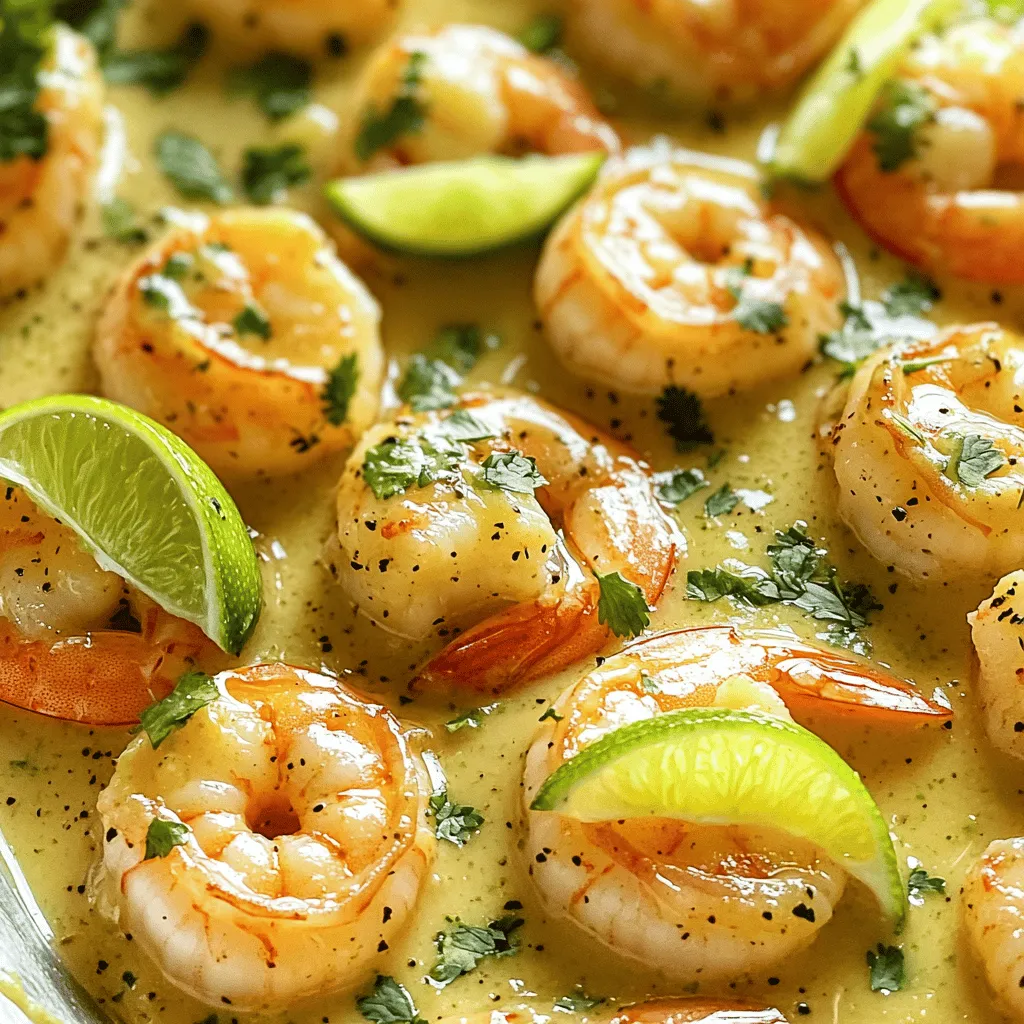
Coconut Lime Shrimp Flavorful Dish with Fresh Ingredients
If you crave a burst of flavor, you’re in for a treat! This Coconut Lime Shrimp dish combines juicy shrimp
Read more…
Cinnamon Roll Casserole Delightful and Easy Recipe
Are you ready for a warm and sweet treat? My Cinnamon Roll Casserole is an easy way to enjoy breakfast
Read more…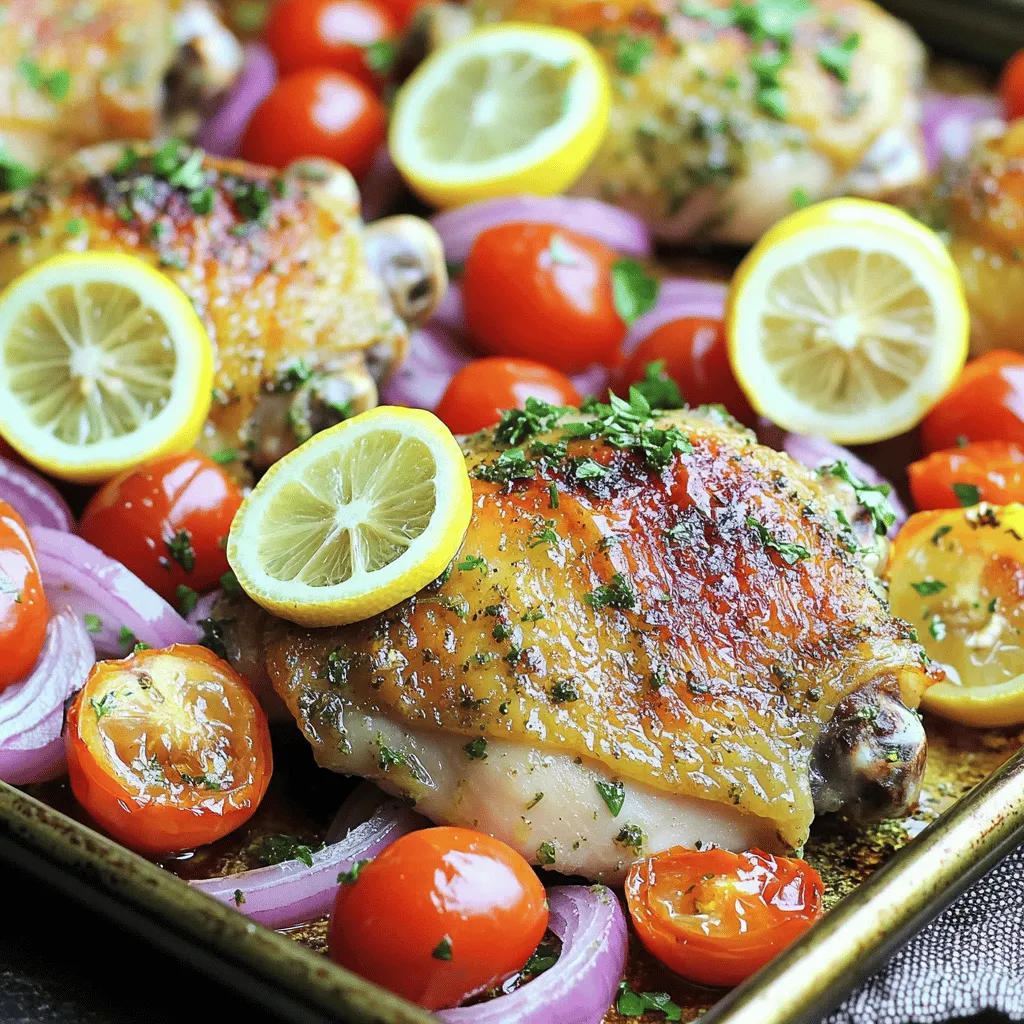
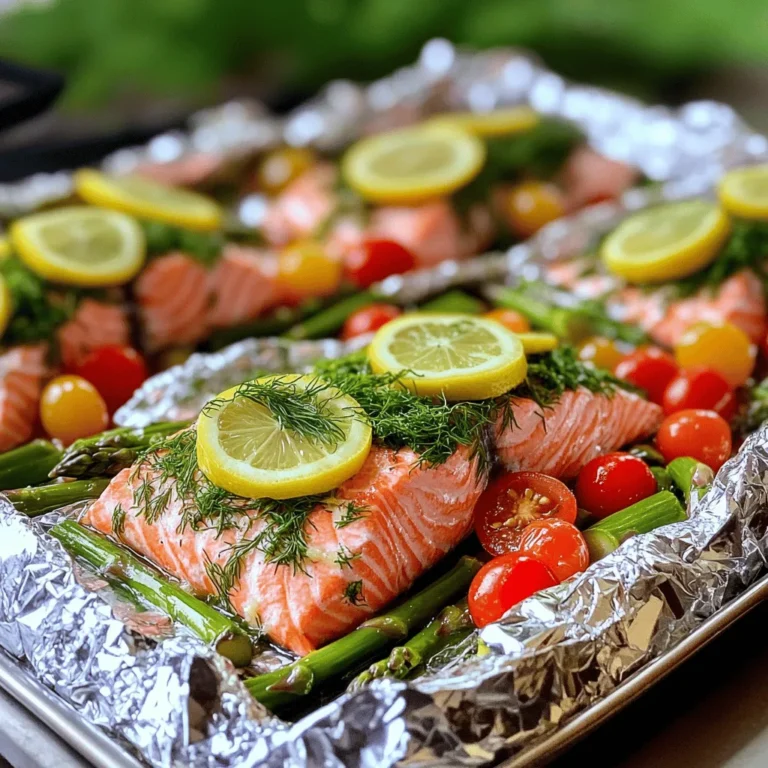
Sheet Pan Lemon Garlic Herb Chicken Flavorful Delight
Are you ready to impress your family with a simple yet delicious meal? The Sheet Pan Lemon Garlic Herb Chicken
Read more…
Easy No-Bake Tiramisu Delightful and Simple Recipe
If you crave a dessert that is both delicious and easy to make, you’re in the right place! This Easy
Read more…
Mango Sorbet Delightful and Easy Summer Treat
Summer is here, and nothing beats a cool, fruity treat! Mango sorbet is easy to make and perfect for warm
Read more…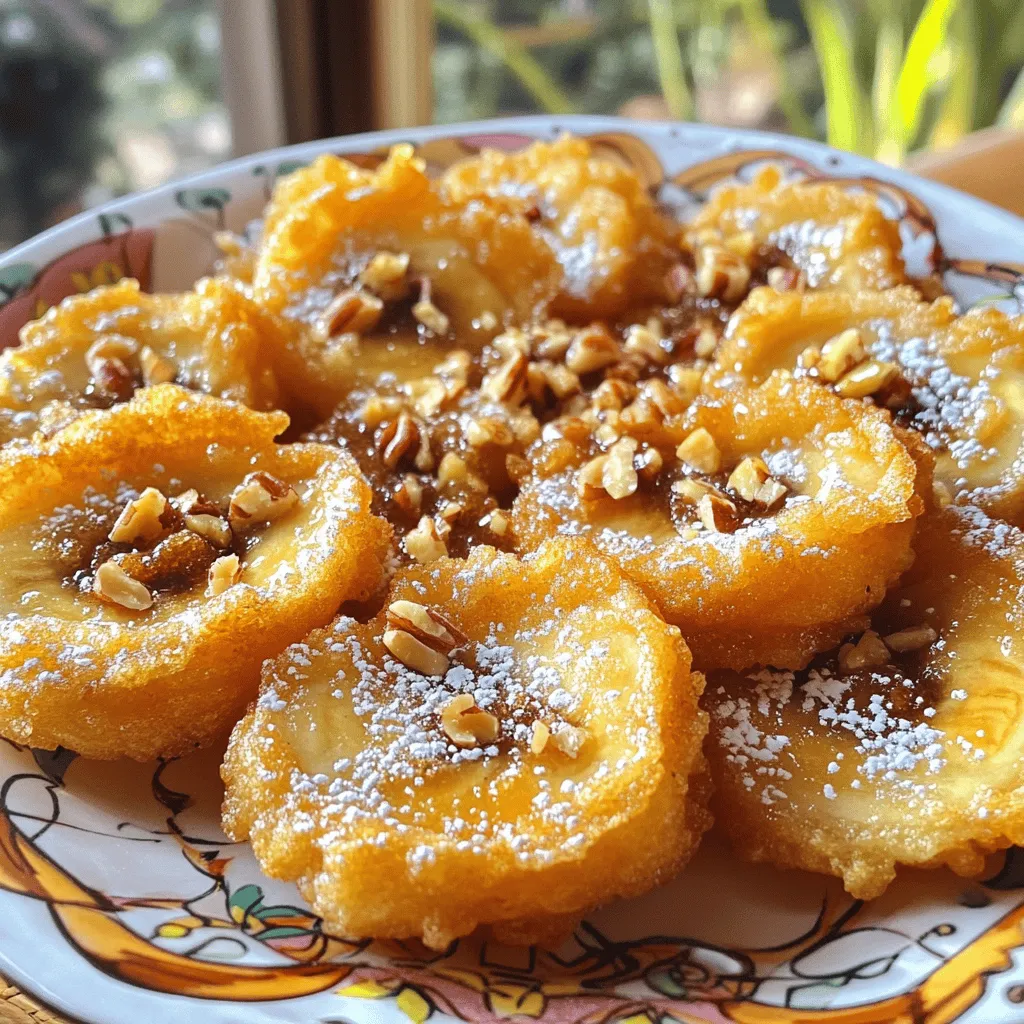
Fried Banana With Brown Sugar Sweet and Simple Delight
If you’re looking for a simple yet sweet treat, you’ve come to the right place. Fried banana with brown sugar
Read more…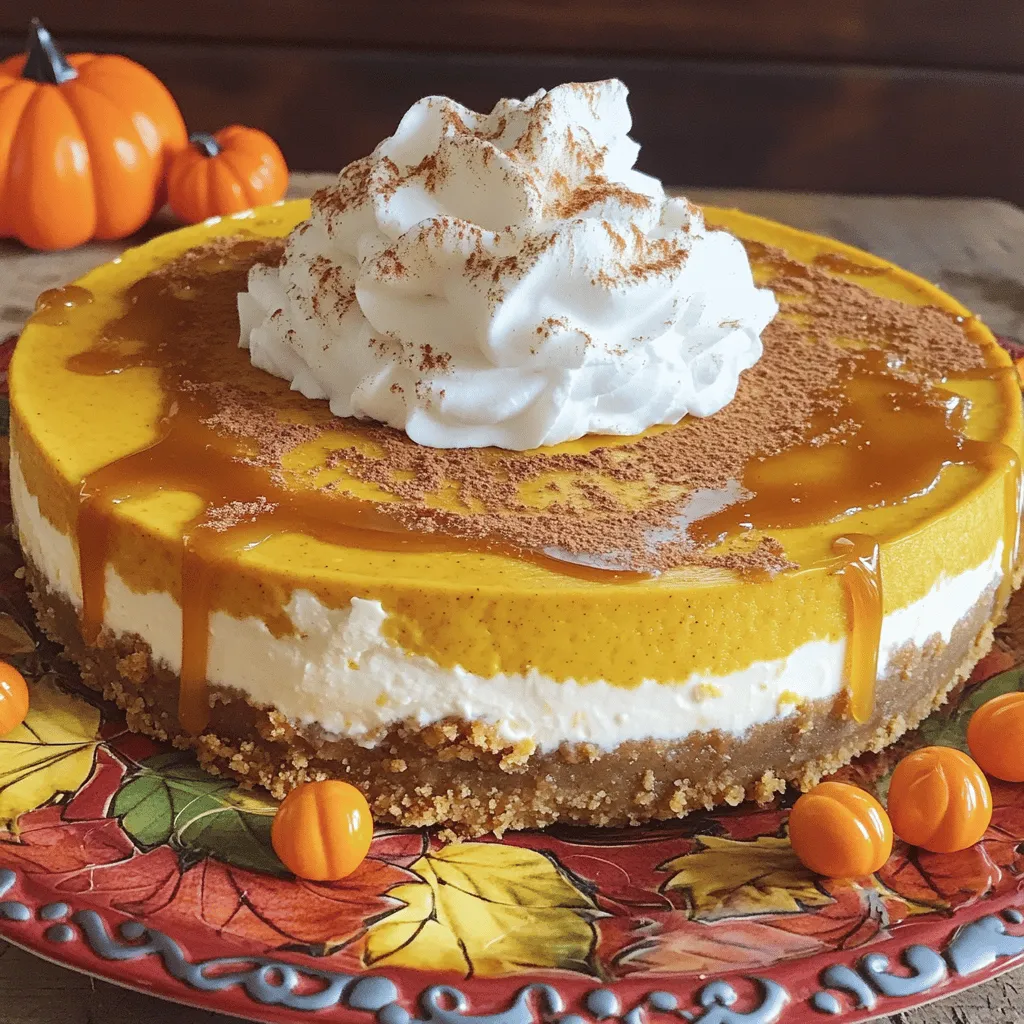
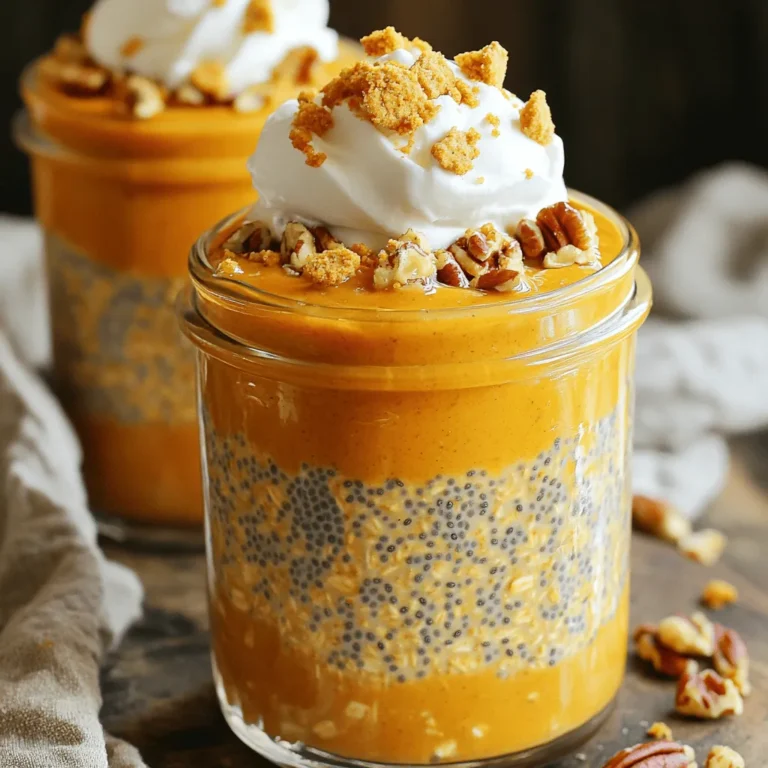
Best Pumpkin Cheesecake Rich and Creamy Delight Recipe
If you love the cozy flavors of fall, this Best Pumpkin Cheesecake recipe is for you! With rich cream cheese
Read more…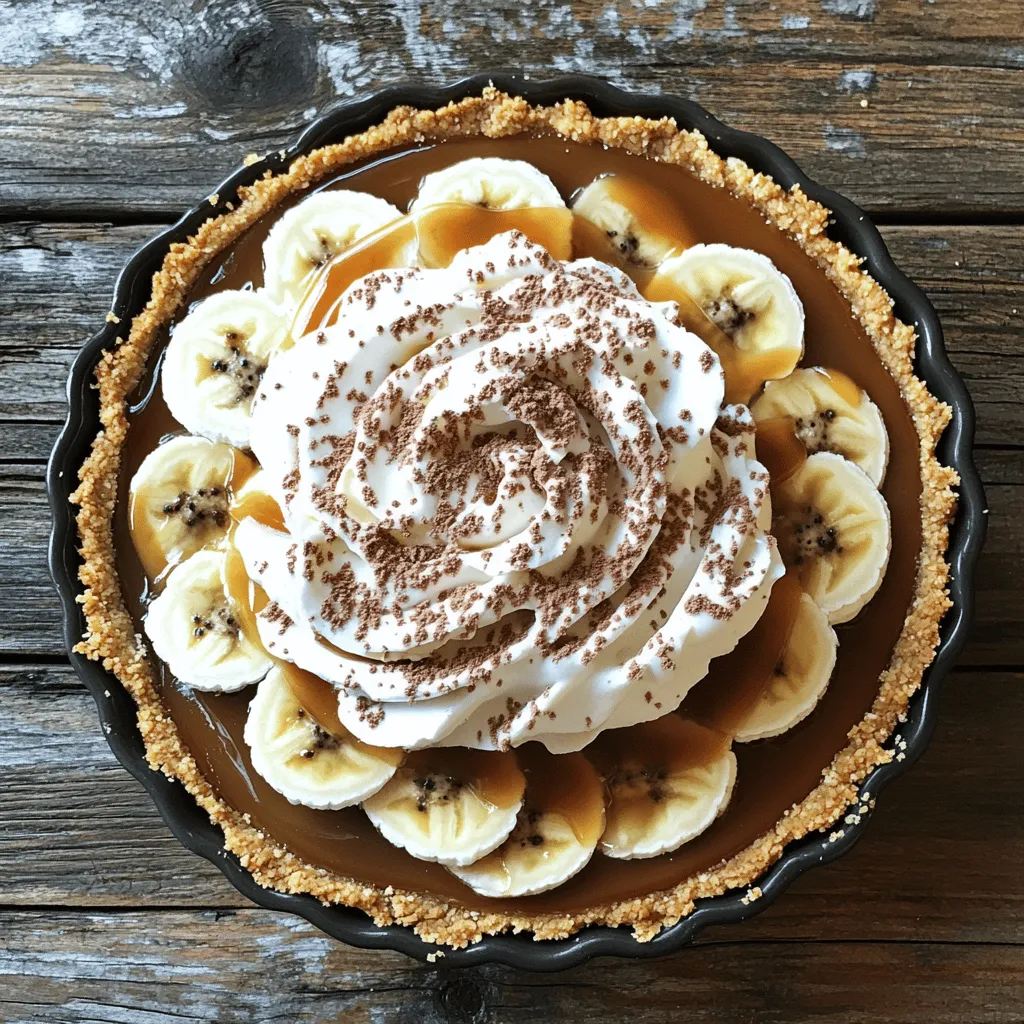
Easy Banoffee Pie with Caramel and Cream Delight
Are you craving a sweet treat that’s simple and decadent? Look no further! This Easy Banoffee Pie with Caramel and
Read more…browse recipes


No-Churn Oreo Ice Cream Creamy and Simple Delight
Are you craving a sweet treat without the fuss of ice cream machines? Let me introduce you to my No-Churn Oreo Ice Cream! This…
My Latest Desserts
-
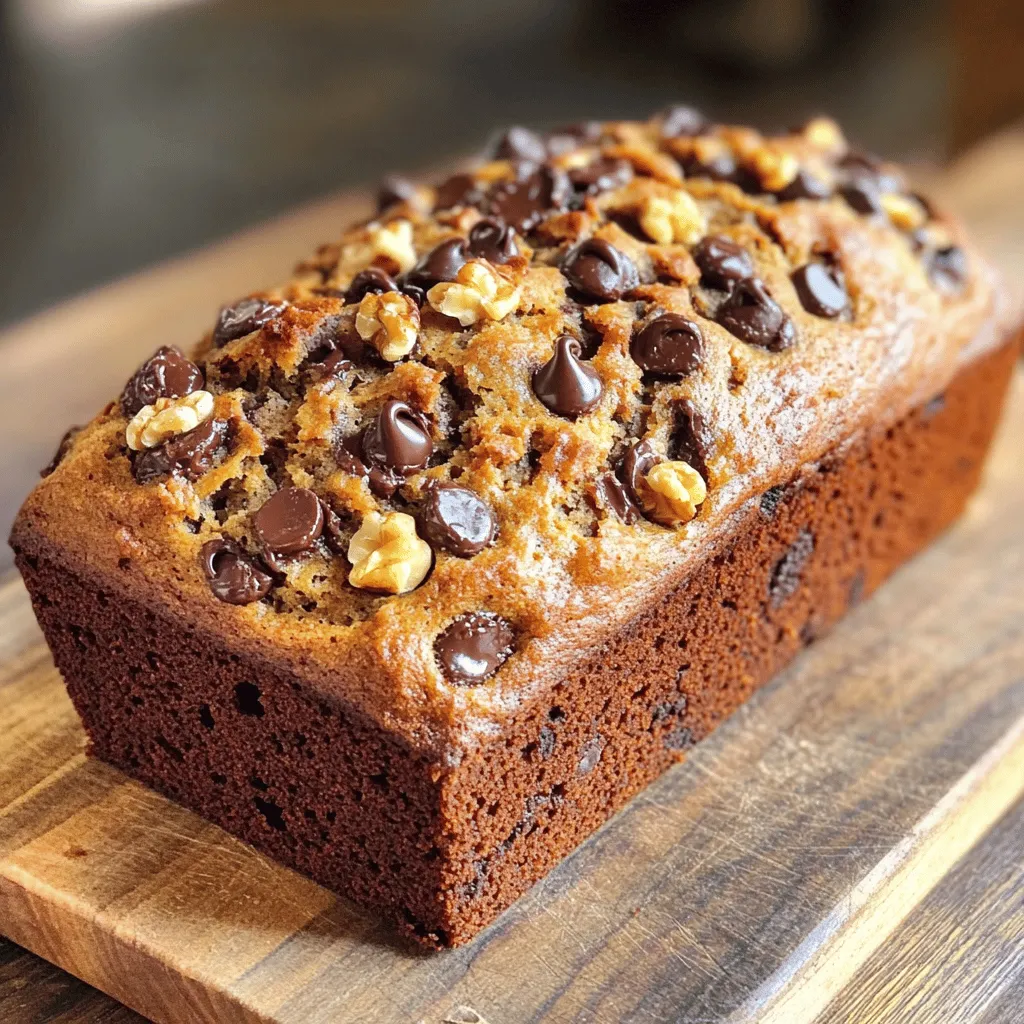
Chocolate Chip Banana Bread Rich and Flavorful Delight
Ready to indulge in a warm, gooey slice of Chocolate Chip Banana Bread? This rich and flavorful delight combines ripe Read Full Recipe -

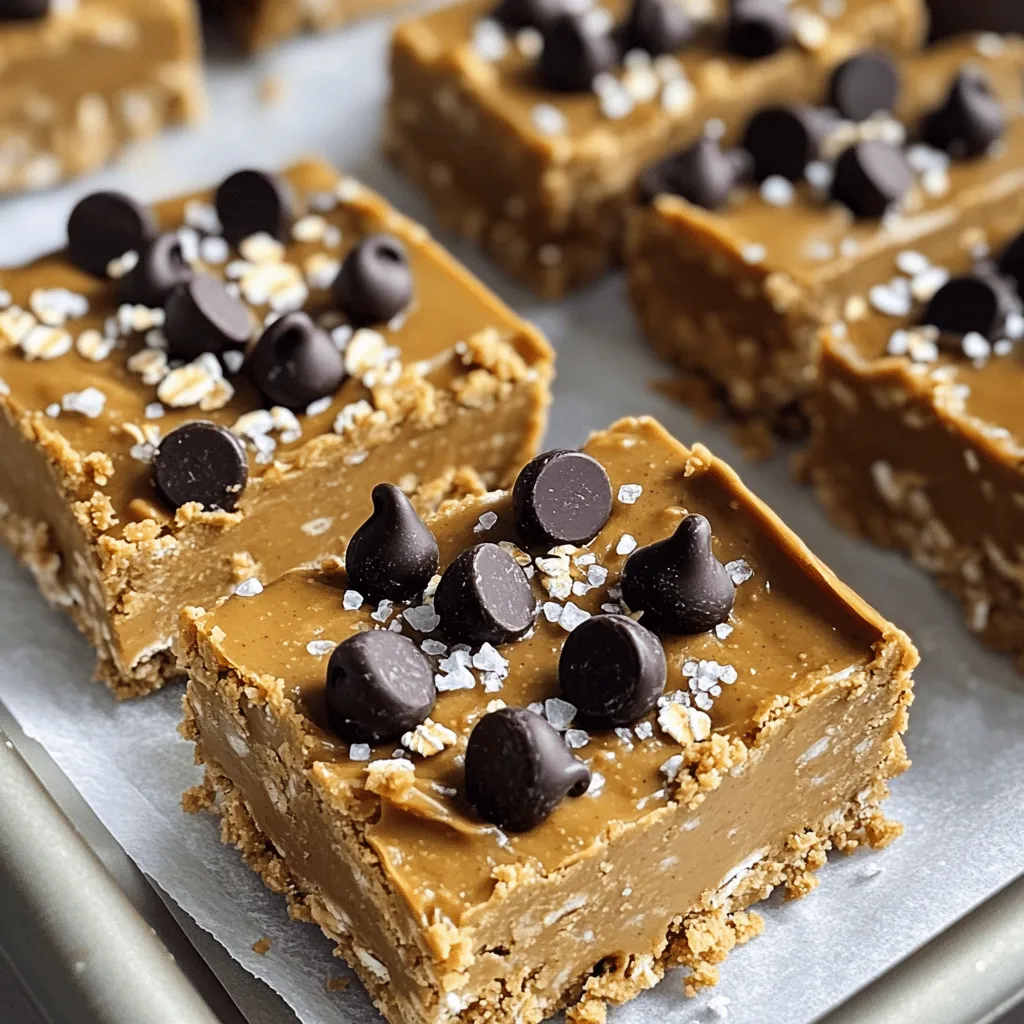
No Bake Peanut Butter Chocolate Bars Simple Delight
Are you craving a sweet treat that’s both simple and delicious? Look no further! I’m excited to share my recipe Read Full Recipe -

Strawberry Cheesecake Icebox Cake Delightful Dessert
Craving a cool, creamy dessert that’s as easy to make as it is delicious? Look no further than this Strawberry Read Full Recipe -
No Bake Peanut Butter Bars Quick and Easy Treat
Looking for a sweet treat that’s quick, easy, and requires no baking? I’ve got you covered with my No Bake Read Full Recipe -
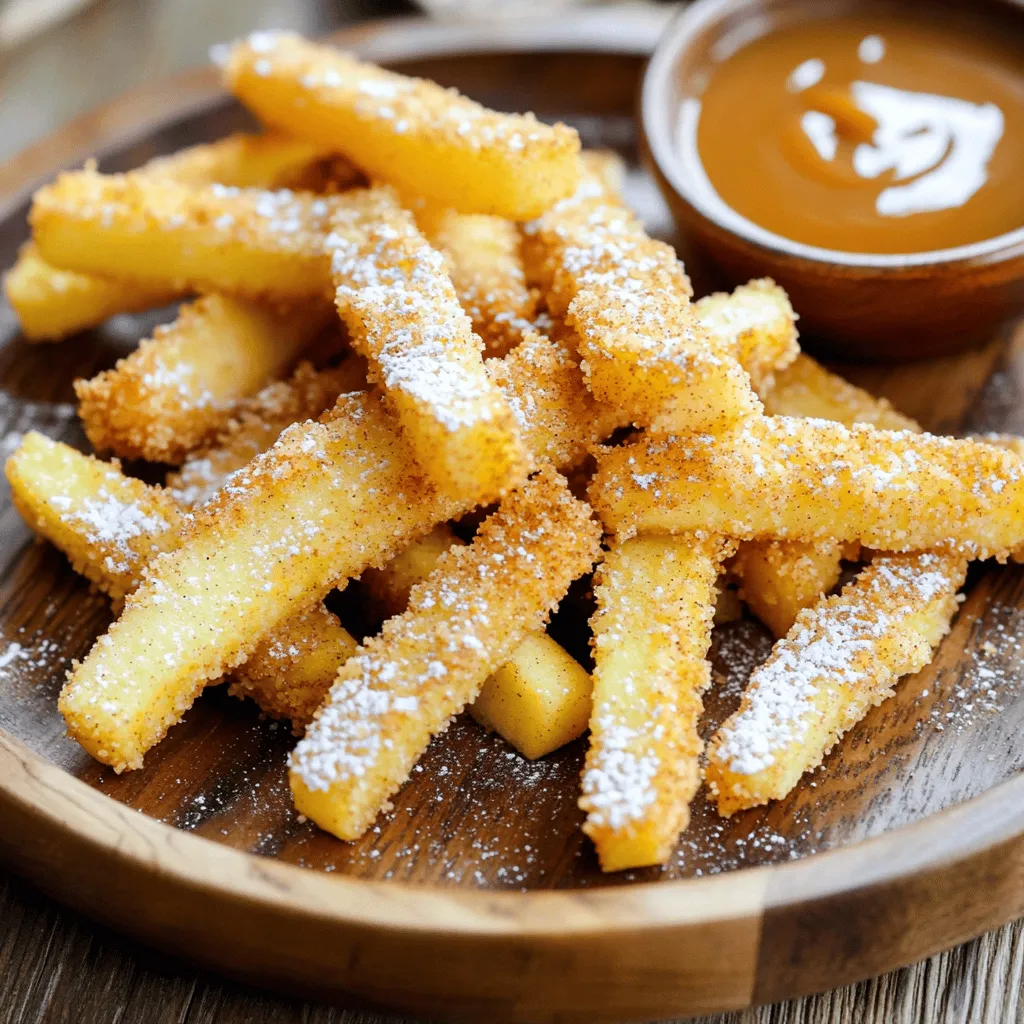
Air Fryer Apple Fries Delicious Crispy Snack Recipe
Craving a tasty snack that’s both fun and simple? Dive into my Air Fryer Apple Fries recipe! With a perfect Read Full Recipe -
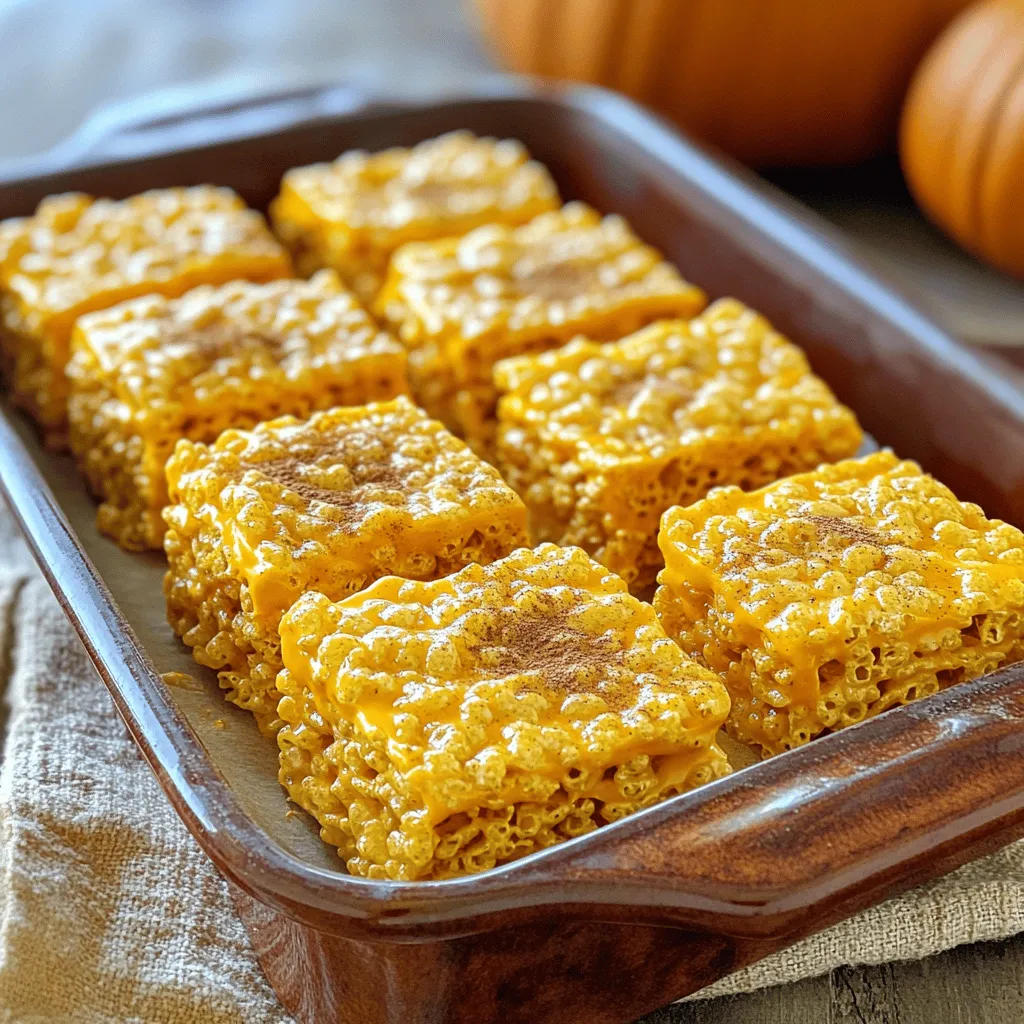
Pumpkin Spice Rice Krispie Treats Cozy Fall Delight
Fall is here, and what better way to celebrate than with Pumpkin Spice Rice Krispie Treats? These sweet, chewy delights Read Full Recipe -

Pumpkin Spice Fudge Irresistible Fall Treat Recipe
Fall is here, and so is your new favorite treat: Pumpkin Spice Fudge! This sweet, creamy delight captures all the Read Full Recipe -

Pumpkin Spice Ice Cream Delightful Fall Treat Recipe
Get ready to savor fall with a creamy delight: Pumpkin Spice Ice Cream! This treat blends rich flavors of pumpkin, Read Full Recipe -

Pumpkin Spice Pancakes Delightful Fall Breakfast Recipe
Looking for a cozy breakfast that screams fall? Let’s make pumpkin spice pancakes! This simple recipe combines soft, fluffy pancakes Read Full Recipe -

Pumpkin Spice Waffles Cozy Fall Breakfast Treat
Cozy up this fall with my delicious Pumpkin Spice Waffles! These warm, fluffy treats are packed with pumpkin goodness and Read Full Recipe
My Latest Recipes

hey,
i’m !
I’m so happy you’re here!
My kitchen is filled with stories, flavors, and love and I’m so happy to share them with you. Here’s to dishes that feel like home.

Sweet and Spicy Chicken Stir-Fry Flavorful Meal Idea
Get ready to excite your taste buds with my Sweet and Spicy Chicken Stir-Fry! This flavorful dish combines tender chicken with vibrant veggies and…
![To make this tasty dish, gather the following ingredients: - 1 lb (450g) boneless chicken breasts, sliced into thin strips - 2 tablespoons cornstarch - 2 tablespoons vegetable oil - 1 red bell pepper, sliced - 1 yellow bell pepper, sliced - 1 cup broccoli florets - 2 carrots, julienned - 4 green onions, chopped - 2 cloves garlic, minced - 1 tablespoon fresh ginger, minced - 3 tablespoons soy sauce - 1 tablespoon chili paste (adjust for spice preference) - 2 tablespoons honey - 1 tablespoon rice vinegar - Salt and pepper to taste - Sesame seeds for garnish When picking ingredients, freshness is key. Look for bright bell peppers, crisp broccoli, and firm chicken. The chicken should be pink with no smell. Choose organic if possible for better taste. Fresh garlic and ginger add great flavor, so buy the whole roots. For the sauce, select good quality soy sauce. This makes a big difference in taste. Always check the expiration dates on any packaged items. If you have dietary needs, there are great substitutes. Use tofu or tempeh instead of chicken for a vegan option. You can swap honey for maple syrup if you want it vegan. For gluten-free diets, use tamari sauce instead of soy sauce. You can also add more veggies, like snap peas or mushrooms, to change the flavor. Adjust the chili paste for milder or spicier tastes based on your preference. Start by slicing 1 pound of boneless chicken breasts into thin strips. Place the chicken in a bowl. Add 2 tablespoons of cornstarch to the chicken. Toss until the chicken is well coated. This step helps make the chicken crispy. Heat 1 tablespoon of vegetable oil in a large skillet or wok over medium-high heat. Once hot, add the chicken strips in a single layer. Cook for 4-5 minutes, flipping occasionally. The chicken should turn golden brown and be fully cooked. Remove the chicken from the skillet and set aside. In the same skillet, add another tablespoon of vegetable oil. Next, add 2 cloves of minced garlic and 1 tablespoon of minced ginger. Stir for about 30 seconds until fragrant. Then, add 1 sliced red bell pepper, 1 sliced yellow bell pepper, 1 cup of broccoli florets, and 2 julienned carrots. Stir-fry these vegetables for 2-3 minutes. They should be tender but still crisp. In a small bowl, mix 3 tablespoons of soy sauce, 1 tablespoon of chili paste, 2 tablespoons of honey, and 1 tablespoon of rice vinegar. Pour this sauce over the vegetables. Return the cooked chicken to the skillet and toss everything together. Cook for another 2 minutes until heated through. Remove from heat and sprinkle with chopped green onions and sesame seeds. Serve your Sweet and Spicy Chicken Stir-Fry in bowls, garnished with additional green onions and sesame seeds. For a complete meal, pair it with jasmine rice or quinoa. You can find the Full Recipe for more details. To make a great stir-fry, use high heat. This helps to cook food fast without losing flavors. Woks are awesome for this. They heat evenly and give a nice sear. If you don’t have a wok, a large skillet works too. Cut your ingredients into similar sizes. This ensures even cooking. Always prep everything before you start cooking. Stir-frying goes quickly, so you need to be ready! The heat in this dish comes from chili paste. Start with one tablespoon if you like mild spice. You can always add more later. Taste your sauce before adding it to the stir-fry. Add more chili paste if you want it hotter. You can also add a splash of hot sauce at the end. This way, you can control the spice perfectly. Crispy chicken is a must in stir-fry. Coat your chicken strips with cornstarch before cooking. This step is key for that crunch. Heat your oil until it shimmers. This means it’s hot enough. Cook the chicken in a single layer. Don’t overcrowd the pan. This helps the chicken sear instead of steam. Flip the chicken only once to create a nice crust. Follow these steps, and you will have crispy chicken every time. For the full recipe, check out the Sweet and Spicy Chicken Stir-Fry! {{image_2}} You can mix and match your veggies in this stir-fry. Try using snap peas, zucchini, or mushrooms. Each adds a new flavor and texture. Add baby corn for a sweet crunch or bok choy for a soft bite. The key is to cut your veggies into small, even pieces. This way, they cook evenly and stay crisp. If you want something other than chicken, you have options. Tofu is a great choice for a good texture. Shrimp cooks quickly and adds a nice seafood flavor. You could also use beef or pork if you prefer those meats. Just remember to adjust cooking times based on your protein choice. To make this dish vegan, swap out the chicken for tofu. Use a vegan soy sauce or tamari for flavor. Honey can be replaced with maple syrup or agave nectar. This still gives you that sweet taste without using animal products. Your stir-fry will be just as tasty and colorful, perfect for any meal. For the full recipe, check out [Full Recipe]. To keep your sweet and spicy chicken stir-fry fresh, let it cool first. Place it in an airtight container. Make sure to cover it tightly. This helps prevent any air from spoiling the food. Store the container in the fridge. It will stay good for about three to four days. When you are ready to enjoy your leftovers, reheat them on the stove. Use a skillet over medium heat. Add a splash of water or broth to keep it moist. Stir often until it is heated through. You can also use the microwave. Heat in short bursts, stirring in between. This helps avoid hot spots and keeps the food tasty. If you want to save some for later, you can freeze your stir-fry. Place it in a freezer-safe container. Be sure to leave some space for expansion. It can last up to three months in the freezer. When you want to eat it, take it out and let it thaw overnight in the fridge. Reheat it on the stove for the best taste. For the full recipe, check the section above. Yes, you can make Sweet and Spicy Chicken Stir-Fry ahead of time. Store it in an airtight container. It stays good in the fridge for about three days. When ready to eat, just reheat it in a pan or microwave. This helps keep the flavors fresh and delicious. You can serve this dish with several sides. Here are some great options: - Jasmine rice - Quinoa - Noodles - Steamed vegetables - A fresh salad These sides balance the sweet and spicy flavors. They also add more texture to your meal. To make more servings of Sweet and Spicy Chicken Stir-Fry, double or triple the ingredients. For example, use 2 pounds of chicken and increase the veggies too. Just ensure your pan is big enough to hold all the ingredients. You may need to cook in batches if the pan is small. This way, every bite will be just as tasty! In this blog post, I covered how to make a tasty Sweet and Spicy Chicken Stir-Fry. We explored key ingredients and how to select the best ones. You saw how to cook chicken perfectly and stir-fry vegetables right. I shared helpful tips for cooking and adjusting spice levels. Finally, I outlined ways to store leftovers safely and answered common questions. This dish is versatile and easy to make. With a few changes, you can fit any diet. Enjoy your cooking and happy eating!](https://southerndishes.com/wp-content/uploads/2025/04/778687b7-7b66-4de9-8612-96496cbc2345.webp)
