Latest & Greatest

Mango Sorbet Delightful and Easy Summer Treat
Summer is here, and nothing beats a cool, fruity treat! Mango sorbet is easy to make and perfect for warm
Read more…
Fried Banana With Brown Sugar Sweet and Simple Delight
If you’re looking for a simple yet sweet treat, you’ve come to the right place. Fried banana with brown sugar
Read more…
Best Pumpkin Cheesecake Rich and Creamy Delight Recipe
If you love the cozy flavors of fall, this Best Pumpkin Cheesecake recipe is for you! With rich cream cheese
Read more…
Easy Banoffee Pie with Caramel and Cream Delight
Are you craving a sweet treat that’s simple and decadent? Look no further! This Easy Banoffee Pie with Caramel and
Read more…
Red Velvet Cake Delight Simple and Tasty Recipe
Red Velvet Cake is a timeless favorite that never fails to impress. This deep red treat is not just beautiful;
Read more…
Apple Pie Delight Simple Steps for Perfect Recipe
Are you ready to bake the perfect apple pie? In “Apple Pie Delight: Simple Steps for Perfect Recipe,” I will
Read more…
Crockpot Mexican Chicken Flavorful and Simple Recipe
Looking for a simple, tasty meal? You’re in the right place! This Crockpot Mexican Chicken is packed with bold flavors
Read more…
Spring Hash Brown Crust Quiche Delightful and Easy Recipe
Looking for a quick, tasty dish for spring? Try my Spring Hash Brown Crust Quiche! This recipe combines crispy hash
Read more…browse recipes
![To make skillet creamed spinach, you need fresh, simple ingredients that create a creamy, flavorful dish. Here’s what you will need: - 1 lb fresh spinach, rinsed and roughly chopped - 2 tablespoons olive oil - 3 cloves garlic, minced - 1 small onion, finely chopped - 1 cup heavy cream - ½ cup cream cheese, softened - ½ cup grated Parmesan cheese - ¼ teaspoon nutmeg - Salt and pepper to taste - ¼ cup toasted pine nuts (for garnish) Each ingredient plays a key role in making this dish delicious. The fresh spinach brings a green, vibrant flavor. Olive oil adds richness and helps cook the garlic and onion. Garlic and onion provide a savory base that enhances the overall taste. Heavy cream and cream cheese create a smooth, creamy texture. Parmesan cheese adds a salty, umami kick. Nutmeg brings warmth and depth. Finally, toasted pine nuts give a delightful crunch when you serve it. For the full recipe, refer to the section above. First, heat the olive oil in a large skillet over medium heat. This will create a nice base for your dish. Next, add the minced garlic and finely chopped onion. Sauté them for about 3-4 minutes. You want the onion to turn translucent and fragrant. Now it’s time to cook the spinach. Gradually add the chopped spinach to the skillet. Stir often as the spinach wilts down. This step takes about 5 minutes. You’ll notice the volume decreases as it cooks. Once the spinach is wilted, reduce the heat to low. Stir in the heavy cream and cream cheese. Allow the cream cheese to melt fully. This creates a smooth, creamy texture that enriches the spinach. Next, mix in the grated Parmesan cheese and nutmeg. Stir until everything is well combined and creamy. Taste your dish and season with salt and pepper as needed. Adjust it to your liking. Let the mixture simmer gently for an additional 3-4 minutes. This allows all the flavors to meld together. Once done, remove from the heat. Top it off with toasted pine nuts for a crunchy finish before serving. For the full recipe, refer to the list above. Enjoy your creamy and flavorful delight! - Optimal heat settings: Start with medium heat. This helps the garlic and onion cook evenly. Too high a heat can burn the garlic. - Timing tips for aromatics: Sauté the garlic and onion for 3-4 minutes. Wait until the onion turns translucent. This brings out their best flavors. - Tricks to prevent curdling: Always lower the heat before adding cream. This helps keep it smooth. Stir slowly to ensure even mixing. - Choosing the right cream: Use heavy cream for the best results. It adds richness and helps the sauce stay creamy. - Adding herbs or spices: Nutmeg adds warmth and depth. You can also try adding thyme or basil for fresh flavor. - Adjusting for dietary preferences: For a lighter option, use half-and-half instead of heavy cream. This keeps it tasty while cutting calories. {{image_2}} You can switch up the greens in this dish. Instead of spinach, try kale or Swiss chard. These greens offer a similar texture and flavor. You can even use a mix of greens for a fun twist. For a dairy-free version, replace cream and cheese with nut-based alternatives. Coconut cream works great and adds a unique flavor. Adding bacon or ham can give your creamed spinach a savory kick. Cook the meat first, then mix it in. You could also use different cheeses for added depth. Try gouda or feta instead of Parmesan. Each cheese brings its own flavor, making the dish exciting. Skillet creamed spinach pairs well with many proteins. Serve it alongside grilled chicken or steak for a complete meal. You can also enjoy it as a side dish with roasted fish. For a more casual meal, serve it with crusty bread for dipping. This creamy delight fits any occasion! Don’t forget to check out the Full Recipe for more details! To keep your skillet creamed spinach fresh, store it in an airtight container. Place it in the fridge right after it cools down. It should stay good for about three to five days. If you want to keep it longer, consider freezing it. Use a freezer-safe bag or container. It can last up to three months in the freezer. When you reheat creamed spinach, the goal is to keep it creamy. For stovetop reheating, use a medium-low heat. Stir often to prevent sticking. Add a splash of cream if it seems thick. If you use a microwave, heat it in short bursts of 30 seconds. Stir in between to ensure even heating. The shelf life of creamed spinach varies by storage method. In the fridge, expect it to last about three to five days. In the freezer, it can last up to three months. Always check for signs of spoilage. If it smells off or has an unusual texture, it’s best to toss it. Creamed spinach is a rich side dish made with cooked spinach, cream, and cheese. People often serve it with steak or chicken. It has a creamy texture and a savory flavor. This dish is classic in American cuisine, especially during holidays and family dinners. Many enjoy its smoothness paired with meats or as part of a larger spread. Yes, you can use frozen spinach! Frozen spinach is convenient and saves time. It is often pre-washed and chopped. However, it has some downsides. Frozen spinach can be a bit watery when thawed. This extra moisture may change the dish's texture. You must squeeze out the water after thawing. Fresh spinach has a brighter taste and better texture, but frozen can work well in a pinch. To make creamed spinach gluten-free, you need to check your ingredients. Most of the main ingredients are gluten-free, which is great! Just ensure any added seasonings or cheeses are gluten-free. You can use cornstarch or rice flour to thicken the dish, if needed. This way, you can enjoy the creamy goodness without worry! For the full recipe, check out the [Full Recipe]. This blog post covered how to make a tasty creamed spinach dish. We started with the key ingredients and detailed steps for cooking. I shared tips to ensure creaminess and flavor, along with creative variations for more fun. Proper storage and reheating techniques help maintain quality. Remember, cooking should be enjoyable. Experiment with flavors and find what you love. A dish simple in nature can easily wow your guests! Enjoy making your own creamed spinach and feel free to customize it to your tastes.](https://southerndishes.com/wp-content/uploads/2025/05/764a9977-9c3a-4591-ab48-c900021f0b11.webp)
Skillet Creamed Spinach Creamy and Flavorful Delight
Are you ready to elevate your next meal? My Skillet Creamed Spinach recipe combines fresh spinach, rich cream, and savory cheese for a dish…
My Latest Desserts
-
Air Fryer Apple Fries Delicious Crispy Snack Recipe
Craving a tasty snack that’s both fun and simple? Dive into my Air Fryer Apple Fries recipe! With a perfect Read Full Recipe -
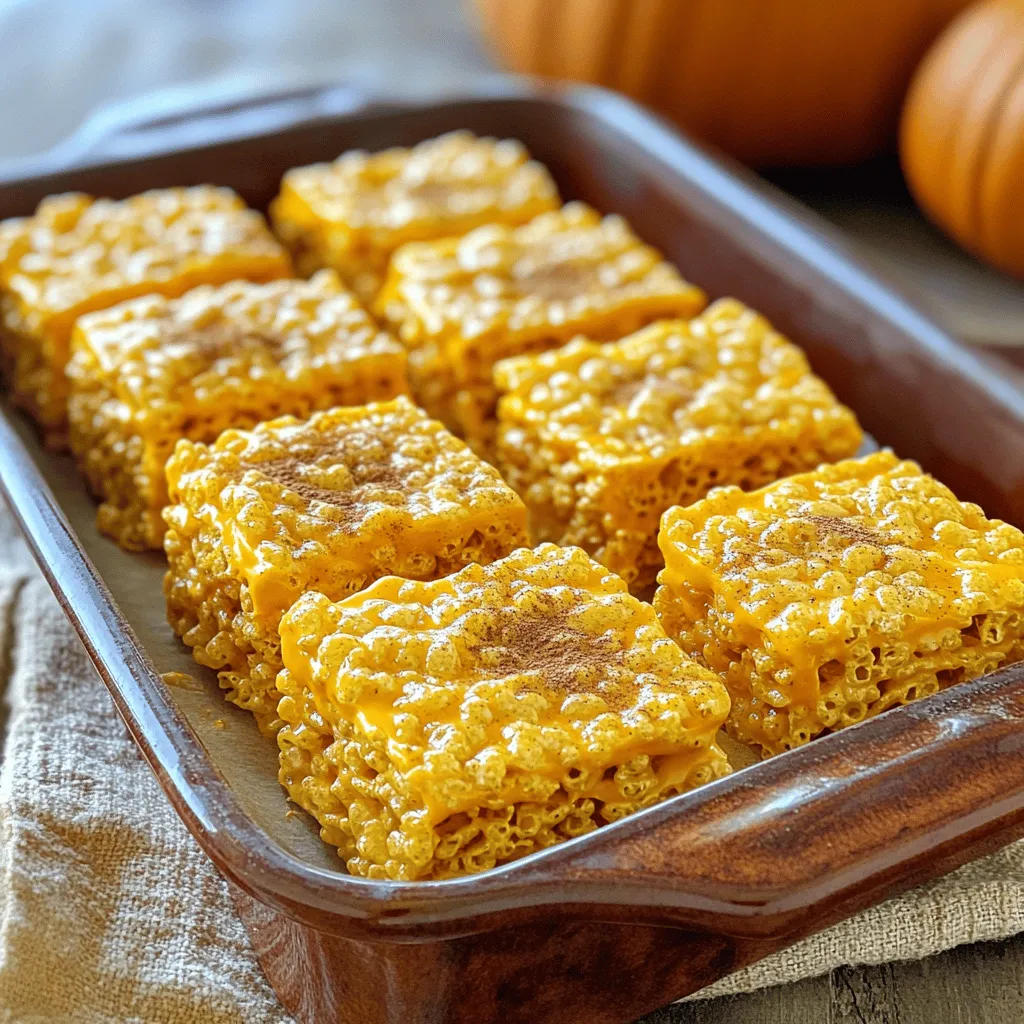
Pumpkin Spice Rice Krispie Treats Cozy Fall Delight
Fall is here, and what better way to celebrate than with Pumpkin Spice Rice Krispie Treats? These sweet, chewy delights Read Full Recipe -
Pumpkin Spice Fudge Irresistible Fall Treat Recipe
Fall is here, and so is your new favorite treat: Pumpkin Spice Fudge! This sweet, creamy delight captures all the Read Full Recipe -
Pumpkin Spice Ice Cream Delightful Fall Treat Recipe
Get ready to savor fall with a creamy delight: Pumpkin Spice Ice Cream! This treat blends rich flavors of pumpkin, Read Full Recipe -
Pumpkin Spice Pancakes Delightful Fall Breakfast Recipe
Looking for a cozy breakfast that screams fall? Let’s make pumpkin spice pancakes! This simple recipe combines soft, fluffy pancakes Read Full Recipe -
Pumpkin Spice Waffles Cozy Fall Breakfast Treat
Cozy up this fall with my delicious Pumpkin Spice Waffles! These warm, fluffy treats are packed with pumpkin goodness and Read Full Recipe -
Pumpkin Spice Banana Bread Cozy and Comforting Treat
Warm, spicy, and oh-so-cozy, Pumpkin Spice Banana Bread is the ultimate fall treat! With ripe bananas and pumpkin puree, this Read Full Recipe -
Chocolate Chip Pumpkin Bread Simple and Tasty Recipe
Fall is the perfect time for baking, and nothing says cozy like Chocolate Chip Pumpkin Bread. In this simple and Read Full Recipe -
Fluffy Cinnamon Roll Pancakes Easy and Tasty Recipe
Are you ready to elevate your breakfast game? These Fluffy Cinnamon Roll Pancakes are a fun twist on a classic Read Full Recipe -
No Bake Oreo Cheesecake Bars Easy and Delicious Treat
Craving a sweet treat that’s both easy to make and utterly delicious? Look no further than these No Bake Oreo Read Full Recipe
My Latest Recipes
hey,
i’m !
I’m so happy you’re here!
My kitchen is filled with stories, flavors, and love and I’m so happy to share them with you. Here’s to dishes that feel like home.
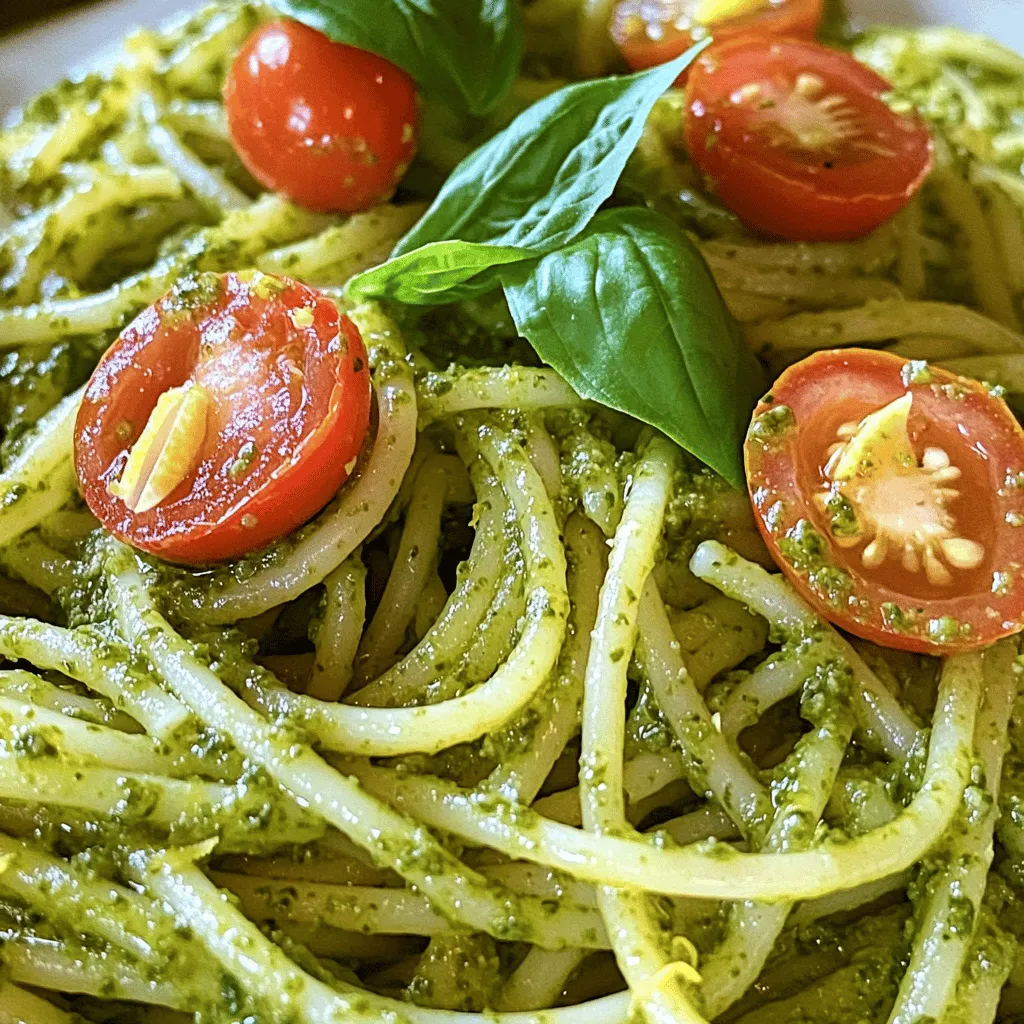
Lemon Basil Pesto Pasta Tasty and Simple Meal
Looking for a quick and fresh meal? Lemon Basil Pesto Pasta is your answer! This bright, zesty dish is easy to make and bursting…
