
Latest & Greatest

Spinach Artichoke Dip Bites Tasty and Simple Appetizer
Looking for a crowd-pleasing appetizer that is both tasty and simple? These Spinach Artichoke Dip Bites are just what you
Read more…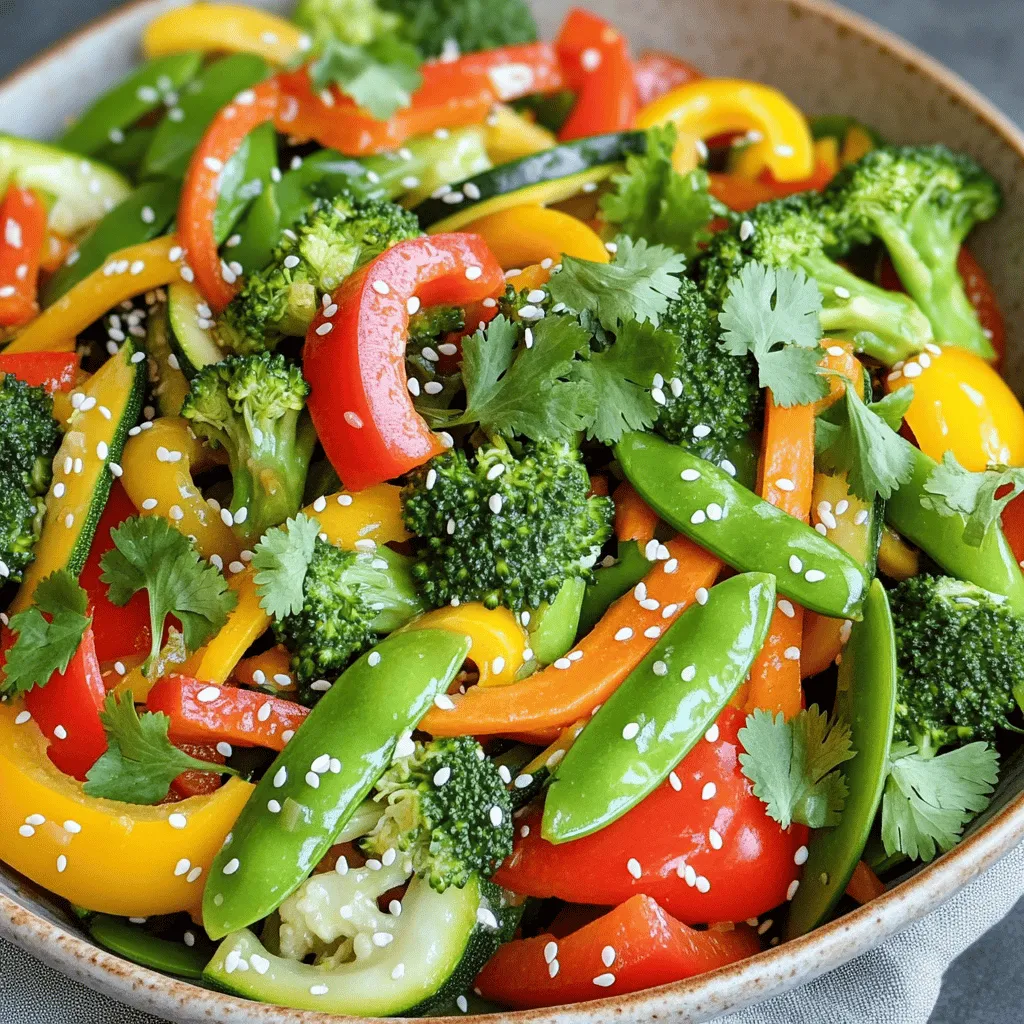
Quick and Easy Vegetable Stir Fry Tasty and Healthy Meal
Looking for a quick and tasty meal? You’re in the right place! My Quick and Easy Vegetable Stir Fry is
Read more…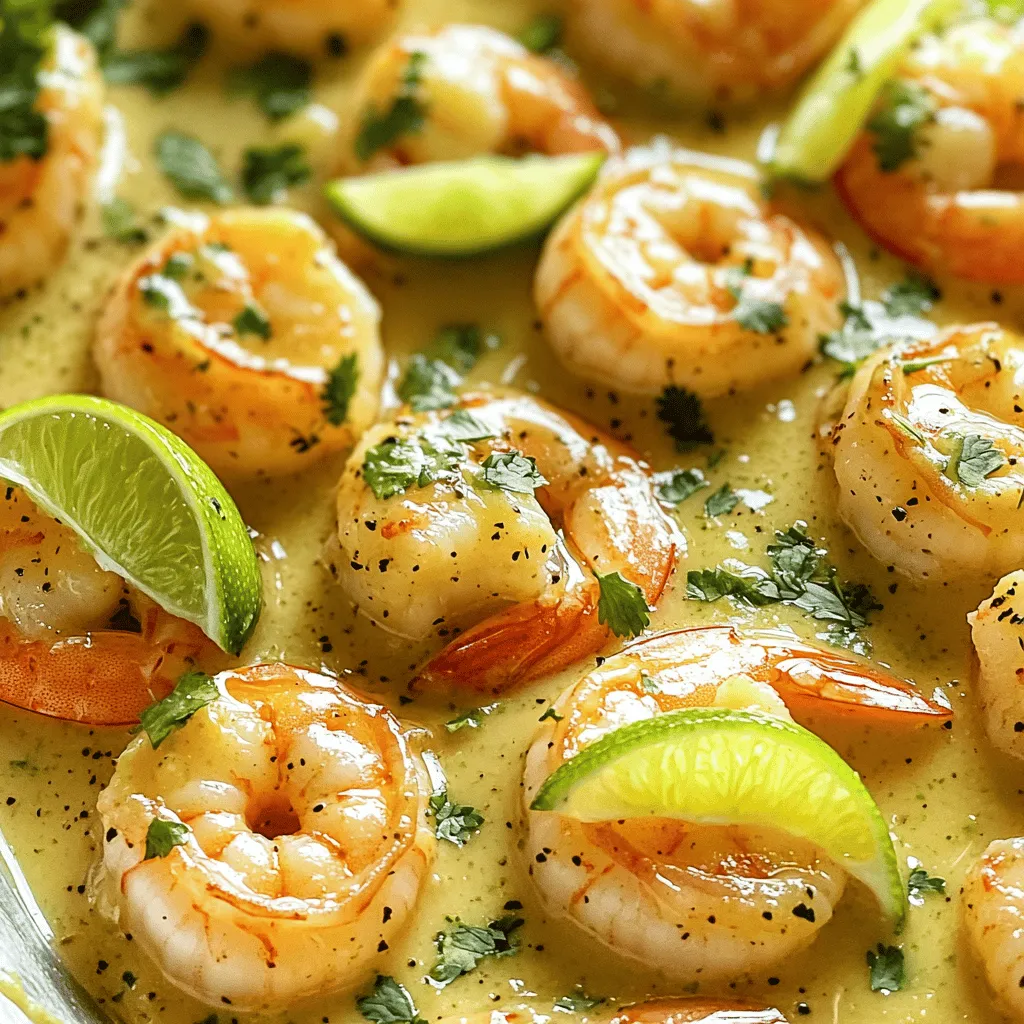
Coconut Lime Shrimp Flavorful Dish with Fresh Ingredients
If you crave a burst of flavor, you’re in for a treat! This Coconut Lime Shrimp dish combines juicy shrimp
Read more…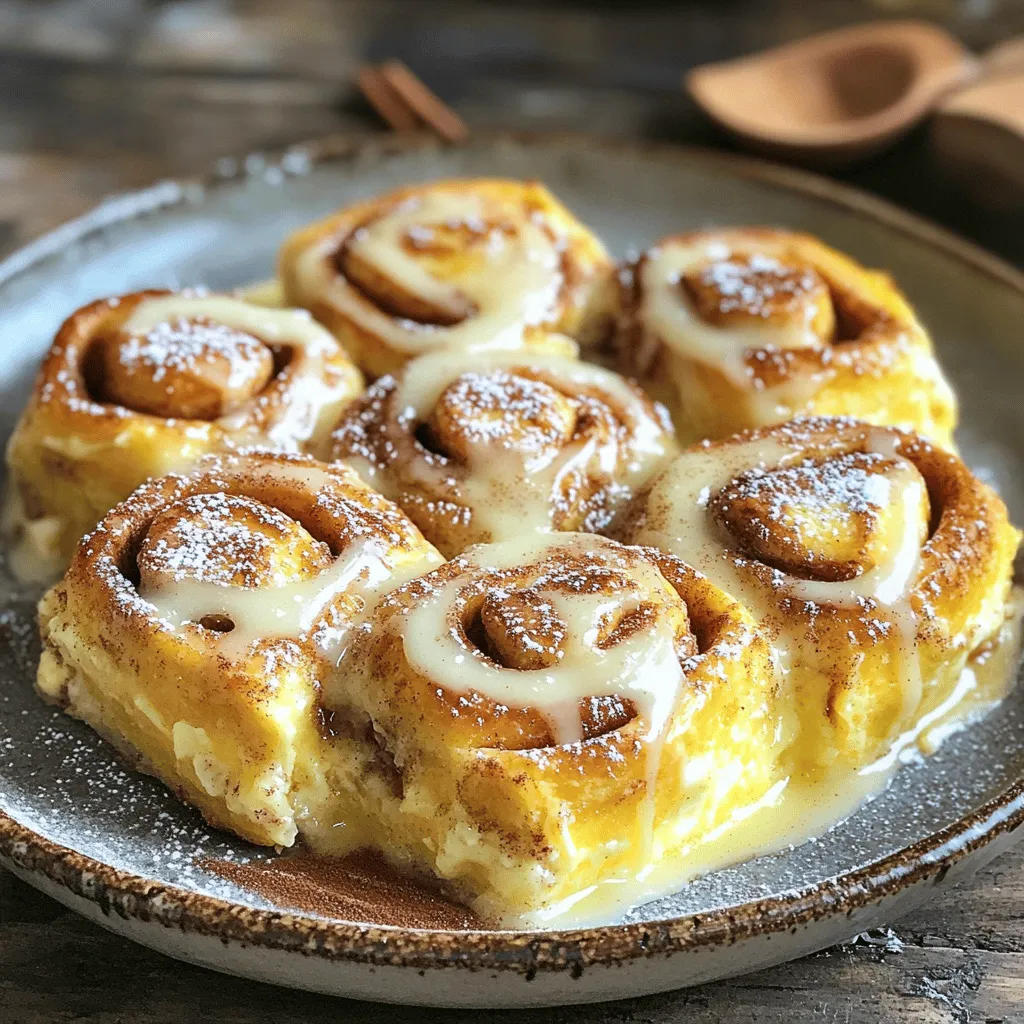
Cinnamon Roll Casserole Delightful and Easy Recipe
Are you ready for a warm and sweet treat? My Cinnamon Roll Casserole is an easy way to enjoy breakfast
Read more…
Sheet Pan Lemon Garlic Herb Chicken Flavorful Delight
Are you ready to impress your family with a simple yet delicious meal? The Sheet Pan Lemon Garlic Herb Chicken
Read more…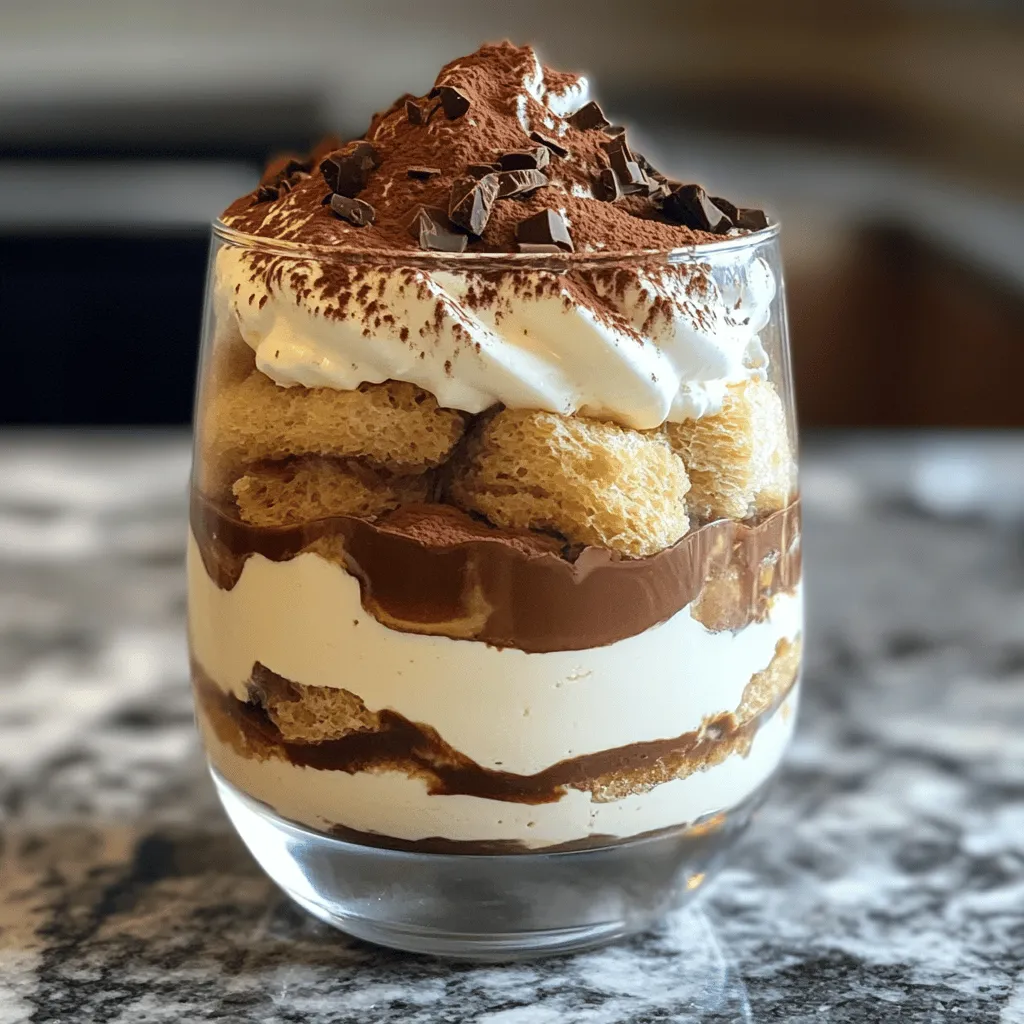
Easy No-Bake Tiramisu Delightful and Simple Recipe
If you crave a dessert that is both delicious and easy to make, you’re in the right place! This Easy
Read more…
Mango Sorbet Delightful and Easy Summer Treat
Summer is here, and nothing beats a cool, fruity treat! Mango sorbet is easy to make and perfect for warm
Read more…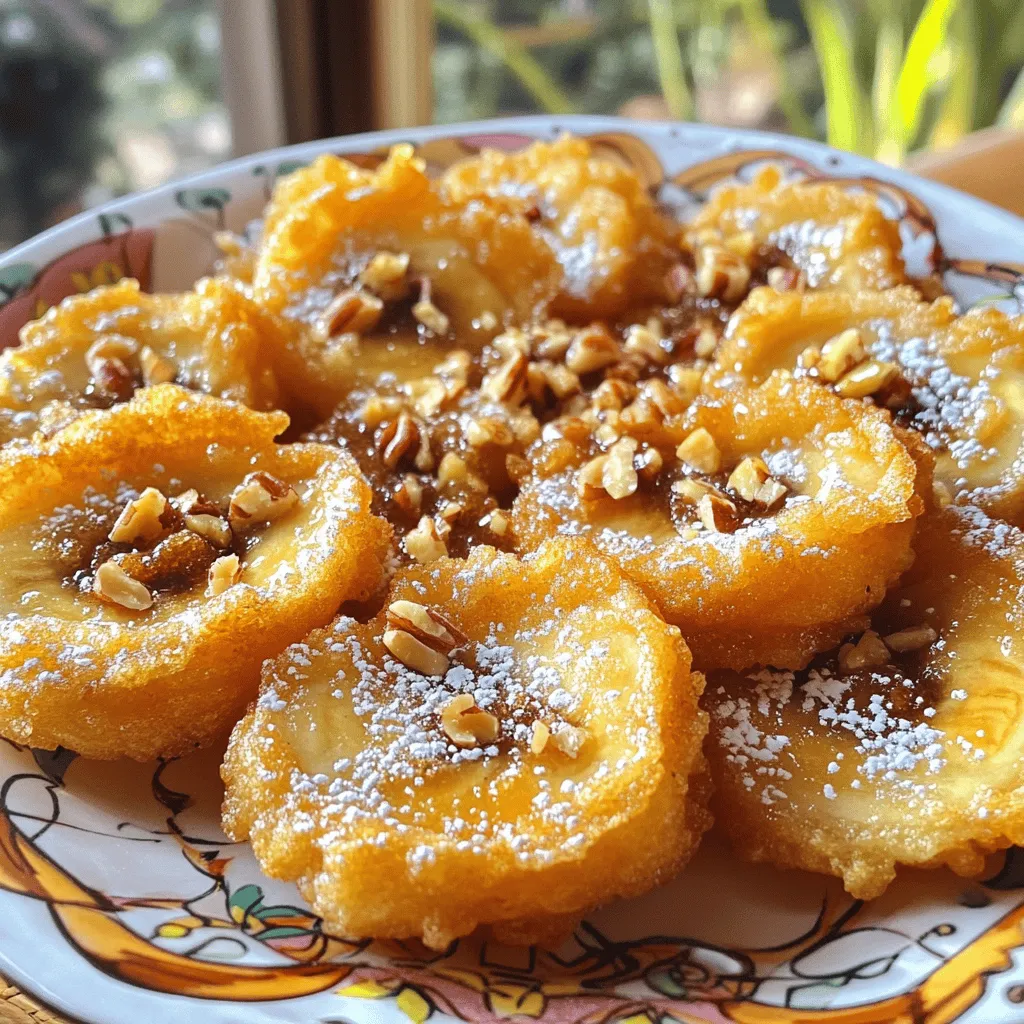
Fried Banana With Brown Sugar Sweet and Simple Delight
If you’re looking for a simple yet sweet treat, you’ve come to the right place. Fried banana with brown sugar
Read more…browse recipes


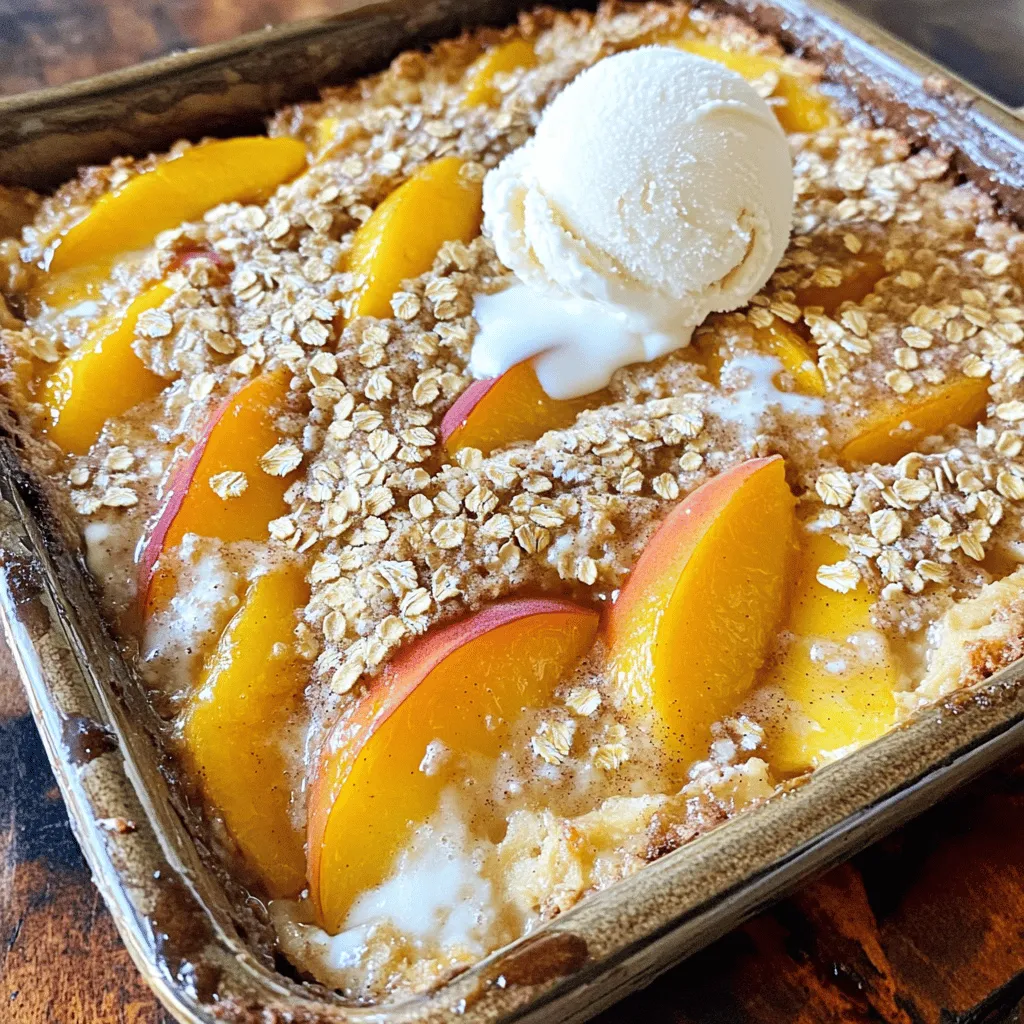
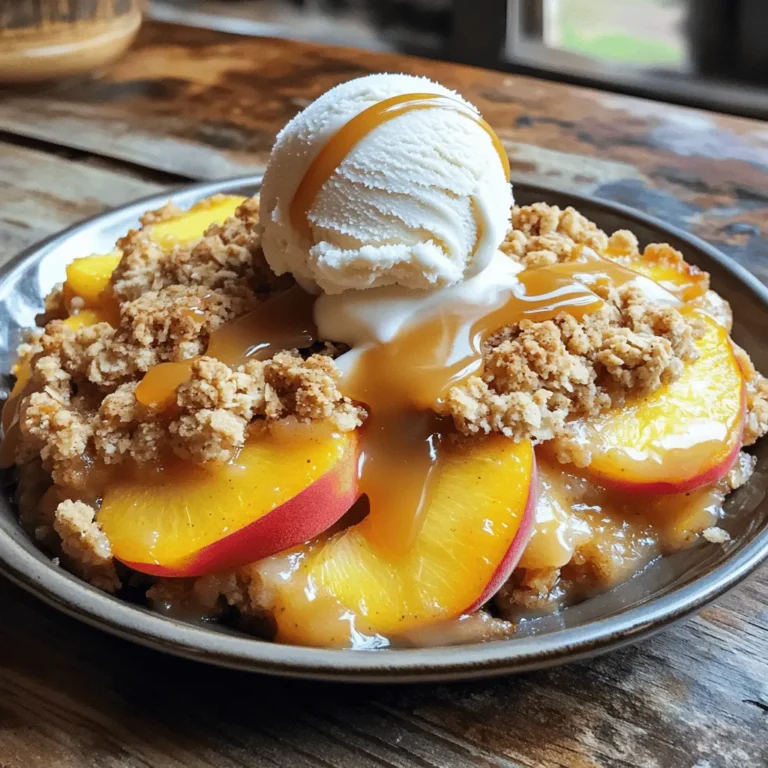
Peach Cobbler Dump Cake Simple and Flavorful Delight
Are you ready to whip up a sweet treat that’s easy and delightful? My Peach Cobbler Dump Cake will have you enjoying the rich…
My Latest Desserts
-
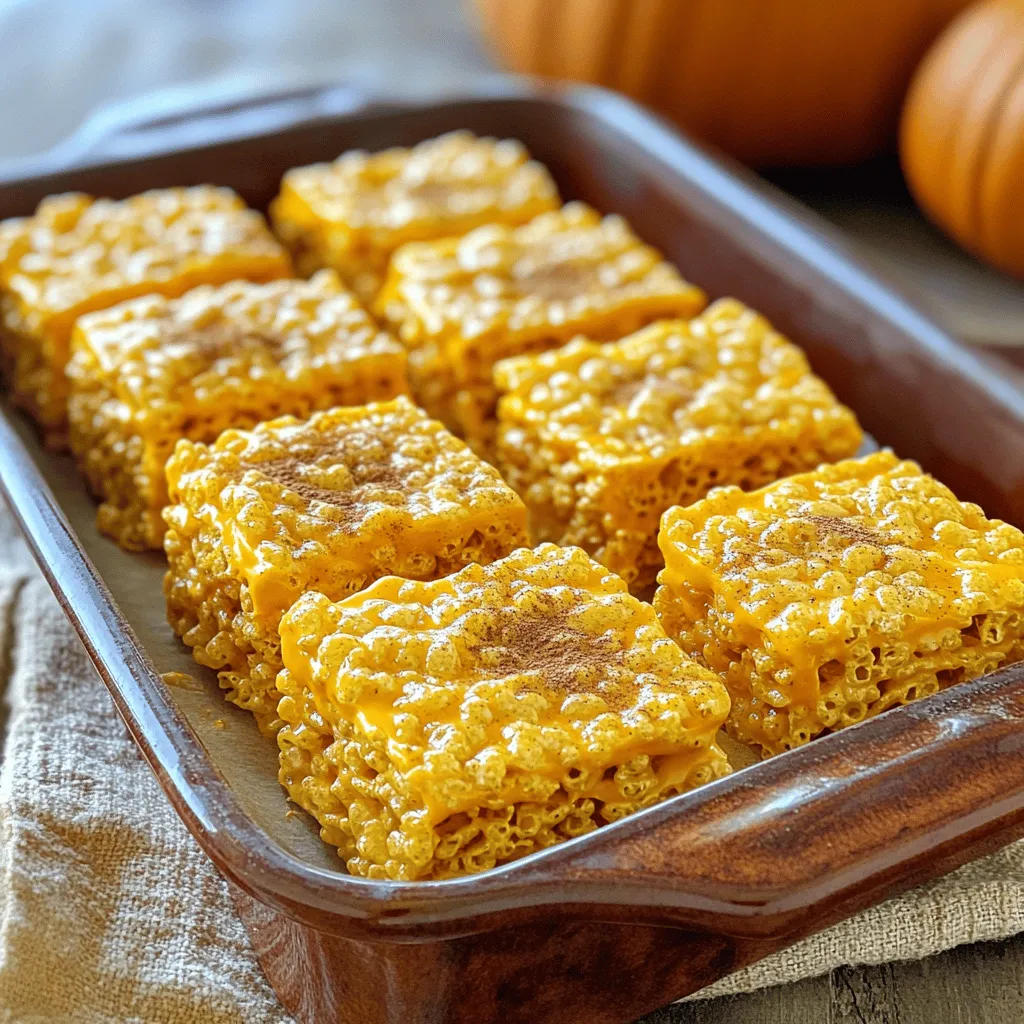
Pumpkin Spice Rice Krispie Treats Cozy Fall Delight
Fall is here, and what better way to celebrate than with Pumpkin Spice Rice Krispie Treats? These sweet, chewy delights Read Full Recipe -
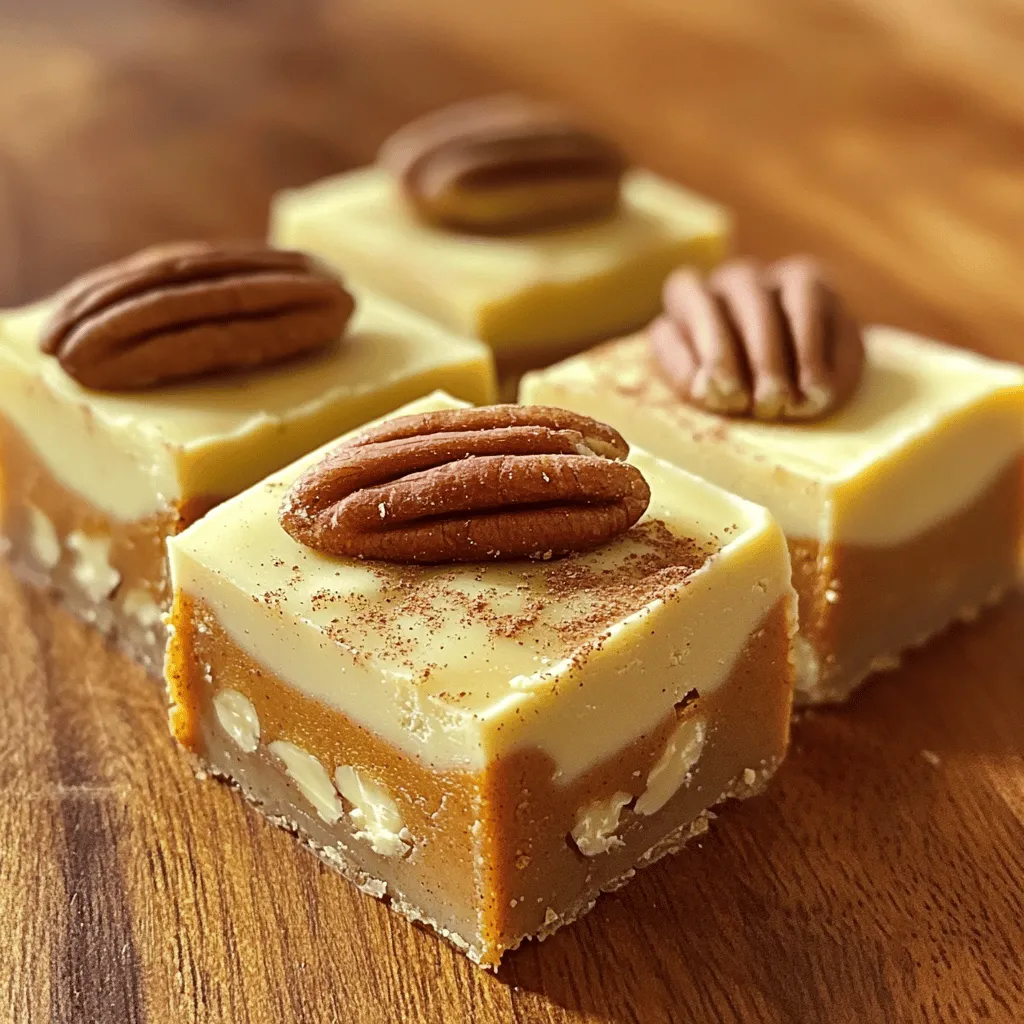
Pumpkin Spice Fudge Irresistible Fall Treat Recipe
Fall is here, and so is your new favorite treat: Pumpkin Spice Fudge! This sweet, creamy delight captures all the Read Full Recipe -
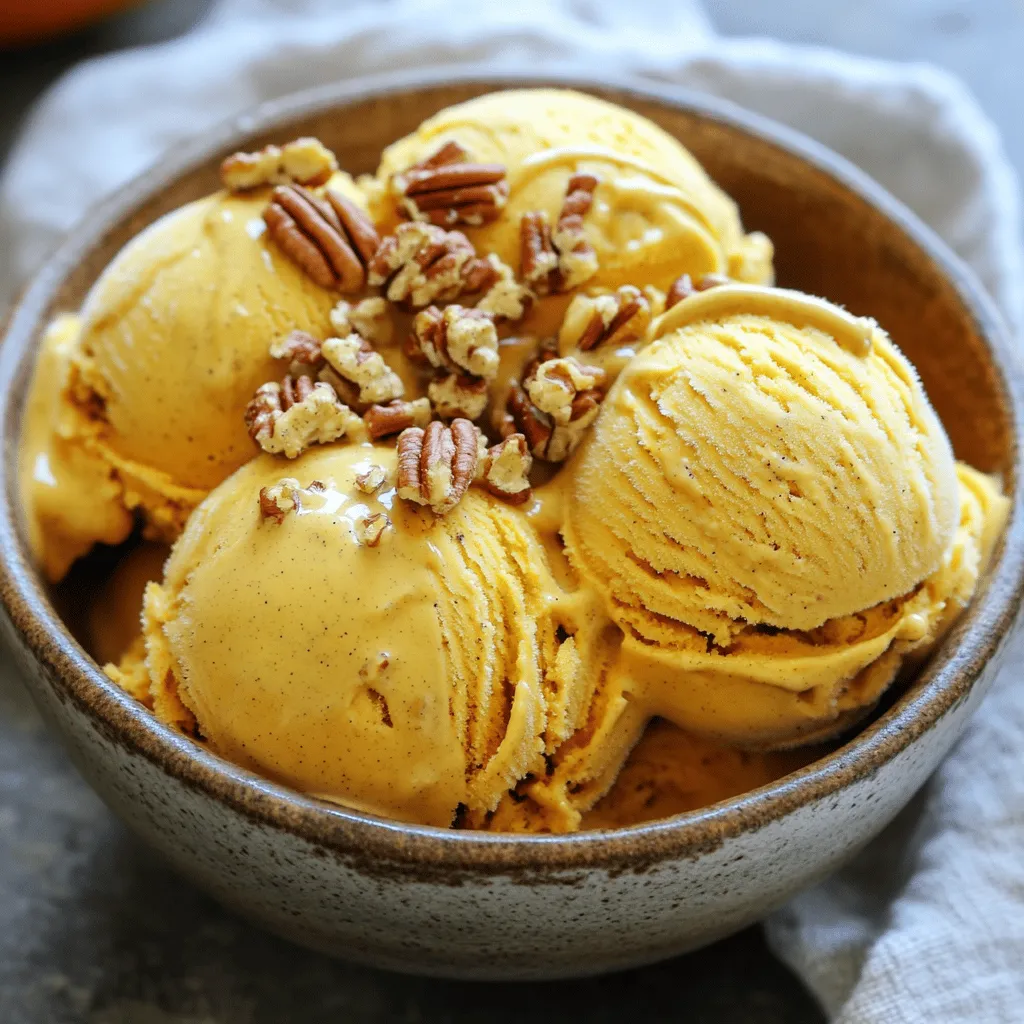
Pumpkin Spice Ice Cream Delightful Fall Treat Recipe
Get ready to savor fall with a creamy delight: Pumpkin Spice Ice Cream! This treat blends rich flavors of pumpkin, Read Full Recipe -
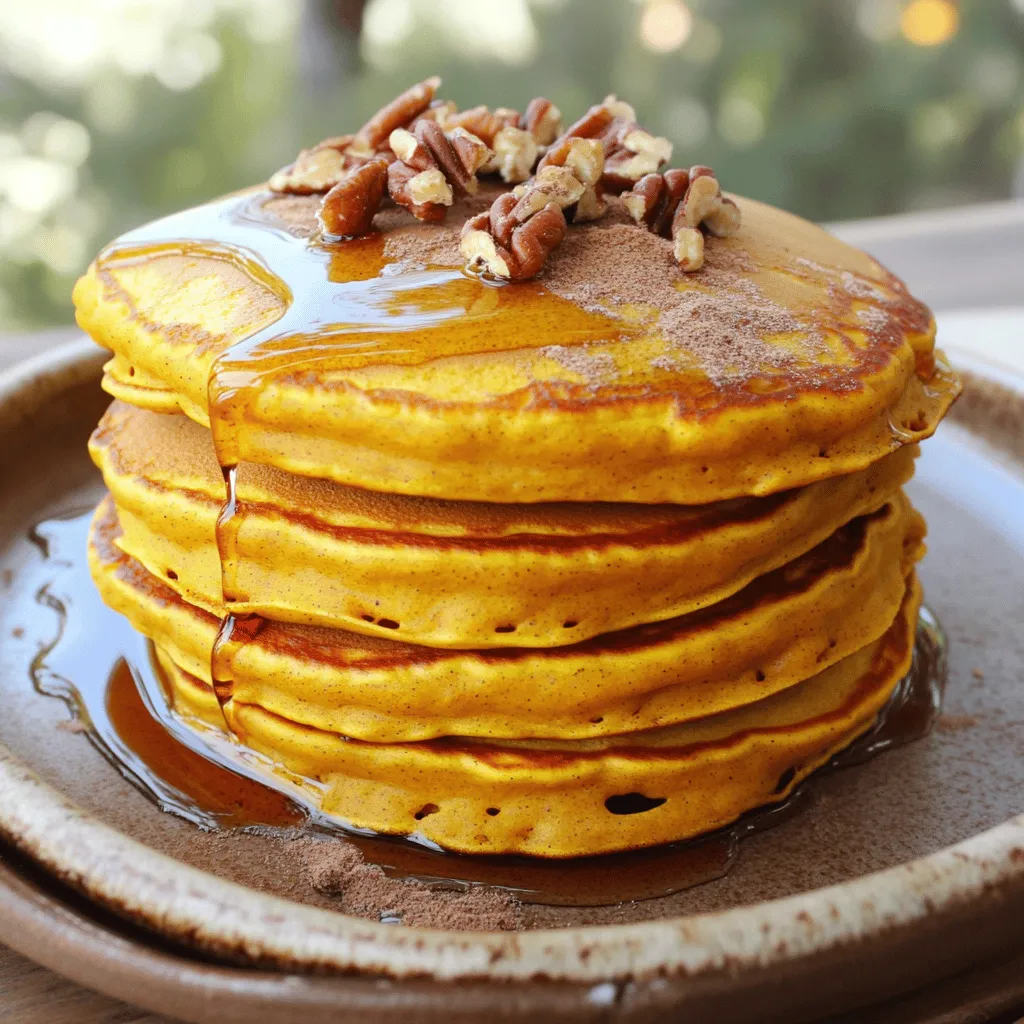
Pumpkin Spice Pancakes Delightful Fall Breakfast Recipe
Looking for a cozy breakfast that screams fall? Let’s make pumpkin spice pancakes! This simple recipe combines soft, fluffy pancakes Read Full Recipe -
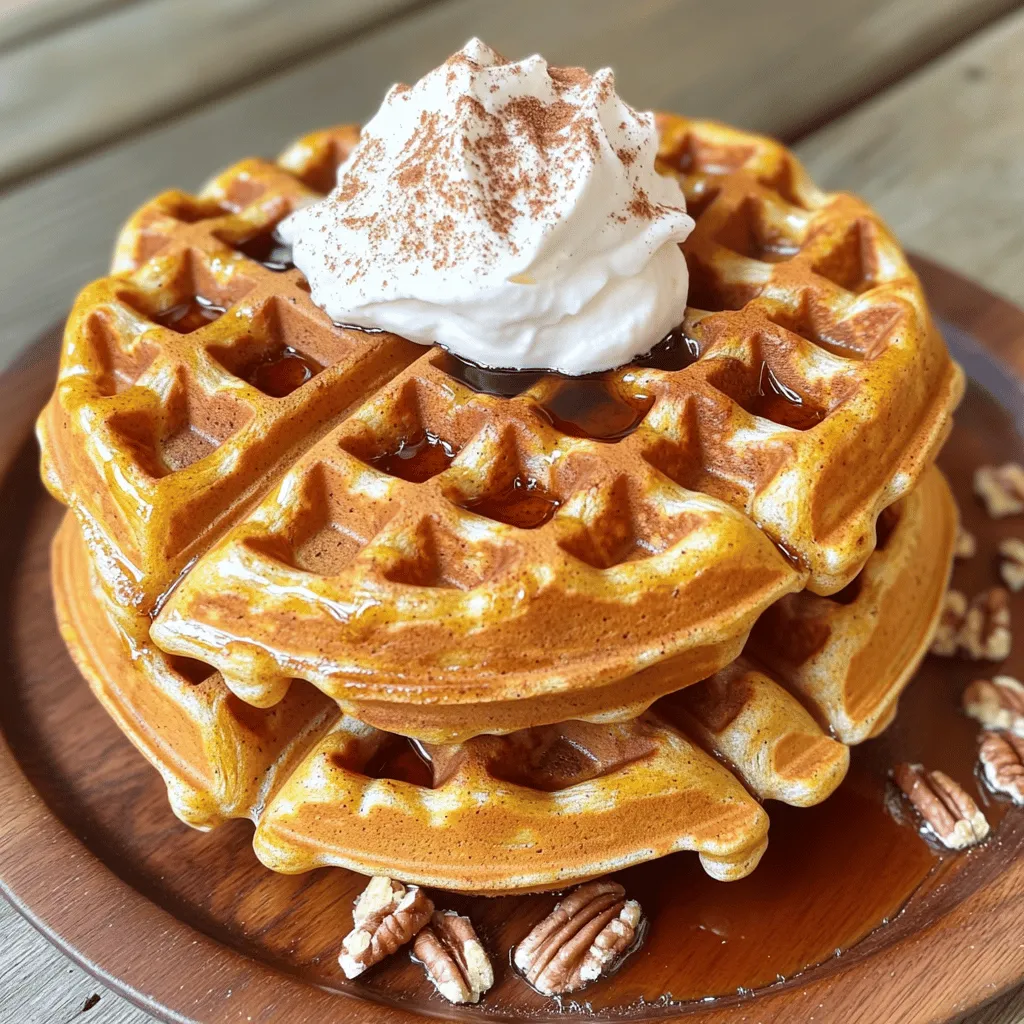
Pumpkin Spice Waffles Cozy Fall Breakfast Treat
Cozy up this fall with my delicious Pumpkin Spice Waffles! These warm, fluffy treats are packed with pumpkin goodness and Read Full Recipe -
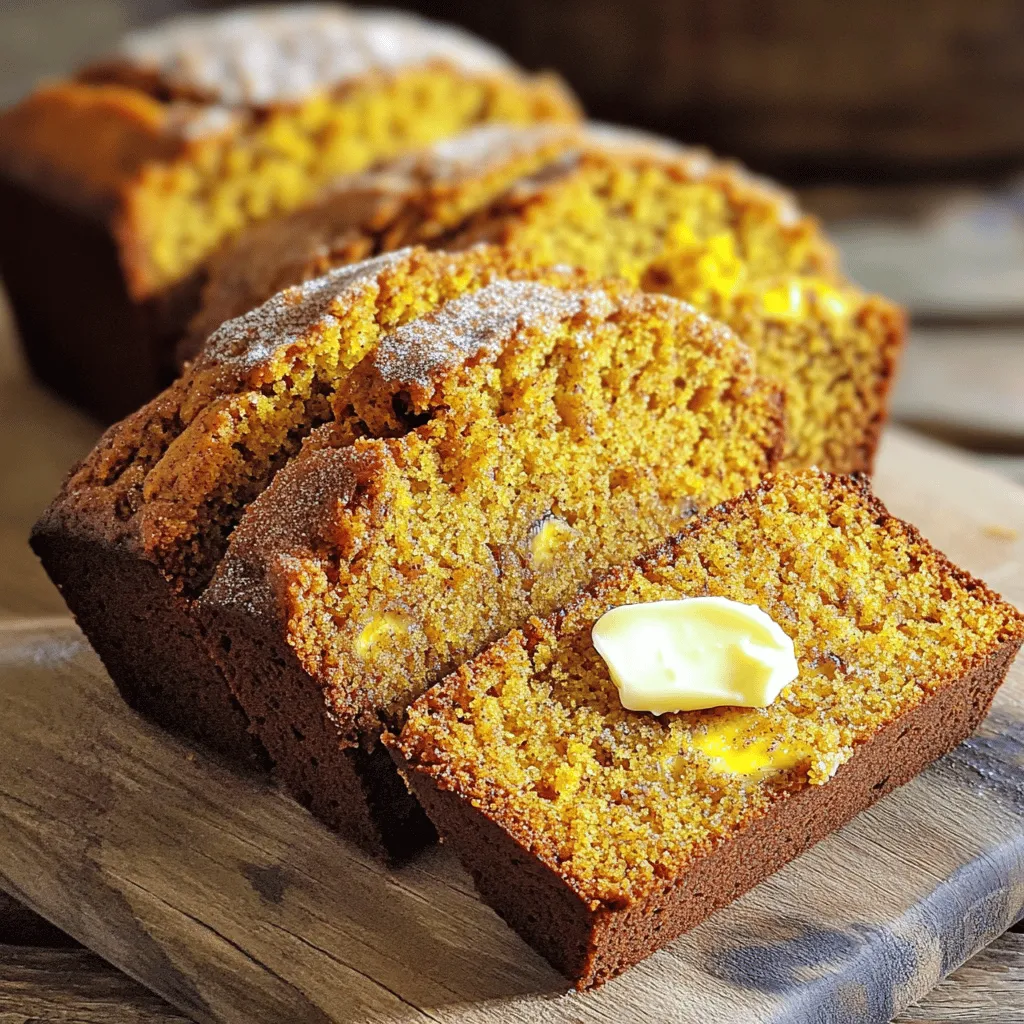
Pumpkin Spice Banana Bread Cozy and Comforting Treat
Warm, spicy, and oh-so-cozy, Pumpkin Spice Banana Bread is the ultimate fall treat! With ripe bananas and pumpkin puree, this Read Full Recipe -
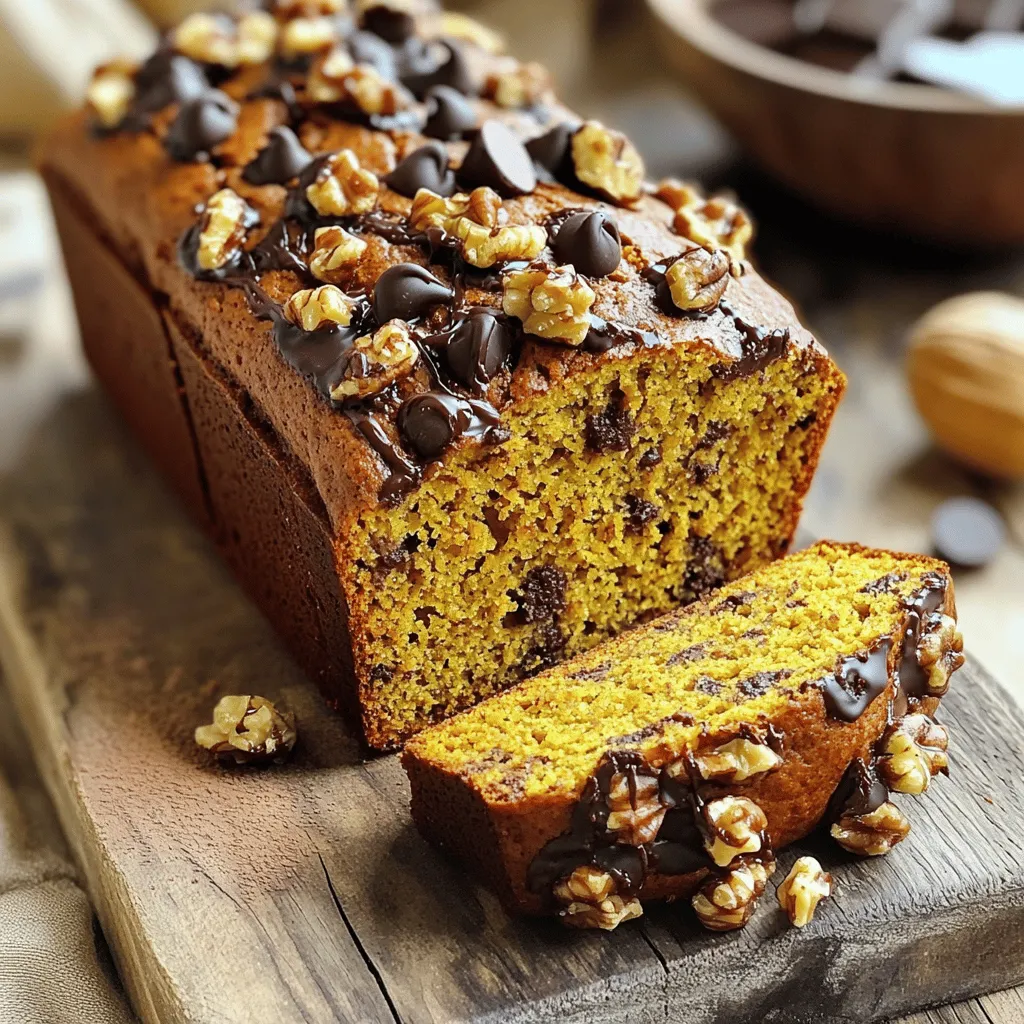
Chocolate Chip Pumpkin Bread Simple and Tasty Recipe
Fall is the perfect time for baking, and nothing says cozy like Chocolate Chip Pumpkin Bread. In this simple and Read Full Recipe -
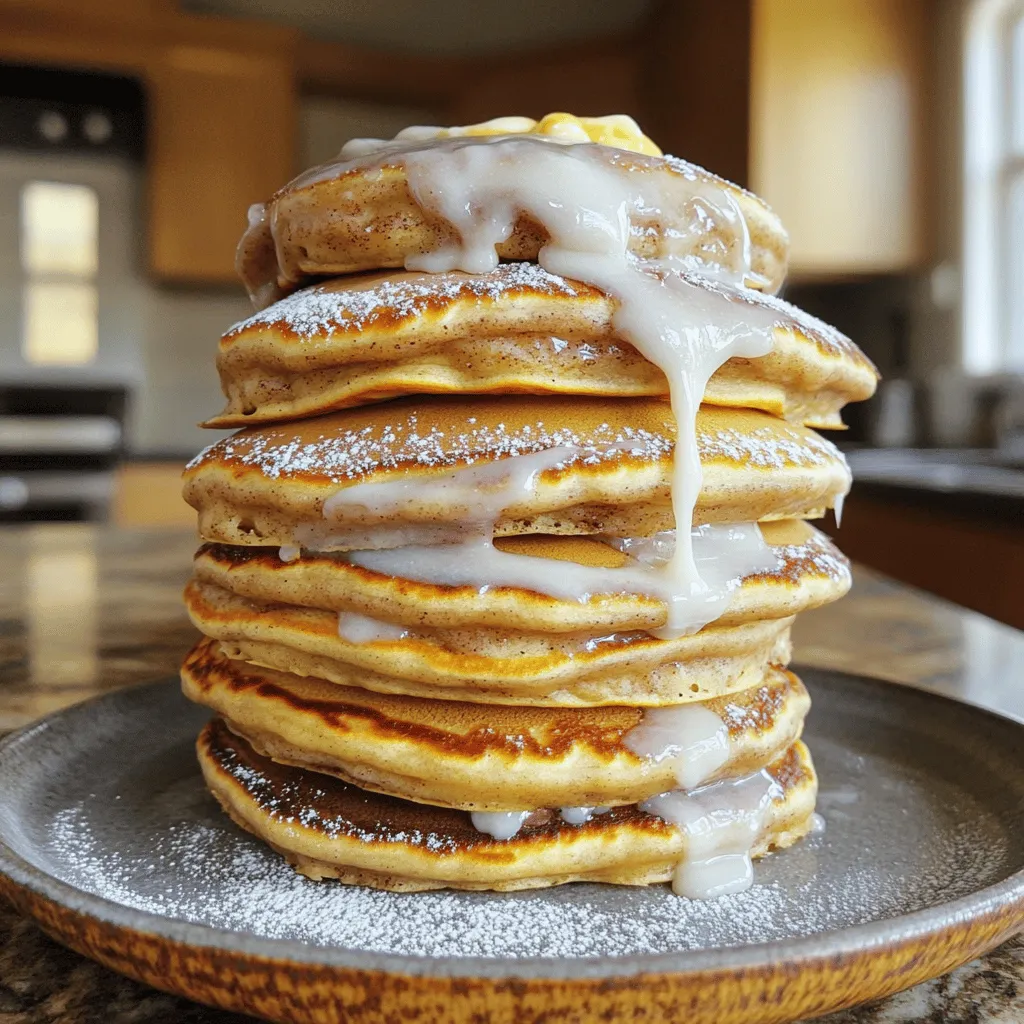
Fluffy Cinnamon Roll Pancakes Easy and Tasty Recipe
Are you ready to elevate your breakfast game? These Fluffy Cinnamon Roll Pancakes are a fun twist on a classic Read Full Recipe -
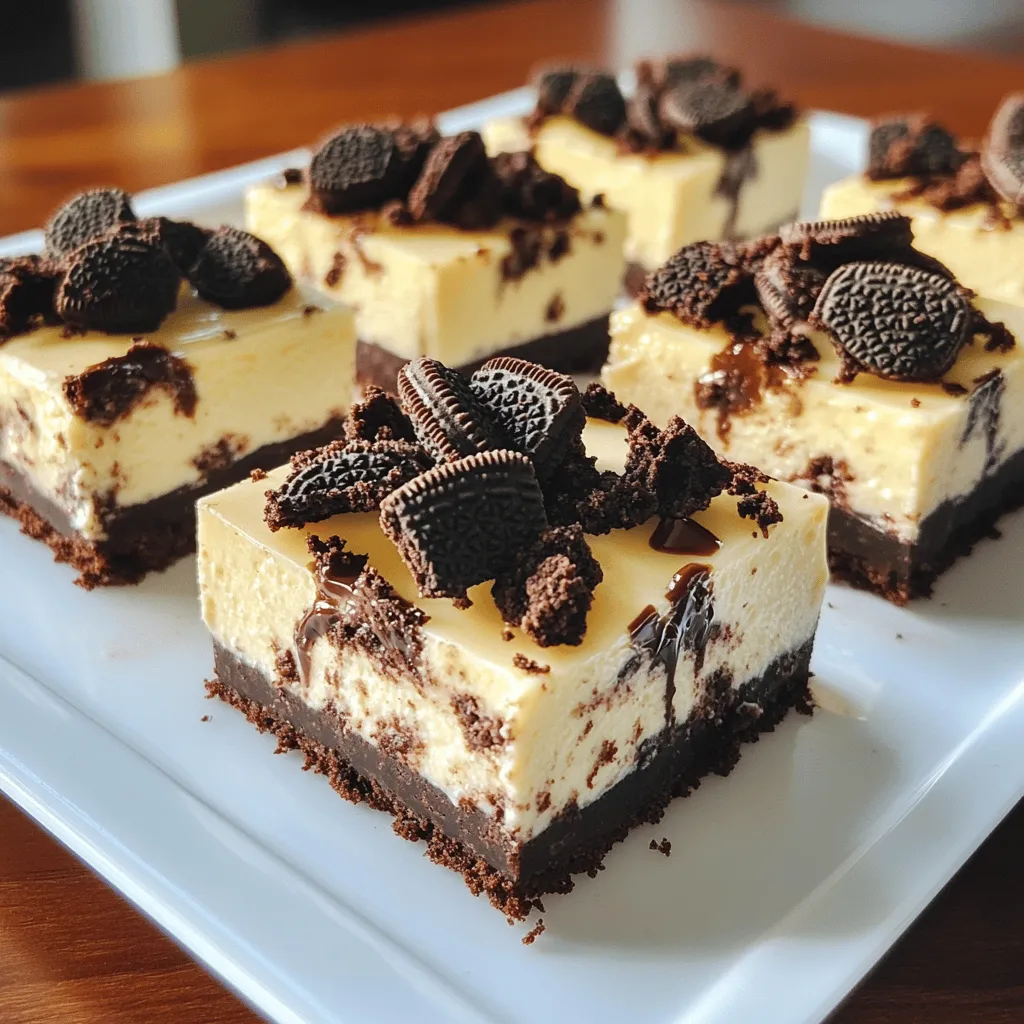
No Bake Oreo Cheesecake Bars Easy and Delicious Treat
Craving a sweet treat that’s both easy to make and utterly delicious? Look no further than these No Bake Oreo Read Full Recipe -
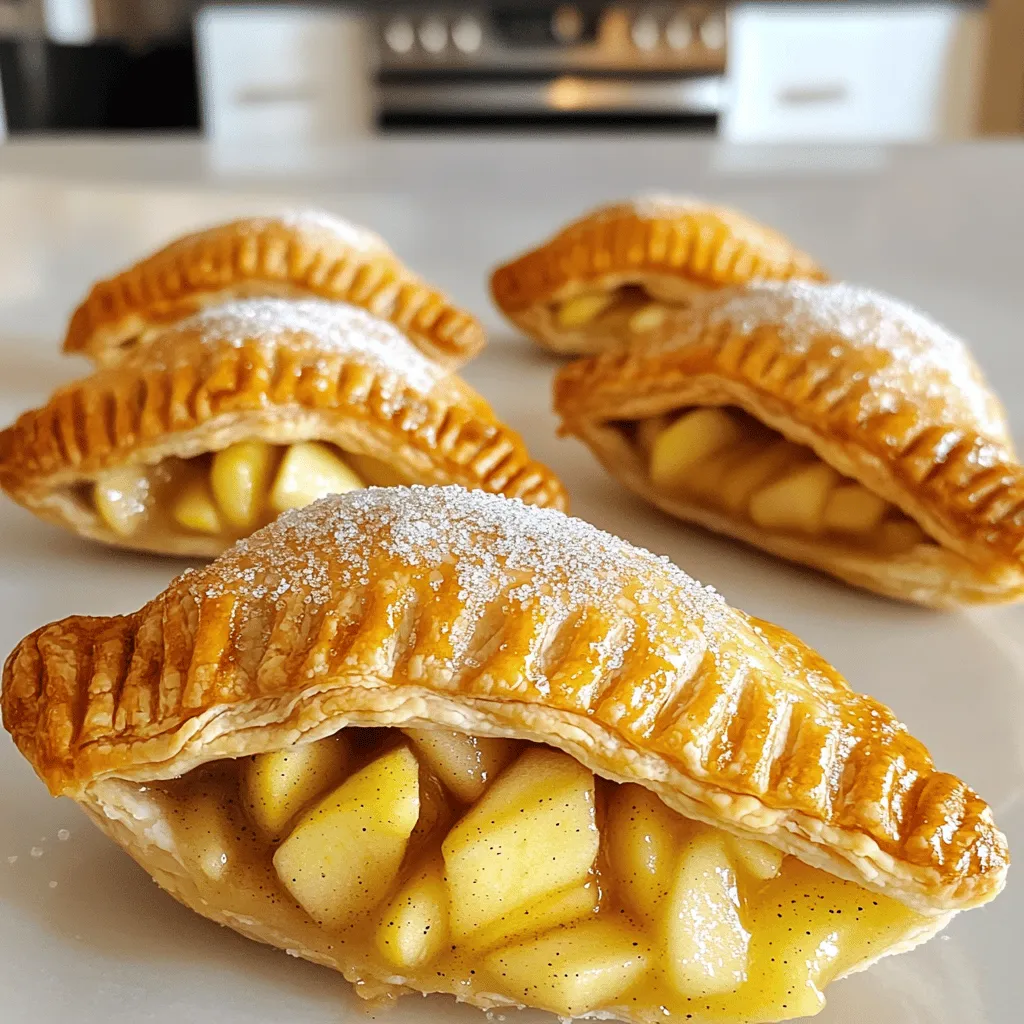
Air Fryer Apple Hand Pies Delightful and Easy Snack
Craving a tasty treat that’s simple to make? You’ll love these Air Fryer Apple Hand Pies! They are crispy, sweet, Read Full Recipe
My Latest Recipes

hey,
i’m !
I’m so happy you’re here!
My kitchen is filled with stories, flavors, and love and I’m so happy to share them with you. Here’s to dishes that feel like home.

![To make this delicious treat, gather these simple ingredients: - 24 Oreo cookies (plus extra for garnish) - 1/4 cup unsalted butter, melted - 16 oz cream cheese, softened - 1/2 cup powdered sugar - 1 teaspoon vanilla extract - 1 1/2 cups heavy whipping cream - 1/2 cup crushed Oreo cookies (for the filling) These ingredients work together to give you a rich and creamy cheesecake. The Oreo cookies add a wonderful crunch and flavor. The cream cheese creates that smooth texture we all love. You can add some fun garnishes to make your cheesecake shine: - Whole Oreo cookies - Whipped cream - Chocolate sauce - Crushed Oreos These add-ons make your dessert look fancy. They also enhance the taste. I love using whole Oreos on top. It makes each slice feel special. Here’s what you need to make your cheesecake: - 9-inch springform pan - Food processor or plastic bag and rolling pin - Mixing bowls - Electric mixer - Spatula - Plastic wrap Having the right tools makes the process easy. A springform pan helps you remove the cheesecake easily. A food processor saves time when crushing the cookies. You’ll be amazed at how simple it is to whip this up with the right gear. For the full recipe, check out the details above. Start with 24 Oreo cookies. Crush them in a food processor. Aim for fine crumbs. Add 1/4 cup of melted unsalted butter to the crumbs. Mix until it looks like wet sand. Grab a 9-inch springform pan. Press this mixture into the bottom of the pan firmly. Make sure it's even. Pop it in the fridge while you work on the filling. In a large bowl, beat 16 oz of softened cream cheese. Use an electric mixer at medium speed. Mix until it’s creamy and smooth. Slowly add 1/2 cup of powdered sugar. Add 1 teaspoon of vanilla extract too. Keep mixing until it’s all combined. In a separate bowl, whip 1 1/2 cups of heavy cream. You want stiff peaks, so don’t overwhip. Now, fold this whipped cream into the cream cheese mixture. Do this gently until no streaks remain. Finally, fold in 1/2 cup of crushed Oreo cookies to add a nice crunch. Take the crust out of the fridge. Spoon the cream cheese filling over the crust. Use a spatula to smooth the top. Cover the pan with plastic wrap. Let it chill in the fridge for at least 4 hours. For best results, let it rest overnight. When it's set, take it out of the springform pan. Decorate the top with whole Oreos and more crushed Oreos for a fun look. Now, you’re ready to slice and serve! Whipping cream is key for a light cheesecake. Start with very cold heavy cream. Use a clean bowl and beaters to help it whip better. Beat on medium speed until soft peaks form. Watch closely; stop once you see stiff peaks. Overwhipping can turn it into butter. A well-set cheesecake is creamy and firm. Make sure to chill it for at least four hours. Overnight is even better. The cold helps it set nicely. Avoid opening the fridge often; it can change the temperature. Use a springform pan for easy removal, too. Presentation makes your cheesecake shine. Cut clean slices with a hot knife for neat edges. Serve on individual plates for a gourmet feel. Drizzle with chocolate sauce or add whipped cream on top. Garnish with whole Oreo cookies or crushed Oreos for a fun touch. For more ideas, check the Full Recipe. {{image_2}} You can easily change the flavor of your no-bake Oreo cheesecake. Try adding mint extract for a fresh twist. Use just a tiny amount, about 1/4 teaspoon. Chocolate lovers can mix in cocoa powder for a richer taste. You can also fold in peanut butter for a nutty surprise. Each of these options will give your dessert a fun new flavor. If you want to mix things up, use other cookies for the crust. Chocolate sandwich cookies work well if you want a similar taste. You could try vanilla wafers for a lighter flavor. Graham crackers also make a great base. Each choice will create a different taste and texture for your cheesecake. You can turn your cheesecake into parfaits for a fun twist. Layer the cheesecake filling in cups with crushed Oreos. Start with a layer of filling, then add cookies, and repeat. This makes a great dessert for parties or gatherings. Each person can have their own cup, which is easy to serve. You can even top it with whipped cream for extra flair. For the full recipe, check the [Full Recipe] link. To keep your No-Bake Oreo Cheesecake fresh, cover it tightly with plastic wrap. This keeps air out and prevents it from drying. Store it in the fridge. It stays good for about 4-5 days. If you want to save some for later, you can freeze the cheesecake. First, let it set in the fridge. Then, slice it into pieces. Wrap each slice in plastic wrap. Place the wrapped slices in a freezer-safe bag or container. It can last for about 1-2 months in the freezer. To thaw, just move it to the fridge for a few hours or overnight before serving. The best containers for storing your cheesecake are airtight ones. A glass container with a lid works great. You can also use a plastic food storage container. Make sure the lid closes tightly to keep your cheesecake safe and fresh. For the best taste, try to eat it within a week or two. This easy and delicious dessert is perfect for sharing or enjoying all by yourself! For the full recipe, click here: [Full Recipe]. Yes, you can make this cheesecake ahead of time. In fact, it tastes better when chilled overnight. Prepare it a day before your event for the best flavor. Just cover it in plastic wrap and keep it in the fridge. This will let all the flavors blend well. Plus, it saves you time on the day of your party. If you need a cream cheese substitute, try Greek yogurt. It gives a nice tang and creamy texture. You can also use mascarpone cheese for a richer taste. Just keep in mind that the flavor might change a little. Each option can make your cheesecake unique, so choose what you like best. To stop your cheesecake from cracking, beat the cream cheese well. Make sure it is smooth and free of lumps. Also, avoid overmixing once you add the whipped cream. This keeps air out. Lastly, let it chill slowly in the fridge. A sudden temperature change can cause cracks. Follow these tips for a perfect, smooth cheesecake. You learned how to make a no-bake Oreo cheesecake using simple steps. From the crust to the filling, each part adds great taste. I shared tips for perfecting your whip and serving. You can try fun flavors and easy storage ideas to keep your cheesecake fresh. Remember, this treat is simple and fun to make. With these steps, you can impress friends and family. Enjoy your cheesecake journey; each bite will be worth it!](https://southerndishes.com/wp-content/uploads/2025/06/fa3f156b-a0db-4e75-b27f-f7062925fcaa-300x300.webp)
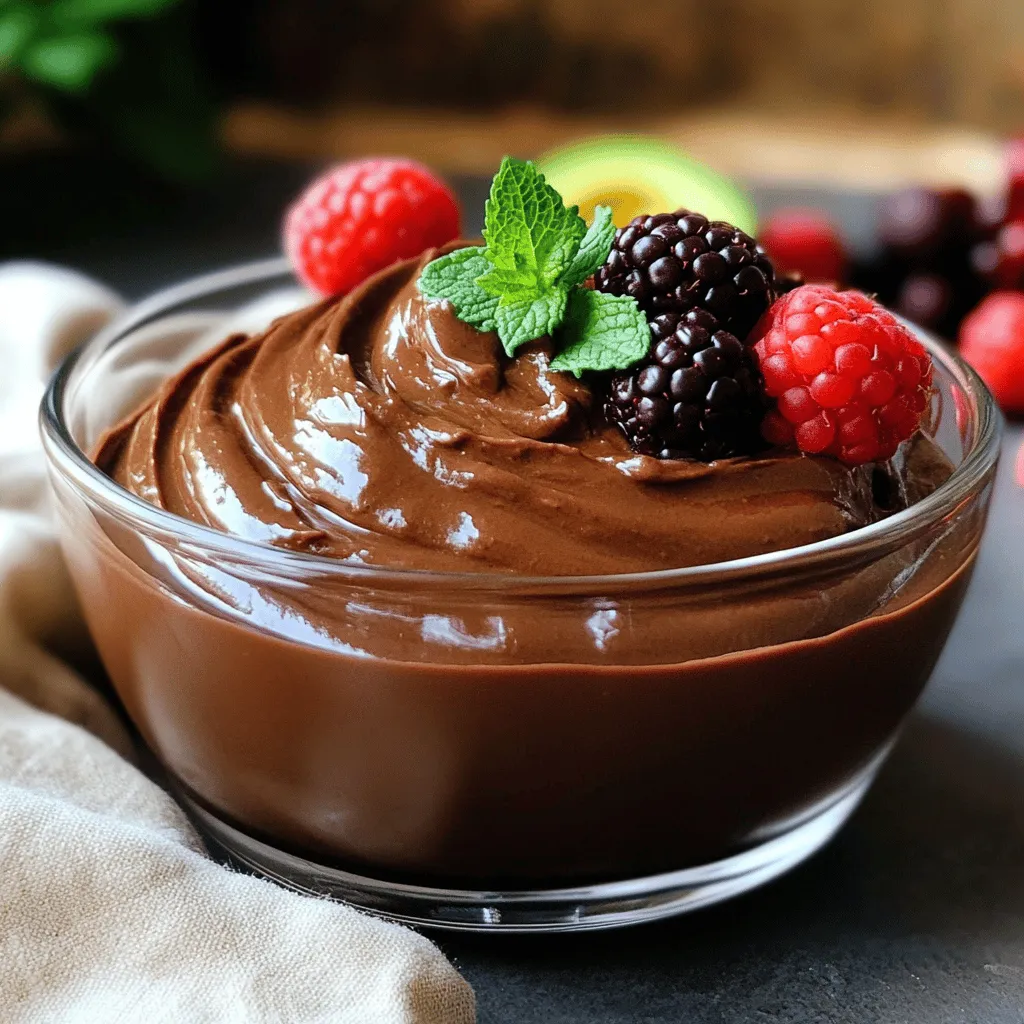
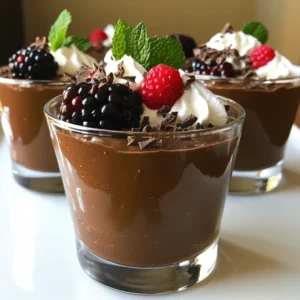
Vegan Chocolate Avocado Mousse Rich and Creamy Delight
Are you ready to enjoy a rich and creamy dessert without any guilt? This Vegan Chocolate Avocado Mousse is both delightful and easy to…