Latest & Greatest
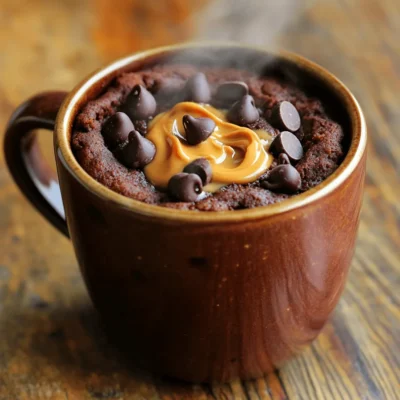
Chocolate Peanut Butter Mug Cake Decadent and Easy Treat
If you crave a sweet treat that’s both quick and delicious, you’re in the right place! My Chocolate Peanut Butter
Read more…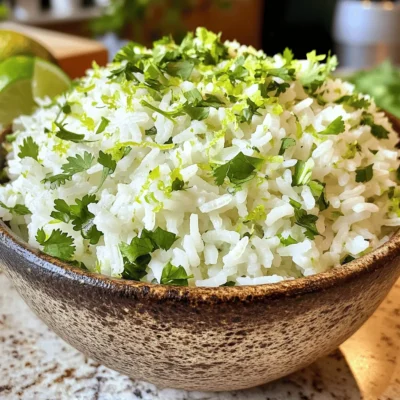
Zesty Cilantro Lime Rice Flavorful Side Dish Delight
Looking for a quick and tasty side dish? Try my Zesty Cilantro Lime Rice! This dish bursts with fresh flavors,
Read more…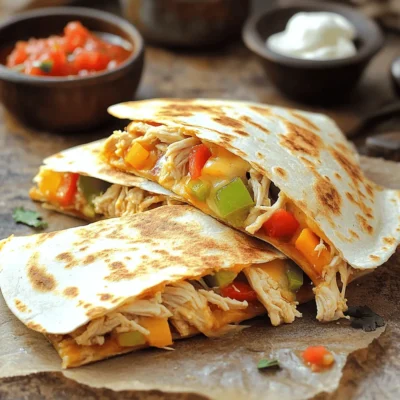
Easy Chicken Quesadillas Quick and Tasty Recipe
Looking for a simple and tasty meal? Let’s make easy chicken quesadillas! Packed with shredded chicken, gooey cheese, and colorful
Read more…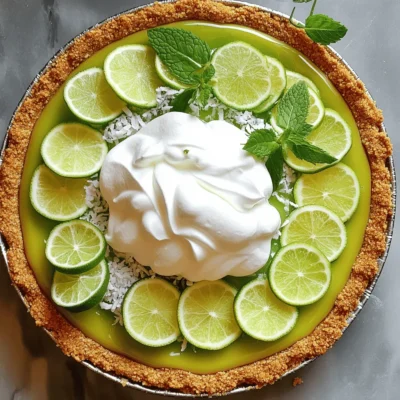
Classic Key Lime Pie Simple and Refreshing Recipe
Get ready to indulge in a sweet and tangy treat with my Classic Key Lime Pie recipe! This simple, refreshing
Read more…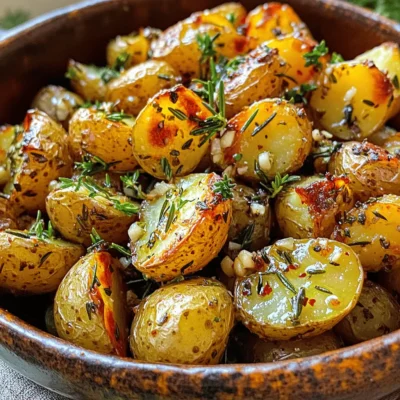
Garlic Herb Roasted Potatoes Savory and Simple Dish
Looking for a simple yet delicious side dish? Garlic Herb Roasted Potatoes are your answer! With just a few fresh
Read more…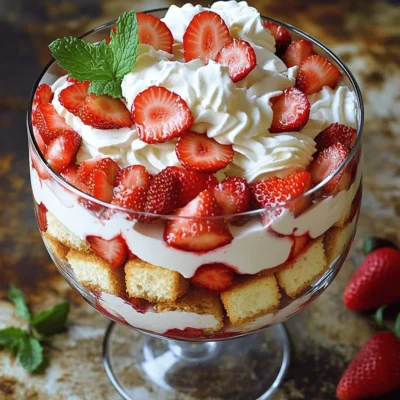
Strawberry Shortcake Trifle Easy and Delightful Recipe
Are you ready to enjoy a sweet treat that’s both simple and delightful? In this article, I’ll show you how
Read more…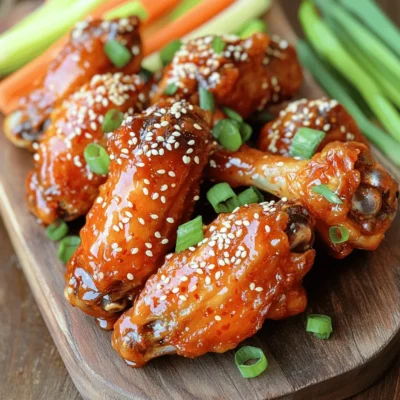
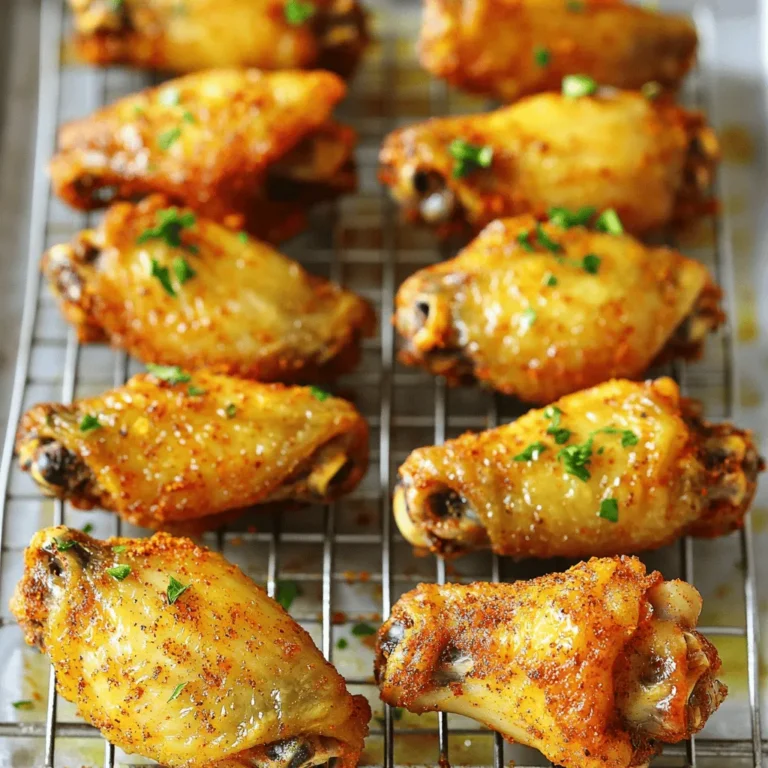
Spicy Korean Chicken Wings Flavorful and Easy Recipe
Are you ready to spice up your next meal? This Spicy Korean Chicken Wings recipe brings bold flavors and crispy
Read more…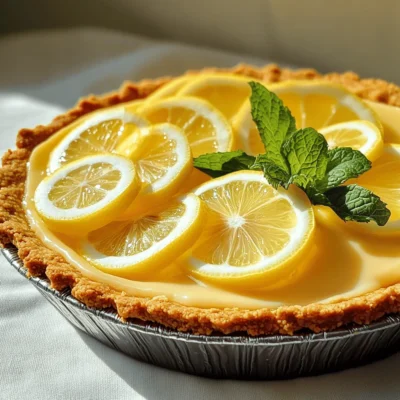
No Bake Lemon Icebox Pie Fresh and Simple Dessert
Looking for a quick and tasty dessert? Try my No Bake Lemon Icebox Pie! It’s fresh, simple, and perfect for
Read more…browse recipes
![- 1 cup all-purpose flour - 2 tablespoons sugar - 1 tablespoon baking powder - 1/2 teaspoon baking soda - 1/4 teaspoon salt - 1 cup buttermilk (or regular milk + 1 tablespoon lemon juice) - 1 large egg - 2 tablespoons unsalted butter, melted - 1 teaspoon vanilla extract - 1/2 cup semi-sweet chocolate chips These are the key items you need for your chocolate chip pancakes. The all-purpose flour gives the pancakes structure. Sugar adds a hint of sweetness. Baking powder and baking soda make them fluffy. Salt balances the flavors. Buttermilk adds a rich taste and soft texture. The egg binds everything together. Unsalted butter gives a nice richness. Vanilla adds warmth, while chocolate chips bring that delightful sweetness. - Whipped cream - Fresh berries Whipped cream can make your pancakes feel extra special. Fresh berries add a burst of flavor and color. You can use any berries you like, such as strawberries or blueberries. These toppings make your pancakes look pretty and tasty! You can find the Full Recipe for more details. Start by gathering your dry ingredients. In a large bowl, measure 1 cup of all-purpose flour. Add 2 tablespoons of sugar, 1 tablespoon of baking powder, 1/2 teaspoon of baking soda, and 1/4 teaspoon of salt. Whisk these ingredients together. This step ensures they mix well. A good mix helps the pancakes rise beautifully. Now, let’s prepare the wet ingredients. In a separate bowl, measure 1 cup of buttermilk. If you don’t have buttermilk, use regular milk with 1 tablespoon of lemon juice added. Crack in 1 large egg. Pour in 2 tablespoons of melted unsalted butter and 1 teaspoon of vanilla extract. Whisk until smooth. This mixture adds flavor and moisture to your pancakes. It’s time to combine the wet and dry ingredients. Pour the wet mixture into the bowl with dry ingredients. Stir gently until just combined. It’s okay if there are lumps; don’t overmix. Now, fold in 1/2 cup of semi-sweet chocolate chips. This step makes the pancakes extra yummy. Preheat your griddle or frying pan over medium heat. It should be hot but not smoking. Lightly grease it with cooking spray or a bit of butter. Pour about 1/4 cup of batter for each pancake onto the hot surface. Cook for 2-3 minutes. Watch for bubbles forming on the surface. When edges look set, it’s time to flip. Cook for an additional 1-2 minutes until golden brown. These tips will help you make perfect pancakes every time. To make fluffy pancakes, you must avoid overmixing the batter. Mix just until the dry ingredients are moistened. A few lumps are fine. Overmixing makes pancakes tough. Let the batter rest for 5 to 10 minutes. This allows the flour to hydrate and the gluten to relax. The result? Fluffier pancakes! Set your griddle or pan to medium heat. Too high a heat burns the pancakes. Too low a heat leaves them soggy. You want a nice golden brown. Make sure to keep an eye on the bubbles. When bubbles form, it’s time to flip. This step ensures your pancakes cook evenly. For the best taste, stack your pancakes high. Drizzle with maple syrup and add whipped cream. Fresh berries make a great topping too. They add color and flavor. Arrange your plates nicely for a beautiful presentation. A well-stacked plate makes your breakfast look fancy! For a full recipe, check the detailed instructions above and enjoy your cooking adventure! {{image_2}} To make these pancakes gluten-free, you can use different flours. Here are some good options: - Almond flour - Coconut flour - Oat flour Each flour has its own taste and texture. Almond flour gives a nutty flavor. Coconut flour absorbs more liquid, so use less. Oat flour works well and is soft. Mix any of these with a gluten-free baking powder to keep the pancakes light. You can easily make these pancakes vegan. Here’s what to swap: - Use non-dairy milk like almond or soy instead of buttermilk. - Replace the egg with 1 tablespoon of ground flaxseed mixed with 2.5 tablespoons of water. Let it sit for 5 minutes to thicken. - Instead of butter, use coconut oil or vegan butter. These swaps keep the pancakes tasty and fluffy while being plant-based. Want to add a twist? Here are some fun ideas: - Mix in 1 teaspoon of cinnamon for warmth. - Add chopped nuts, like walnuts or pecans, for crunch. - Toss in a handful of blueberries or bananas for extra fruit flavor. These variations make each bite exciting. Get creative and find your favorite mix-ins! Enjoy experimenting with flavors. For the full recipe, check out the [Full Recipe]. To store leftover pancakes, follow these steps: - Cool completely: Allow the pancakes to cool on a wire rack. This prevents sogginess from steam. - Use airtight containers: Place pancakes in a single layer in a container. If stacking, add parchment paper between layers. - Refrigerate or freeze: For short-term storage, keep them in the fridge for up to three days. For longer storage, freeze them for up to two months. When you’re ready to enjoy your pancakes again, use these methods: - Microwave: Place a pancake on a plate. Heat it for 20-30 seconds. Check if it’s warm enough. - Oven: Preheat your oven to 350°F (175°C). Wrap pancakes in foil and heat for about 10 minutes. - Skillet: Heat a non-stick skillet over low heat. Add a pancake for a minute on each side. This keeps them fluffy. When stored correctly, pancakes can last: - Refrigerated: Up to three days. - Frozen: Up to two months. After this time, they may lose flavor and texture. Always check for signs of spoilage before enjoying! Yes, you can use regular milk. To make it similar to buttermilk, add one tablespoon of lemon juice to one cup of milk. Let it sit for five minutes. This creates a tangy flavor that mimics buttermilk. It also helps the pancakes rise better. You can replace eggs with a few options. Use one-fourth cup of unsweetened applesauce or a mashed banana for each egg. You can also use a flaxseed meal. Mix one tablespoon of flaxseed with three tablespoons of water. Let it sit until it thickens. This works great for binding the pancake mix. Absolutely! You can use blueberries, nuts, or even diced strawberries. Each will add a different flavor to your pancakes. If you like a twist, try peanut butter chips or white chocolate chips. They melt nicely and add sweetness. To keep pancakes warm, place them in an oven set to low heat, about 200°F (93°C). Lay them on a baking sheet in a single layer. This way, they stay warm without cooking further. You can also cover them with foil to keep them moist. If you're making a large batch, this method works perfectly! For the full recipe, check out the Decadent Chocolate Chip Pancakes section above. This blog post covered how to make delicious chocolate chip pancakes from scratch. We explored key ingredients, cooking steps, and tips for fluffy pancakes. You'll find ways to make gluten-free and vegan options too. Remember, good pancakes start with proper mixing and careful cooking. Try different toppings and flavors to keep things fun. With practice, you can master these pancakes and impress anyone at your breakfast table. Enjoy every bite and happy cooking!](https://southerndishes.com/wp-content/uploads/2025/04/3bd0c14a-76fb-4ea4-b16c-0da2b6b64298.webp)
Chocolate Chip Pancakes Sweet and Simple Recipe
Wake up to a stack of gooey, warm chocolate chip pancakes that are easy to make! This sweet and simple recipe combines basic ingredients…
My Latest Desserts
-
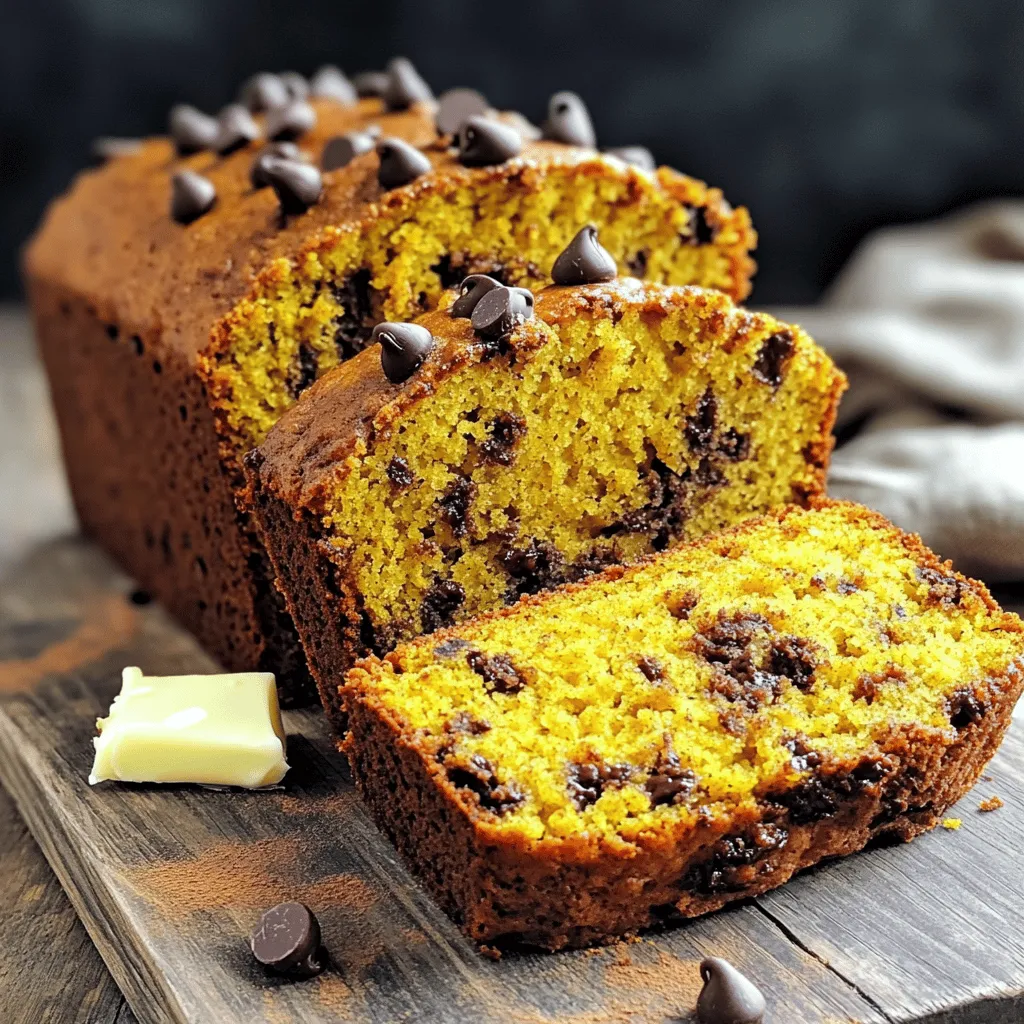
Pumpkin Chocolate Chip Bread Delightful Moist Treat
Are you ready to bake the most delightful treat of the season? Pumpkin chocolate chip bread is a moist, flavorful Read Full Recipe -
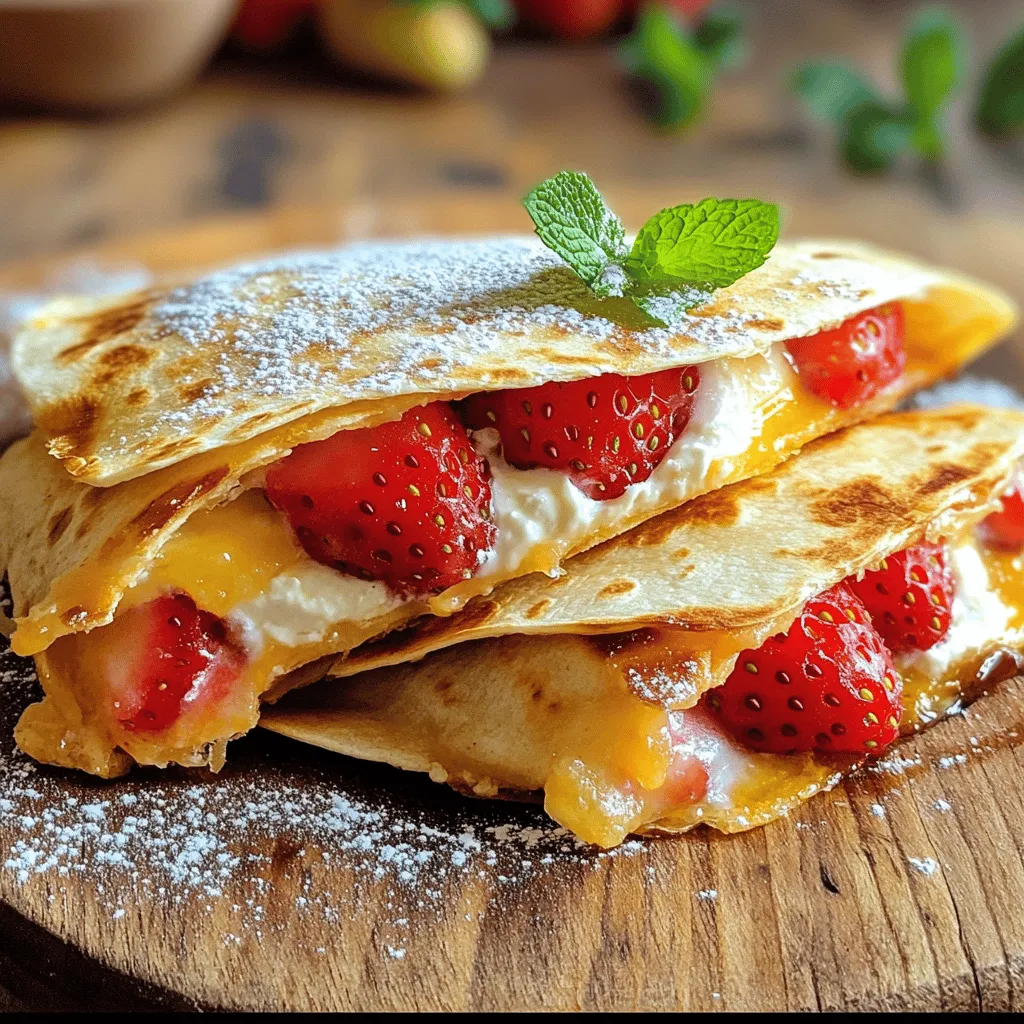
Strawberry Cream Cheese Quesadillas Delightful Treat
Get ready to delight your taste buds with Strawberry Cream Cheese Quesadillas! This sweet twist on a savory favorite will Read Full Recipe -
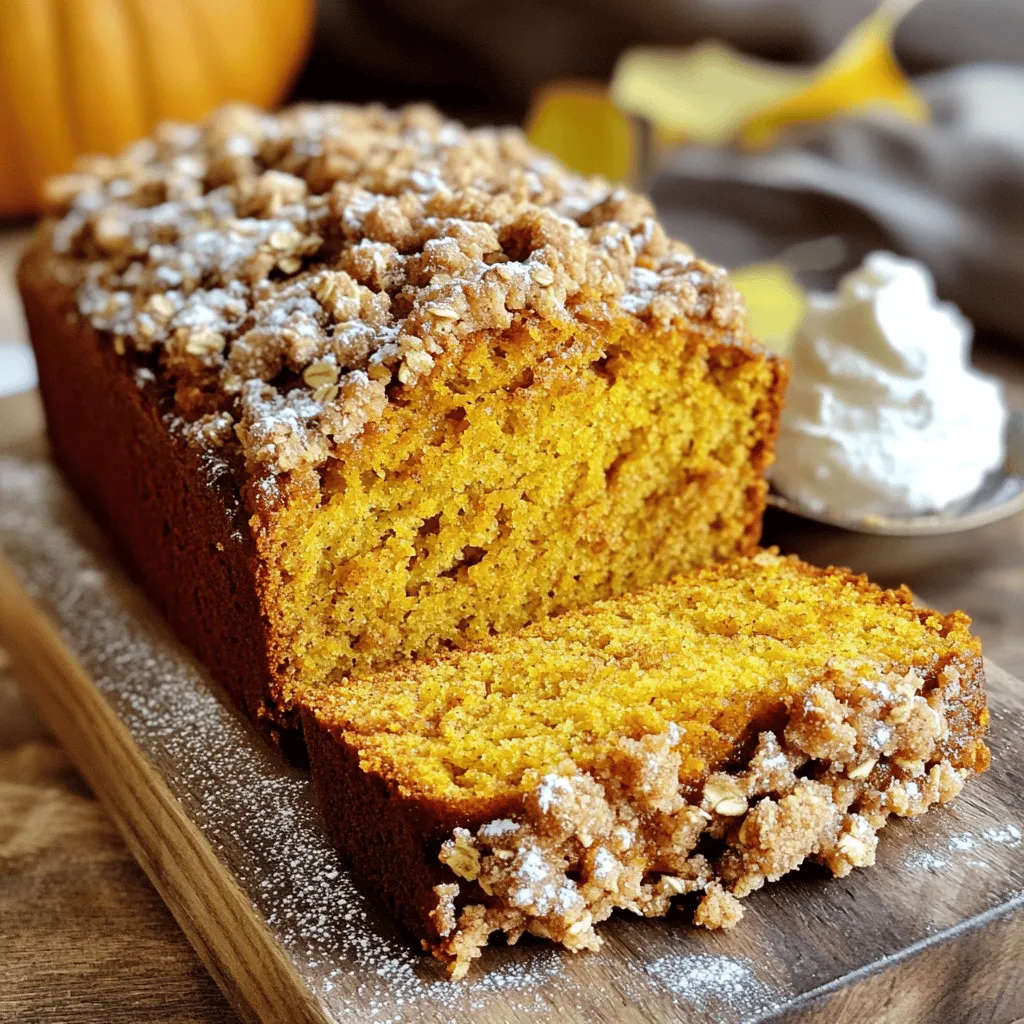
Pumpkin Bread With Streusel Topping Easy Recipe
Do you love the warm, spicy flavors of pumpkin bread? With my easy recipe for Pumpkin Bread With Streusel Topping, Read Full Recipe -
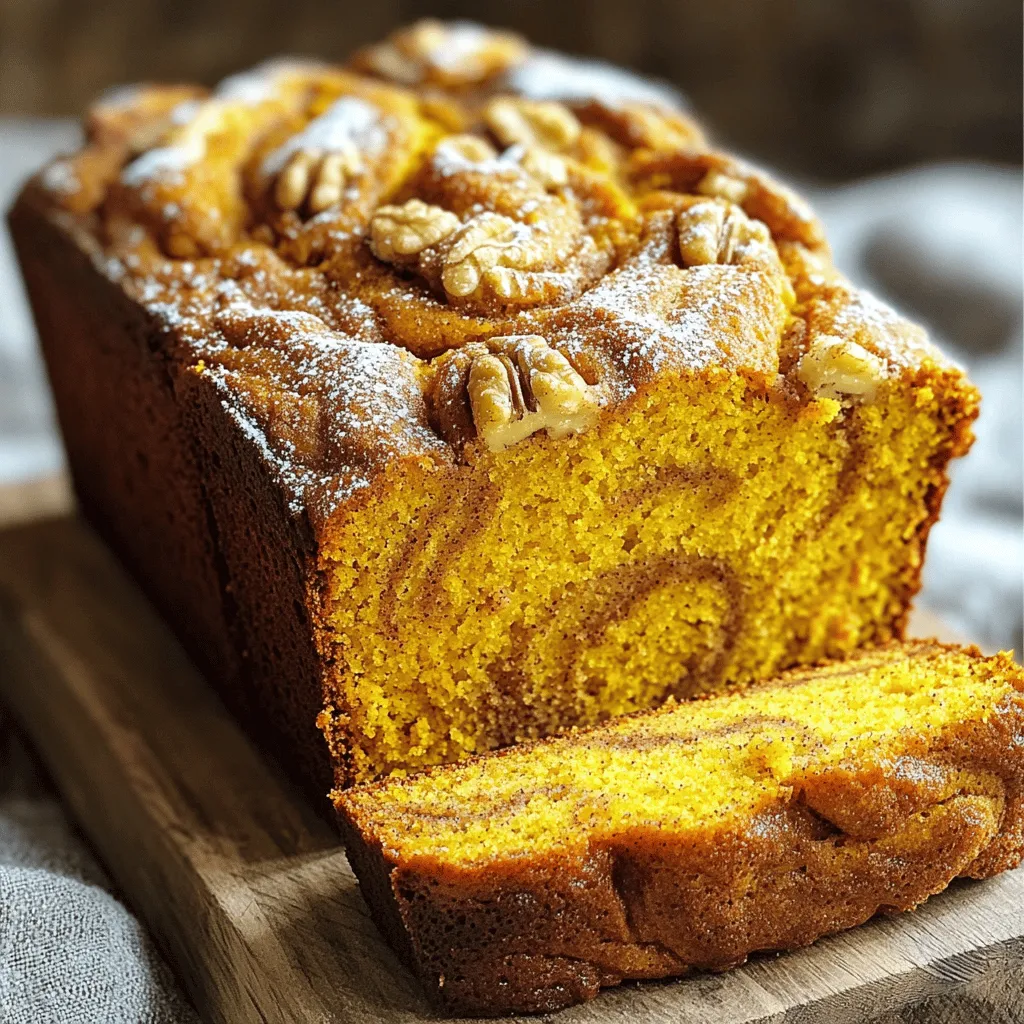
Cinnamon Swirl Pumpkin Bread Irresistible Recipe Guide
Craving a cozy, fall-inspired treat? You’ll love my Cinnamon Swirl Pumpkin Bread! This guide gives you everything you need to Read Full Recipe -
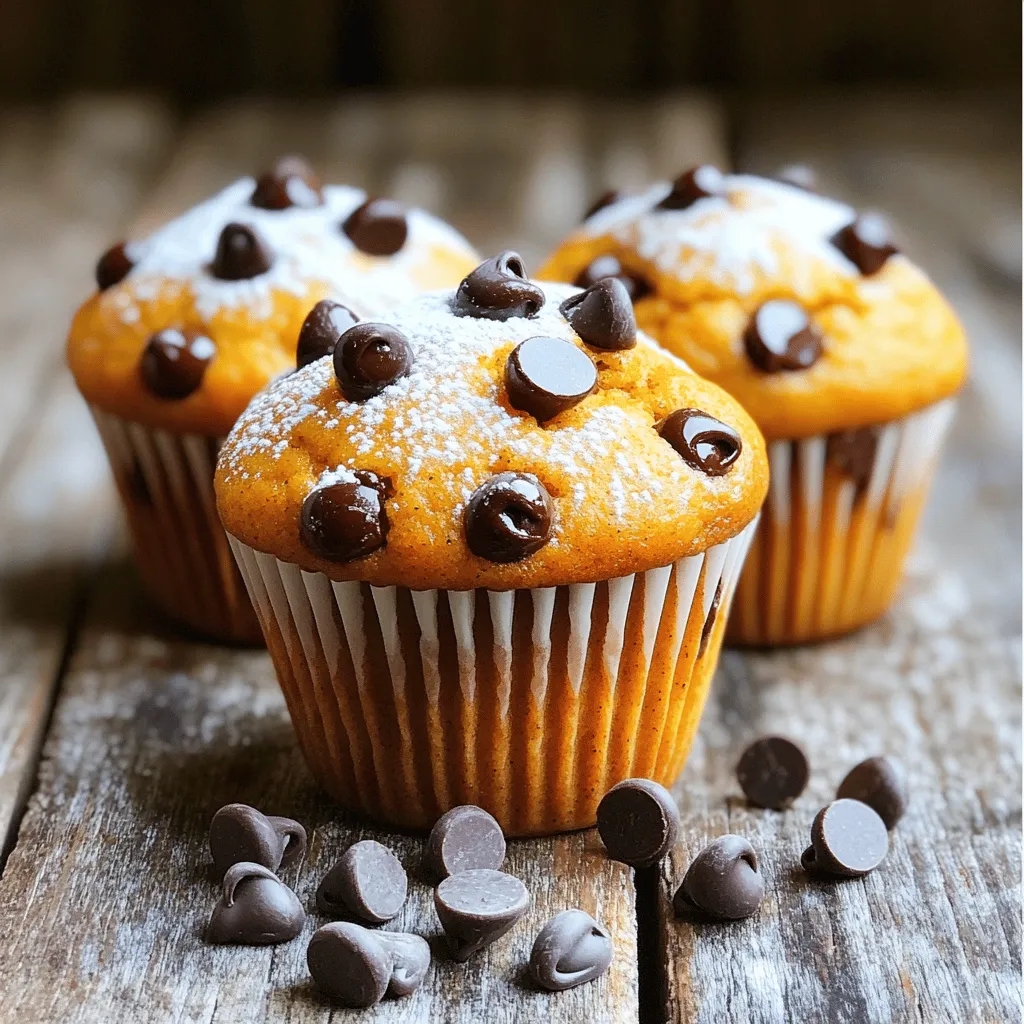
Pumpkin Chocolate Chip Muffins Delicious and Easy Recipe
If you’re looking for a simple and delicious treat, these Pumpkin Chocolate Chip Muffins are calling your name! With warm Read Full Recipe -
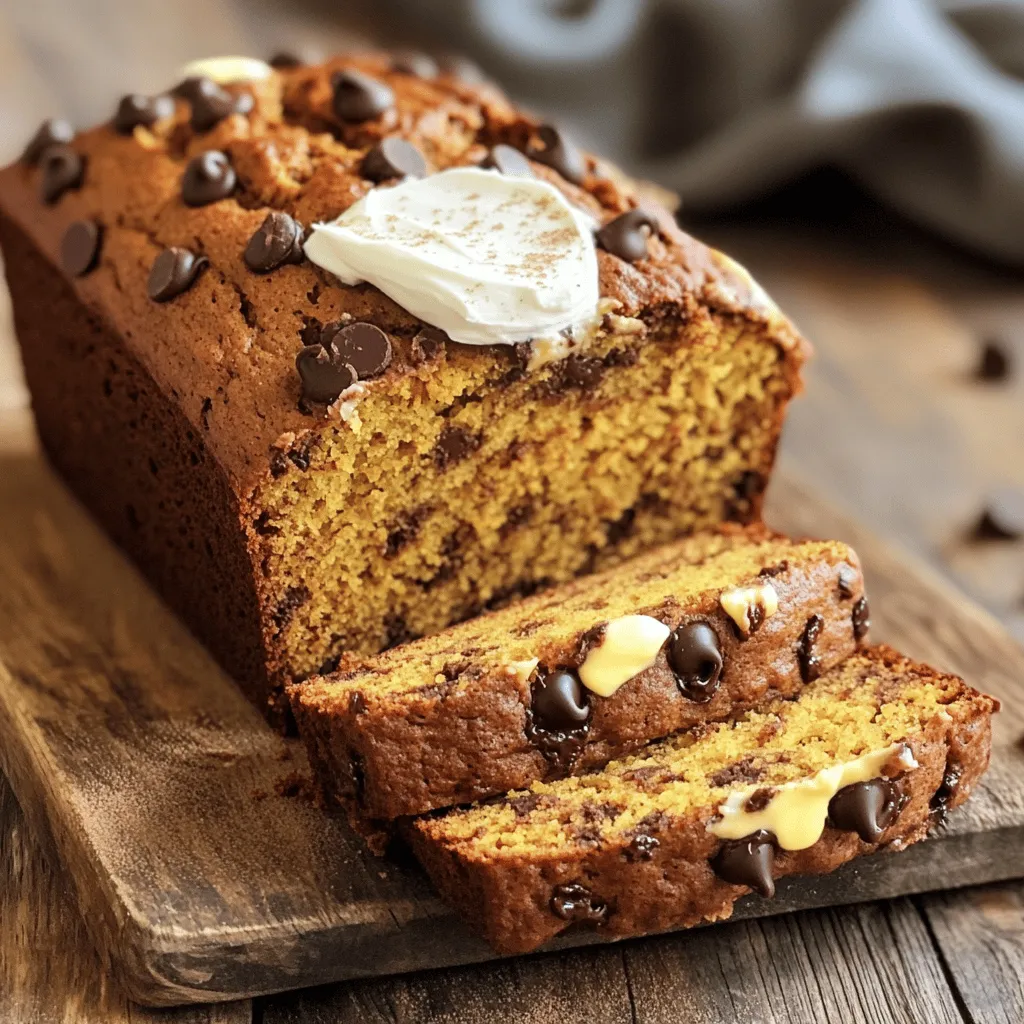
Chocolate Chip Pumpkin Bread Irresistible Treat
Are you ready to bake an irresistible treat that combines the cozy flavors of fall? This Chocolate Chip Pumpkin Bread Read Full Recipe -
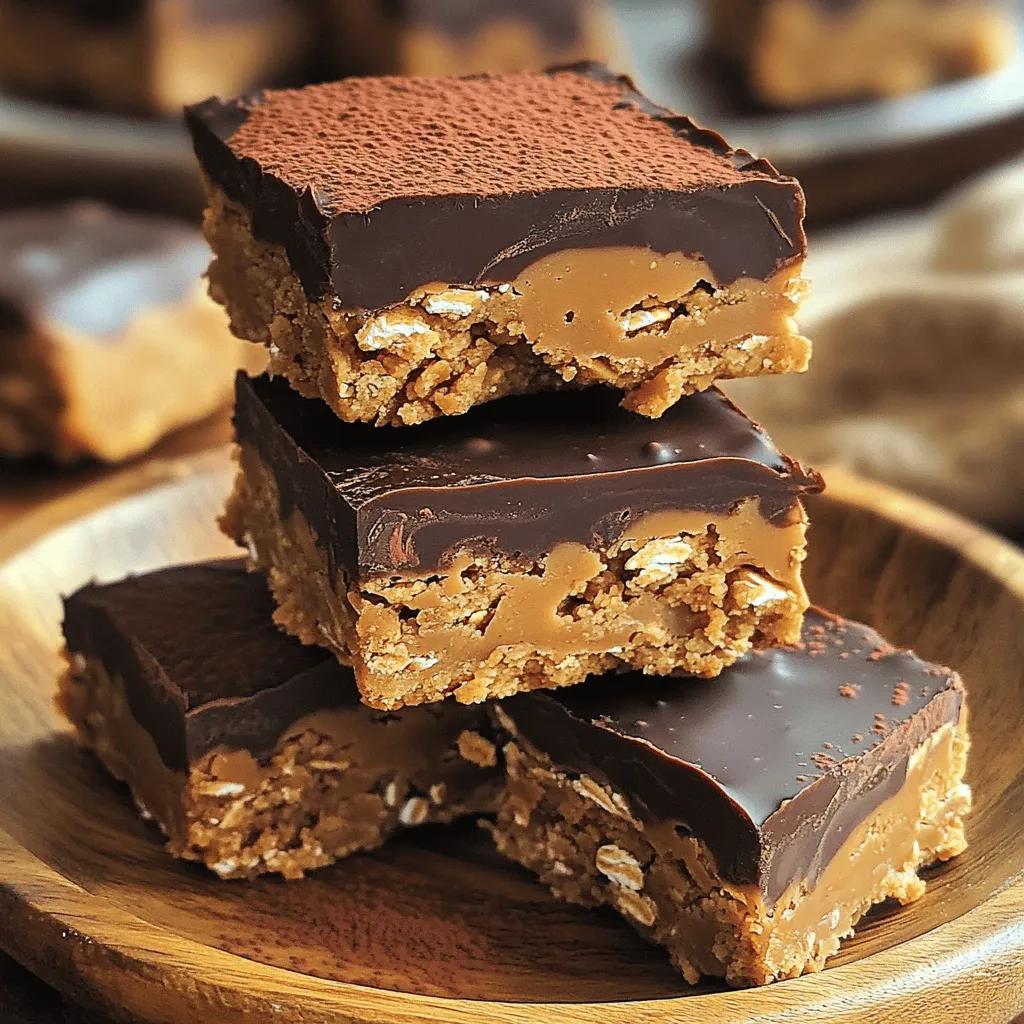
No Bake Peanut Butter Bars Simple and Tasty Treat
Craving a sweet treat that’s easy to whip up? You’ll love these no bake peanut butter bars! With just a Read Full Recipe -
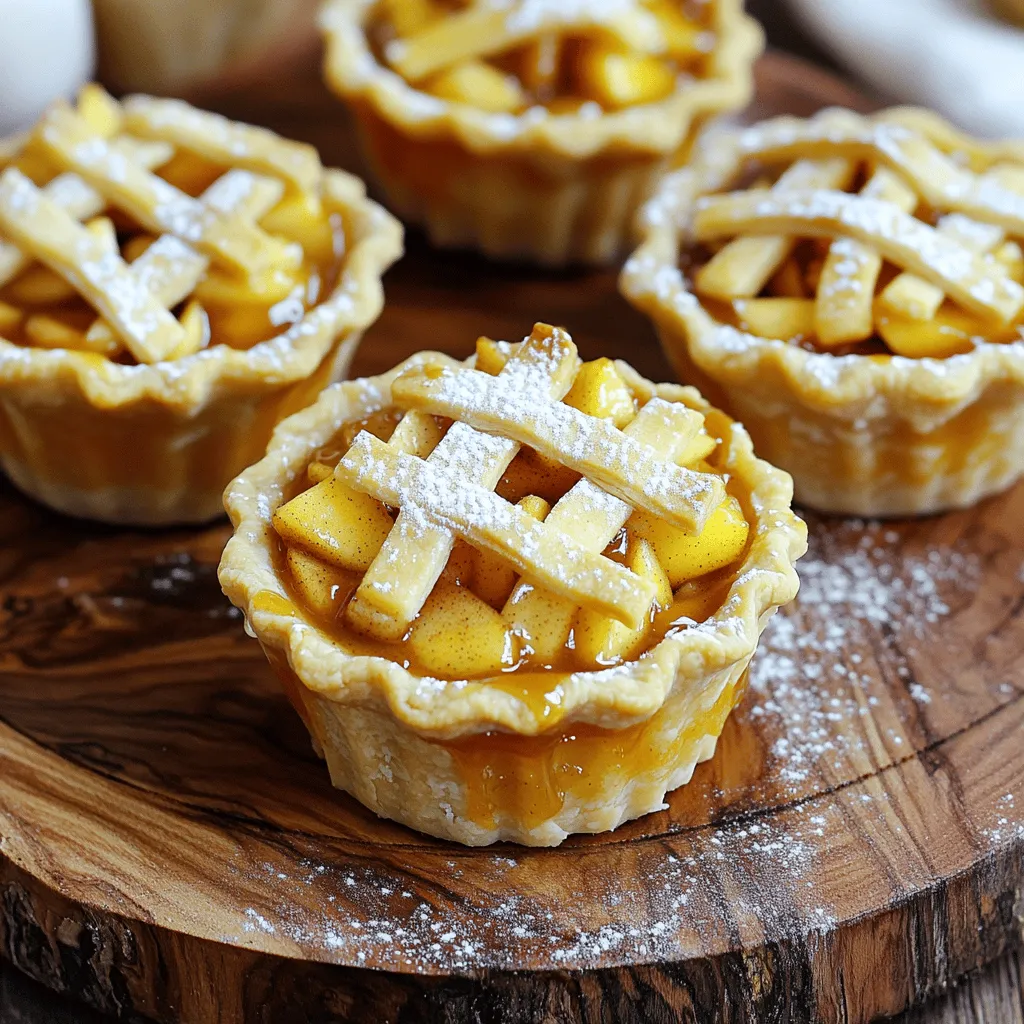
Apple Pie Cups Delightful Dessert for Any Occasion
Are you ready to enjoy a delightful dessert that fits any occasion? Apple Pie Cups bring the classic flavors of Read Full Recipe -
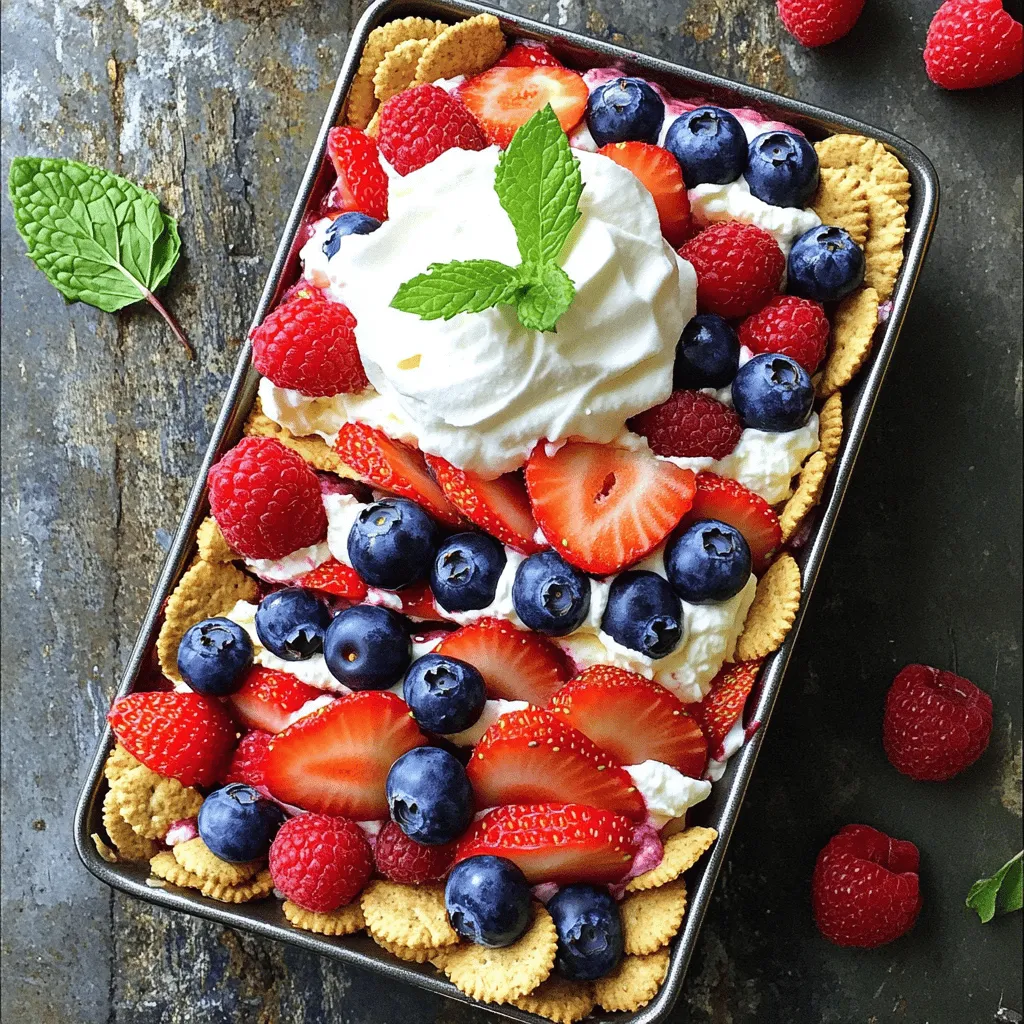
No-Bake Summer Berry Lasagna Delightful and Easy Recipe
Imagine serving a cool, tasty dessert on a hot summer day! This No-Bake Summer Berry Lasagna is the answer. It’s Read Full Recipe -
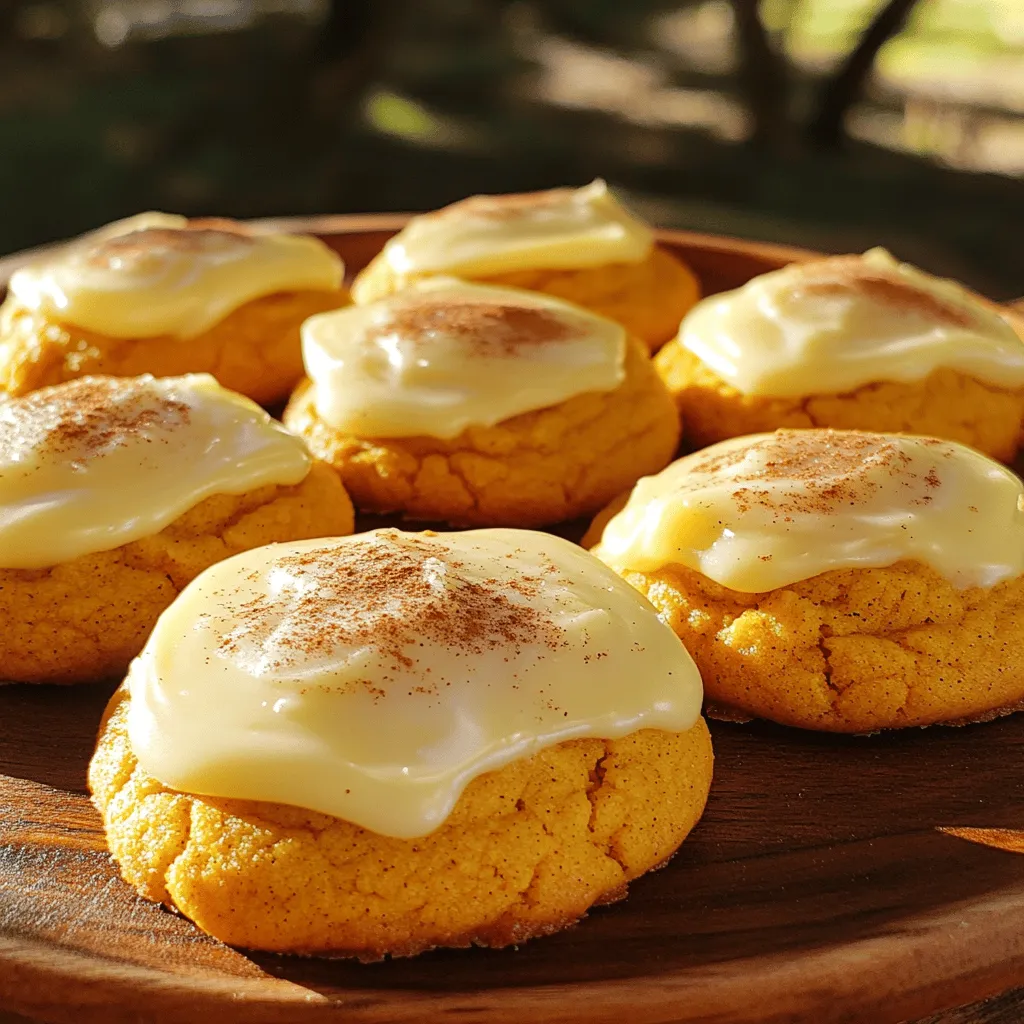
Soft Pumpkin Cookies with Cream Cheese Icing Delight
If you love soft, tender cookies bursting with fall flavors, you’re in for a treat! My Soft Pumpkin Cookies with Read Full Recipe
My Latest Recipes
hey,
i’m !
I’m so happy you’re here!
My kitchen is filled with stories, flavors, and love and I’m so happy to share them with you. Here’s to dishes that feel like home.
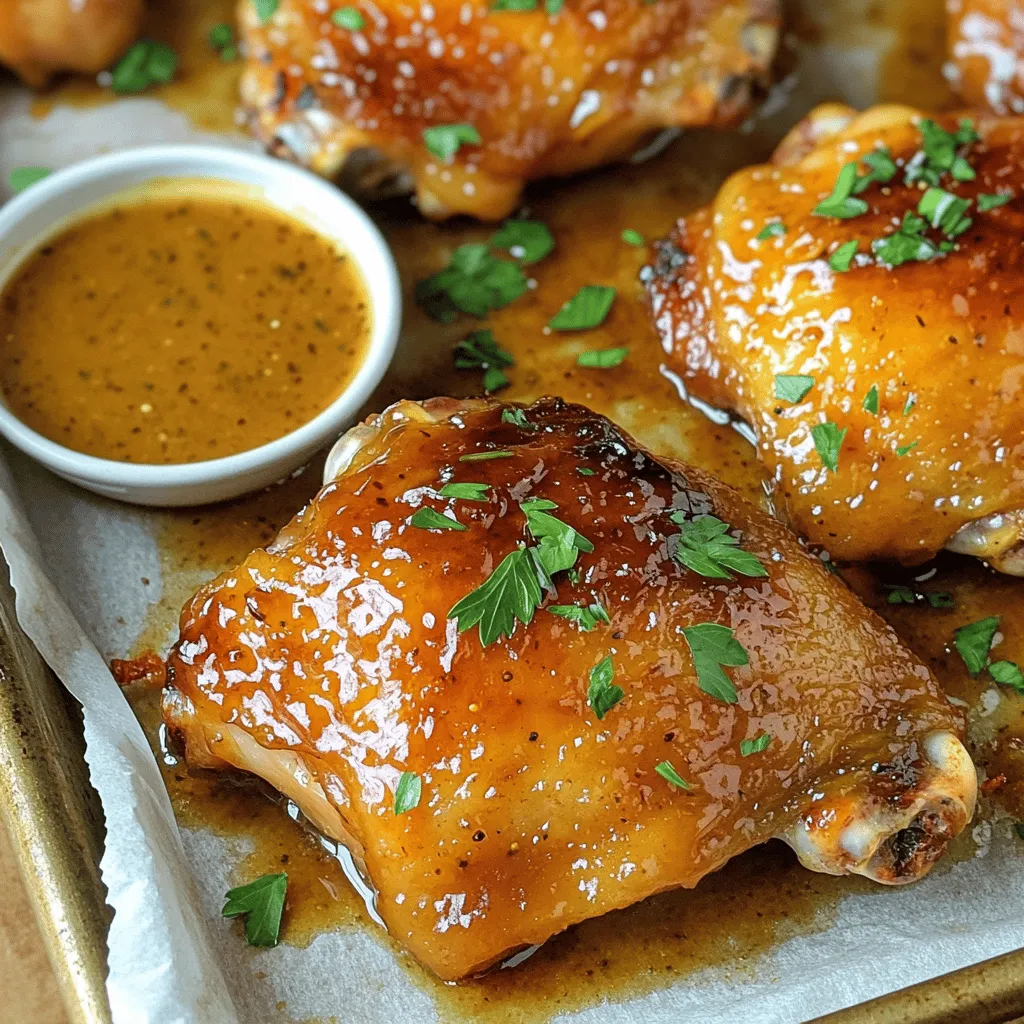
Honey Mustard Chicken Thighs Flavorful and Simple Meal
Looking for a meal that combines bold flavor with ease? Honey Mustard Chicken Thighs are your answer. This dish is packed with sweet and…
