Latest & Greatest
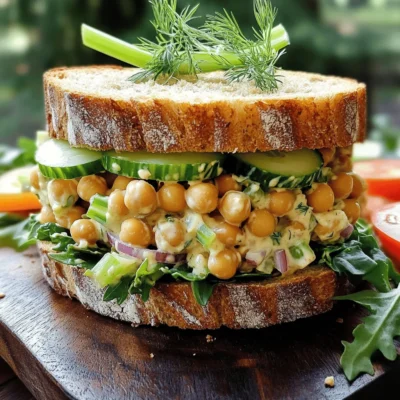
Vegan Chickpea Salad Sandwich Nutritious and Easy Meal
Are you looking for a quick, tasty, and healthy meal? The Vegan Chickpea Salad Sandwich is just the solution! Packed
Read more…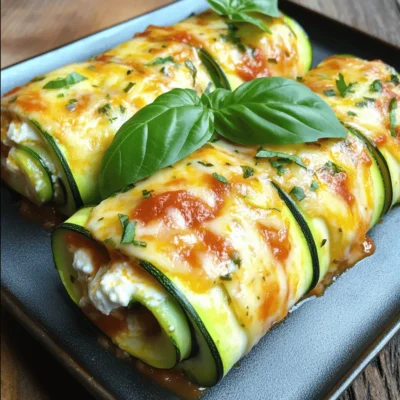
Zucchini Lasagna Roll Ups Delicious and Easy Recipe
Zucchini Lasagna Roll Ups are a fun and tasty way to enjoy a classic dish! These roll-ups are easy to
Read more…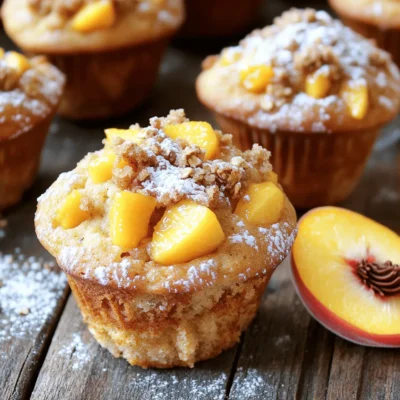
Classic Peach Streusel Muffins Delightful and Easy Recipe
Are you ready to bake something delicious? My Classic Peach Streusel Muffins are soft, fruity, and easy to make. With
Read more…
Garlic Butter Zucchini Noodles Easy and Flavorful Dish
If you’re craving a quick, tasty meal that’s packed with flavor, Garlic Butter Zucchini Noodles are the answer! With just
Read more…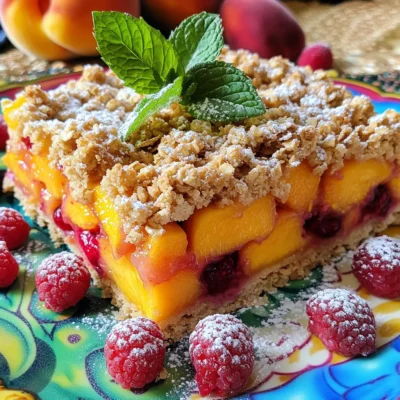
Peach Raspberry Oat Bars Deliciously Simple Recipe
Are you looking for a tasty and easy snack? These Peach Raspberry Oat Bars are perfect! With just a few
Read more…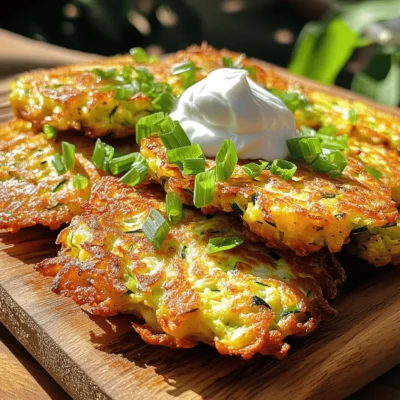
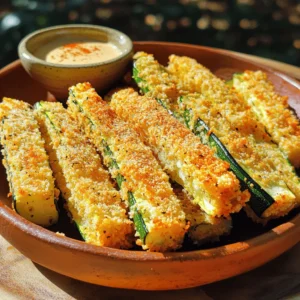
Easy Zucchini Fritters Tasty and Simple Recipe
Looking for a simple dish to showcase fresh zucchini? You’re in the right place! My Easy Zucchini Fritters are tasty,
Read more…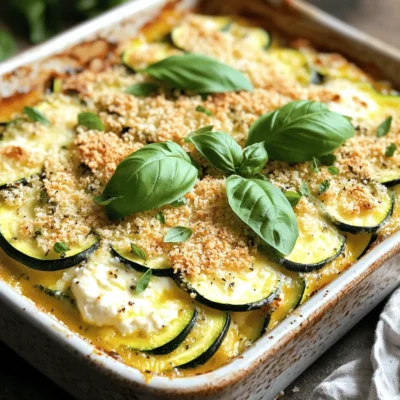
Cheesy Zucchini Bake Bold and Flavorful Dinner Idea
Looking for a bold and flavorful dinner idea? Let me introduce you to my Cheesy Zucchini Bake! This dish is
Read more…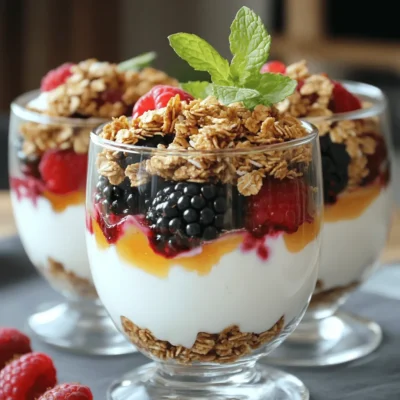
Healthy Greek Yogurt Parfait Simple and Tasty Treat
Are you ready to dive into a delightful and healthy treat? My Healthy Greek Yogurt Parfait is simple to make
Read more…browse recipes


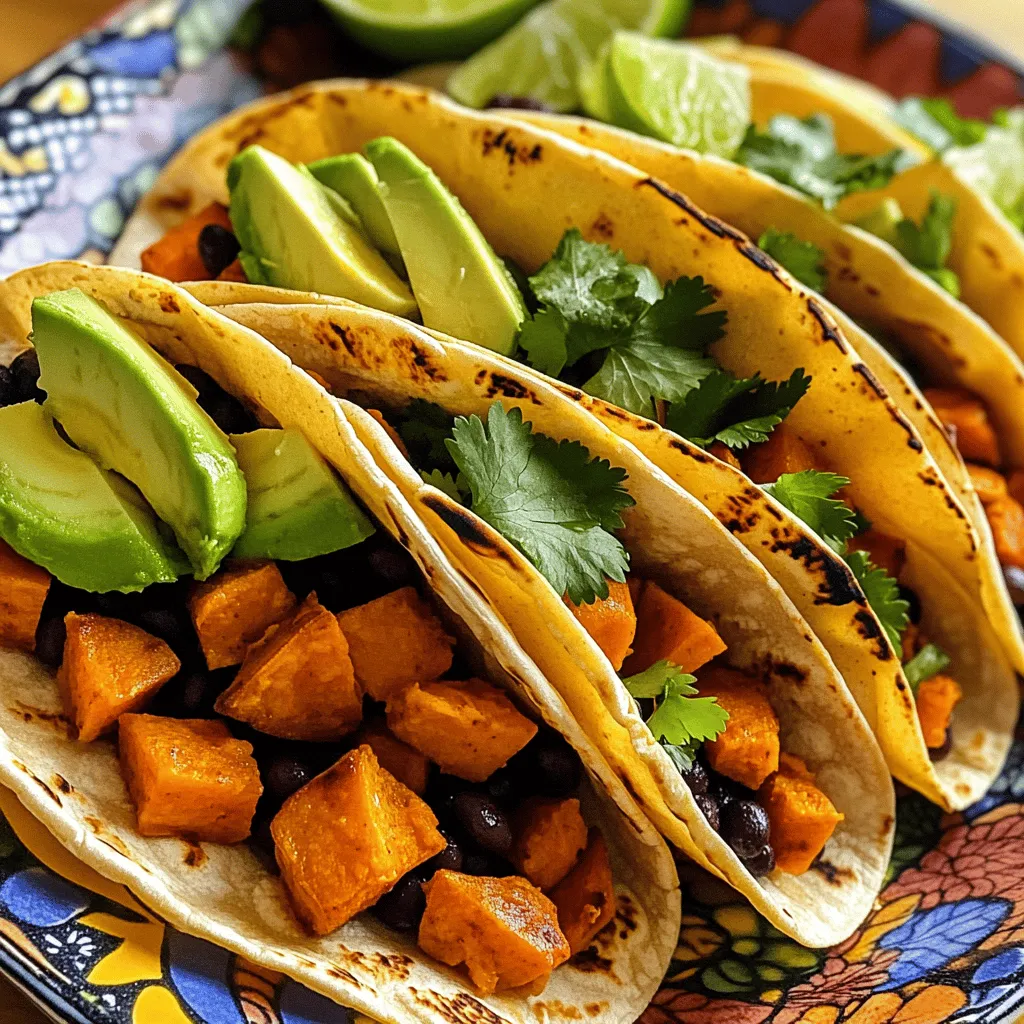
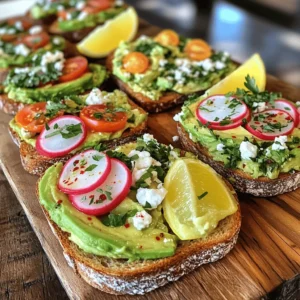
Sweet Potato and Black Bean Tacos Flavorful Bite
Are you ready for a tasty twist on taco night? Sweet potato and black bean tacos pack a flavorful punch. These fun tacos are…
My Latest Desserts
-
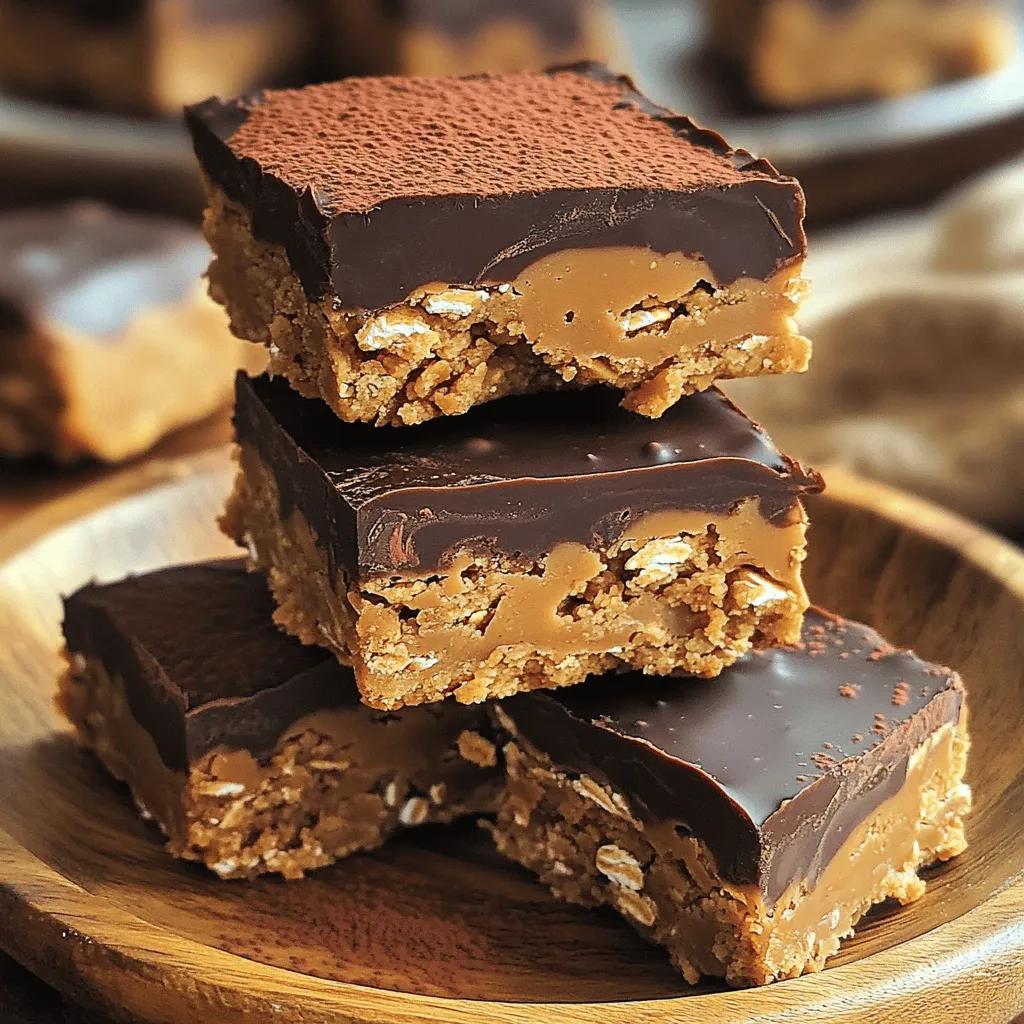
No Bake Peanut Butter Bars Simple and Tasty Treat
Craving a sweet treat that’s easy to whip up? You’ll love these no bake peanut butter bars! With just a Read Full Recipe -
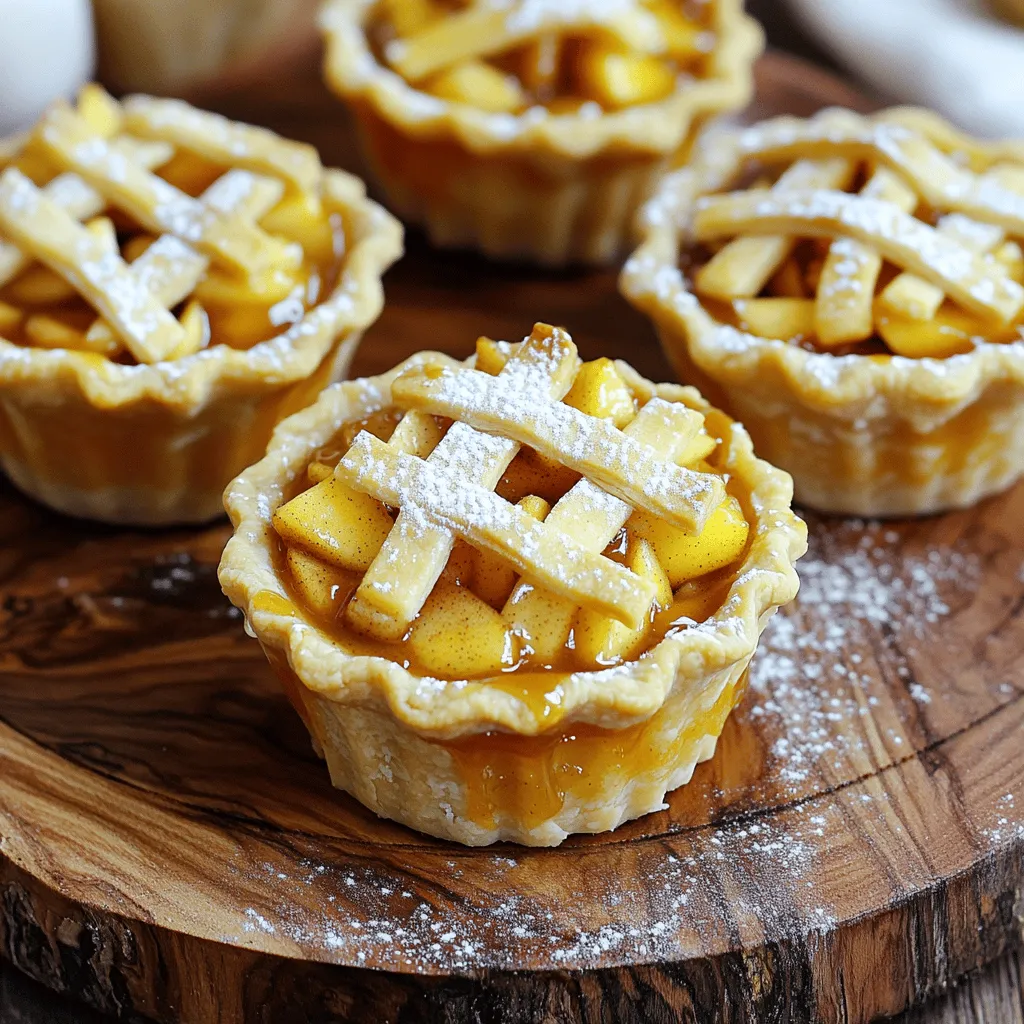
Apple Pie Cups Delightful Dessert for Any Occasion
Are you ready to enjoy a delightful dessert that fits any occasion? Apple Pie Cups bring the classic flavors of Read Full Recipe -

No-Bake Summer Berry Lasagna Delightful and Easy Recipe
Imagine serving a cool, tasty dessert on a hot summer day! This No-Bake Summer Berry Lasagna is the answer. It’s Read Full Recipe -
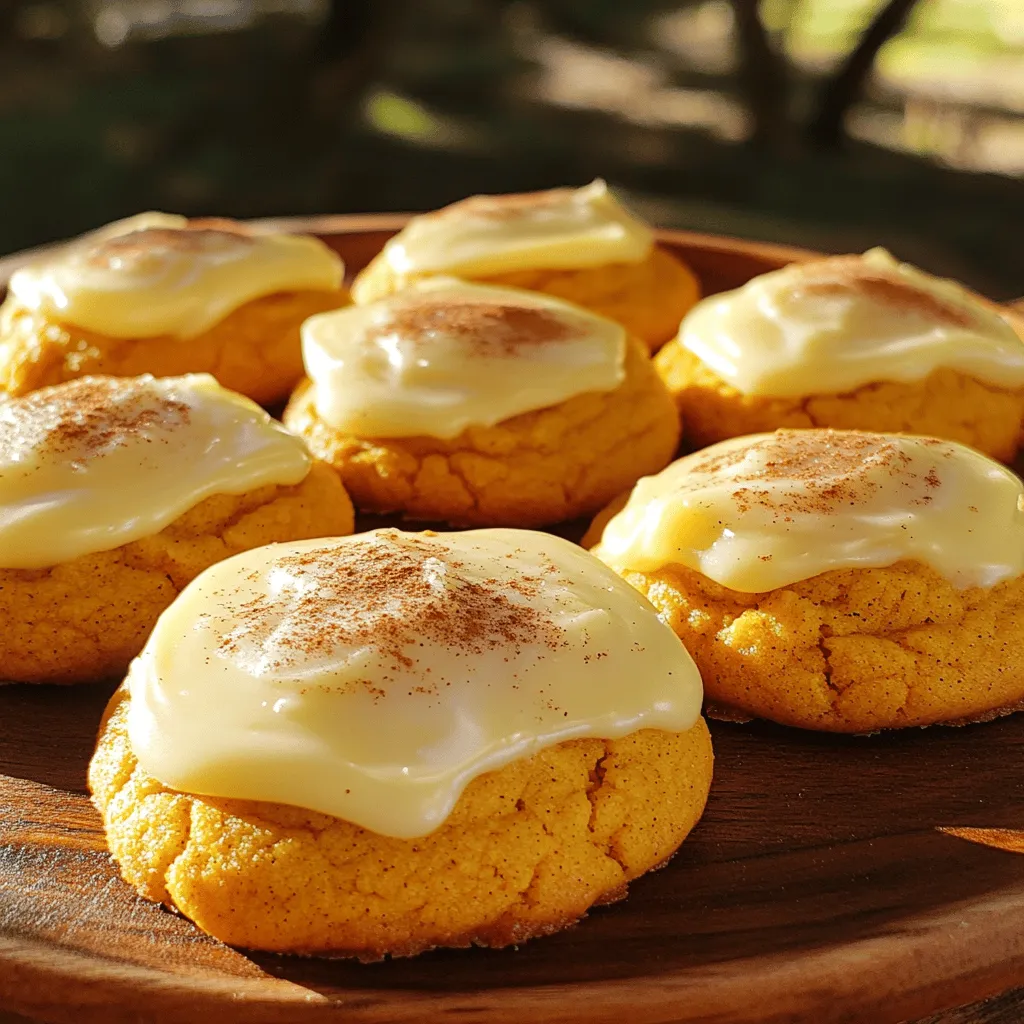
Soft Pumpkin Cookies with Cream Cheese Icing Delight
If you love soft, tender cookies bursting with fall flavors, you’re in for a treat! My Soft Pumpkin Cookies with Read Full Recipe -
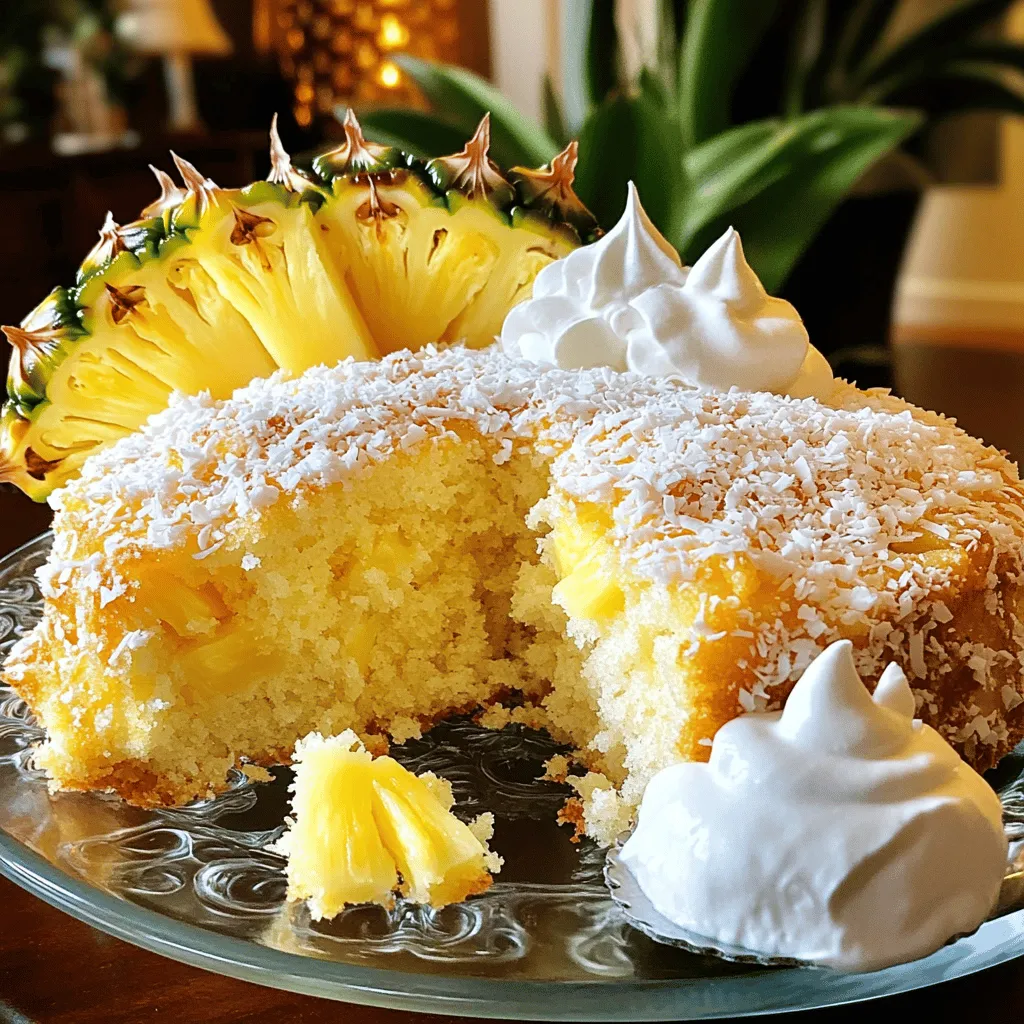
Pineapple Heaven Cake Delightful and Easy Recipe
Are you ready to create a dessert that tastes like a tropical vacation? My Pineapple Heaven Cake is here to Read Full Recipe -
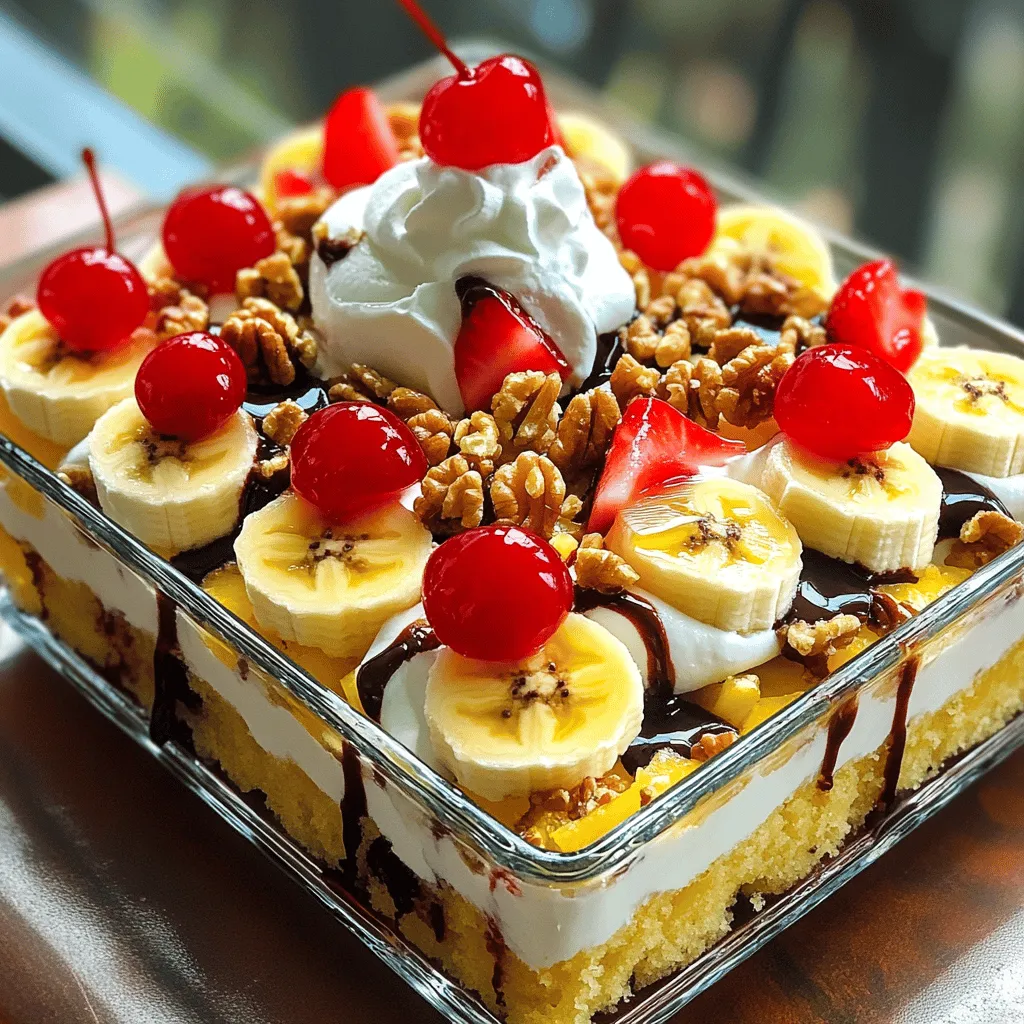
No-Bake Banana Split Cake Easy and Delicious Delight
If you love easy desserts, get ready for a treat! My No-Bake Banana Split Cake combines classic flavors with a Read Full Recipe -
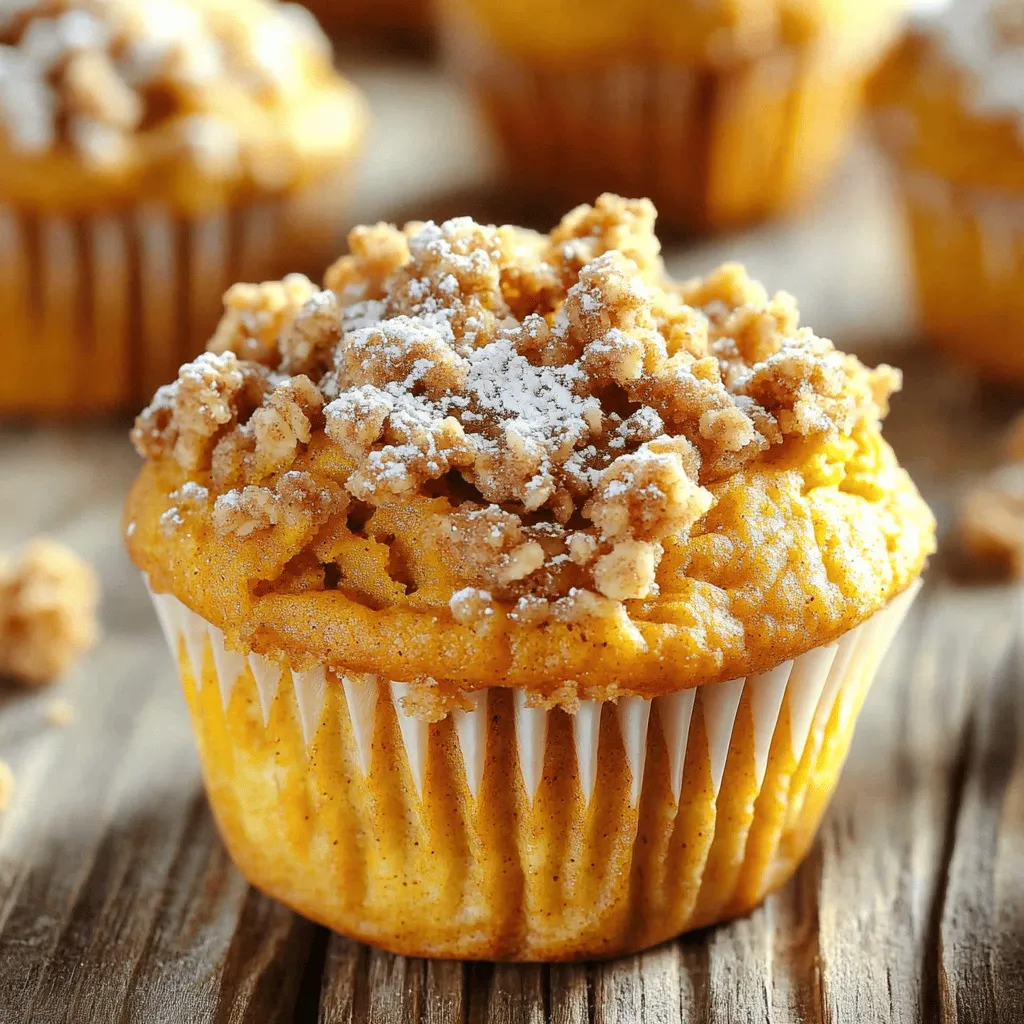
Pumpkin Streusel Muffins Delightful and Easy Recipe
Get ready to delight your taste buds with my simple Pumpkin Streusel Muffins recipe! These muffins are bursting with fall Read Full Recipe -
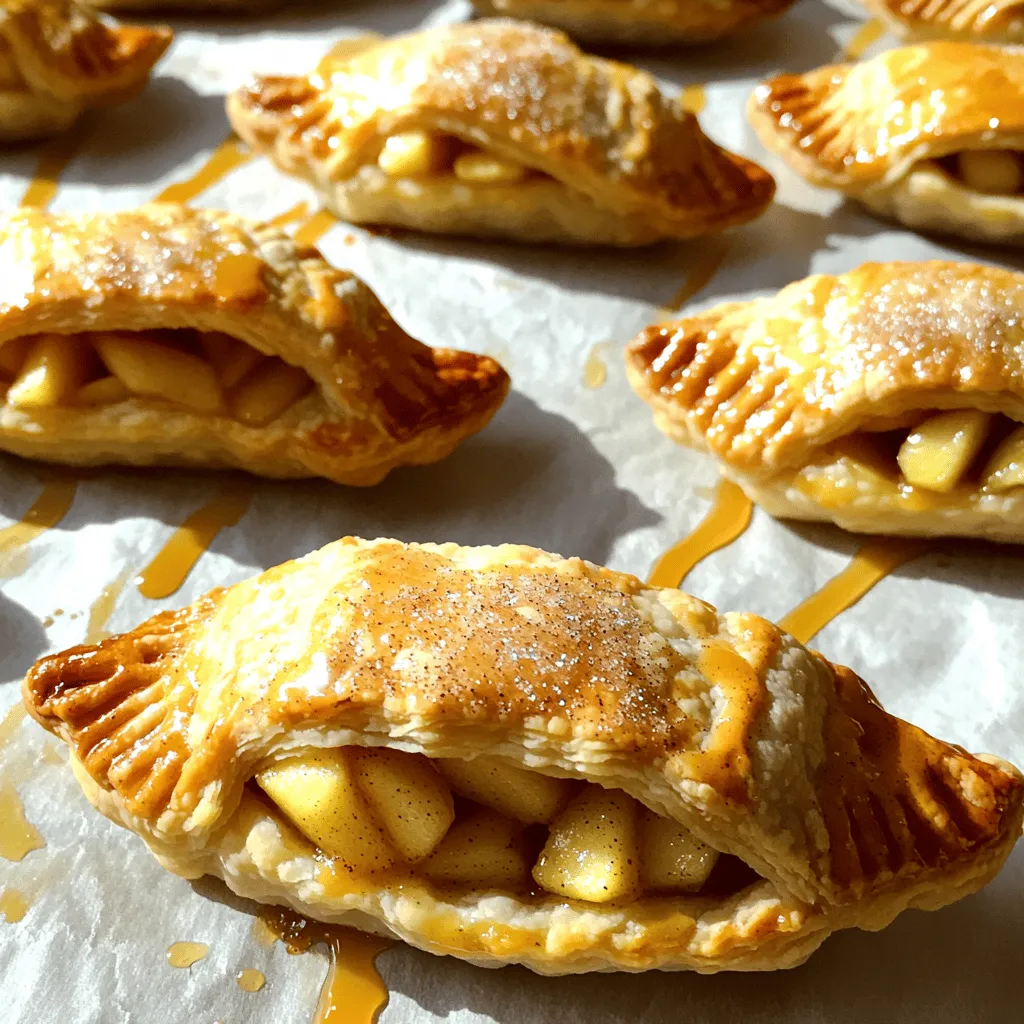
Mini Apple Hand Pies Delightful and Easy Recipe
If you love sweet treats, you’ll adore these Mini Apple Hand Pies! They are simple to make and bursting with Read Full Recipe -
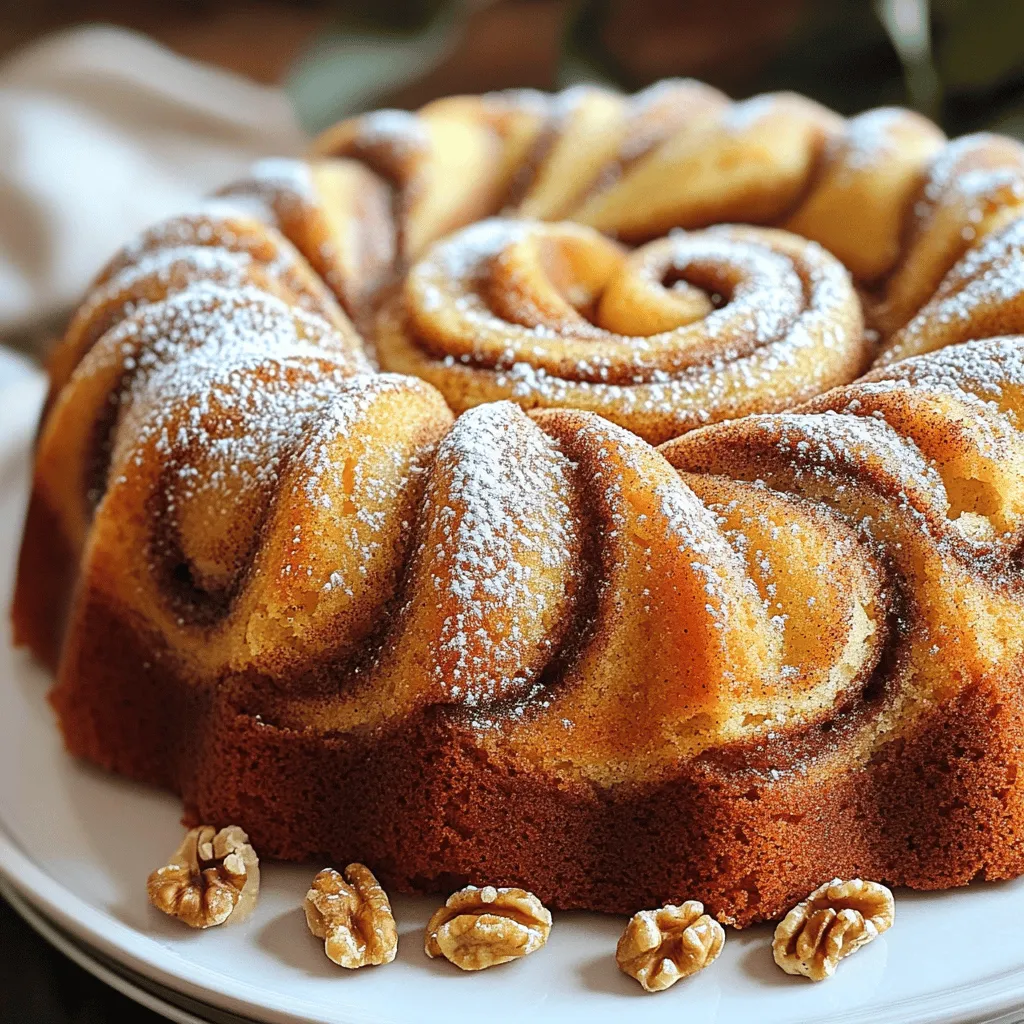
Cinnamon Swirl Bundt Cake Easy and Delicious Recipe
Are you ready to bake something that will make your kitchen smell divine? This Cinnamon Swirl Bundt Cake is not Read Full Recipe -
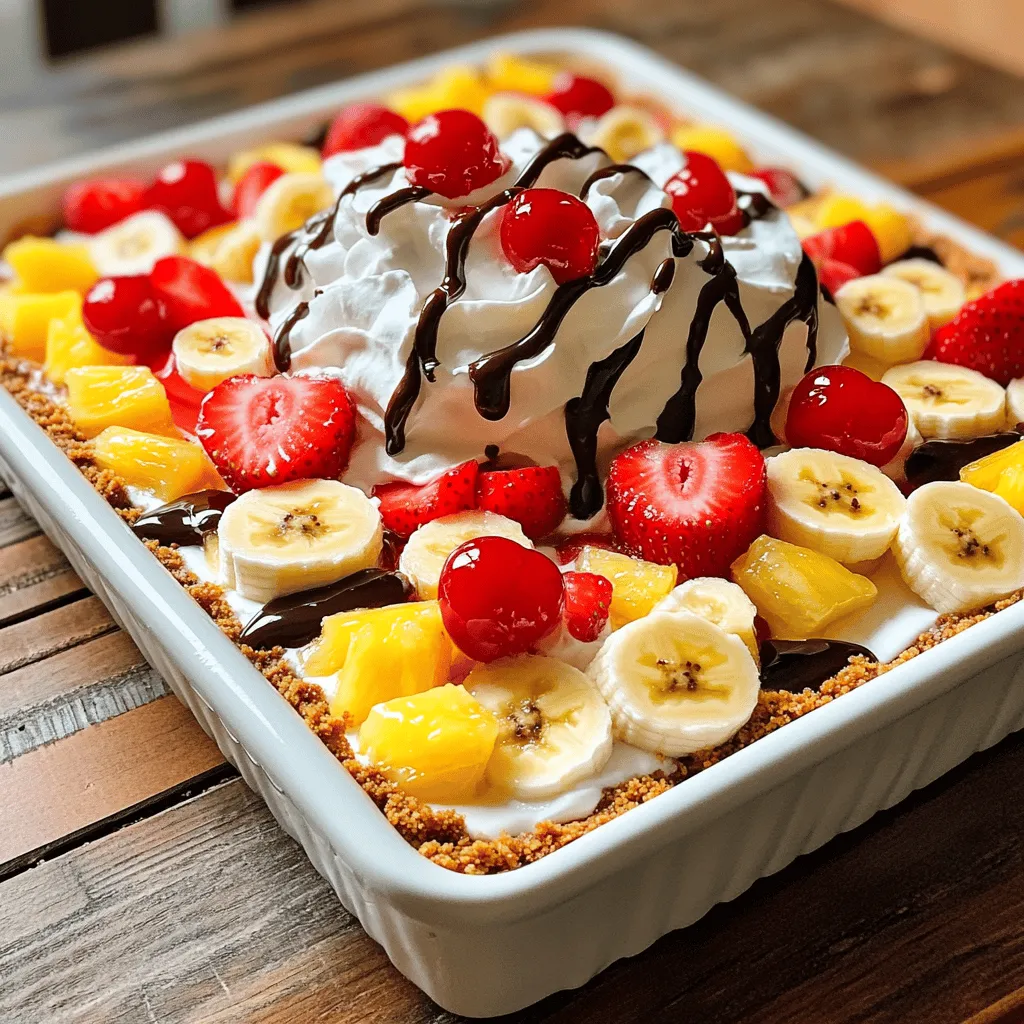
No-Bake Banana Split Cake Simple Sweet Delight
Craving something sweet and easy to whip up? This No-Bake Banana Split Cake is your answer! With creamy layers and Read Full Recipe
My Latest Recipes

hey,
i’m !
I’m so happy you’re here!
My kitchen is filled with stories, flavors, and love and I’m so happy to share them with you. Here’s to dishes that feel like home.


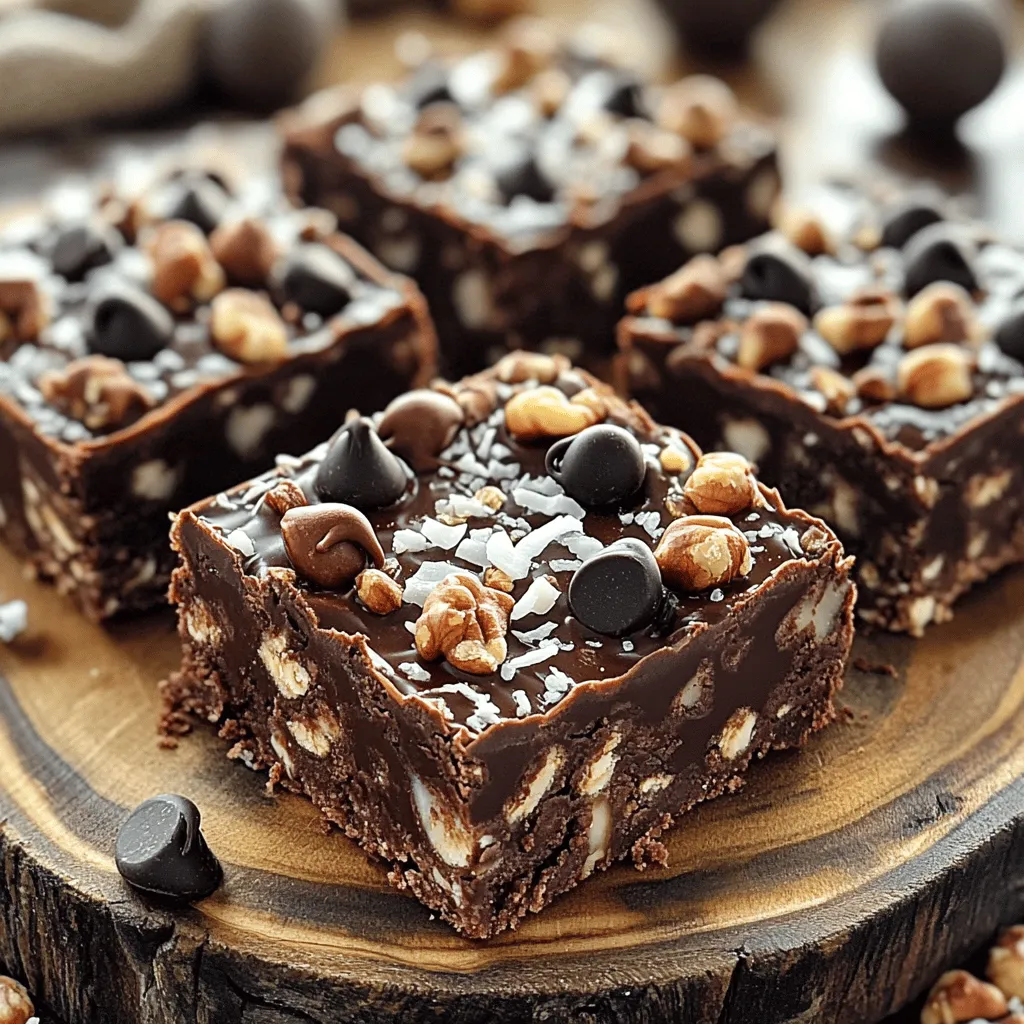
No-Bake Chocolate Oat Bars Easy and Delicious Treat
Looking for a quick, tasty treat? You’re in the right place! These No-Bake Chocolate Oat Bars are easy to make and packed with goodness.…