Latest & Greatest

Garlic Butter Zucchini Noodles Easy and Flavorful Dish
If you’re craving a quick, tasty meal that’s packed with flavor, Garlic Butter Zucchini Noodles are the answer! With just
Read more…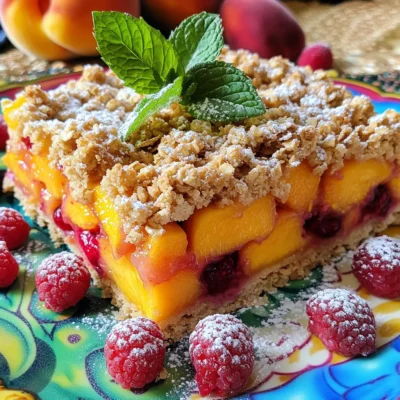
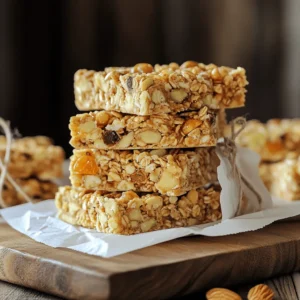
Peach Raspberry Oat Bars Deliciously Simple Recipe
Are you looking for a tasty and easy snack? These Peach Raspberry Oat Bars are perfect! With just a few
Read more…
Easy Zucchini Fritters Tasty and Simple Recipe
Looking for a simple dish to showcase fresh zucchini? You’re in the right place! My Easy Zucchini Fritters are tasty,
Read more…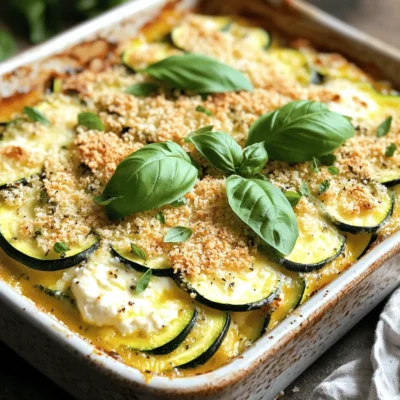
Cheesy Zucchini Bake Bold and Flavorful Dinner Idea
Looking for a bold and flavorful dinner idea? Let me introduce you to my Cheesy Zucchini Bake! This dish is
Read more…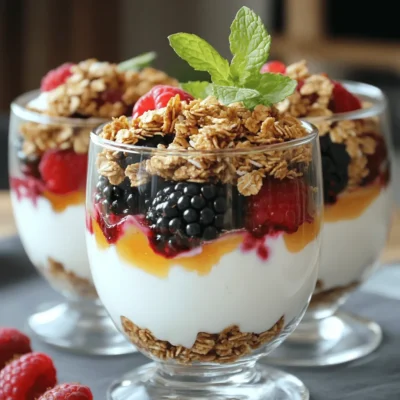
Healthy Greek Yogurt Parfait Simple and Tasty Treat
Are you ready to dive into a delightful and healthy treat? My Healthy Greek Yogurt Parfait is simple to make
Read more…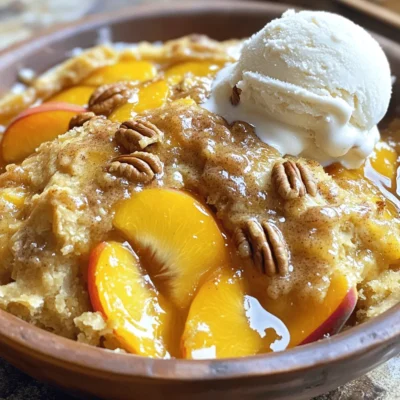
Easy Peach Dump Cake Delicious and Simple Dessert
Looking for a quick and tasty dessert? This Easy Peach Dump Cake is a game-changer! With just a few simple
Read more…
Baked Parmesan Zucchini Fries Crunchy and Delicious Snack
Ready to take your snacking game to the next level? These Baked Parmesan Zucchini Fries are the perfect blend of
Read more…
Chocolate Peanut Butter Mug Cake Decadent and Easy Treat
If you crave a sweet treat that’s both quick and delicious, you’re in the right place! My Chocolate Peanut Butter
Read more…browse recipes

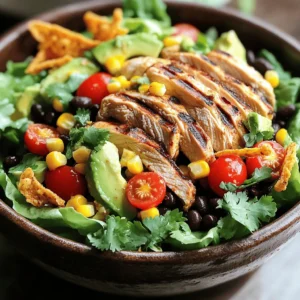


Honey Mustard Chicken Skewers Easy Grilling Recipe
Craving a delicious and easy grilling recipe? Look no further than Honey Mustard Chicken Skewers! This simple dish packs a punch of flavor with…
My Latest Desserts
-
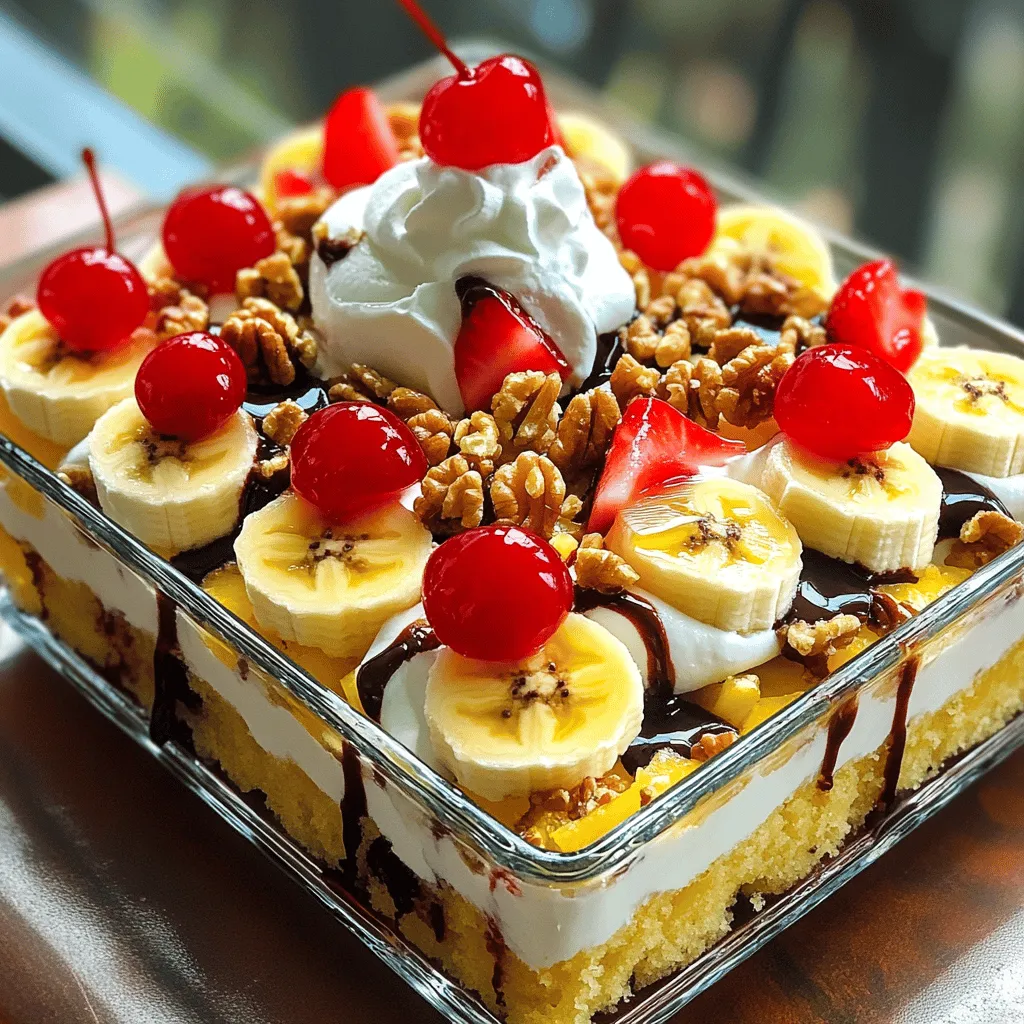
No-Bake Banana Split Cake Easy and Delicious Delight
If you love easy desserts, get ready for a treat! My No-Bake Banana Split Cake combines classic flavors with a Read Full Recipe -

Pumpkin Streusel Muffins Delightful and Easy Recipe
Get ready to delight your taste buds with my simple Pumpkin Streusel Muffins recipe! These muffins are bursting with fall Read Full Recipe -

Mini Apple Hand Pies Delightful and Easy Recipe
If you love sweet treats, you’ll adore these Mini Apple Hand Pies! They are simple to make and bursting with Read Full Recipe -
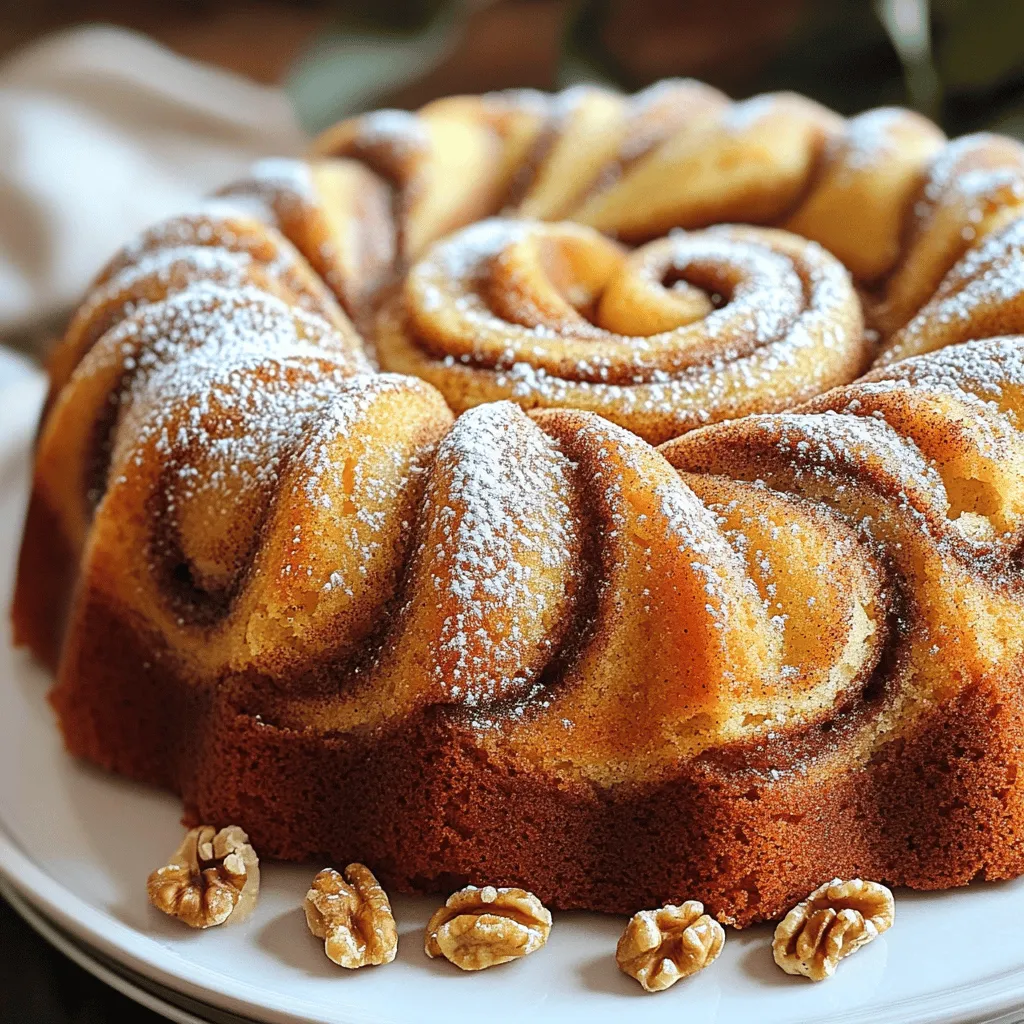
Cinnamon Swirl Bundt Cake Easy and Delicious Recipe
Are you ready to bake something that will make your kitchen smell divine? This Cinnamon Swirl Bundt Cake is not Read Full Recipe -
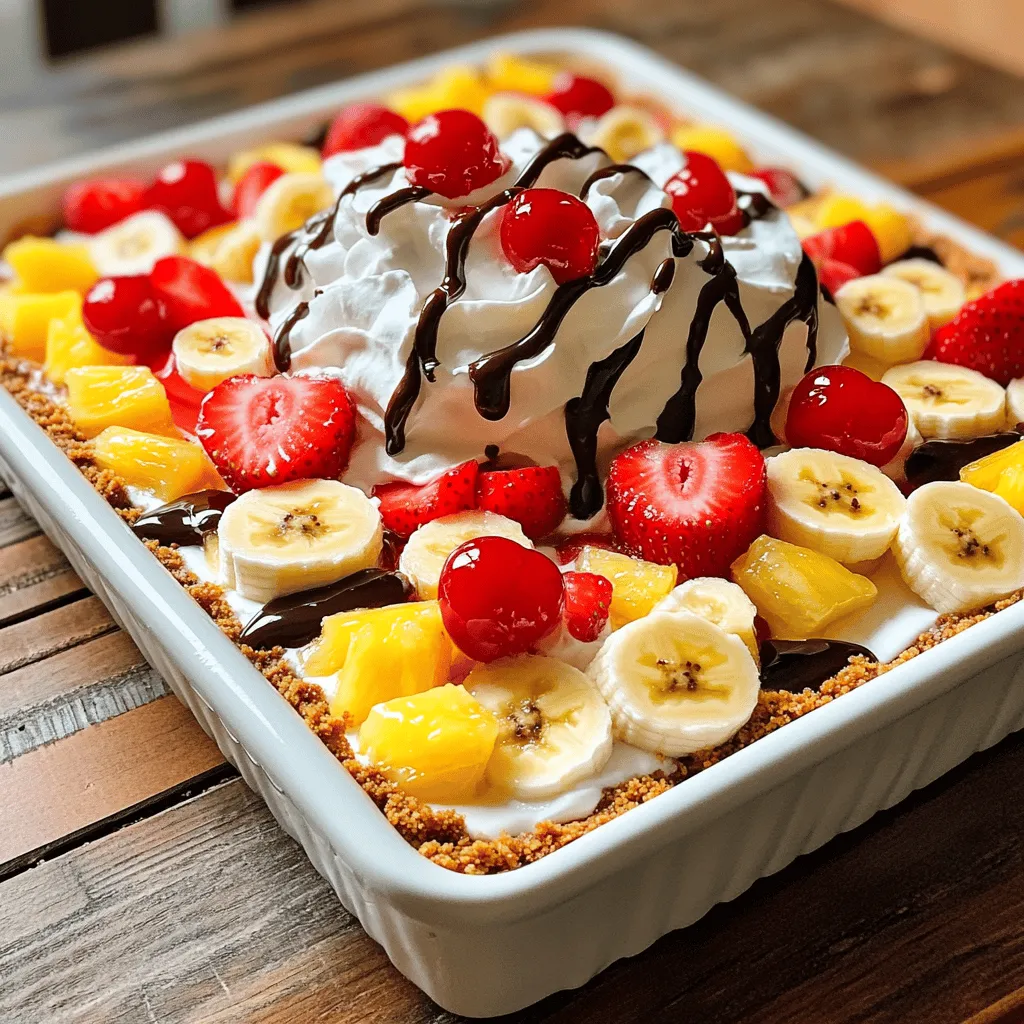
No-Bake Banana Split Cake Simple Sweet Delight
Craving something sweet and easy to whip up? This No-Bake Banana Split Cake is your answer! With creamy layers and Read Full Recipe -

Pumpkin Streusel Muffins Irresistible Fall Treat
Fall is here, and it’s time to embrace the flavors of the season! These Pumpkin Streusel Muffins are easy to Read Full Recipe -

Mini Apple Hand Pies Tasty and Simple Dessert Recipe
If you’re craving a warm, sweet treat that’s easy to make, you’ll love these Mini Apple Hand Pies! This recipe Read Full Recipe -

Cinnamon Swirl Bundt Cake Irresistible and Delicious
Get ready to delight your taste buds with my delicious Cinnamon Swirl Bundt Cake! This cake is not just a Read Full Recipe -

Delicious Double Chocolate Muffins Easy Recipe Guide
Craving a rich, chocolatey treat? You’re in the right place! In this guide, I’ll show you how to make delicious Read Full Recipe -

Thanksgiving Brioche Donuts Rich and Festive Delight
Are you ready to impress your guests this Thanksgiving? These Thanksgiving Brioche Donuts are perfect for holiday gatherings. Soft, rich, Read Full Recipe
My Latest Recipes

hey,
i’m !
I’m so happy you’re here!
My kitchen is filled with stories, flavors, and love and I’m so happy to share them with you. Here’s to dishes that feel like home.


Sheet Pan Chicken and Veggies Simple Family Meal
Looking for a quick, tasty family dinner? Sheet Pan Chicken and Veggies is your answer! This recipe is simple, and it brings big flavor…
![- 4 chicken thighs (bone-in, skin-on for more flavor) - 2 cups broccoli florets - 2 cups bell peppers (mixed colors), sliced - 1 cup carrots, sliced - 1 large red onion, cut into wedges - 4 cloves garlic, minced - 4 tablespoons olive oil - 1 teaspoon smoked paprika - 1 teaspoon dried Italian herbs (oregano, basil, thyme) - Salt and pepper to taste - Juice of 1 lemon - Fresh parsley, chopped (for garnish) The main ingredients create a hearty, balanced meal. Chicken thighs offer rich flavor and juicy meat. The veggies add color, crunch, and nutrients. - Other veggie suggestions: zucchini, asparagus, or cherry tomatoes. - Protein alternatives: chicken breasts, shrimp, or tofu for a vegetarian option. Feel free to swap in your favorite veggies or proteins. This dish is flexible and easy to customize. - Sheet pan - Parchment paper - Mixing bowls Using a sheet pan makes cooking and cleanup simple. Parchment paper helps prevent sticking and saves time. Mixing bowls help you combine all the ingredients well. For the full recipe, check [Full Recipe]. This meal is quick, fun, and perfect for family nights. 1. Preheat oven and prepare the pan Start by preheating your oven to 425°F (220°C). Line a large sheet pan with parchment paper. This makes cleanup easy and helps the food not stick. 2. Seasoning the chicken In a large bowl, mix the chicken thighs with half of the olive oil, smoked paprika, Italian herbs, salt, and pepper. Use your hands to coat the chicken evenly. This step adds great flavor. 3. Tossing the vegetables In another bowl, combine the broccoli, bell peppers, carrots, and red onion. Add the remaining olive oil, minced garlic, lemon juice, and a pinch of salt and pepper. Toss everything well until the veggies are coated. 1. Arrange chicken and veggies on the sheet pan Place the seasoned chicken thighs on one side of the sheet pan. Spread the veggies out on the other side. Make sure they have space. This helps them roast well. 2. Roasting time and temperature Put the sheet pan in the preheated oven. Roast everything for 25-30 minutes. The chicken should reach an internal temperature of 165°F (75°C). The veggies should be tender and lightly browned. 3. Ensuring proper doneness Check the chicken with a meat thermometer. If it’s not done, return it to the oven for a few more minutes. The veggies should be soft but not mushy. 1. Resting time Once done, take the sheet pan out of the oven. Let it rest for a few minutes. This helps the juices settle in the chicken. 2. Garnishing before serving Before you serve, sprinkle fresh chopped parsley on top. This adds a lovely color and fresh taste. You can serve directly from the pan or transfer to a platter for a nicer look. For the full recipe, check out the details above! - Avoiding overcrowding the pan: Make sure to space the chicken and veggies apart. Crowding can lead to steaming instead of roasting. This means less crispiness and flavor. Always use a large enough sheet pan for even cooking. - Adjusting cooking time based on thickness: Chicken thighs take longer than chicken breasts. If you use different cuts, check them often. A meat thermometer helps ensure chicken reaches 165°F. This keeps everything juicy and safe to eat. - Experimenting with other herbs and spices: Don't be afraid to mix it up! Try using rosemary, cumin, or even a bit of chili powder. Each herb brings its own taste. This makes your dish exciting and new each time. - Marinating chicken ahead for extra flavor: Marinating chicken for a few hours or overnight adds depth to the taste. Use olive oil, vinegar, and your favorite spices. The longer you marinate, the better it gets! - Pairing ideas (sides and sauces): Serve with rice, quinoa, or a simple green salad. A tasty sauce, like a yogurt sauce or chimichurri, brightens the meal. It adds moisture and flavor, making every bite enjoyable. - Presentation tips: A great way to serve is directly from the sheet pan. This gives a rustic feel. For a fancier touch, transfer everything to a large platter. Drizzle more lemon juice and sprinkle fresh parsley. This adds color and freshness to the meal. For the full recipe, check out the Sheet Pan Chicken and Veggies Delight. {{image_2}} You can use different chicken cuts in this recipe. Chicken breasts are leaner than thighs. They cook quickly and stay juicy when roasted right. Thighs have more fat, which adds rich flavor and moisture. If you want a healthier option, try skinless chicken. Skinless cuts reduce fat while still giving good taste. Change the veggies based on the season. In spring, use asparagus and snap peas. Summer is great for zucchini and cherry tomatoes. Fall brings squash and Brussels sprouts. Winter is perfect for root veggies like carrots and parsnips. You can also add starches like potatoes or sweet potatoes. They give a hearty feel and bake well with chicken. Make this dish gluten-free by checking the spice labels. Most spices are safe, but some may have gluten. For a low-carb version, skip starchy veggies. Use more non-starchy options like green beans or cauliflower. This keeps the meal light and healthy, perfect for various diets. For the full recipe, check the details above. To store leftovers, let the dish cool completely. Place chicken and veggies in an airtight container. This keeps them fresh and prevents odors. In the fridge, your meal lasts about 3 to 4 days. Always check for any signs of spoilage before eating. To freeze for later use, portion out the chicken and veggies. Use freezer-safe bags or containers. Squeeze out excess air to prevent freezer burn. They can stay good for up to 3 months. When you’re ready to eat, thaw in the fridge overnight. For reheating, the oven is best. It keeps the chicken crispy and veggies tender. Preheat the oven to 350°F (175°C). Place the meal in a dish, cover it with foil, and heat for about 15-20 minutes. If you use a microwave, heat in short bursts to avoid sogginess. This way, you maintain texture and flavor. If the chicken is undercooked, check its internal temperature. Use a meat thermometer to ensure it reaches 165°F (75°C). If it’s below this, return it to the oven. Cook for an extra 5 to 10 minutes. Check the temperature again to be sure. Yes, you can use frozen veggies. However, you will need to adjust the cooking time. Frozen veggies often need a few extra minutes to cook. They may also release more water, which can change the texture. If you want crispy veggies, consider roasting them separately. You can easily make this recipe healthier. Start by reducing the oil and salt. Try using half the amount of oil. You can also add more vegetables like spinach or zucchini. This boosts fiber and nutrients without adding many calories. In this post, I covered the key ingredients and steps for a delicious roasted chicken meal. You learned about main ingredients, optional add-ins, and the needed equipment. I also shared cooking tips, variations for dietary needs, and proper storage techniques. Remember, creating this dish lets you experiment and enjoy meals that fit your taste. Embrace these ideas to make your cooking fun and tasty. Happy cooking!](https://southerndishes.com/wp-content/uploads/2025/06/1f5e7f0c-dae1-4f2b-a4fc-ec784867bfd0.webp)
