Latest & Greatest

Easy Chicken Alfredo Bake Simple and Tasty Meal
Looking for a quick and tasty dinner? My Easy Chicken Alfredo Bake is just the answer! With only a few
Read more…
Classic Chicken Pot Pie Easy and Comforting Recipe
Are you ready to make the perfect classic chicken pot pie? This easy and comforting recipe will become your favorite
Read more…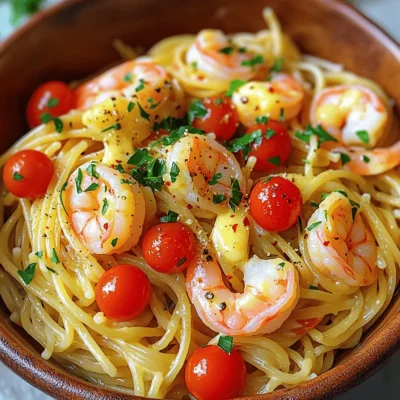
Garlic Butter Shrimp Pasta Quick and Flavorful Dish
Are you ready to impress your taste buds with a dish that’s both quick and packed with flavor? Garlic Butter
Read more…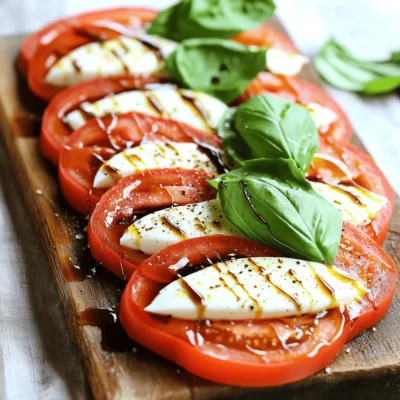
Easy Caprese Salad Delightful and Fresh Meal Idea
Looking for a fresh, easy meal idea? Let me show you how to make a Caprese salad that’s both delightful
Read more…
No-Bake Lemon Icebox Pie Simple and Delicious Dessert
Looking for a quick and tasty dessert? This No-Bake Lemon Icebox Pie is perfect! It’s simple to make and bursting
Read more…
Stuffed Bell Peppers Flavorful and Easy Recipe
Are you ready to impress your family with a colorful and tasty dish? Stuffed bell peppers are not only easy
Read more…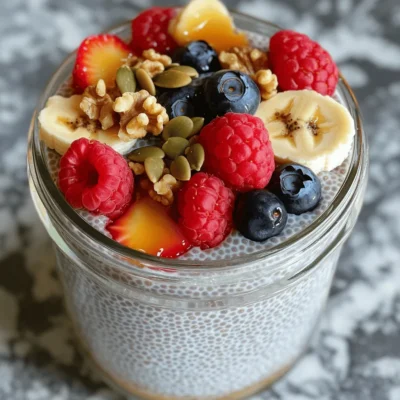
Overnight Chia Pudding Easy and Nutritious Recipe
Ready to whip up a tasty treat that’s also good for you? In this article, I’ll show you how to
Read more…
Baked Lemon Herb Chicken Flavorful and Juicy Delight
Ready for a dish that’s bursting with flavor? Baked Lemon Herb Chicken is not only juicy but also easy to
Read more…browse recipes
![- 200g ramen noodles - 1 can (400ml) coconut milk - 1 tablespoon red curry paste - 1 medium onion, sliced - 3 cloves garlic, minced - 1 tablespoon ginger, grated - 1 medium carrot, julienned - 1 red bell pepper, sliced - 1 cup baby spinach - Fresh cilantro - Sliced chili - Sesame seeds - Lime wedges Coconut curry ramen uses simple yet bold ingredients. You start with ramen noodles. They create a hearty base. Coconut milk adds creaminess and a tropical twist. Red curry paste brings heat and flavor. Next, you have the veggies. Onion, garlic, and ginger form a fragrant trio. They wake up your senses. Carrots and red bell peppers add color and crunch. Baby spinach offers a fresh touch and bright green hue. For optional toppings, fresh cilantro adds a burst of flavor. Sliced chili gives extra heat. Sesame seeds bring a nice crunch. Lime wedges finish the dish with a zing. This recipe blends flavors for a warm and tasty meal. You can find the full recipe at the beginning. Enjoy crafting your coconut curry ramen! To start, bring a pot of water to a boil. Add the ramen noodles and cook them for about 3 to 4 minutes. Make sure to check the package for exact times. Once cooked, drain the noodles and set them aside. This helps keep them firm and ready for your coconut curry. In a large pan, heat 1 tablespoon of olive oil over medium heat. Add 1 sliced onion and sauté until it turns translucent, which takes about 5 minutes. Next, stir in 3 minced garlic cloves and 1 tablespoon of grated ginger. Cook them for 1 to 2 minutes until they become fragrant. After that, mix in 1 tablespoon of red curry paste. Stir well for another minute. This step is crucial to developing rich flavors. Now, slowly pour in 1 can of coconut milk and 2 cups of vegetable broth. Stir until everything blends nicely. Toss in 1 cup of julienned carrots and 1 sliced red bell pepper. Bring the mix to a gentle simmer and cook for about 5 to 7 minutes. You want the veggies to be tender but still crisp. After that, add 1 cup of baby spinach, 1 teaspoon of soy sauce, and 1 tablespoon of lime juice. Cook for another minute until the spinach wilts. Finally, gently fold in the cooked ramen noodles. Make sure they are well coated in the delicious coconut curry broth. You can find the full recipe in the earlier section. To make your coconut curry ramen shine, you can adjust the spice levels. Start with one tablespoon of red curry paste. Taste it, then add more if you like it spicier. You can also add a pinch of chili flakes for extra heat. Adding acidity brightens the dish. Lime juice is perfect for this. A tablespoon adds a zesty kick. If you want more, squeeze in extra lime juice. This balances the creaminess of the coconut milk. The broth should be rich and smooth. If it feels too thin, you can thicken it. A cornstarch slurry works well for this. Mix one tablespoon of cornstarch with two tablespoons of water. Stir it into the broth and simmer until it thickens. You might need to adjust the broth with extra liquid. If it gets too thick, add more vegetable broth or water. This keeps the ramen from being dry. Garnishing makes your dish look inviting. Fresh cilantro adds color and flavor. Scatter it on top just before serving. Consider serving the ramen in deep bowls. This helps hold the broth and toppings. You can also add optional toppings. Sliced chili gives heat, while sesame seeds add crunch. Lime wedges on the side make it easy to add more zing. For the full recipe, check out the [Full Recipe]. {{image_2}} You can add protein to your Coconut Curry Ramen to make it heartier. Adding chicken is a great choice. Simply cook diced chicken in the pan before adding the curry paste. This will help infuse the chicken with flavor. If you prefer plant-based options, tofu works well too. Just cube the tofu and sauté it until golden. Shrimp or fish can also elevate your dish. For shrimp, add them after the vegetables. They cook quickly and add a nice touch. If you want to use fish, choose a firm type like salmon. Cook it gently to keep it flaky and tender. Coconut Curry Ramen can easily fit into vegan and gluten-free diets. To make it vegan, simply skip any animal proteins. Use tofu or just focus on the vibrant veggies. You can also swap out the soy sauce for a gluten-free alternative. Tamari is a good choice here. When it comes to noodles, traditional ramen includes wheat. You can use rice noodles instead. They work well with the coconut curry and keep the dish gluten-free. Always check the labels to ensure your noodles meet your dietary needs. Exploring different flavors is part of the fun with Coconut Curry Ramen. You can try various curry pastes to change the taste. Green curry paste offers a fresh and herbaceous note, while yellow curry paste is milder and sweeter. Switching up the vegetables adds new flavors too. Try adding bok choy, mushrooms, or even sweet potatoes. These vegetables not only provide great taste but also add color and nutrition. With these variations, you can make this dish your own. For the complete Coconut Curry Ramen experience, check out the Full Recipe. After you enjoy your Coconut Curry Ramen, store any leftovers in an airtight container. This keeps the dish fresh and prevents odors. It's best to eat the leftovers within three days. This way, you can enjoy the flavors without losing quality. When you want to warm up your ramen, use a pot on low heat. Stir gently to avoid breaking the noodles. You can also use the microwave, but cover the bowl to prevent splatters. Heat for a minute, then stir and check. Be careful not to overcook the noodles. Overcooked noodles turn mushy, and that ruins the dish. If you want to freeze your ramen, portion it into small containers. This makes it easy to thaw just what you need later. To thaw, place the container in the fridge overnight. When you're ready to enjoy it, reheat in a pot, adding a bit of broth if needed. This helps bring back the creamy texture of the sauce. Enjoy your meal again with that bold flavor! For the full recipe, check the recipe section. Coconut curry ramen is a warm, comforting bowl of noodles. It combines classic ramen with rich coconut milk and spicy red curry. The dish blends traditional Japanese ramen with Thai flavors. This fusion creates a unique taste that excites your palate. Making coconut curry ramen is quick and easy. The prep time is about 15 minutes. Cooking takes around 15 minutes, bringing the total to about 30 minutes. You can enjoy a delicious meal in no time. Yes, you can prepare coconut curry ramen ahead of time. Store the broth and noodles separately. This keeps the noodles from getting soggy. When you're ready to eat, just heat the broth and add the noodles. Enjoy the same great taste later! Coconut Curry Ramen is a simple yet flavorful dish. You learned about the main ingredients, steps to cook, and how to add your twist. Remember to experiment with proteins and spices to find your perfect flavor. Store leftovers well to enjoy this dish later. Making it ahead of time can save you effort on busy days. Now you have all the tools to create a delicious bowl. Enjoy your cooking adventure!](https://southerndishes.com/wp-content/uploads/2025/07/dbcbee01-aced-4e65-81e8-c26d334c6e0d.webp)
Coconut Curry Ramen Bold and Flavorful Delight
If you’re craving a meal that’s both bold and comforting, look no further than Coconut Curry Ramen. This soup is a vibrant mix of…
My Latest Desserts
-
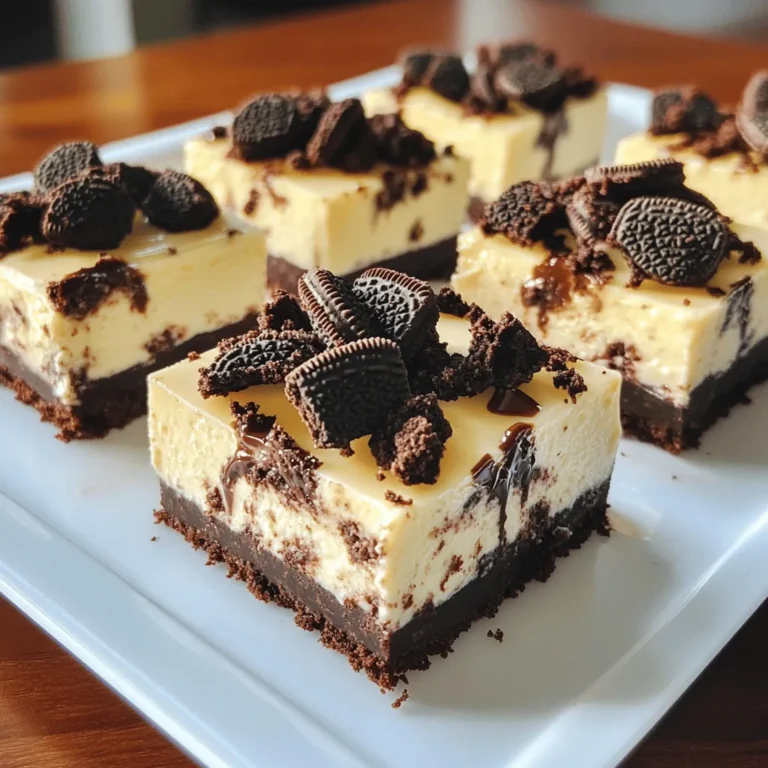
No-Bake Oreo Cheesecake Bars Delicious and Simple Treat
Looking for a simple and sweet dessert? You’ll love these No-Bake Oreo Cheesecake Bars! They are creamy, rich, and super Read Full Recipe -
Fluffy Japanese Soufflé Pancakes Simple and Soft Delight
Are you ready to flip your breakfast game? Fluffy Japanese soufflé pancakes are a soft, delightful treat that will impress Read Full Recipe -
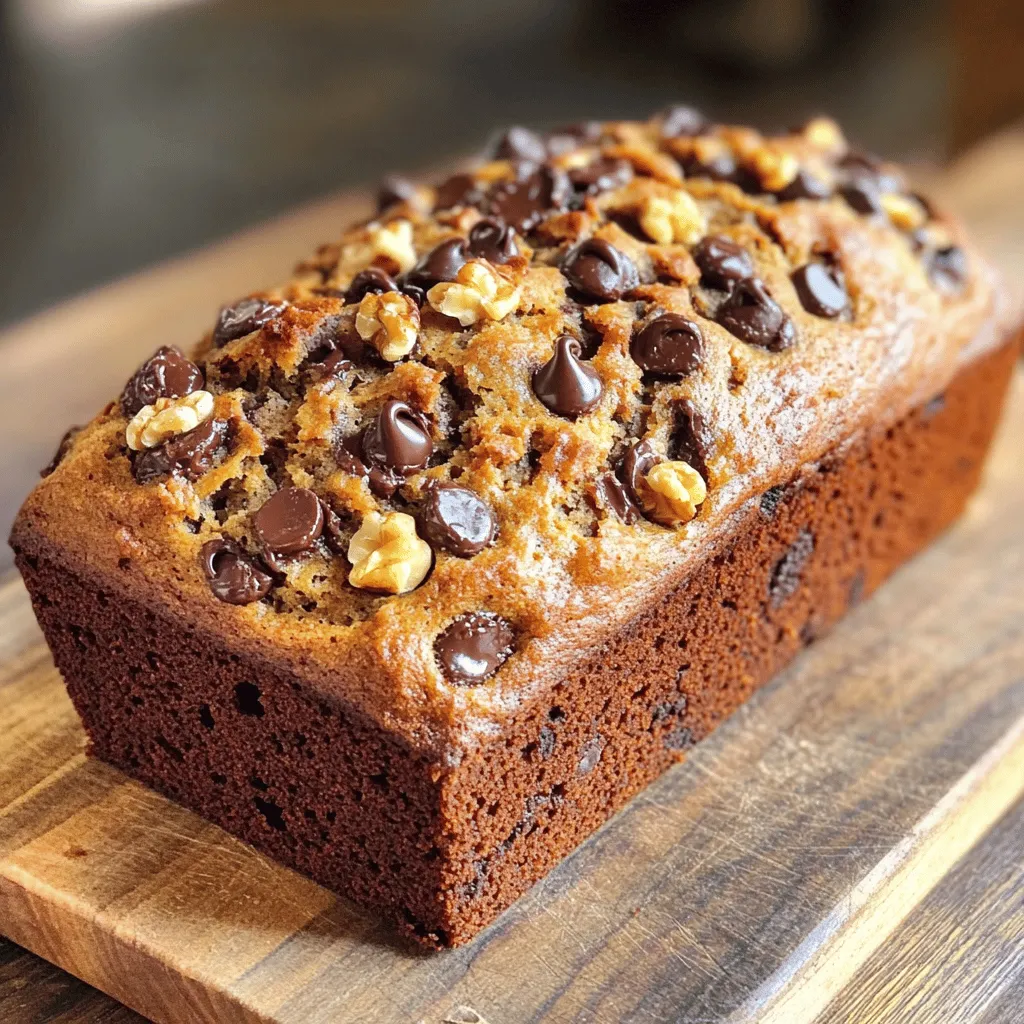
Chocolate Chip Banana Bread Rich and Flavorful Delight
Ready to indulge in a warm, gooey slice of Chocolate Chip Banana Bread? This rich and flavorful delight combines ripe Read Full Recipe -
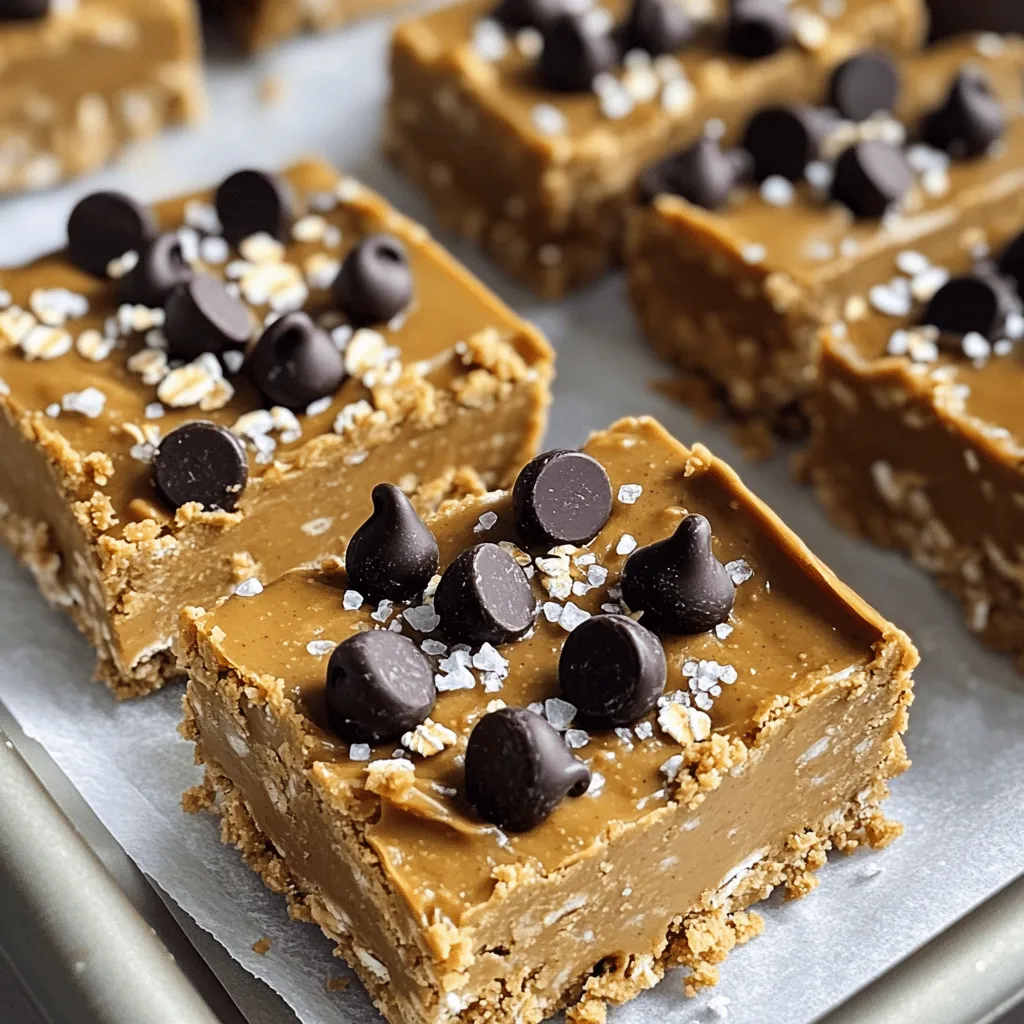
No Bake Peanut Butter Chocolate Bars Simple Delight
Are you craving a sweet treat that’s both simple and delicious? Look no further! I’m excited to share my recipe Read Full Recipe -
Strawberry Cheesecake Icebox Cake Delightful Dessert
Craving a cool, creamy dessert that’s as easy to make as it is delicious? Look no further than this Strawberry Read Full Recipe -
No Bake Peanut Butter Bars Quick and Easy Treat
Looking for a sweet treat that’s quick, easy, and requires no baking? I’ve got you covered with my No Bake Read Full Recipe -
Air Fryer Apple Fries Delicious Crispy Snack Recipe
Craving a tasty snack that’s both fun and simple? Dive into my Air Fryer Apple Fries recipe! With a perfect Read Full Recipe -
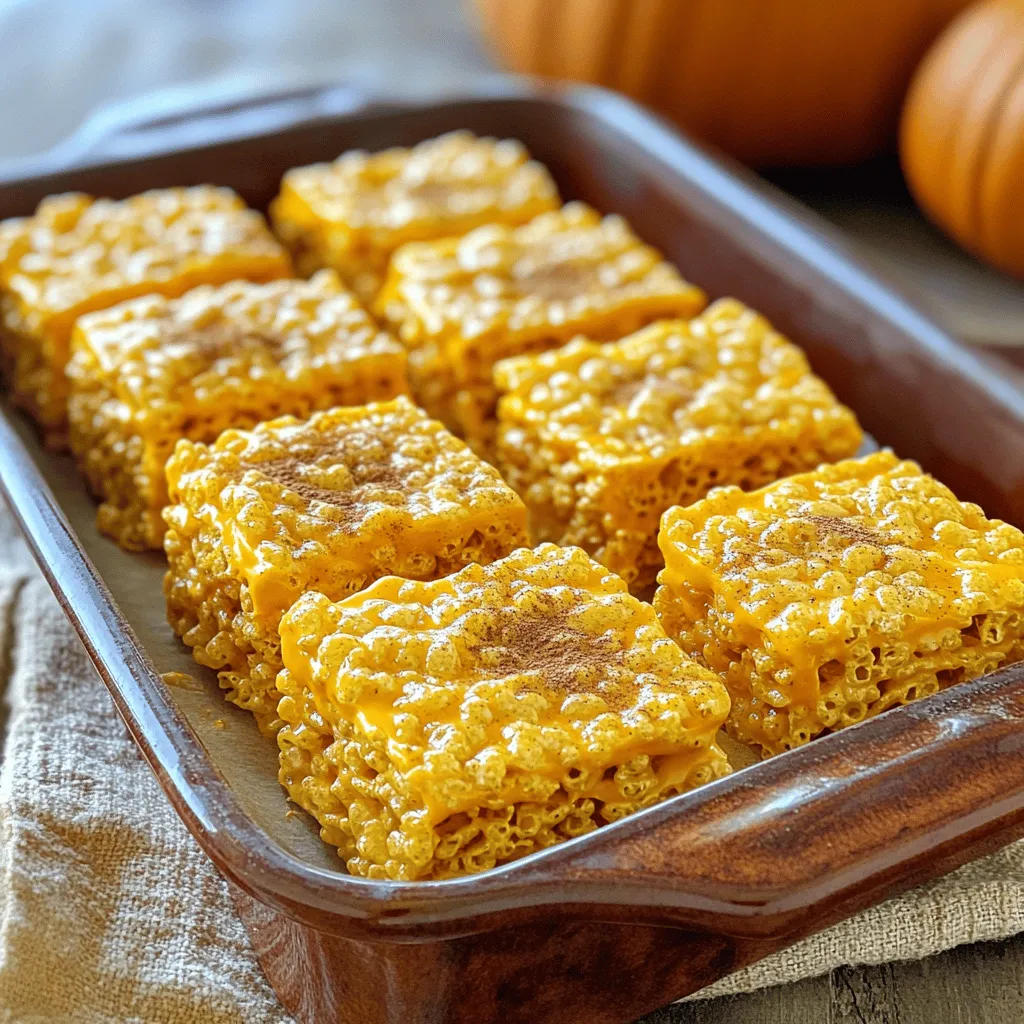
Pumpkin Spice Rice Krispie Treats Cozy Fall Delight
Fall is here, and what better way to celebrate than with Pumpkin Spice Rice Krispie Treats? These sweet, chewy delights Read Full Recipe -
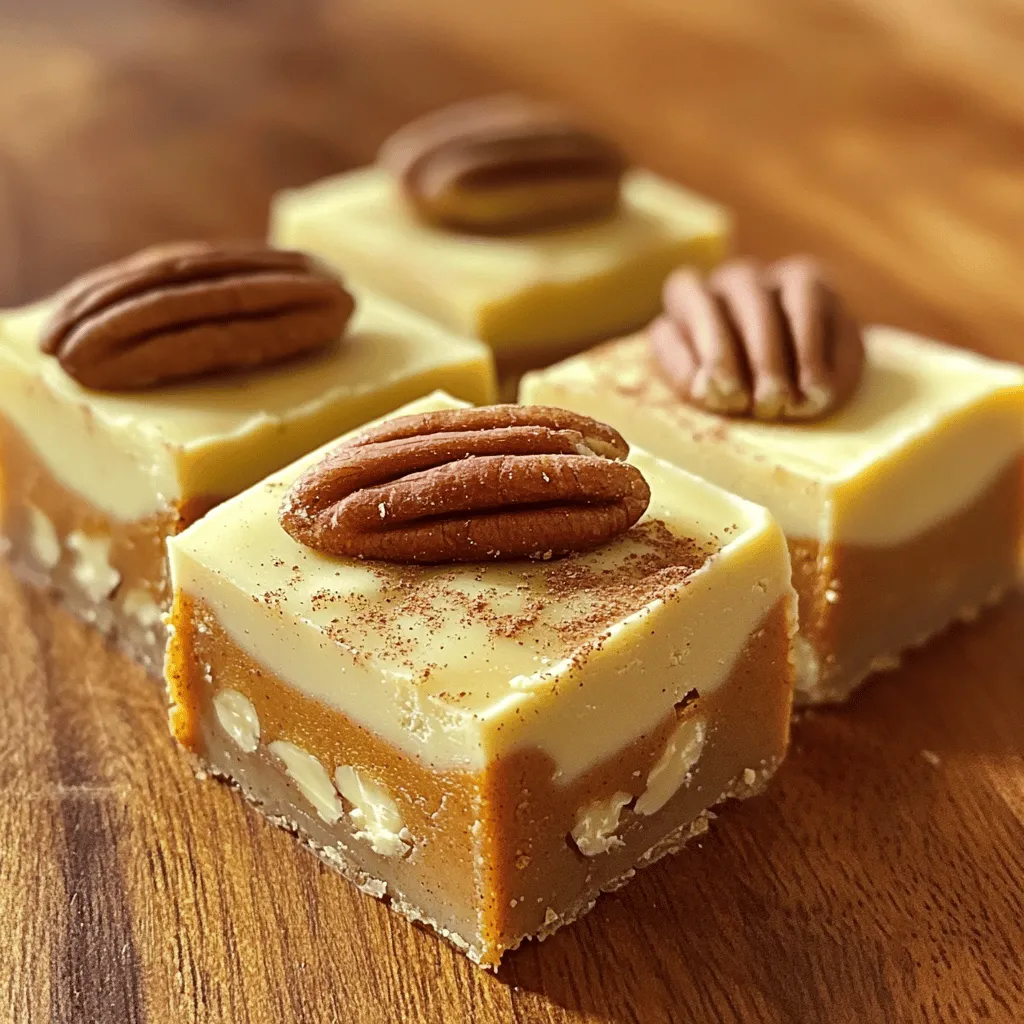
Pumpkin Spice Fudge Irresistible Fall Treat Recipe
Fall is here, and so is your new favorite treat: Pumpkin Spice Fudge! This sweet, creamy delight captures all the Read Full Recipe -
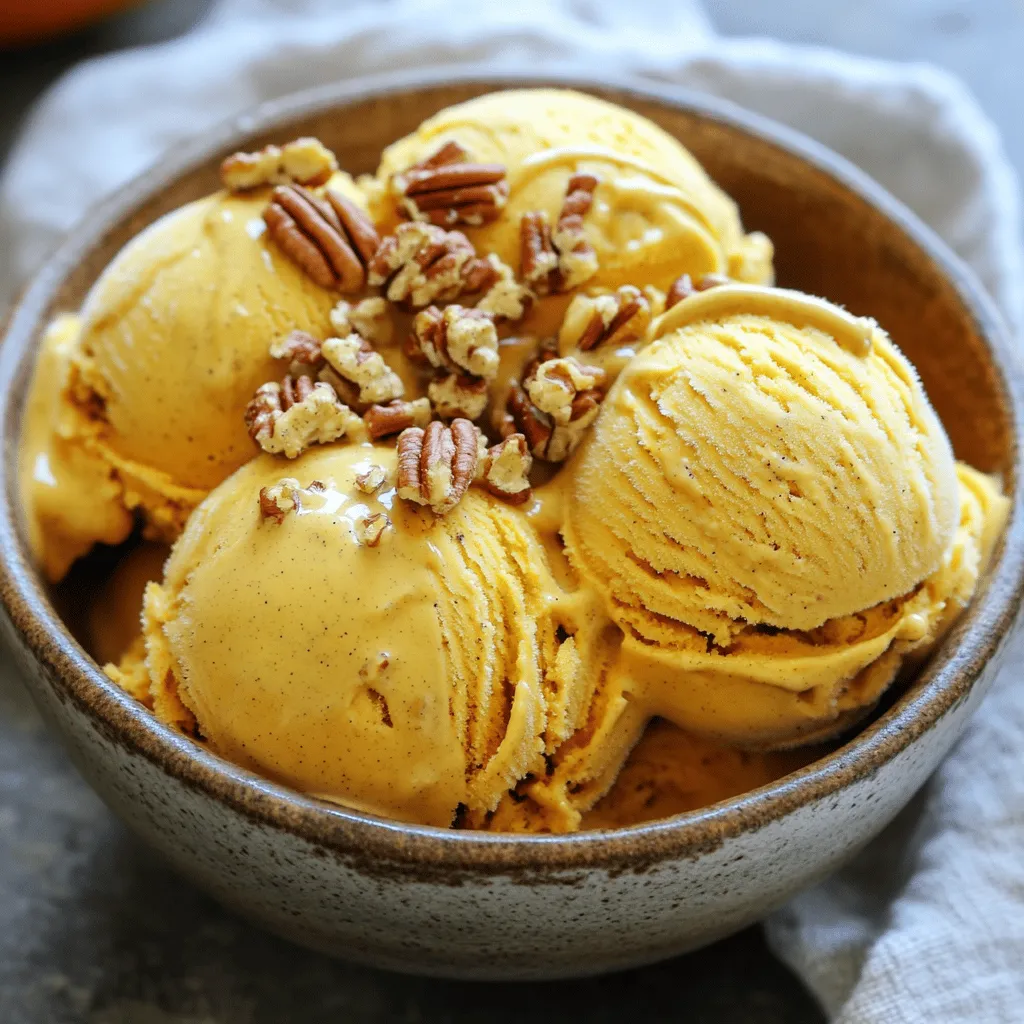
Pumpkin Spice Ice Cream Delightful Fall Treat Recipe
Get ready to savor fall with a creamy delight: Pumpkin Spice Ice Cream! This treat blends rich flavors of pumpkin, Read Full Recipe
My Latest Recipes
hey,
i’m !
I’m so happy you’re here!
My kitchen is filled with stories, flavors, and love and I’m so happy to share them with you. Here’s to dishes that feel like home.
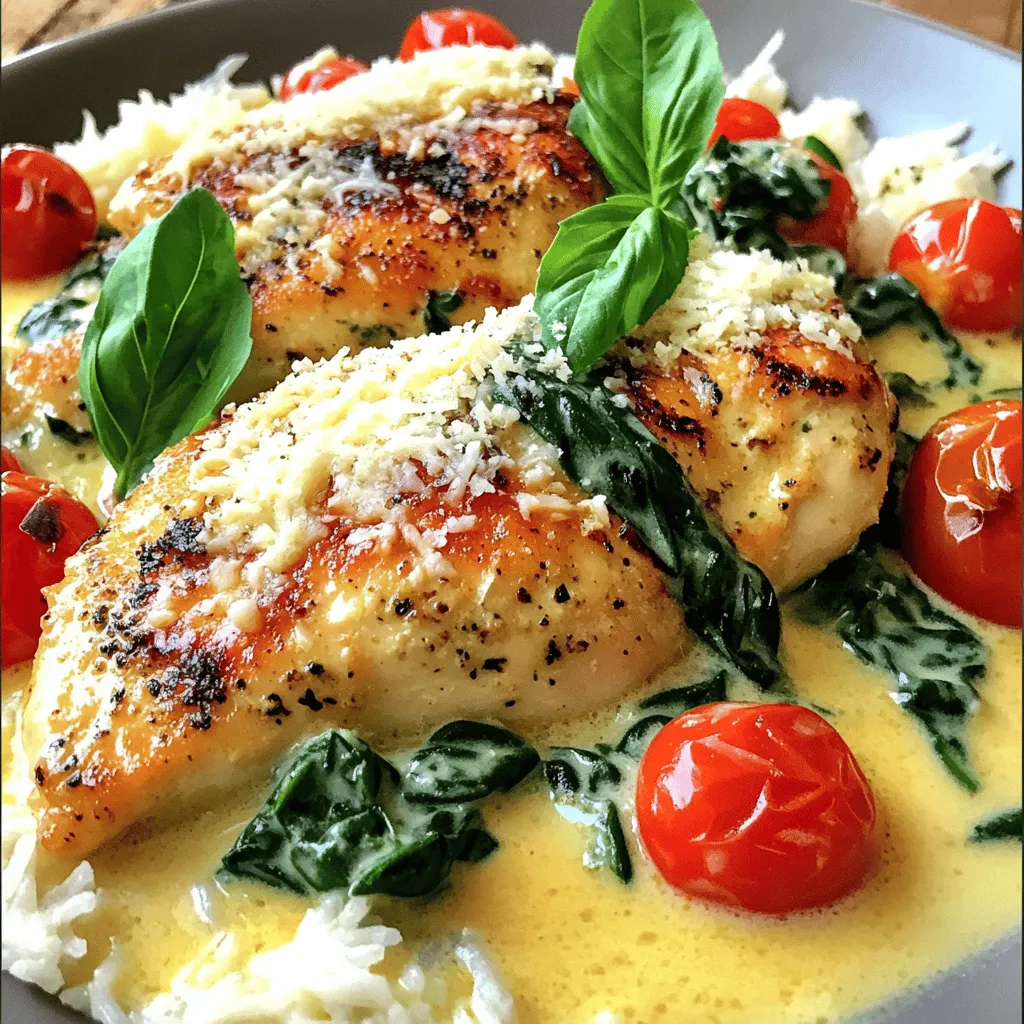
Creamy Garlic Tuscan Chicken Flavorful Dinner Delight
Are you ready to elevate your dinner game with a dish that’s bursting with flavor? Creamy Garlic Tuscan Chicken is a meal that combines…









![- 1 cup silken tofu, drained - 1/2 cup dairy-free dark chocolate chips - 1/4 cup maple syrup - 1 tablespoon vanilla extract - 1 pinch of sea salt - 1 tablespoon cocoa powder (optional) - Fresh berries and mint leaves for garnishing 1. Silken Tofu: This soft tofu is rich in protein and low in calories. It helps create a smooth texture. 2. Dairy-Free Dark Chocolate Chips: These chips add antioxidants and healthy fats. They also provide a rich chocolate flavor. 3. Maple Syrup: A natural sweetener that contains minerals like manganese and zinc. It gives the mousse a nice sweetness. 4. Vanilla Extract: Adds flavor and may have antioxidant properties. It enhances the taste of chocolate. 5. Sea Salt: A pinch of salt helps balance sweetness and brings out the chocolate flavor. 6. Cocoa Powder: This optional ingredient boosts chocolate flavor and adds fiber. It may also provide antioxidants. 7. Fresh Berries and Mint: These toppings add vitamins, minerals, and freshness to your dessert. - Tofu: Use avocado for a creamy texture if you cannot have soy. - Chocolate Chips: Look for carob chips if you have a chocolate allergy. - Maple Syrup: Agave syrup or brown rice syrup can replace maple syrup. - Vanilla Extract: If allergic, try using an equal amount of almond extract. - Cocoa Powder: Unsweetened carob powder can be a good substitute for cocoa. For the full recipe, check out the [Full Recipe]. To make vegan chocolate mousse, start with melting the dairy-free dark chocolate chips. You can use a microwave or a double boiler. If using the microwave, heat the chips in short bursts of 30 seconds. Stir between heats to prevent burning. For the double boiler, fill a pot with water and place a bowl on top. Heat until the chocolate melts slowly. Once the chocolate is melted, let it cool a bit. In a blender, add the drained silken tofu, melted chocolate, maple syrup, vanilla extract, sea salt, and cocoa powder if you want more depth. Blend on high for 1-2 minutes. Scrape the sides of the bowl to mix well. The goal is a smooth, creamy texture. After blending, taste the mousse. If you want it sweeter, add more maple syrup, then blend briefly to mix. Spoon the mousse into serving glasses. Chill these in the fridge for at least 30 minutes. It will set better the longer it chills. When melting chocolate, the key is low heat. Too much heat can burn the chocolate. If using the microwave, stir often. This helps distribute the heat evenly. If you see any lumps, keep stirring. For the double boiler, keep the water simmering, not boiling. Boiling can splash water into the chocolate, which ruins its texture. For the best mousse, blend until smooth. If your blender struggles, add a splash of plant milk to help it along. This will make it easier to blend. Scrape down the sides often to ensure even mixing. The mousse should be light and fluffy at the end. If you want to make it extra creamy, blend a little longer. To get that perfect, creamy texture, start with silken tofu. It blends smoothly and gives the mousse a rich mouthfeel. After melting the chocolate, let it cool slightly before adding it to the blender. If the chocolate is too hot, it can cook the tofu, leading to a grainy texture. Blend the mixture until it is silky and lump-free. If it seems too thick, add a splash of plant milk for a lighter mousse. One common mistake is not draining the tofu well. Extra water can make the mousse runny. Always press the tofu gently to remove excess liquid. Another mistake is overheating the chocolate. If you melt it too quickly, it can burn and lose flavor. Stir often during melting to keep it smooth. Lastly, remember to taste your mousse before chilling it. You can adjust the sweetness with more maple syrup if needed. You can make this mousse even more exciting! Try adding a spoonful of espresso or a dash of cinnamon for depth. Want more chocolate flavor? Add cocoa powder to the mix. Fresh fruit like raspberries or strawberries can brighten the taste. Use vanilla bean for a richer aroma. Don't forget to top your mousse with berries or mint for a beautiful finish. For the full recipe, check the earlier section. {{image_2}} You can swap maple syrup with other sweeteners. Agave syrup works well and is light. Coconut sugar offers a caramel-like taste. Both options blend in easily for sweetness. Get creative with flavors in your mousse. Adding a shot of espresso boosts the chocolate taste. Vanilla bean brings a warm, rich flavor. You can also try a hint of almond extract for a nutty twist. The type of chocolate changes your mousse. Dairy-free dark chocolate gives a rich taste. White chocolate offers a sweeter, creamier option. You can even mix dark and milk chocolate for balance. For the full recipe, check out the complete guide to Vegan Chocolate Mousse. To keep your vegan chocolate mousse fresh, store it in an airtight container. This helps prevent any odors from the fridge from affecting the taste. Make sure to chill it right after you prepare it. Avoid leaving it out at room temperature for too long. Your mousse will last about 3 to 5 days in the fridge. The longer it sits, the firmer it may get. I recommend checking the texture each day. If it seems too firm, you can give it a quick stir before serving. You can freeze vegan chocolate mousse for up to 2 months. Use a freezer-safe container for storage. When you want to eat it, thaw it in the fridge overnight. Avoid using a microwave, as it can change the texture. For best results, enjoy the mousse fresh! For the full recipe, check out the section above. Vegan chocolate mousse is made from simple, plant-based ingredients. The main ingredient is silken tofu, which gives the mousse its creamy texture. You will also need dairy-free dark chocolate chips for rich flavor. Maple syrup adds sweetness, while vanilla extract enhances the taste. A pinch of sea salt balances the flavors, and cocoa powder adds extra richness if you like. Yes, vegan chocolate mousse can be a healthy dessert option. It uses whole ingredients, which provide nutrients. Silken tofu is high in protein and low in calories. Dark chocolate contains antioxidants, which are good for your heart. Maple syrup has some vitamins and minerals, making it a better option than refined sugar. While it's still a treat, it offers some health benefits compared to traditional mousse. You can make vegan chocolate mousse without tofu by using avocados instead. Avocados provide creaminess and healthy fats. Simply blend ripe avocados with melted dark chocolate, maple syrup, and vanilla extract. Adjust the sweetness to your taste. This version is rich and creamy, just like the original. Yes, you can definitely make vegan chocolate mousse ahead of time. It needs to chill for at least 30 minutes to set properly. You can prepare it the day before and store it in the fridge. Just cover the serving glasses or bowls with plastic wrap to keep them fresh. You can serve vegan chocolate mousse with a variety of toppings. Fresh berries like raspberries or strawberries add a nice burst of flavor. Mint leaves also provide a refreshing touch. Whipped coconut cream can add extra creaminess. You can even add crushed nuts for a bit of crunch. Check the Full Recipe for more ideas! This blog post covers everything you need for vegan chocolate mousse. You learned about the key ingredients and their health benefits. You also found tips for cooking, blending, and avoiding common mistakes. We explored variations with sweeteners and flavors, plus how to store your mousse properly. In the end, enjoy experimenting with this creamy treat. Its flexibility allows you to tailor it to your taste. Get ready to impress with your delicious and healthy dessert!](https://southerndishes.com/wp-content/uploads/2025/07/bb18acba-6e4f-433b-b214-bb060cb9d9c6-300x300.webp)


