Latest & Greatest
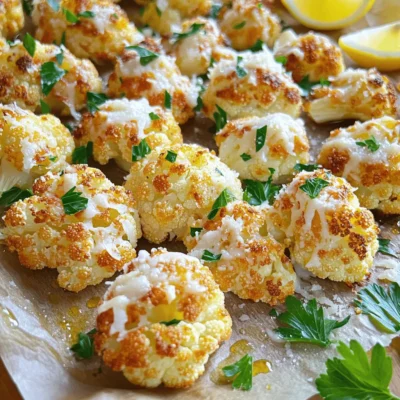
Garlic Parmesan Roasted Cauliflower Flavorful Delight
Are you ready to transform cauliflower into a flavorful delight? Garlic Parmesan Roasted Cauliflower is not just a dish; it’s
Read more…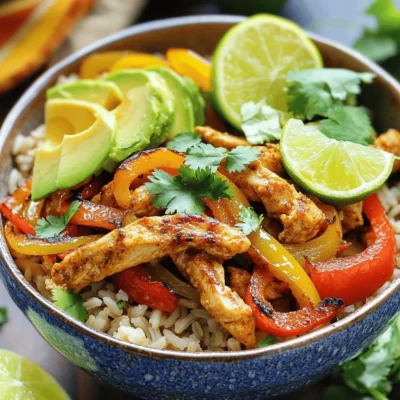
Satisfying Chicken Fajita Rice Bowls Quick and Easy
Want a tasty, easy meal? These Chicken Fajita Rice Bowls are just what you need! In this post, I’ll share
Read more…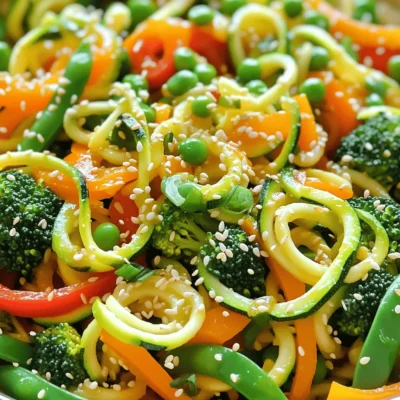
Zucchini Noodle Stir Fry Flavorful and Easy Recipe
Looking for a quick, tasty meal that’s both healthy and satisfying? Try my Zucchini Noodle Stir Fry! This easy recipe
Read more…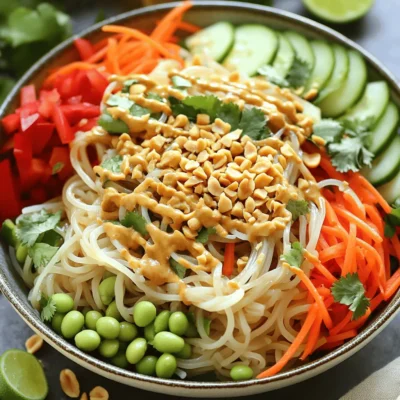
Thai Peanut Noodle Salad Fresh and Flavorful Delight
Are you ready to have your taste buds sing? Thai Peanut Noodle Salad is a fresh and flavorful delight that’s
Read more…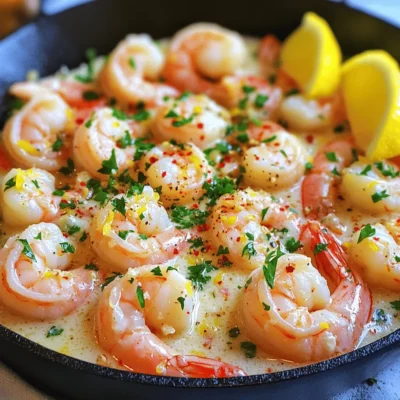
Lemon Garlic Butter Shrimp Savory and Simple Recipe
If you love quick and tasty meals, you need to try this Lemon Garlic Butter Shrimp recipe. It’s simple, savory,
Read more…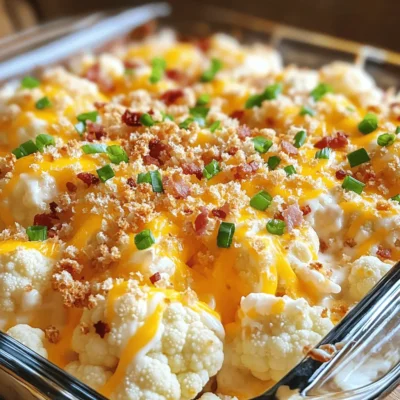
Loaded Cauliflower Casserole Savory and Simple Dish
Looking for a comfort food that’s both tasty and simple? Let me introduce you to Loaded Cauliflower Casserole—a creamy, cheesy
Read more…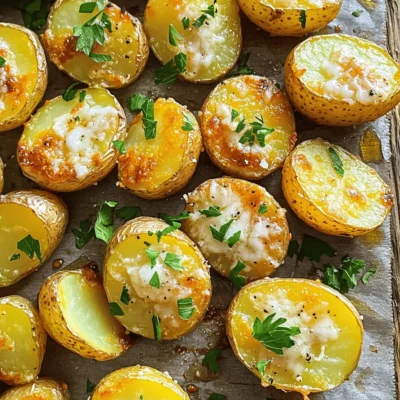
Garlic Parmesan Roasted Potatoes Easy Side Dish Recipe
Looking for a tasty side dish that’s easy to make? Garlic Parmesan Roasted Potatoes are your answer! This simple recipe
Read more…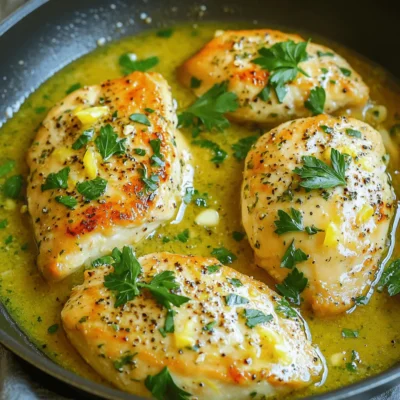
Skillet Lemon Herb Chicken Flavorful and Simple Meal
Looking for a tasty and easy meal? My Skillet Lemon Herb Chicken is just what you need! This dish combines
Read more…browse recipes
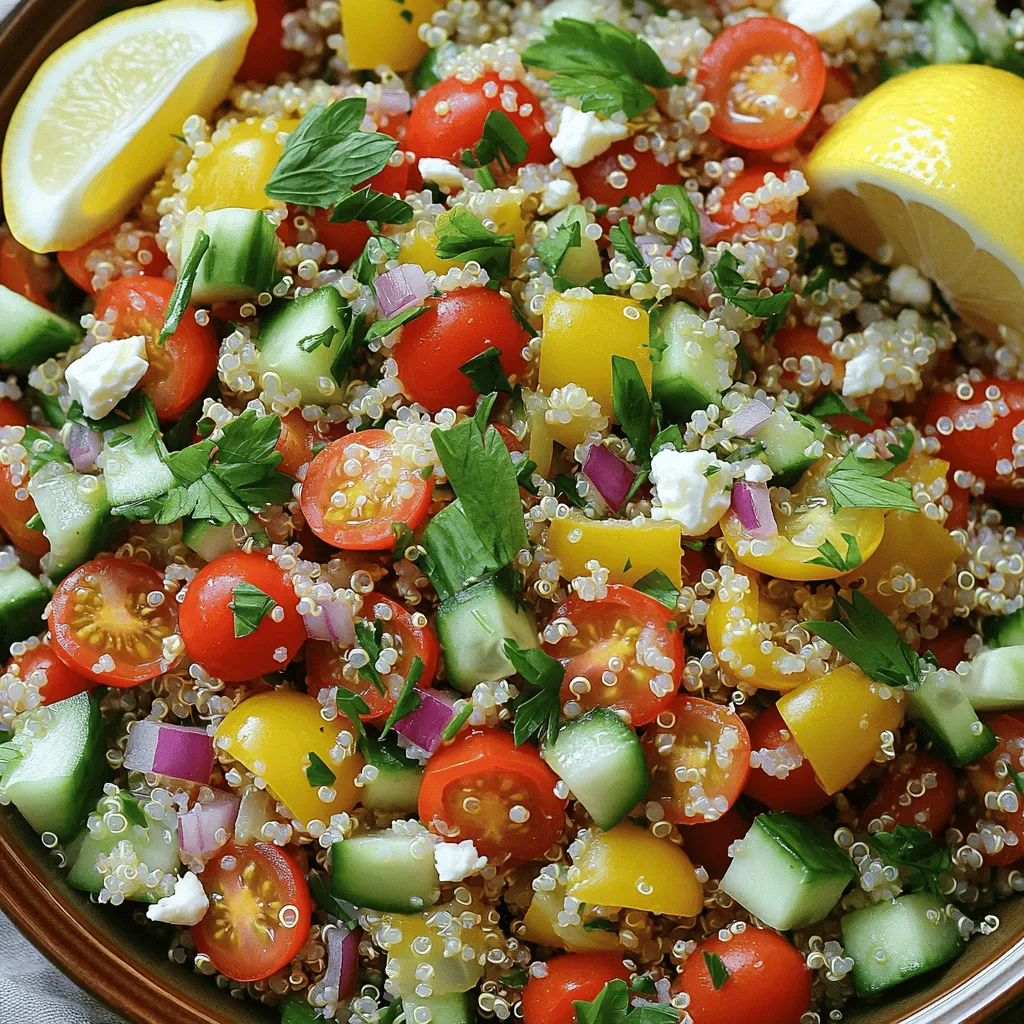
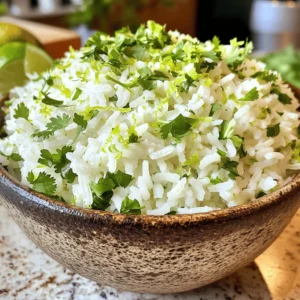
Herbed Quinoa Salad Fresh and Flavorful Recipe
Are you ready to elevate your meal game? This Herbed Quinoa Salad is fresh, colorful, and packed with flavor. It’s simple to make and…
My Latest Desserts
-
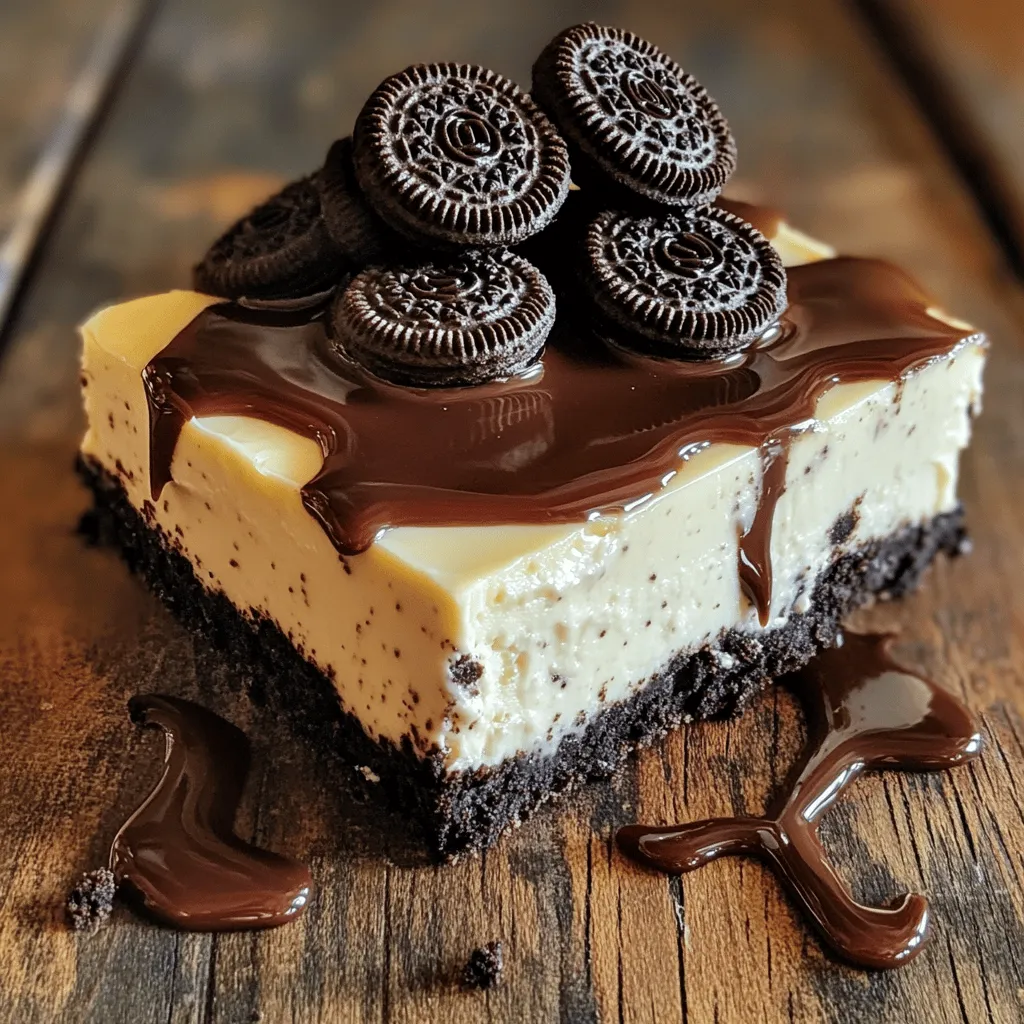
No-Bake Oreo Cheesecake Bars Delicious and Simple Treat
Looking for a simple and sweet dessert? You’ll love these No-Bake Oreo Cheesecake Bars! They are creamy, rich, and super Read Full Recipe -
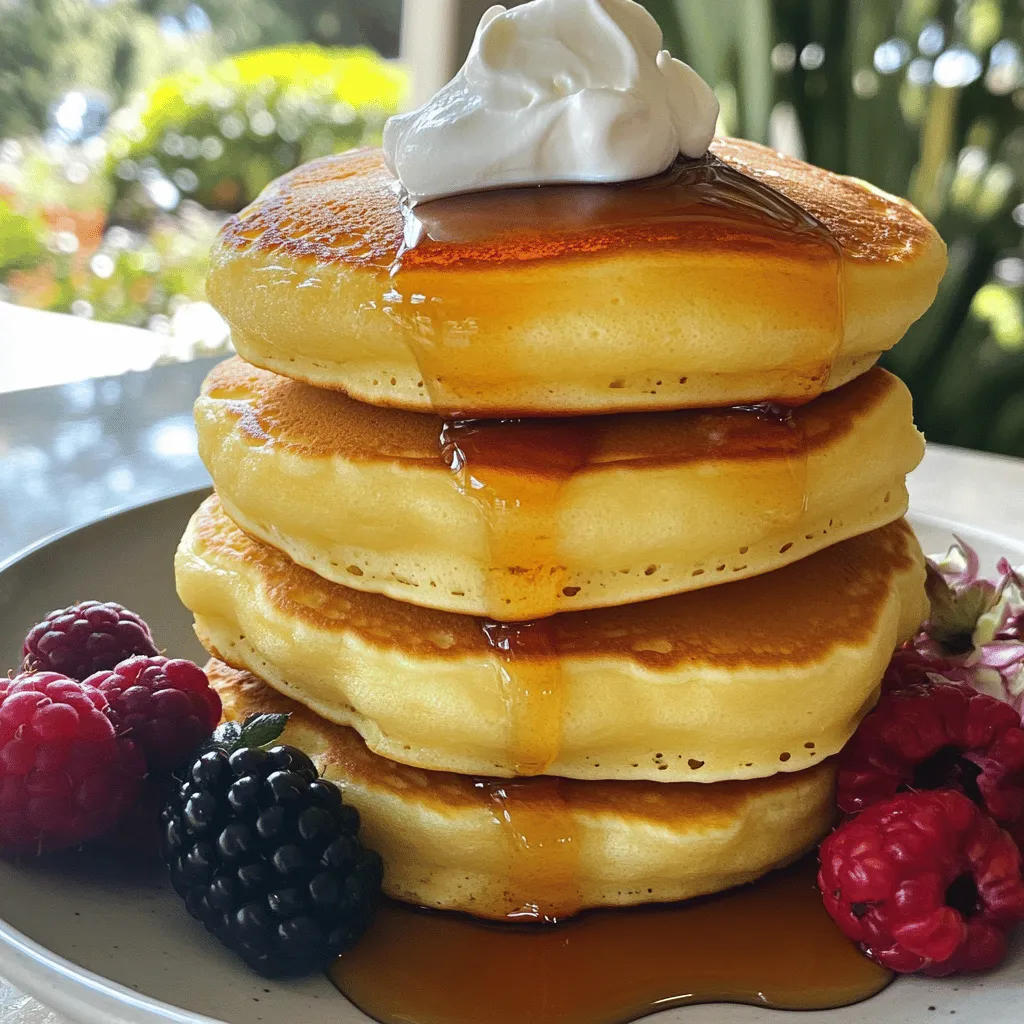
Fluffy Japanese Soufflé Pancakes Simple and Soft Delight
Are you ready to flip your breakfast game? Fluffy Japanese soufflé pancakes are a soft, delightful treat that will impress Read Full Recipe -
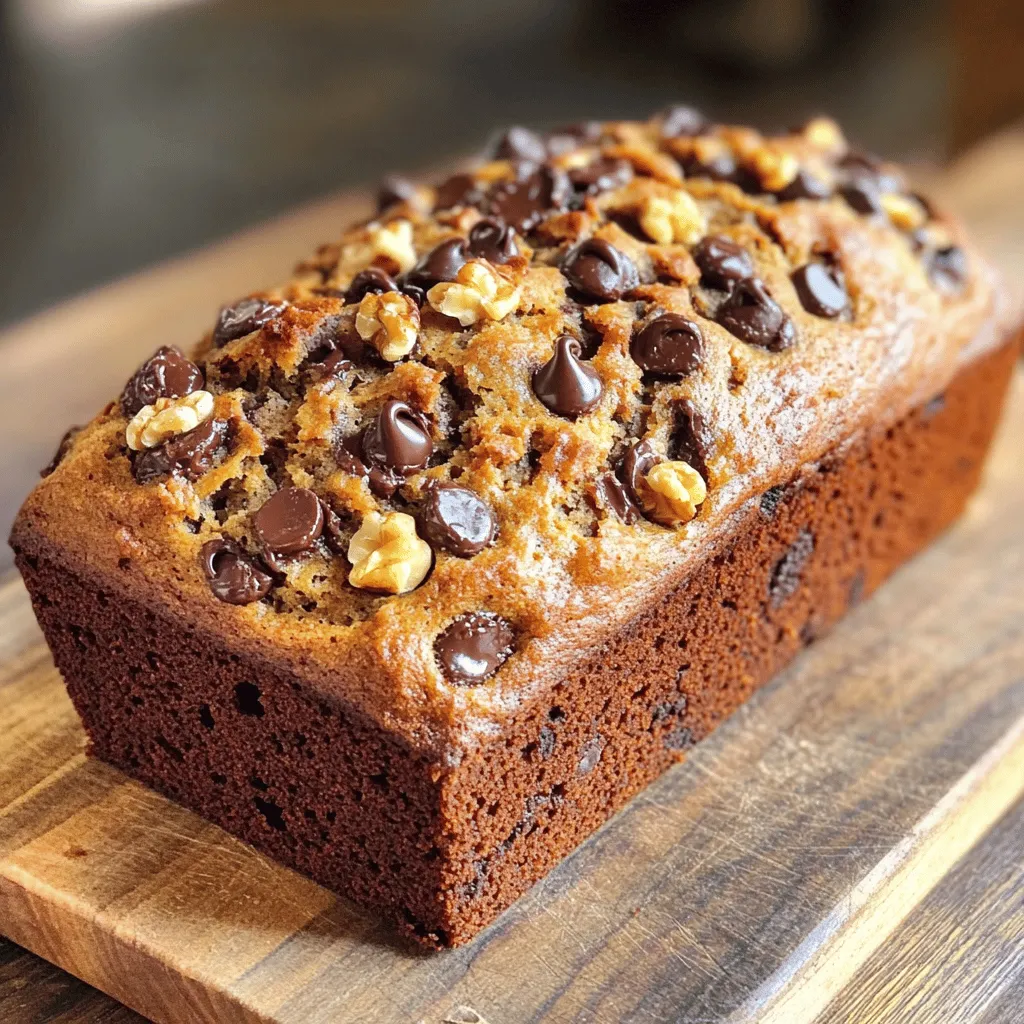
Chocolate Chip Banana Bread Rich and Flavorful Delight
Ready to indulge in a warm, gooey slice of Chocolate Chip Banana Bread? This rich and flavorful delight combines ripe Read Full Recipe -
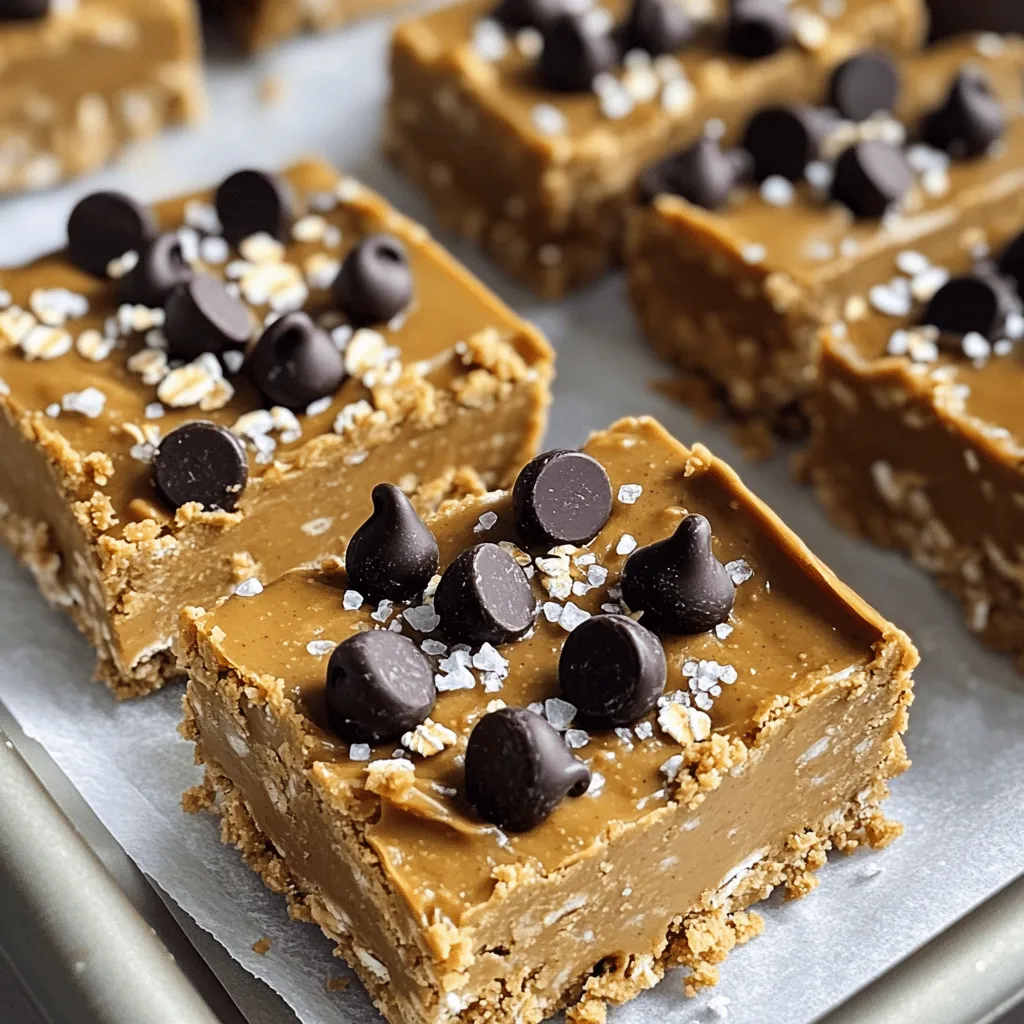
No Bake Peanut Butter Chocolate Bars Simple Delight
Are you craving a sweet treat that’s both simple and delicious? Look no further! I’m excited to share my recipe Read Full Recipe -
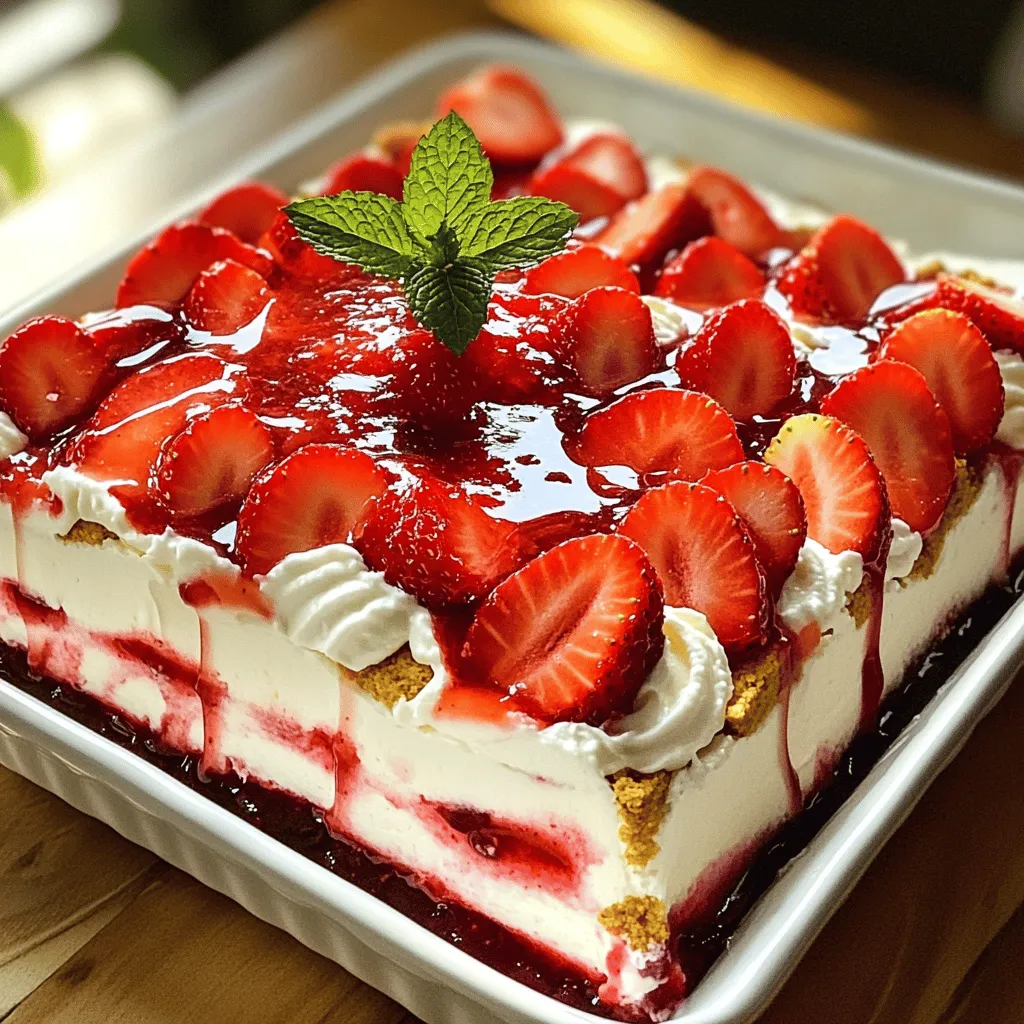
Strawberry Cheesecake Icebox Cake Delightful Dessert
Craving a cool, creamy dessert that’s as easy to make as it is delicious? Look no further than this Strawberry Read Full Recipe -
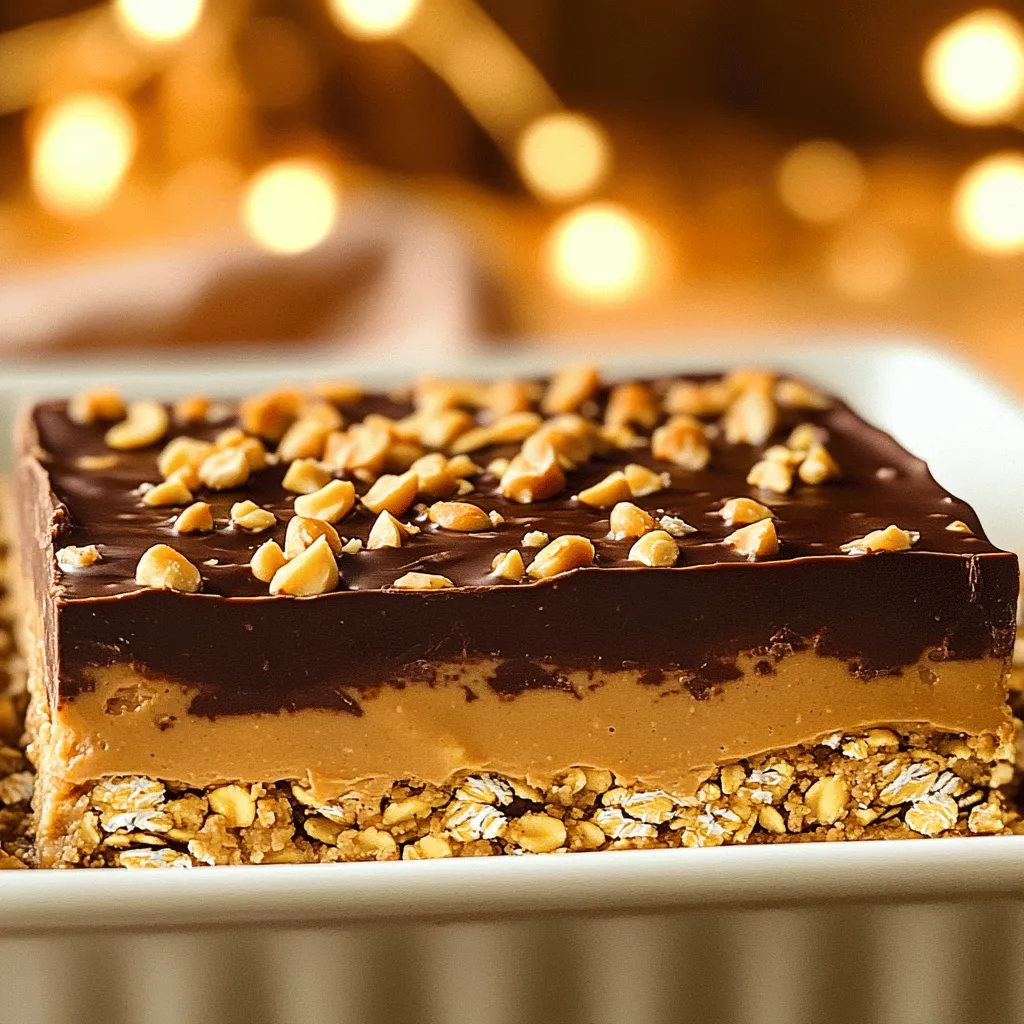
No Bake Peanut Butter Bars Quick and Easy Treat
Looking for a sweet treat that’s quick, easy, and requires no baking? I’ve got you covered with my No Bake Read Full Recipe -
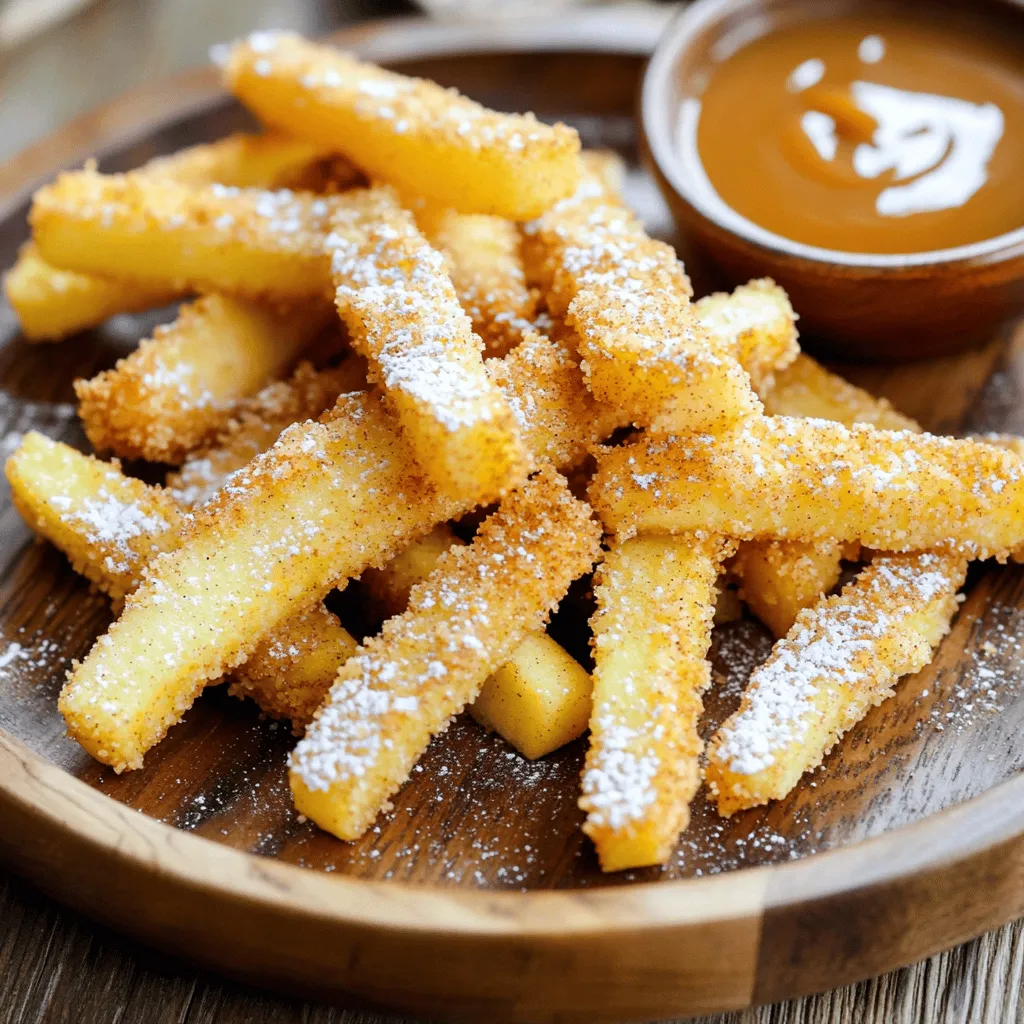
Air Fryer Apple Fries Delicious Crispy Snack Recipe
Craving a tasty snack that’s both fun and simple? Dive into my Air Fryer Apple Fries recipe! With a perfect Read Full Recipe -
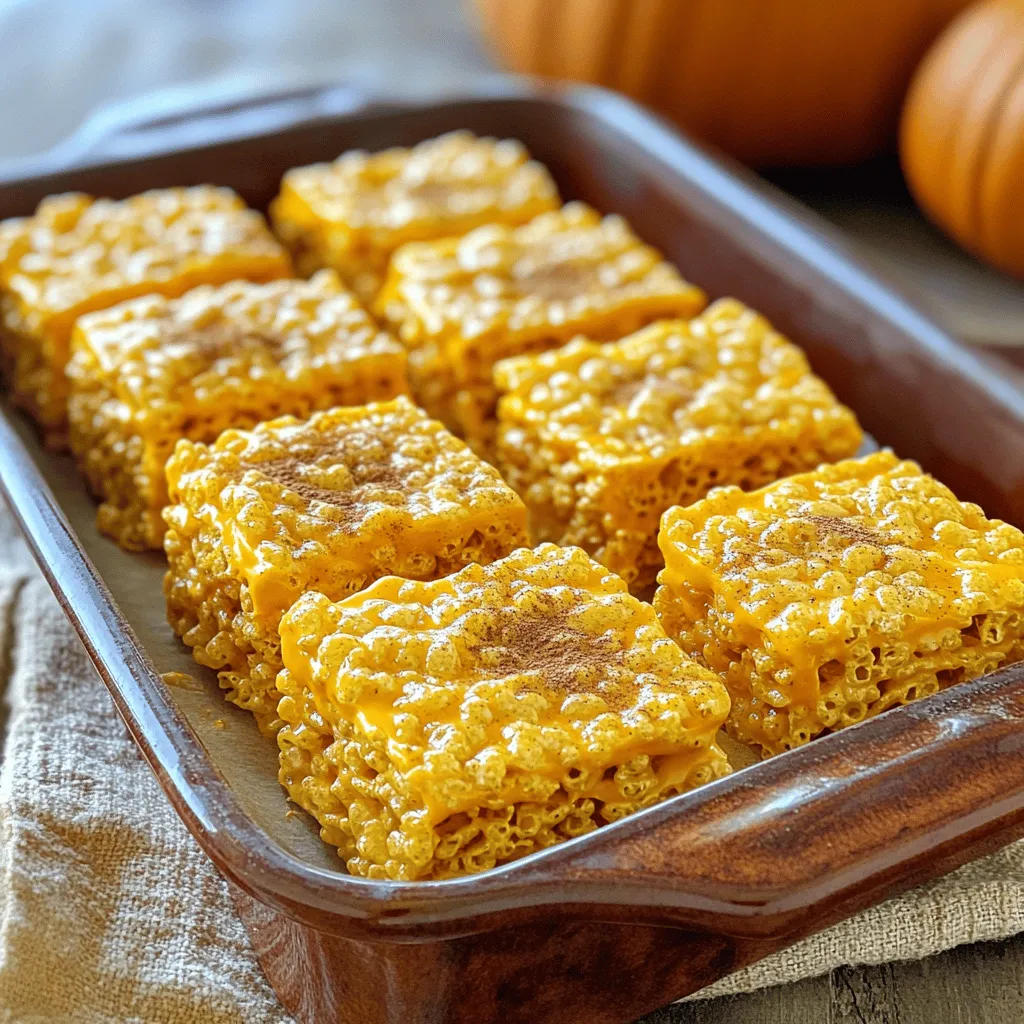
Pumpkin Spice Rice Krispie Treats Cozy Fall Delight
Fall is here, and what better way to celebrate than with Pumpkin Spice Rice Krispie Treats? These sweet, chewy delights Read Full Recipe -
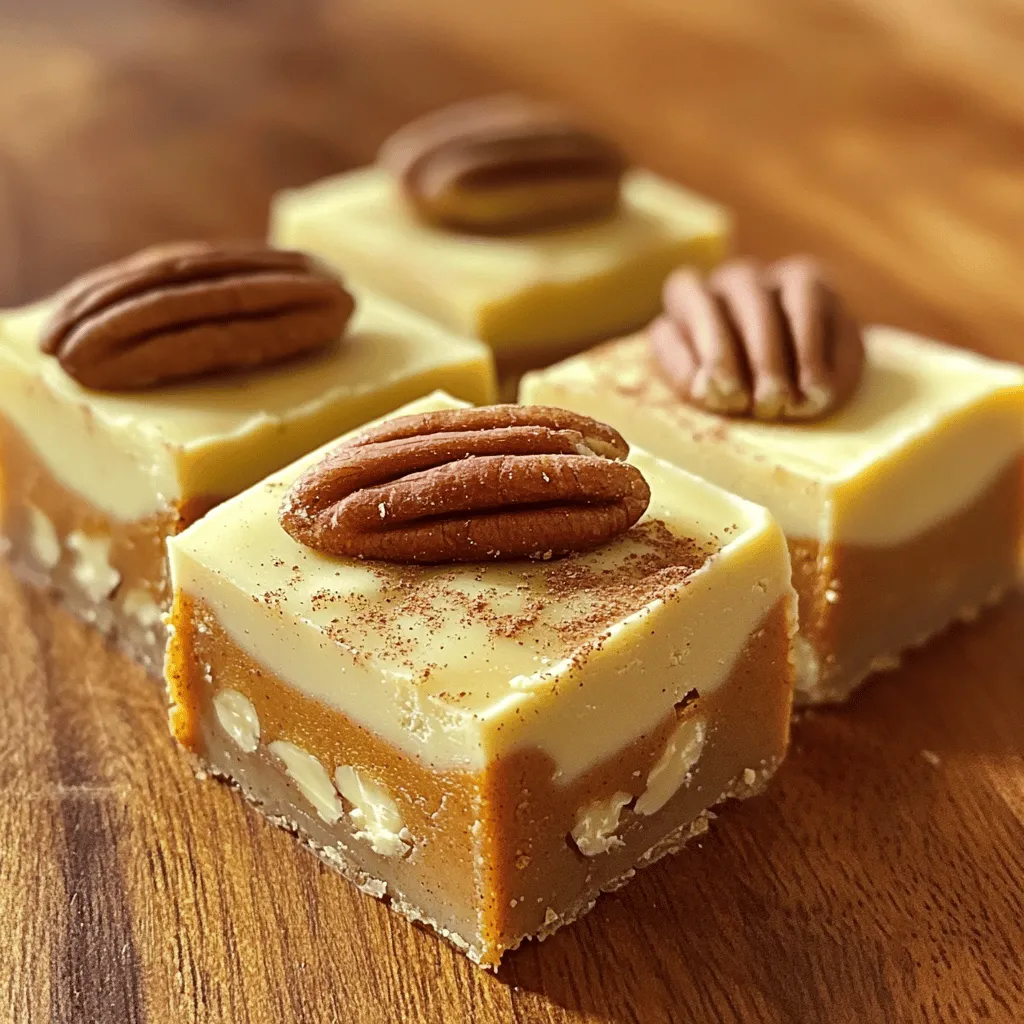
Pumpkin Spice Fudge Irresistible Fall Treat Recipe
Fall is here, and so is your new favorite treat: Pumpkin Spice Fudge! This sweet, creamy delight captures all the Read Full Recipe -
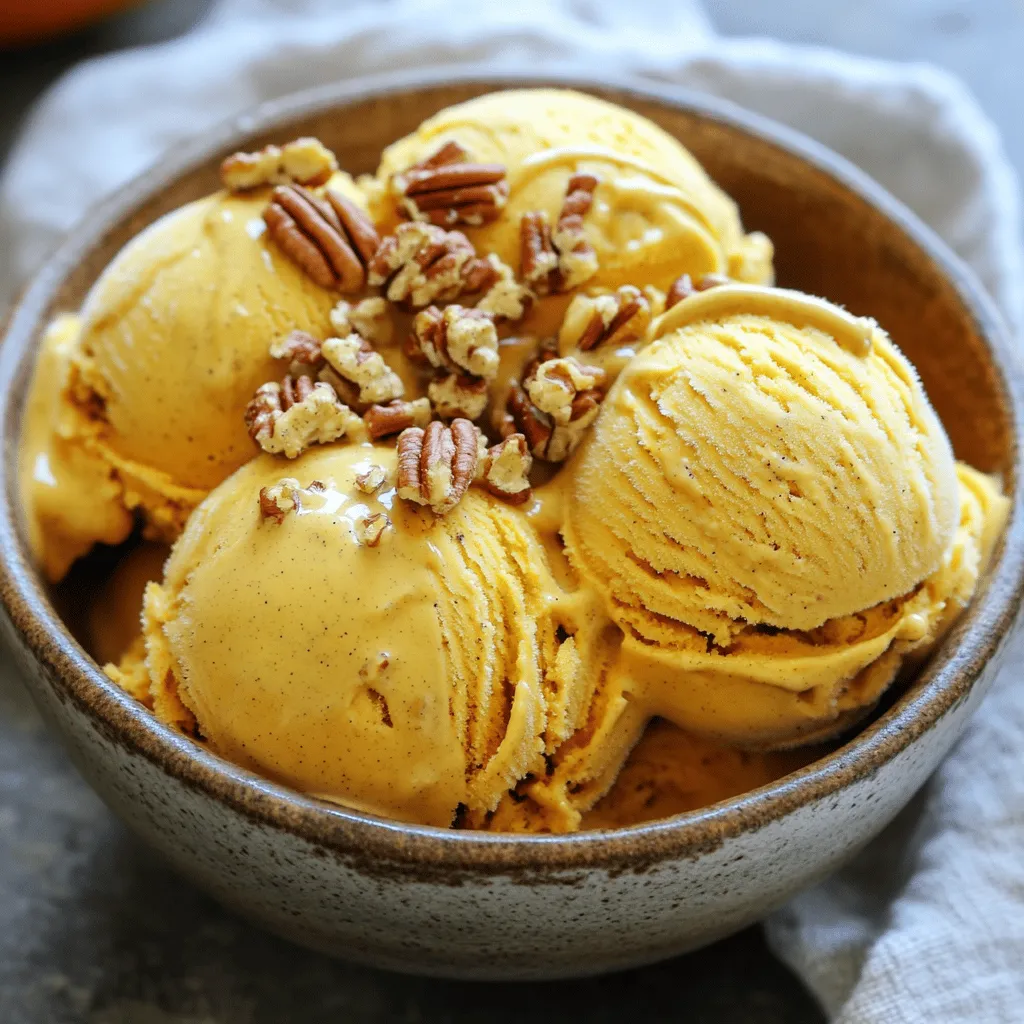
Pumpkin Spice Ice Cream Delightful Fall Treat Recipe
Get ready to savor fall with a creamy delight: Pumpkin Spice Ice Cream! This treat blends rich flavors of pumpkin, Read Full Recipe
My Latest Recipes

hey,
i’m !
I’m so happy you’re here!
My kitchen is filled with stories, flavors, and love and I’m so happy to share them with you. Here’s to dishes that feel like home.


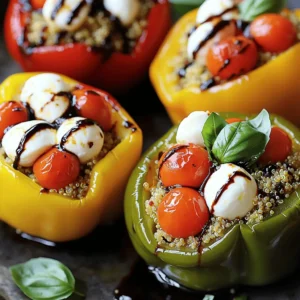
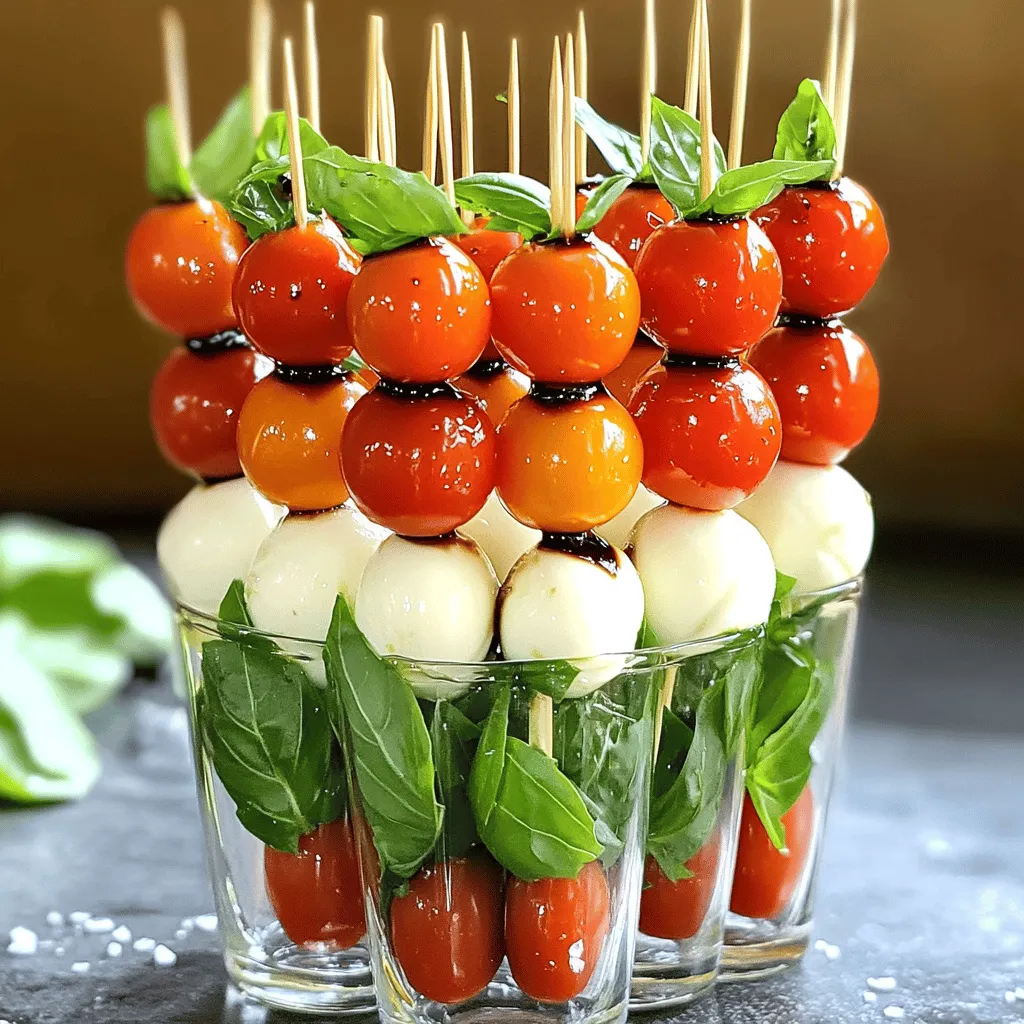
Easy Caprese Skewers Quick and Tasty Appetizer
Looking for a quick appetizer that impresses? Easy Caprese Skewers are your answer! This fresh, tasty dish combines cherry tomatoes, mozzarella, and basil, all…