
Latest & Greatest

Pumpkin Spice Crumble Cake Perfect for Fall Gatherings
Fall is here, and it’s time to savor the flavors of the season! If you love the warm, cozy taste
Read more…
Carrot Cake Oatmeal Cookies Tasty and Easy Recipe
Craving a sweet treat that’s both tasty and healthy? You’re in for a delight with my Carrot Cake Oatmeal Cookies!
Read more…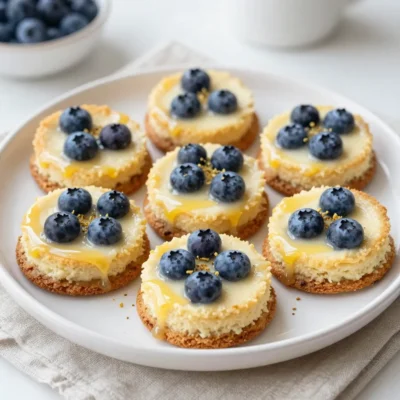
Lemon Blueberry Cheesecake Cookies Delightful Treat
Get ready to treat your taste buds! Lemon Blueberry Cheesecake Cookies blend bright lemon with sweet blueberries for a bite-sized
Read more…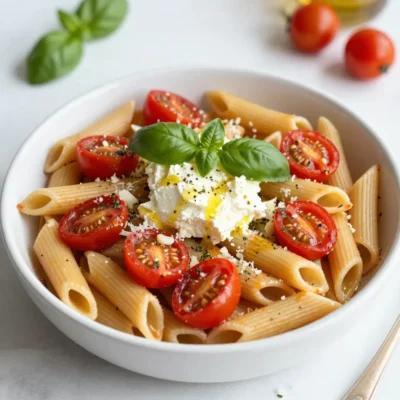
Baked Feta Tomato Pasta Tasty and Quick Weeknight Dish
Looking for a quick and tasty dinner idea? Baked Feta Tomato Pasta is your answer! This dish is easy to
Read more…
No-Chop Sun-Dried Tomato Pasta Quick and Tasty Dish
Looking for a quick and tasty meal? Try my No-Chop Sun-Dried Tomato Pasta! This dish packs bold flavors, creamy goodness,
Read more…
Scottish Tattie Scones Flavorful and Easy Recipe Guide
If you love comfort food, Scottish Tattie Scones are a must-try! This easy recipe guide will help you make these
Read more…
Peppermint Snowball Cookies Delightful Holiday Treat
Get ready to add a spark of joy to your holiday baking with my Peppermint Snowball Cookies! These delicious treats
Read more…
Chocolate Dipped Coconut Macaroons Irresistible Treat
Are you ready to indulge in a sweet treat? Chocolate Dipped Coconut Macaroons are the perfect blend of chewy coconut
Read more…browse recipes


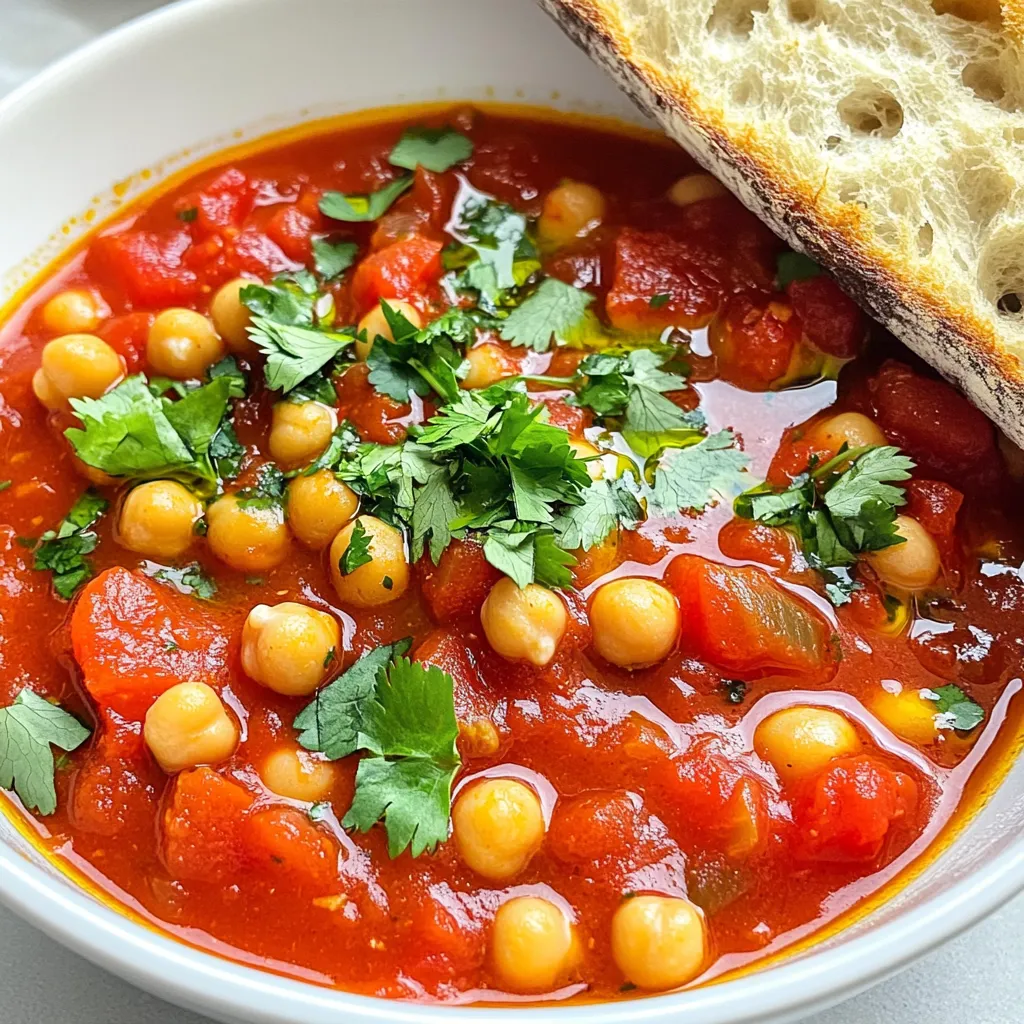
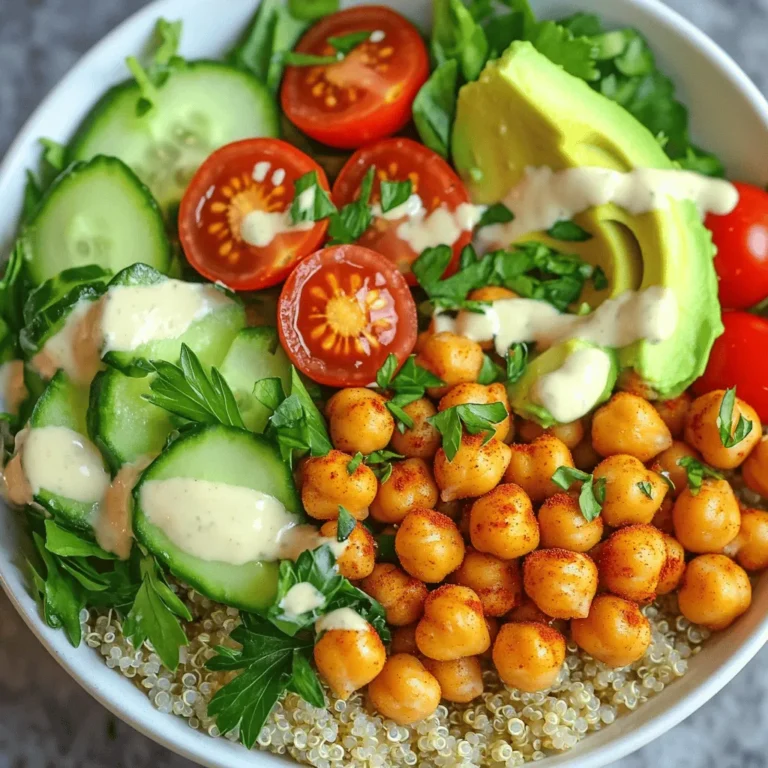
Spicy Tomato Chickpea Stew Hearty and Flavorful Dish
Are you ready to heat up your dinner routine with a hearty, flavorful dish? My Spicy Tomato Chickpea Stew is packed with bold flavors,…
My Latest Desserts
My Latest Recipes

hey,
i’m !
I’m so happy you’re here!
My kitchen is filled with stories, flavors, and love and I’m so happy to share them with you. Here’s to dishes that feel like home.


Peanut Butter Banana Overnight Oats Easy and Healthy
If you love a quick, tasty breakfast, Peanut Butter Banana Overnight Oats are perfect for you! They combine creamy peanut butter and sweet bananas…
![To make Peanut Butter Banana Overnight Oats, you need these simple ingredients: - 1 cup rolled oats - 2 cups almond milk (or any milk of choice) - 2 ripe bananas, sliced - 1/2 cup creamy peanut butter - 2 tablespoons honey or maple syrup (optional) - 1 teaspoon vanilla extract - 1/2 teaspoon cinnamon - A pinch of salt - Chopped peanuts and banana slices for topping This mix creates a tasty, filling breakfast that keeps you energized. You can change the recipe to suit your taste. Here are some fun add-ins and variations: - Add chia seeds for more fiber. - Use Greek yogurt for extra protein. - Swap peanut butter with almond or cashew butter. - Mix in some chocolate chips for a sweet treat. - Try different fruits like berries or apples. These options let you enjoy your oats in new ways. Understanding the nutrition can help you make informed choices: - Rolled oats: High in fiber, they help with digestion and keep you full. - Almond milk: Low in calories and dairy-free, it's a great milk alternative. - Bananas: They add natural sweetness and provide potassium. - Peanut butter: Packed with protein and healthy fats, it boosts energy. - Honey or maple syrup: Adds sweetness but should be used in moderation. - Vanilla extract: Enhances flavor without extra calories. - Cinnamon: It may help regulate blood sugar levels. - Salt: Balances flavors and enhances taste. Each ingredient brings its own benefits, making this dish not only delicious but also healthy. For the complete recipe, you can check the [Full Recipe]. Making peanut butter banana overnight oats is simple. You only need ten minutes to prep. The oats soak overnight, so they are ready in the morning. This dish is great for busy days. 1. Start with a large mixing bowl. Add 1 cup of rolled oats and 2 cups of almond milk. 2. Next, add 1/2 cup of creamy peanut butter. If you want some sweetness, mix in 2 tablespoons of honey or maple syrup. 3. Pour in 1 teaspoon of vanilla extract and 1/2 teaspoon of cinnamon. Add a pinch of salt to boost the flavor. 4. Stir everything until it blends well. Make sure the peanut butter mixes in fully. 5. Now, fold in half of the sliced bananas. Save the rest for topping later. 6. Divide the mix evenly into two jars or airtight containers. Seal them tightly to keep them fresh. Place the jars in the fridge overnight. This allows the oats to soak and soften. In the morning, stir the oats before eating. Top with the remaining banana slices and some chopped peanuts for a nice crunch. You can enjoy them cold or heat them in the microwave for 30 seconds if you like them warm. For the full recipe, check out the complete guide. To make the best peanut butter banana overnight oats, use rolled oats. They soak up the liquid well and give the right texture. Always use ripe bananas for the sweetest flavor. If you want extra creaminess, use creamy peanut butter. You can even mix in yogurt for a protein boost. One mistake is not mixing well enough. Make sure the peanut butter blends in fully. If you leave clumps, the oats won't taste great. Another issue is not sealing the jars tightly. If air gets in, your oats may dry out. Finally, don’t forget to stir your oats before eating. This ensures even flavor and texture. These oats are perfect for meal prep. You can make a batch for the week. Just double the recipe and store in jars. Use mason jars for easy transport. They fit well in your bag and look nice, too. If you want variety, try different toppings each day. Chopped nuts, berries, or a sprinkle of chocolate can change things up. For the full recipe, check out the Peanut Butter Banana Bliss Overnight Oats section. {{image_2}} You can switch your oats for different types. Steel-cut oats give a chewy texture. Quick oats are softer and soak faster. Choose what you like best! For milk, use almond, cow, or oat milk. Each adds its own flavor. You can even try coconut milk for a tropical twist. Want to spice up your oats? Add a scoop of cocoa powder for chocolatey goodness. You can also mix in some chia seeds for extra fiber. If you like a hint of spice, try adding nutmeg or cardamom. These flavors blend well with banana and peanut butter. Toppings make your oats more fun! Try adding chopped nuts, like walnuts or pecans, for crunch. A sprinkle of granola adds a nice texture too. You can also drizzle some honey or maple syrup on top for sweetness. Fresh berries or shredded coconut bring a bright touch to your dish. For a full list of ingredients and their uses, check out the Full Recipe. To keep your Peanut Butter Banana Overnight Oats fresh, use airtight containers. Glass jars work great. Make sure to seal them tightly. This helps to keep air out and prevents spoiling. If you plan to make a batch, divide it into individual servings. This way, you can grab one easily when you need it. These oats can last in the fridge for about 3 to 5 days. After a few days, the bananas may brown and change texture. The oats will still taste good, but fresh slices on top will make them look better. If you notice a change in smell or texture, it's best to toss them. Always trust your senses! If you like your oats warm, you can heat them in the microwave. Take off the lid, then heat for 30 seconds. Stir them well, and check the temperature. If they need more heat, do it in 10-second bursts. Remember, you can also enjoy them cold straight from the fridge! Yes, you can use quick oats. Quick oats will cook faster. They absorb liquid more quickly than rolled oats. This means your oats might turn out creamier, but they may also lose some texture. If you like a softer oat, quick oats work well. If you want a chewier bite, stick with rolled oats. Soaking overnight is key for the best texture. It allows the oats to absorb the liquid fully. This makes them soft and creamy. If you skip soaking, your oats may be too chewy. However, if you’re in a hurry, you can soak them for just a few hours. Just remember, the longer they soak, the better they taste! You can add many tasty ingredients to make it your own. Here are some ideas: - Chia seeds: For extra fiber and nutrition. - Cocoa powder: For a chocolatey twist. - Greek yogurt: To boost protein and creaminess. - Different fruits: Try berries, apples, or mango for variety. - Nut butters: Swap peanut butter for almond or cashew butter. These options let you create different flavors each time. Feel free to experiment with what you love! For the full recipe, check out the detailed instructions above. Overnight oats are easy and fun to make. We covered key ingredients, step-by-step instructions, and smart tips. You can customize them with flavors and toppings to fit your taste. Remember to store them well for freshness. With these ideas, you can enjoy tasty oats any day. Experiment with your favorite ingredients and make them your own. Now, you have all the tools to make perfect overnight oats. Enjoy every bite!](https://southerndishes.com/wp-content/uploads/2025/04/8ed9226f-6661-4a9a-8415-94fdb197f358.webp)
