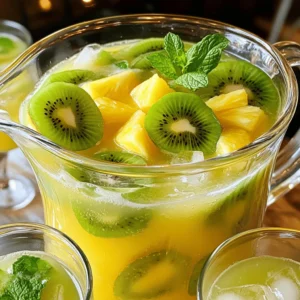
Latest & Greatest
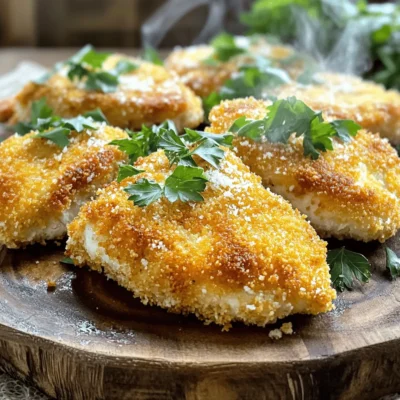
Panko Parmesan Chicken Cutlets Crispy and Tasty Meal
Ready to bring some crunch to your dinner table? Panko Parmesan Chicken Cutlets are the perfect mix of crispy and
Read more…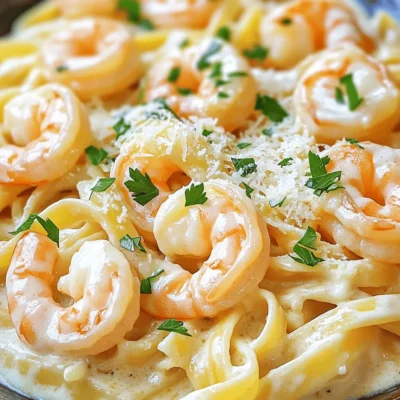
Savory Garlic Butter Shrimp Alfredo Quick Dinner Delight
Are you ready for a quick dinner that’s packed with flavor? This Garlic Butter Shrimp Alfredo brings together tender shrimp,
Read more…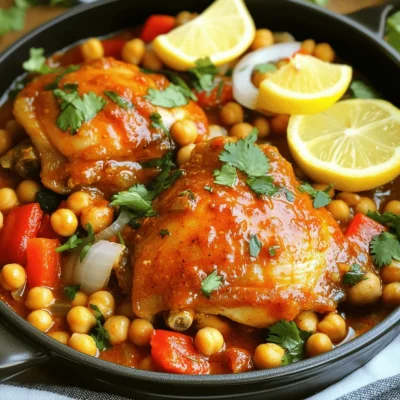
Harissa Chicken with Chickpeas Mouthwatering Meal Prep
Looking for a meal that’s both tasty and easy to prep? You’ve found it! Harissa Chicken with Chickpeas is packed
Read more…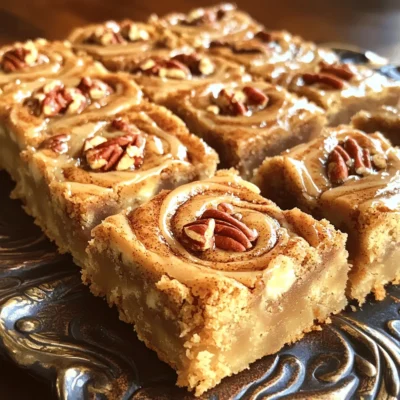
Cinnamon Roll Blondies Irresistible Sweet Treat Recipe
Cinnamon Roll Blondies are a sweet treat that combines warm spices with soft, chewy goodness. If you’re craving something delicious
Read more…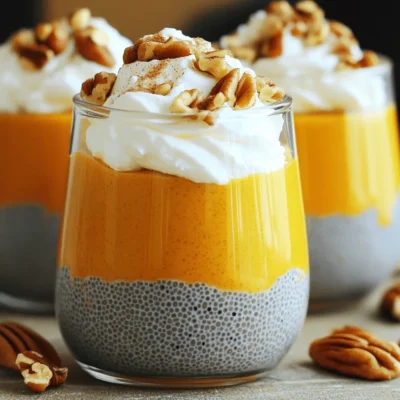
Pumpkin Pie Chia Pudding Tasty Fall Delight
Craving a tasty fall treat? My Pumpkin Pie Chia Pudding combines the flavors of pumpkin spice with a creamy, sweet
Read more…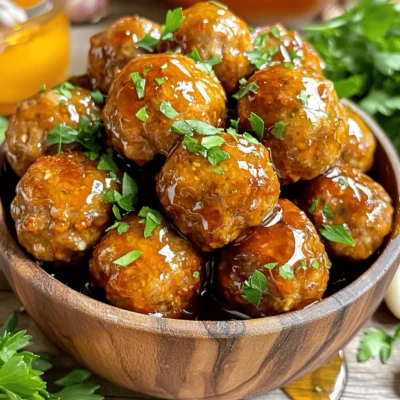
Honey Garlic Meatballs Quick and Tasty Meal Idea
Looking for a quick and tasty meal? Honey Garlic Meatballs are your solution! These sweet and savory bites are simple
Read more…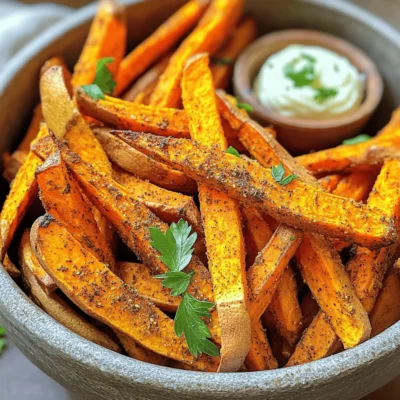
Air Fryer Sweet Potato Fries Crispy and Delicious Snack
Craving a tasty snack that’s easy to make? Try my Air Fryer Sweet Potato Fries! These crispy, flavorful fries are
Read more…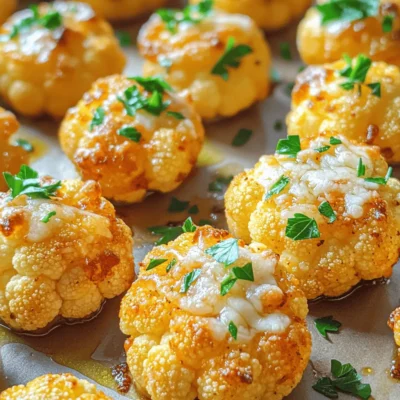
Garlic Parmesan Cauliflower Bites Crispy and Flavorful
If you’re craving a delicious snack, look no further! Garlic Parmesan Cauliflower Bites are crispy, flavorful, and simple to make.
Read more…browse recipes
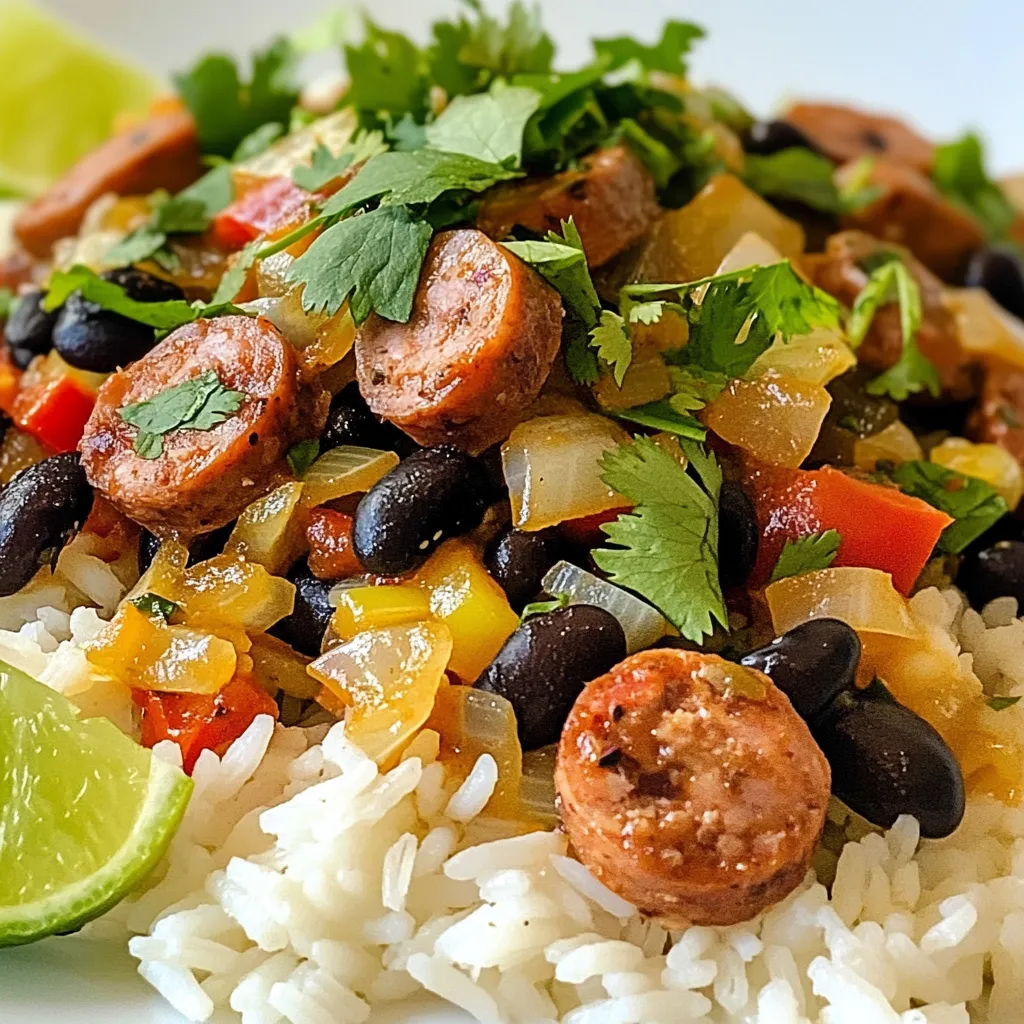
Black Beans and Rice with Sausage Simple Comfort Meal
If you’re looking for a meal that’s both simple and satisfying, look no further. Black Beans and Rice with Sausage delivers big taste without…
My Latest Desserts
My Latest Recipes

hey,
i’m !
I’m so happy you’re here!
My kitchen is filled with stories, flavors, and love and I’m so happy to share them with you. Here’s to dishes that feel like home.
. Yes, you can use crunchy peanut butter. It adds a nice texture. The bars will have bits of peanuts, making them even more enjoyable. Just make sure to mix it well so all ingredients blend nicely. If you prefer a smooth texture, stick with creamy peanut butter. These bars can be a healthy snack. They contain: - Rolled oats: Great source of fiber. - Peanut butter: Packed with protein and healthy fats. - Honey or maple syrup: Natural sweeteners with some nutrients. However, keep in mind that they are still a treat. Moderation is key. They provide energy, but watch portion sizes if you're counting calories. You can customize these bars in many ways: - Add nuts or seeds: Mix in almonds or chia seeds for extra crunch. - Use different sweeteners: Try agave syrup or stevia for a lower-calorie option. - Experiment with flavors: Add a pinch of cinnamon or chocolate protein powder for a twist. Feel free to get creative! For clean cuts, follow these tips: - Use a sharp knife: A sharp knife makes smooth cuts without tearing the bars. - Warm the knife: Dip the knife in hot water before cutting. Wipe it dry and cut through. - Cut when chilled: Make sure the bars are firm from refrigeration. This helps with clean edges. These techniques will give you neat, beautiful bars for serving. This blog post shared a simple recipe for no-bake peanut butter bars. We covered key ingredients, optional additions, and substitutions. The step-by-step instructions make it easy to follow, ensuring great results. I shared tips to avoid common mistakes and enhance flavors. You can also explore variations for different diets. Finally, I provided storage tips to keep your bars fresh. Enjoy making this treat and customizing it to your taste!](https://southerndishes.com/wp-content/uploads/2025/06/d0933131-b370-4f8b-970b-097209a1ced7-300x300.webp)
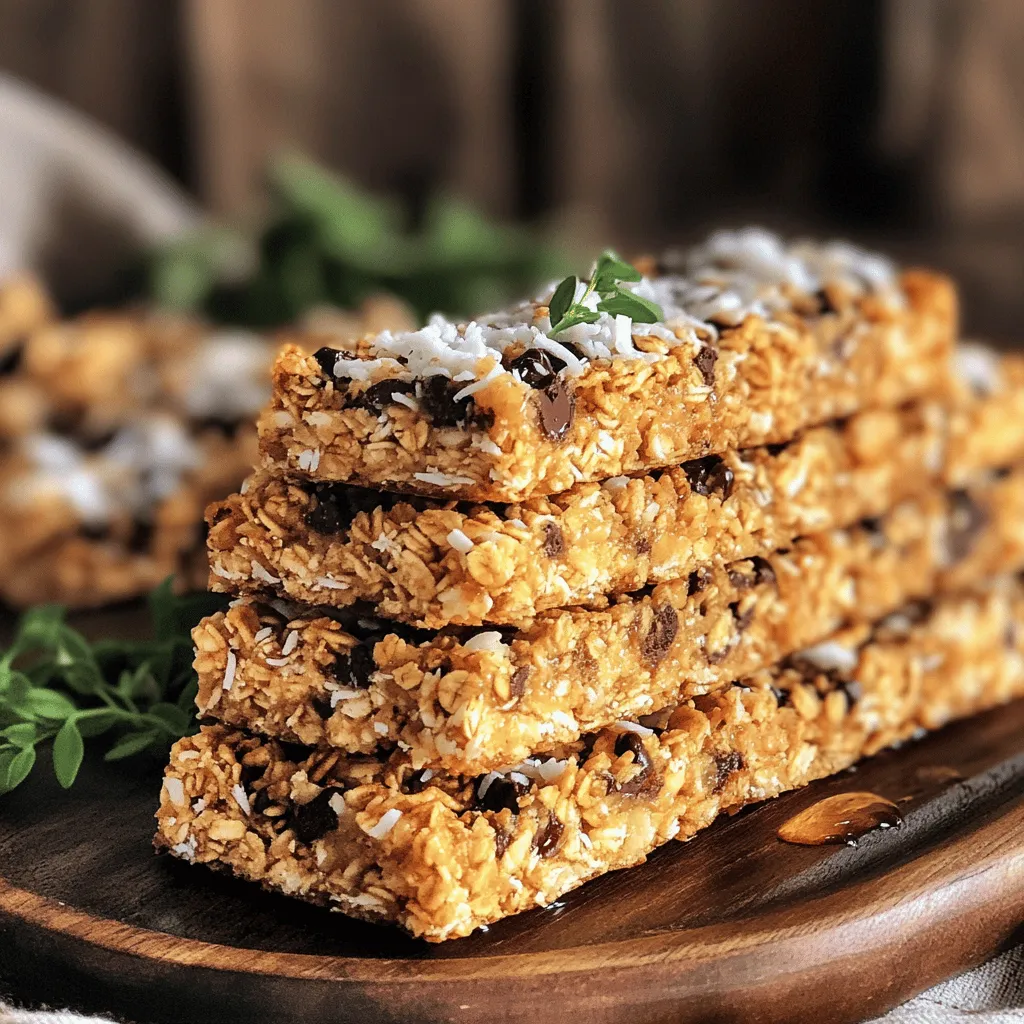
Homemade Granola Bars Healthy and Tasty Snack Idea
Looking for a quick, healthy snack? Homemade granola bars are the perfect answer! You can mix simple ingredients to create a tasty treat that…