

Latest & Greatest
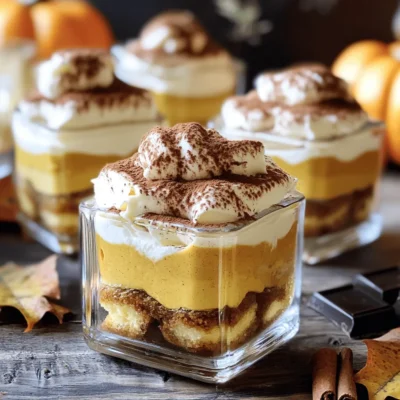
Pumpkin Spice Tiramisu Cups Delightful Fall Treat
Fall is here, and it’s time to indulge in Pumpkin Spice Tiramisu Cups—a sweet and cozy treat! This easy recipe
Read more…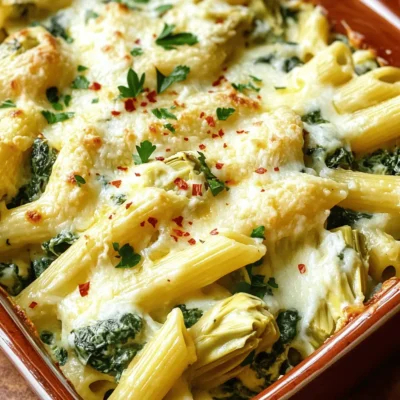
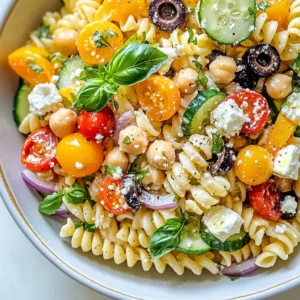
Savory Spinach Artichoke Pasta Bake Recipe Delight
Are you ready to take your pasta game to the next level? My Savory Spinach Artichoke Pasta Bake will amaze
Read more…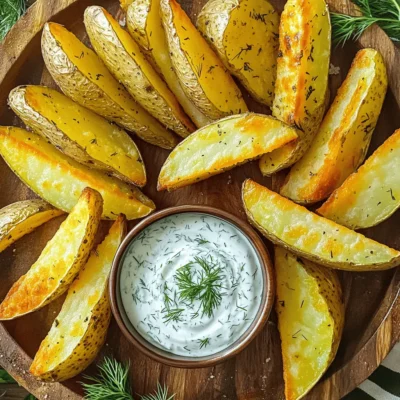
Air Fryer Potato Wedges with Ranch Crisp and Tasty
Are you ready to elevate your snack game? These Air Fryer Potato Wedges with Ranch are crispy, tasty, and easy
Read more…
Slow Cooker White Chicken Chili Flavorful and Easy Meal
Are you craving a warm, comforting meal that’s both simple and delicious? Look no further! My Slow Cooker White Chicken
Read more…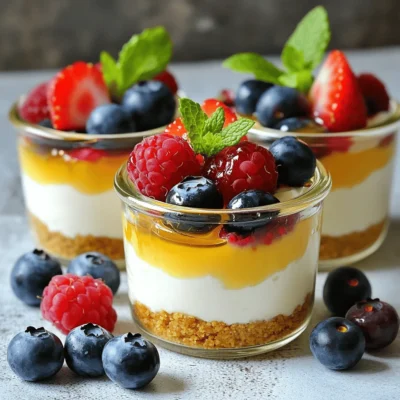
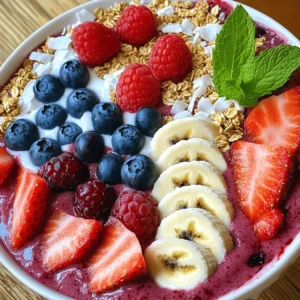
Greek Yogurt Cheesecake Cups Delightful and Easy Treat
Looking for a sweet treat that’s simple and healthy? Try these Greek Yogurt Cheesecake Cups! They’re creamy, delicious, and easy
Read more…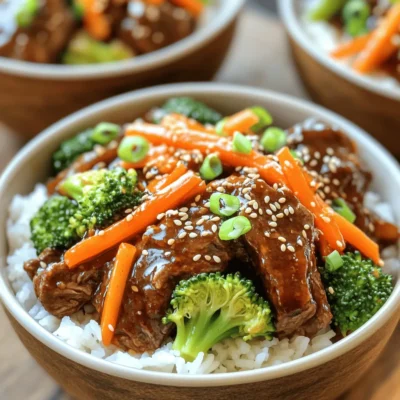
Slow Cooker Korean Beef Bowls Flavorful Dinner Delight
Looking for a delicious and easy dinner? Try my Slow Cooker Korean Beef Bowls! This dish brings tender beef, vibrant
Read more…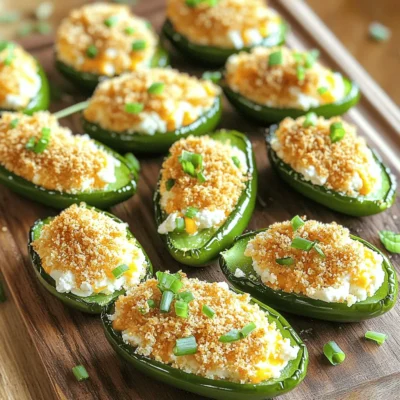
Air Fryer Jalapeño Popper Bites Tasty and Simple Snack
Craving a tasty snack that’s both simple and fun? Try Air Fryer Jalapeño Popper Bites! These crispy bites pack a
Read more…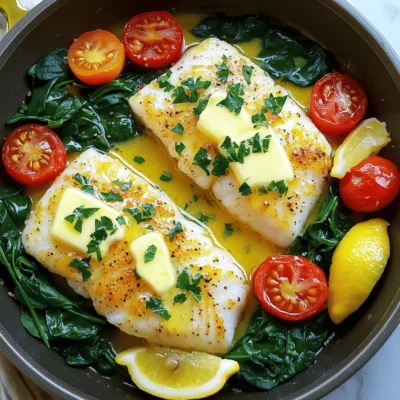
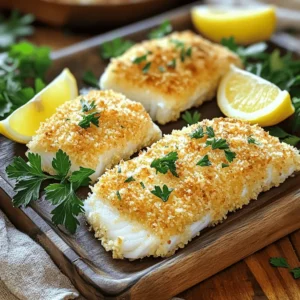
Lemon Garlic Butter Cod One-Pan Flavorful Dinner
If you’re craving a quick, tasty dinner, look no further than Lemon Garlic Butter Cod. This one-pan recipe is bursting
Read more…browse recipes
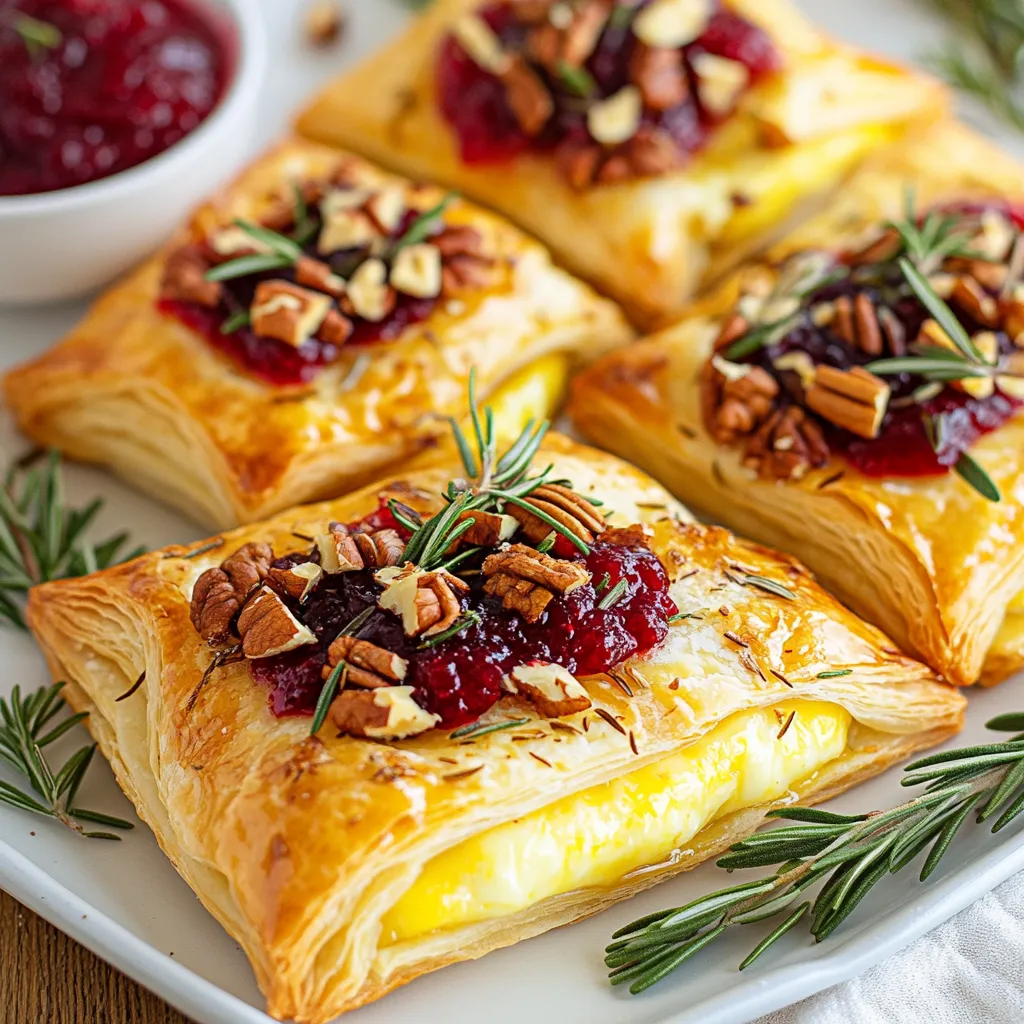
Cranberry Brie Puff Pastry Delightful Holiday Treat
Cranberry Brie Puff Pastry is a perfect treat for your holiday gatherings. It combines creamy brie cheese and sweet cranberry sauce, all wrapped in…
My Latest Desserts
My Latest Recipes

hey,
i’m !
I’m so happy you’re here!
My kitchen is filled with stories, flavors, and love and I’m so happy to share them with you. Here’s to dishes that feel like home.

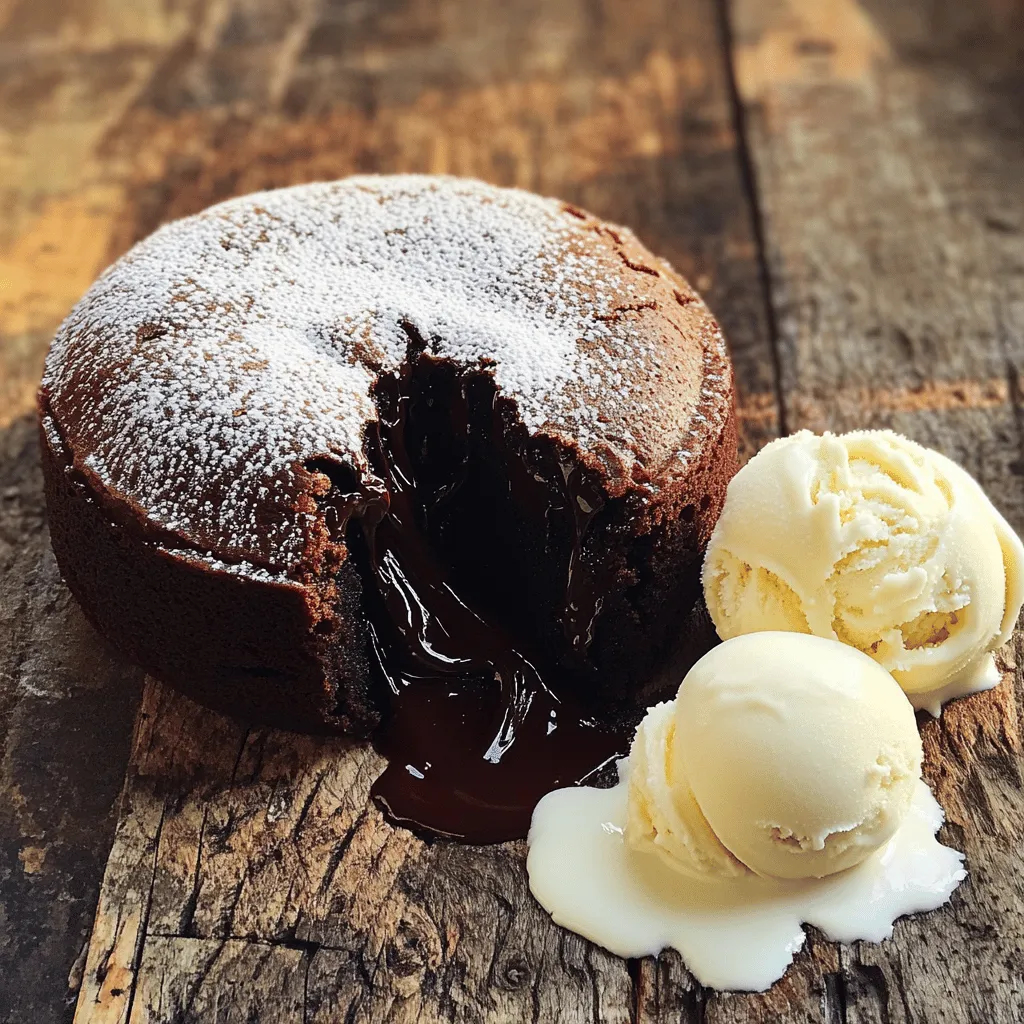
Chocolate Lava Cake Decadent and Indulgent Dessert
Indulge in the rich and molten goodness of Chocolate Lava Cake. This dessert delivers a warm, gooey center that melts in your mouth. In…