Latest & Greatest
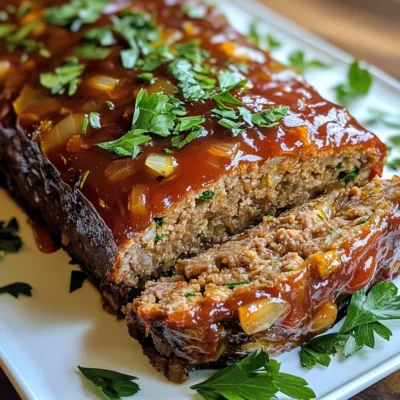
Onion Soup Meatloaf Savory Comfort Food Recipe
Welcome to the ultimate comfort food recipe! Onion Soup Meatloaf combines rich flavor with simple ingredients to create a dish
Read more…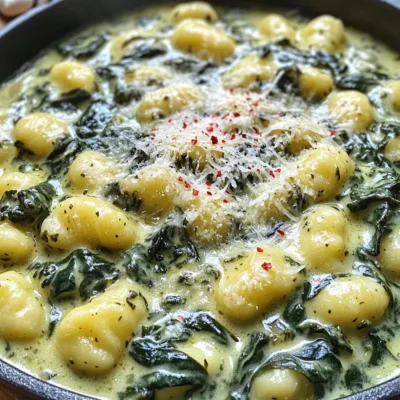
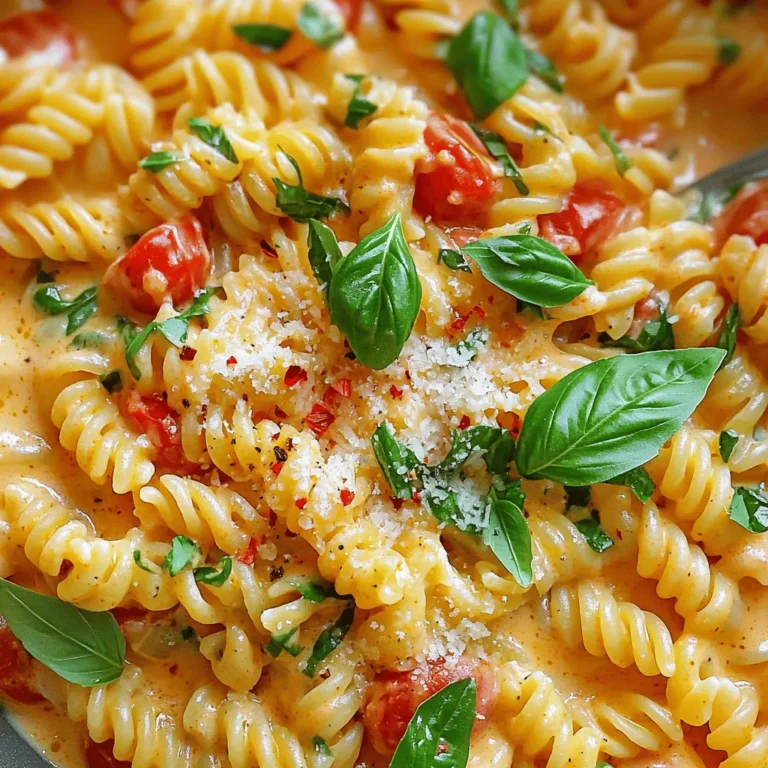
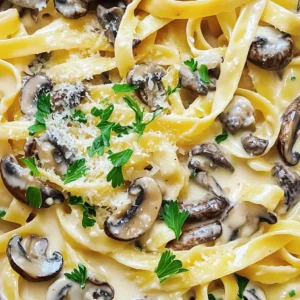
Creamy One-Pot Parmesan Spinach Gnocchi Delight
Welcome to a culinary experience where creamy meets comforting! In this post, I’ll guide you through making Creamy One-Pot Parmesan
Read more…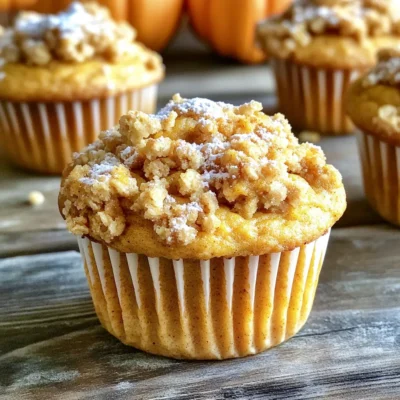
Bakery-Style Pumpkin Streusel Muffins Irresistible Treat
Are you ready to bake a treat that will make your kitchen smell like fall? These bakery-style pumpkin streusel muffins
Read more…
Air Fryer Crispy Sweet Chili Chicken Delight
Get ready to delight your taste buds with my Air Fryer Crispy Sweet Chili Chicken! This dish combines juicy chicken
Read more…
Slow Cooker Pulled Chicken Sliders Tasty Easy Recipe
Looking for an easy and tasty meal? These Slow Cooker Pulled Chicken Sliders are perfect for you! With simple steps
Read more…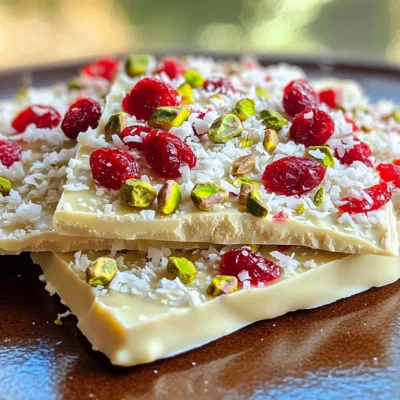
No-Bake White Chocolate Cranberry Bark Delight
Are you ready to delight your taste buds? This No-Bake White Chocolate Cranberry Bark is a treat that’s easy to
Read more…
Sheet-Pan Greek Chicken Gyro Bowls Nutritious Meal
Looking for a fun, tasty, and easy meal? You’re in the right place! My Sheet-Pan Greek Chicken Gyro Bowls pack
Read more…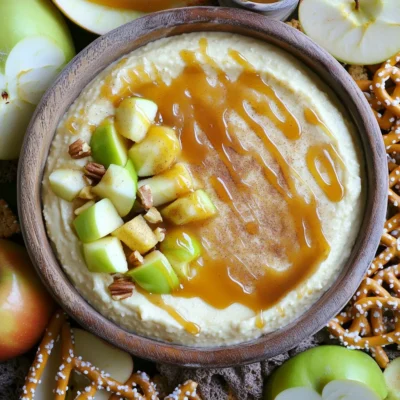
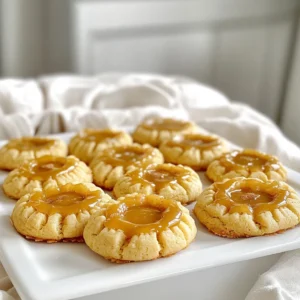
Salted Caramel Apple Cheesecake Dip Delight
Craving a sweet and creamy treat that’s as fun to make as it is to eat? Look no further than
Read more…browse recipes

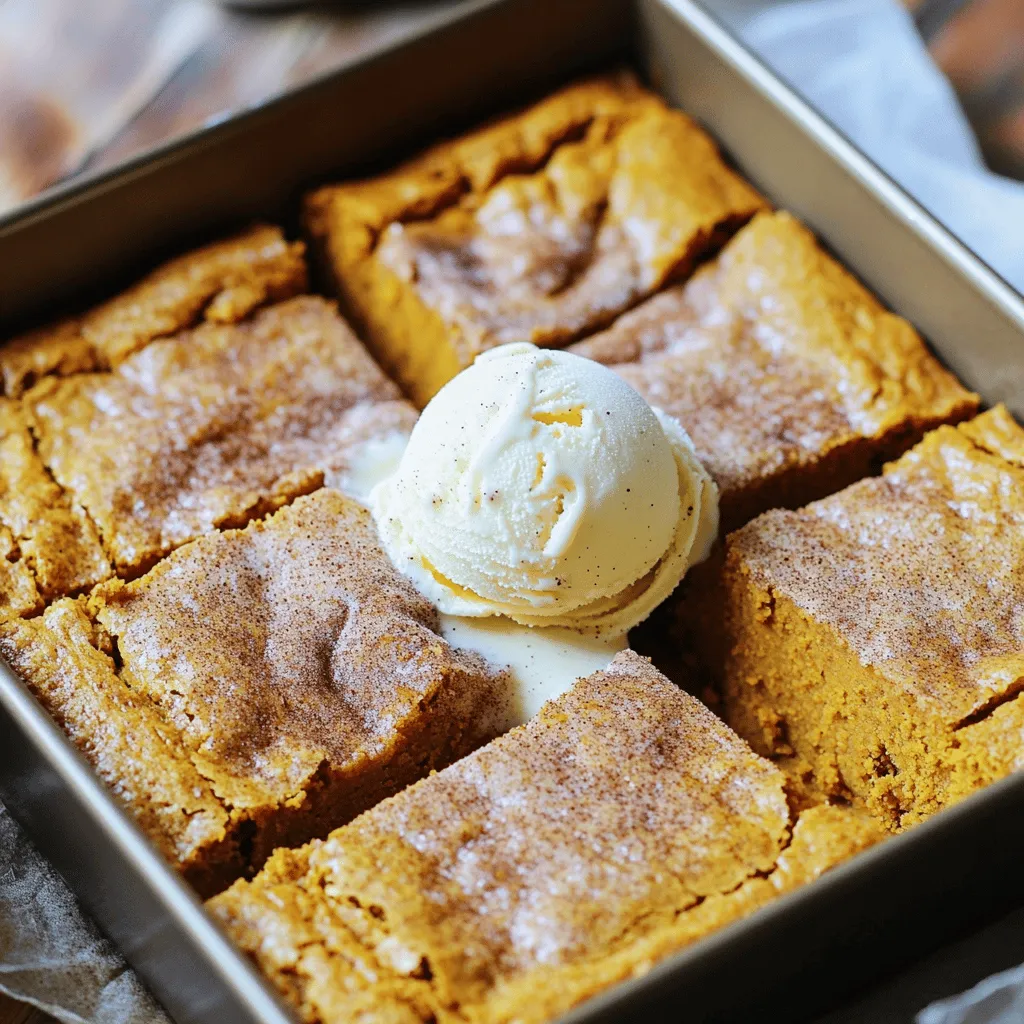
Pumpkin Snickerdoodle Blondies Tasty Fall Treats
Get ready to embrace fall with my tasty Pumpkin Snickerdoodle Blondies! These treats bring together warm spices and rich pumpkin flavor. You’ll love how…
My Latest Desserts
My Latest Recipes

hey,
i’m !
I’m so happy you’re here!
My kitchen is filled with stories, flavors, and love and I’m so happy to share them with you. Here’s to dishes that feel like home.


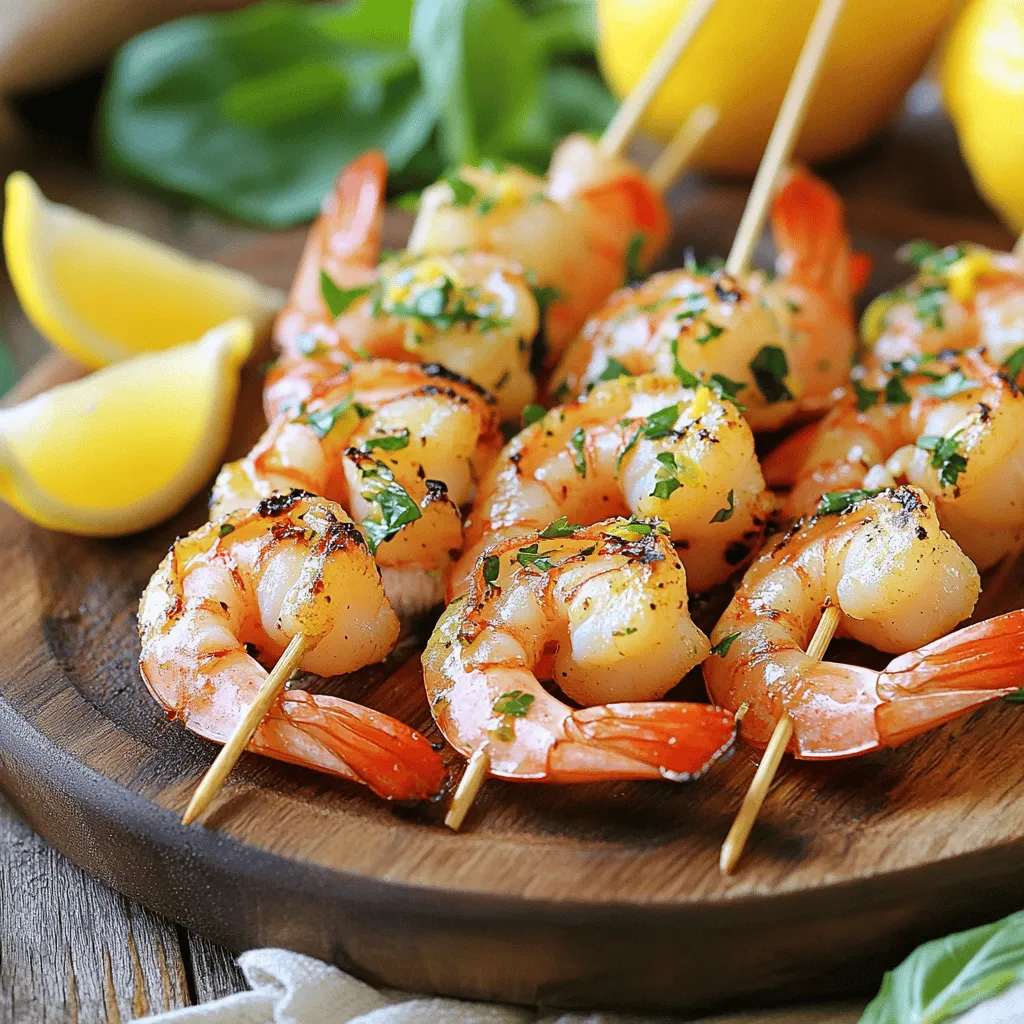
Lemon Garlic Herb Grilled Shrimp Flavorful Summer Dish
Looking for a dish that screams summer? You’ll love this Lemon Garlic Herb Grilled Shrimp! With its zesty lemon flavor and fresh herbs, this…