Latest & Greatest
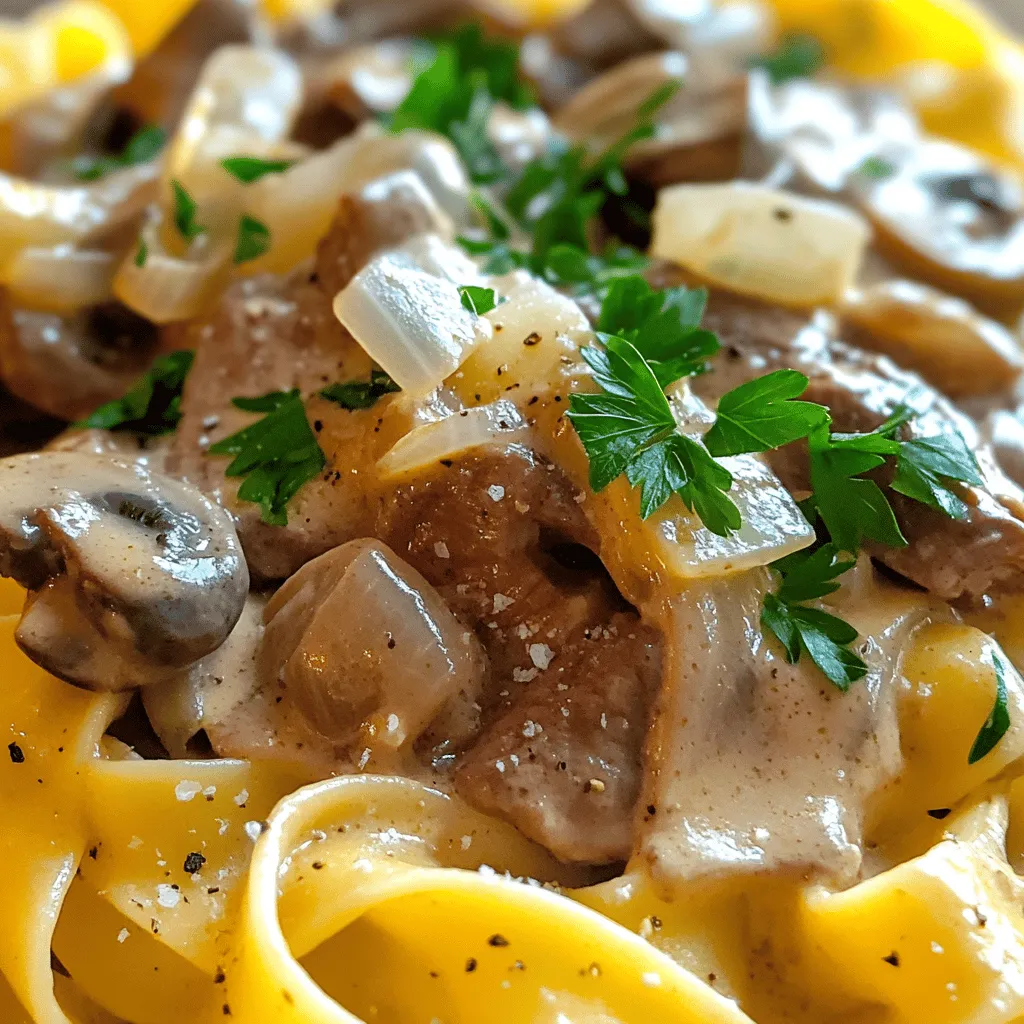
Classic Beef Stroganoff Flavorful and Easy Recipe
Welcome to my take on Classic Beef Stroganoff! This dish is rich, creamy, and loaded with flavor. It’s simple enough
Read more…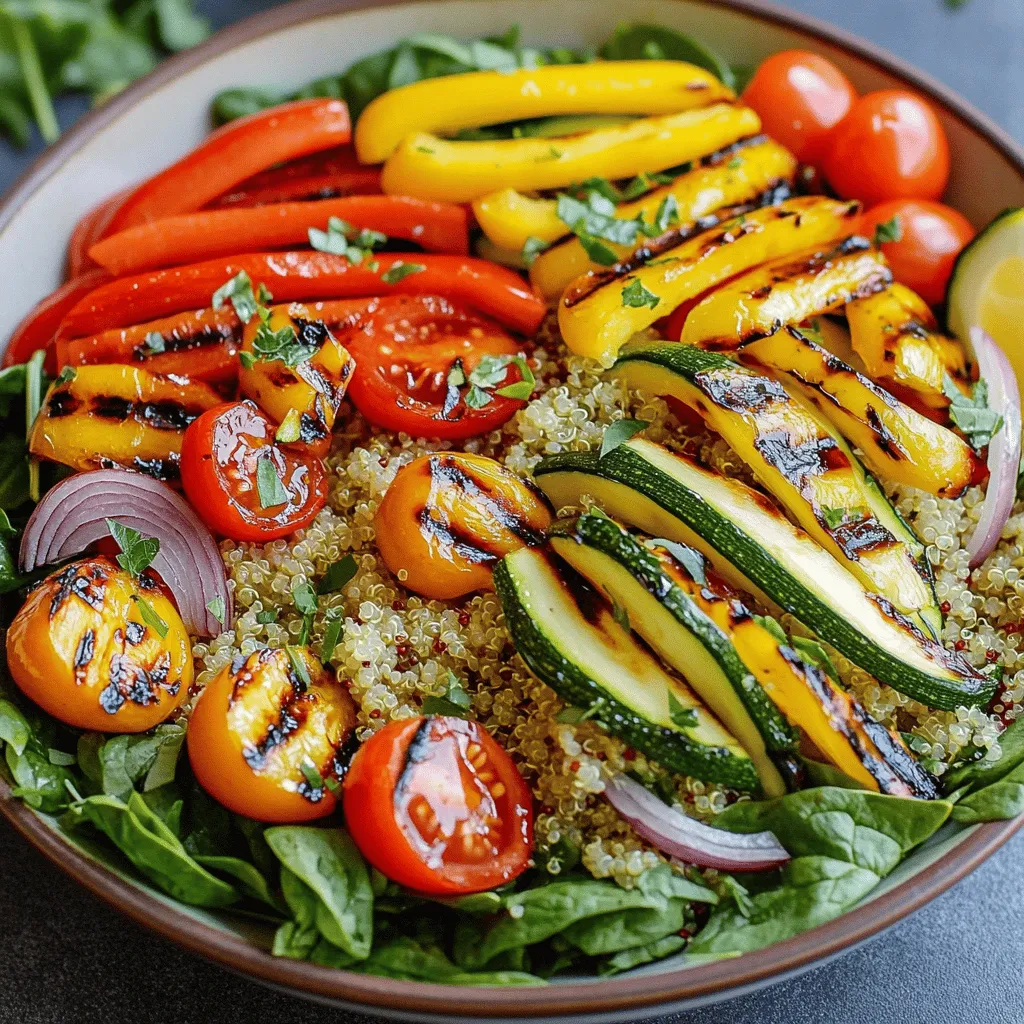
Grilled Vegetable and Quinoa Salad Fresh and Zesty Dish
If you’re looking for a fresh, healthy dish that bursts with flavor, you’ve found it! This Grilled Vegetable and Quinoa
Read more…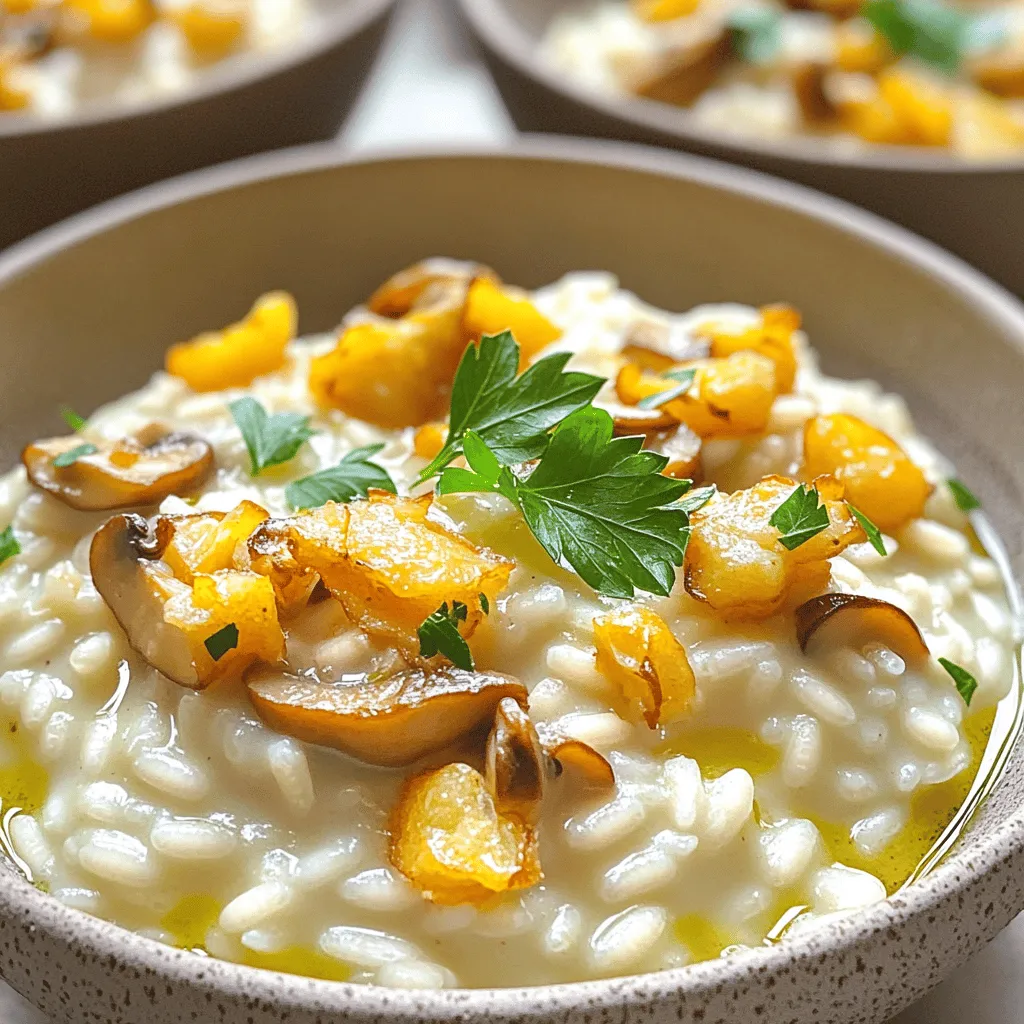
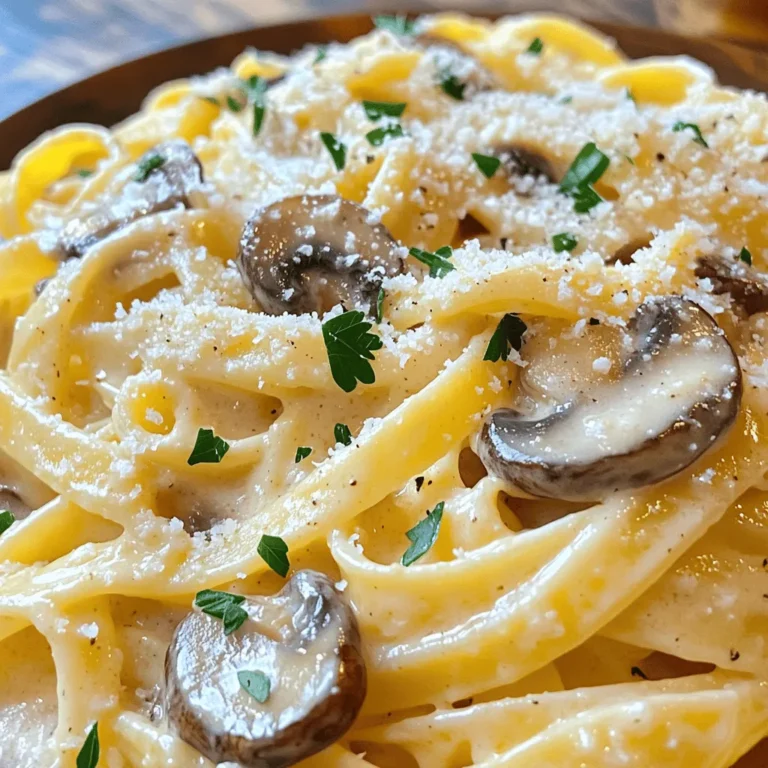
Instant Pot Creamy Mushroom Risotto Simple Delight
Are you ready to whip up a hearty dish that is both easy and tasty? My Instant Pot Creamy Mushroom
Read more…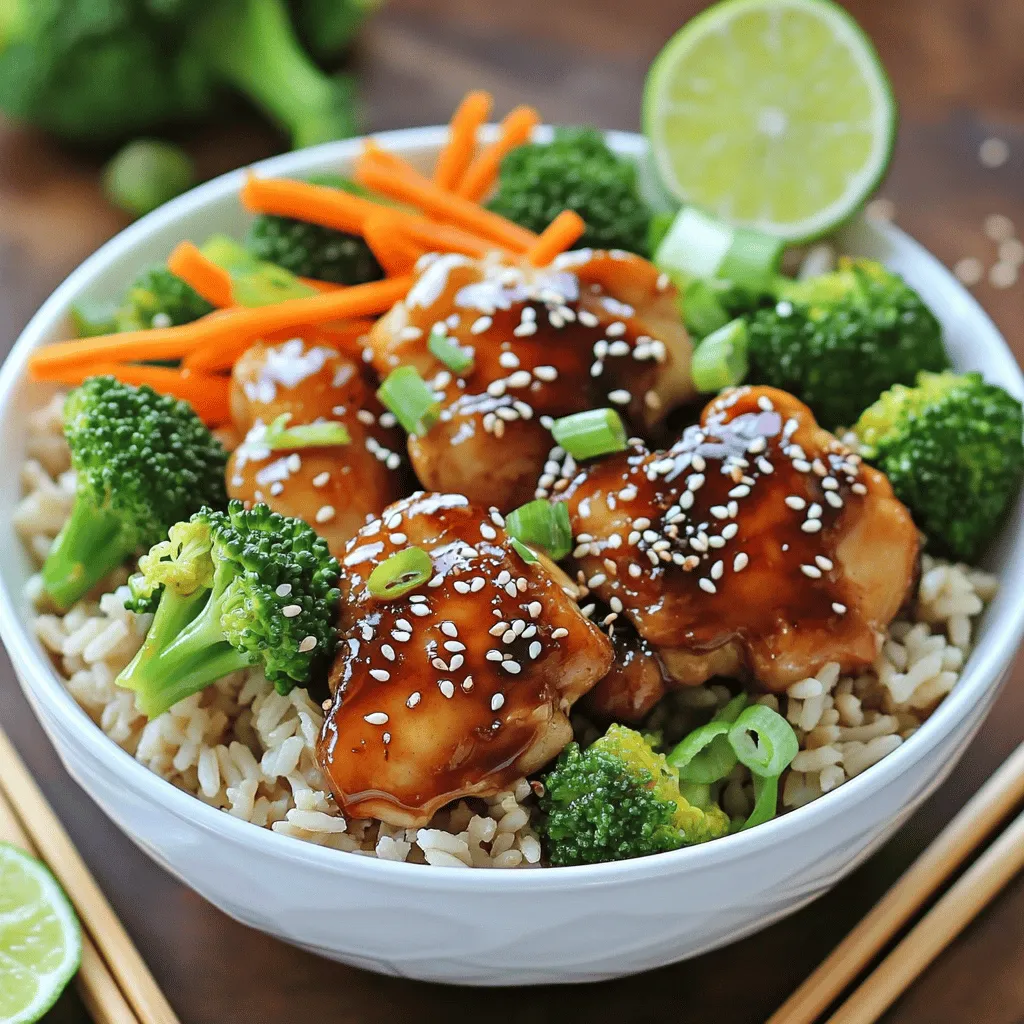
Teriyaki Chicken Bowls with Rice Delicious Dinner Idea
Looking for a quick and tasty dinner idea? Teriyaki chicken bowls with rice could be your new favorite! This dish
Read more…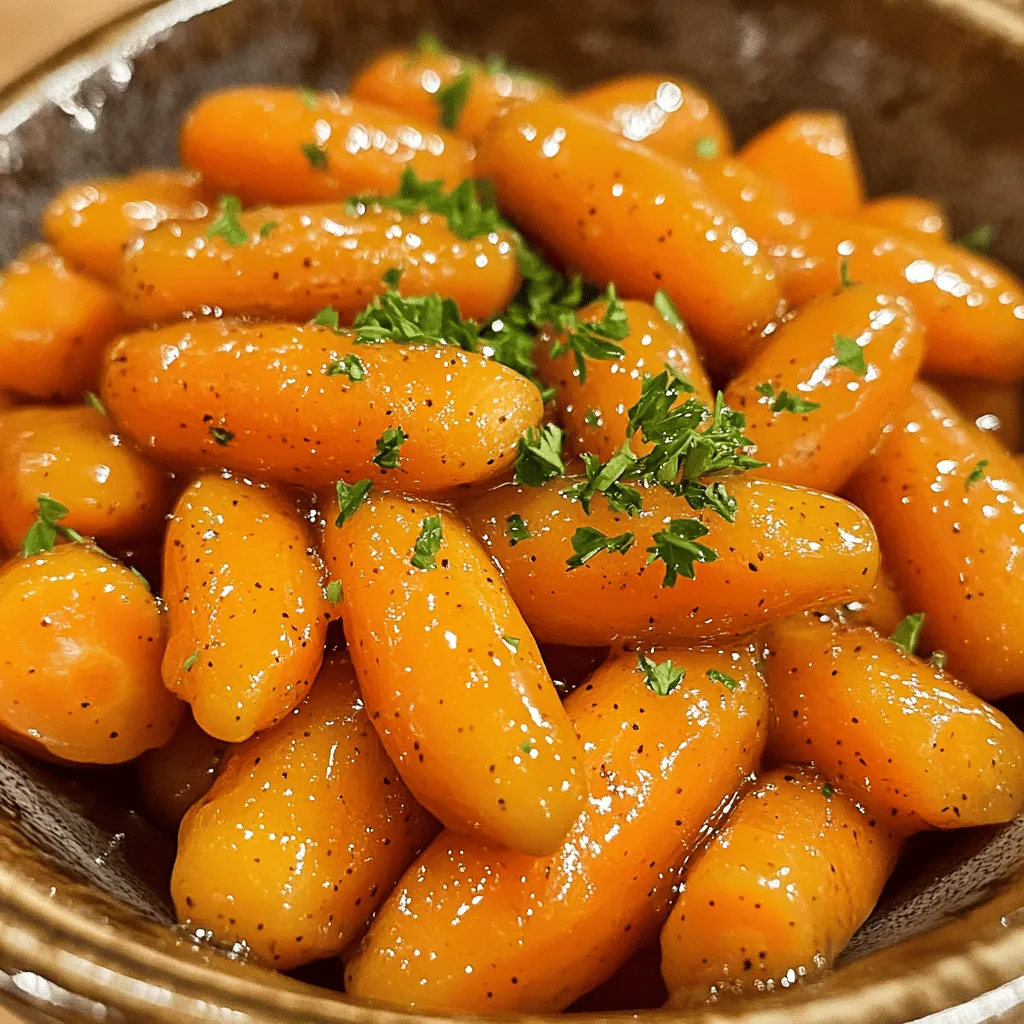
Honey Mustard Glazed Carrots Tasty Side Dish Recipe
Looking for a new side dish that adds flavor to your meal? Honey mustard glazed carrots are your answer! This
Read more…
Strawberry Shortcake Trifle Delightful Layered Dessert
Are you ready to make a dessert that will leave everyone wanting more? Strawberry Shortcake Trifle combines fresh strawberries, soft
Read more…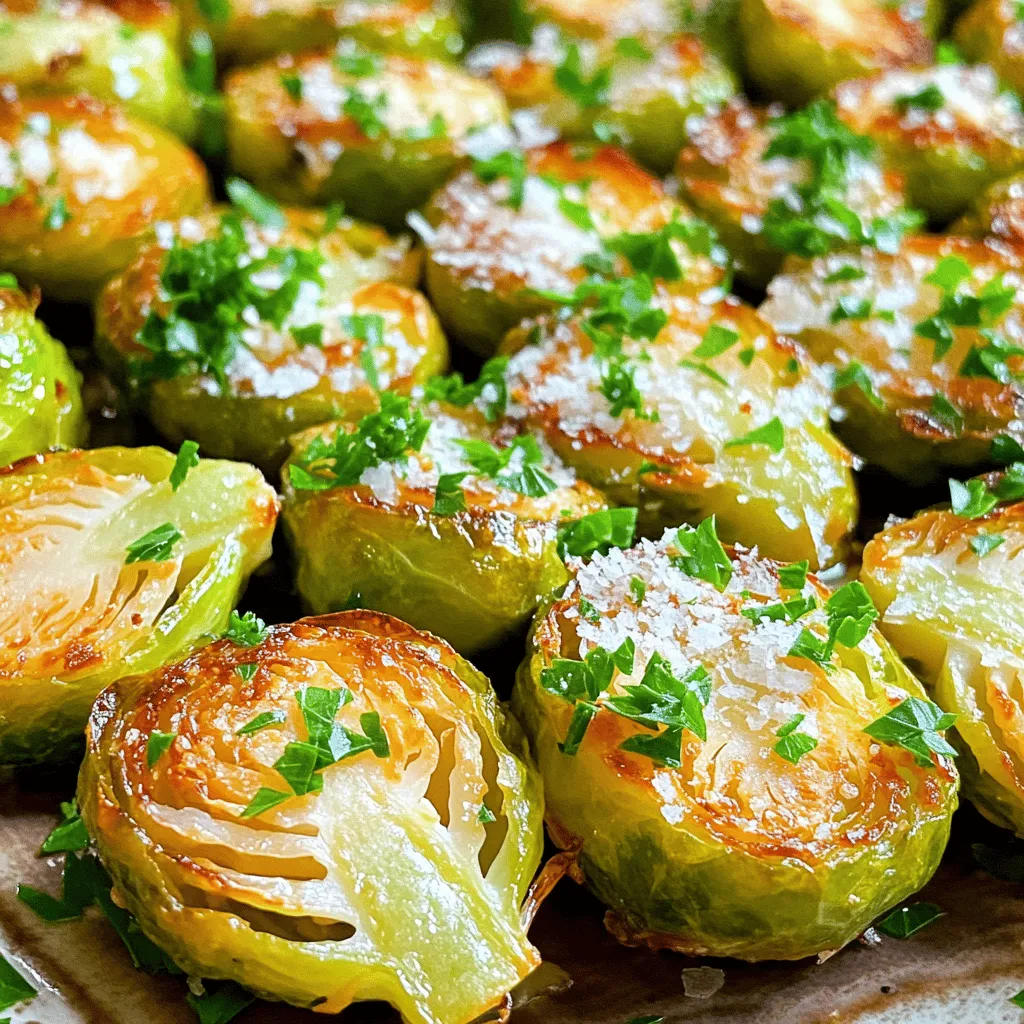
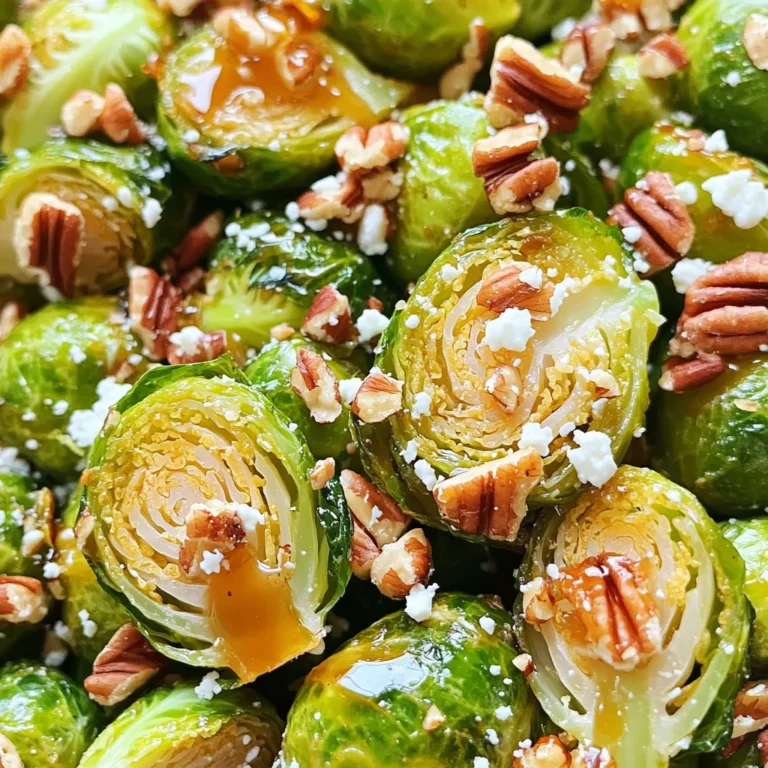
Garlic Parmesan Roasted Brussels Sprouts Savory Treat
Get ready to fall in love with a new side dish! These Garlic Parmesan Roasted Brussels Sprouts will change how
Read more…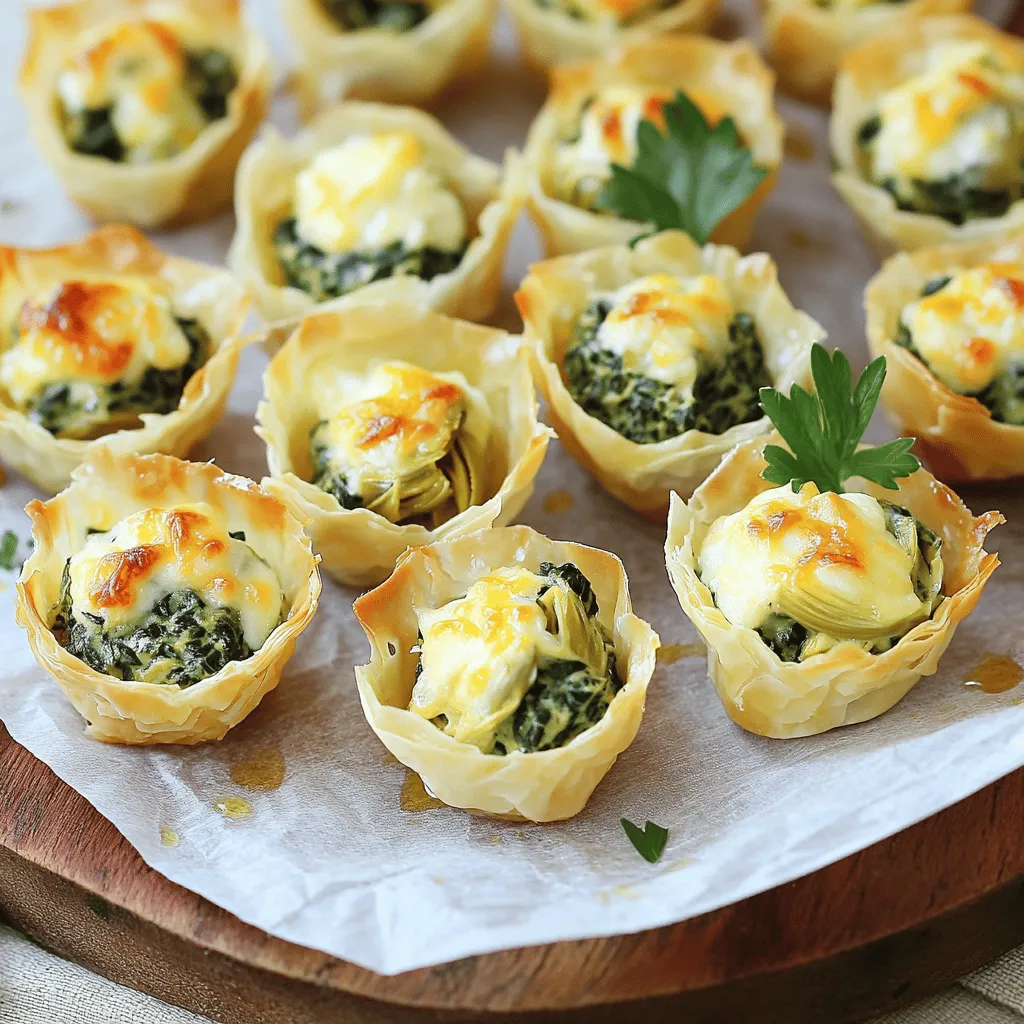
Spinach Artichoke Dip Bites Tasty and Simple Appetizer
Looking for a crowd-pleasing appetizer that is both tasty and simple? These Spinach Artichoke Dip Bites are just what you
Read more…browse recipes


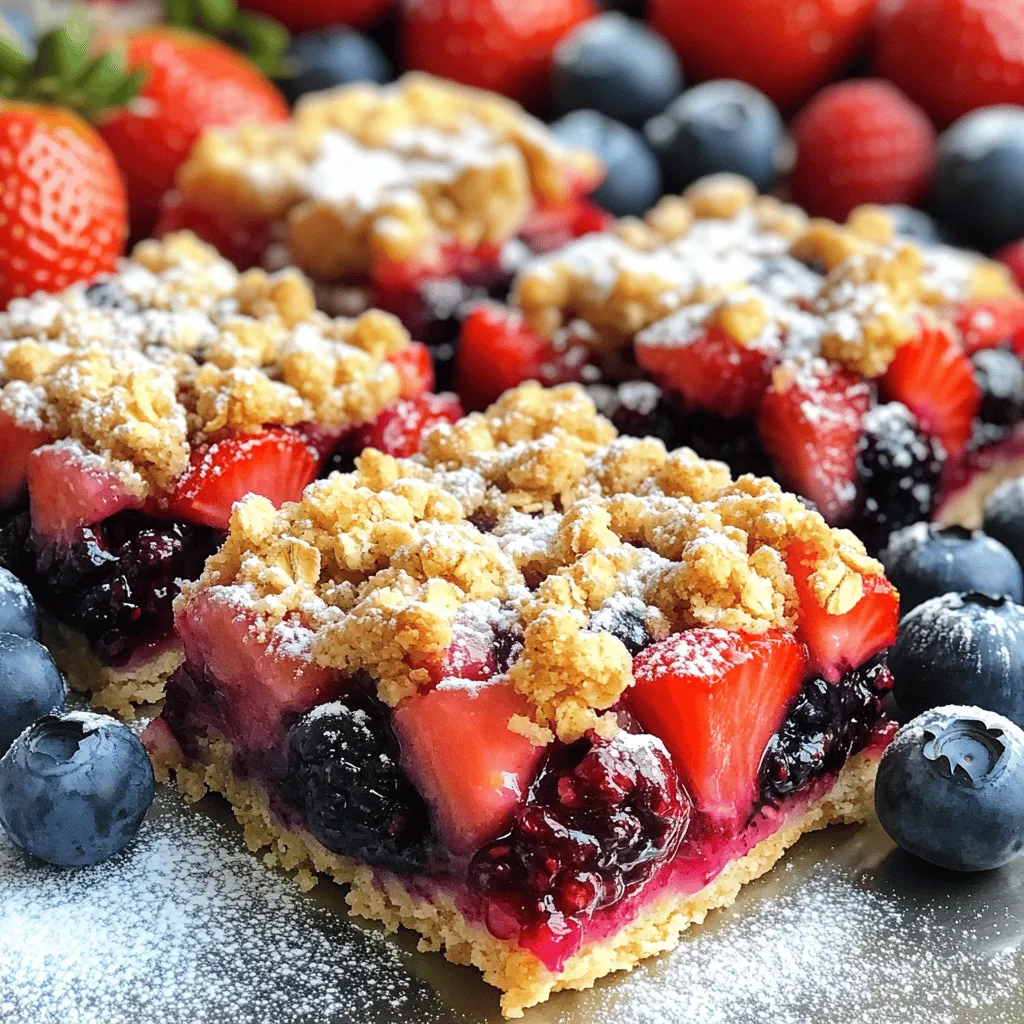
Triple Berry Crumble Bars Sweet and Tasty Treat
Are you ready to indulge in a sweet and tasty treat? These Triple Berry Crumble Bars are the perfect dessert for any occasion! I’ll…
My Latest Desserts
My Latest Recipes

hey,
i’m !
I’m so happy you’re here!
My kitchen is filled with stories, flavors, and love and I’m so happy to share them with you. Here’s to dishes that feel like home.
![To make this bright salad, gather these tasty ingredients: - 1 can (15 oz) chickpeas, rinsed and drained - 1 cup cherry tomatoes, halved - 1 cucumber, diced - ½ red onion, finely chopped - 1 bell pepper (any color), diced - ½ cup kalamata olives, pitted and sliced - ¼ cup feta cheese, crumbled - ¼ cup fresh parsley, chopped - 3 tablespoons olive oil - 2 tablespoons lemon juice - 1 teaspoon dried oregano - Salt and pepper to taste This salad packs a punch of nutrition. Chickpeas offer protein and fiber. They help keep you full. Tomatoes and cucumbers add hydration and vitamins. Feta cheese gives flavor and calcium. Olives provide healthy fats. Overall, this dish is balanced and energizing. It suits many diets. You can swap some ingredients if you want. Try black beans instead of chickpeas for a twist. Use diced zucchini instead of cucumber for a different crunch. If you don’t like feta, try goat cheese or skip it altogether. For a vegan option, replace feta with avocado. Enjoy experimenting with flavors! You need only 15 minutes to prepare this salad. It’s quick and easy for busy days. Gather your ingredients first. This makes the process smooth and fun. 1. Take a large mixing bowl. Add the rinsed and drained chickpeas. 2. Next, toss in the halved cherry tomatoes, diced cucumber, and chopped red onion. 3. Add the diced bell pepper and sliced kalamata olives for crunch. 4. Then, sprinkle in the crumbled feta cheese and freshly chopped parsley. 5. In a small bowl, whisk the olive oil, lemon juice, dried oregano, salt, and pepper. 6. Pour this dressing over the salad mixture. Toss gently to coat everything well. 7. Taste your salad. Adjust the salt, pepper, or lemon juice if needed. 8. Let it rest for at least 15 minutes. This helps the flavors blend. For a great texture, use fresh vegetables. Crunchy cucumbers and ripe tomatoes make a big difference. If you like a bit more flavor, add more feta cheese. The feta adds creaminess and saltiness. Also, let the salad sit. This allows all the flavors to mix well. It tastes even better after a short wait. You can find the full recipe online for more details. To boost the taste of your Mediterranean chickpea salad, consider these tips: - Add fresh herbs: Chopped mint or basil can add a burst of flavor. - Use fresh lemon zest: This adds a bright, citrus note that lifts the dish. - Try different olives: Green olives or even marinated ones can change the flavor. - Experiment with spices: A pinch of cumin or smoked paprika can add depth. - Marinate longer: Letting the salad sit for a few hours enhances the flavors. When serving your Mediterranean chickpea salad, think about these ideas: - Serve it chilled: This salad tastes best when it’s cold. - Pair with pita bread: Soft pita is great for scooping up the salad. - Use as a side dish: It goes well with grilled meats or fish. - Top with extra feta: A little more cheese adds a nice touch. - Garnish with parsley: A sprinkle of fresh parsley makes it look pretty. This salad works for many occasions: - Perfect for lunch: Light and filling, it’s great for midday meals. - Ideal for picnics: Its portability makes it a picnic favorite. - Great for barbecues: It adds color and flavor to any outdoor gathering. - Wonderful for meal prep: Make it ahead for easy lunches during the week. - Serve at parties: It’s a crowd-pleaser that everyone enjoys. For the detailed preparation steps and full recipe, check the [Full Recipe]. {{image_2}} You can boost your Mediterranean chickpea salad with protein. Grilled chicken adds flavor and texture. Use cooked chicken breast, diced into bite-sized pieces. Tuna is a great choice too. It gives a rich taste without overpowering the salad. Just mix in canned tuna, drained and flaked. Both options make your salad more filling. To keep your salad vegan, skip the feta cheese. Instead, use avocado for creaminess. It adds healthy fats and a rich flavor. You can also try marinated tofu. It soaks up the dressing well and adds protein. Another option is to use a vegan cheese substitute. This keeps the salad flavorful and satisfying. Change your salad with the seasons. In summer, add fresh corn or zucchini for crunch. In fall, diced apples or roasted squash work well. For winter, try pomegranate seeds for a pop of color and sweetness. These seasonal swaps keep your chickpea salad exciting and fresh all year round. For the full recipe, check out the Mediterranean Chickpea Salad. To keep your Mediterranean chickpea salad fresh, store it in an airtight container. Place the container in the fridge right after you finish eating. This helps to seal in flavors and keep ingredients crisp. Use the salad within three days for the best taste. If you notice any extra liquid, drain it before eating. Though I don’t recommend freezing this salad, you can freeze chickpeas separately. Place them in a freezer-safe bag. Remove as much air as you can before sealing. When you want to enjoy them, thaw the chickpeas in the fridge overnight. Mix them with fresh veggies and dressing for a quick meal. Mediterranean chickpea salad lasts about three days in the fridge. Look for signs of spoilage like a sour smell or slimy texture. If the tomatoes or cucumber look mushy, it’s time to toss it out. Always trust your senses! Keeping these tips in mind will help you enjoy the salad at its best. For the full recipe, check the earlier section. To make Mediterranean Chickpea Salad, you will need these fresh ingredients: - 1 can (15 oz) chickpeas, rinsed and drained - 1 cup cherry tomatoes, halved - 1 cucumber, diced - ½ red onion, finely chopped - 1 bell pepper (any color), diced - ½ cup kalamata olives, pitted and sliced - ¼ cup feta cheese, crumbled - ¼ cup fresh parsley, chopped - 3 tablespoons olive oil - 2 tablespoons lemon juice - 1 teaspoon dried oregano - Salt and pepper to taste Start by mixing the chickpeas, tomatoes, cucumber, onion, bell pepper, and olives in a large bowl. Then, add the feta cheese and parsley. For the dressing, whisk olive oil, lemon juice, oregano, salt, and pepper in another bowl. Pour the dressing on the mixture and toss gently. Let it sit for 15 minutes before serving. You can find the Full Recipe for exact steps and tips. Yes, you can prepare Mediterranean Chickpea Salad in advance. It tastes better after sitting for a while. Make it up to a day ahead. Just store it in the fridge in a tight container. The flavors will deepen, and it will stay fresh. However, if you add feta cheese, wait until you serve it to keep it from getting soggy. Mediterranean Chickpea Salad pairs well with many dishes. You can serve it with pita bread for a classic combo. Grilled chicken or fish also works nicely. For a light meal, enjoy it with a bowl of soup. You can even serve it as a side dish with your favorite Mediterranean main course. This article covered everything you need for Mediterranean Chickpea Salad. You learned the key ingredients, nutritional facts, and how to swap items. I shared step-by-step cooking details and tips for the best texture. We explored ways to enhance flavor and suggested serving ideas. You now know how to store the salad and when to use it. In conclusion, this salad is versatile and easy to make. Try different variations to find your favorite. Enjoy this fresh and healthy dish often!](https://southerndishes.com/wp-content/uploads/2025/05/91f98226-3b82-4a71-abf3-9443632027d3-300x300.webp)
![- 1 can (15 oz) chickpeas, drained and rinsed - 1 tablespoon olive oil - Spices: - 2 teaspoons cumin - 1 teaspoon smoked paprika - 1 teaspoon chili powder - 1/2 teaspoon garlic powder - 1/2 teaspoon onion powder - Salt and pepper The heart of this recipe is the chickpeas. They give a nice texture and protein to the tacos. Use a can for ease, but feel free to cook dried chickpeas if you prefer. Olive oil adds richness and helps the spices stick. This blend of spices is key to that bold flavor. Adjust them to your taste, but remember, the cumin and smoked paprika are must-haves! - 8 small corn tortillas - 1 ripe avocado, diced - 1 cup red cabbage, finely shredded - 1/4 cup fresh cilantro, chopped - 1 lime, cut into wedges - Sriracha or your favorite hot sauce Toppings make these tacos shine! Corn tortillas are soft and delicious. Avocado adds creaminess, while red cabbage gives a crunchy bite. Fresh cilantro brightens the dish and lime juice adds a zesty kick. Don’t forget the hot sauce if you like it spicy. These toppings mix well and create a fun flavor party in each bite. For the full recipe, check the recipe section. First, heat one tablespoon of olive oil in a skillet over medium heat. Once the oil is hot, add one can of drained and rinsed chickpeas. Stir them for about 2 to 3 minutes. This warms the chickpeas nicely. Next, sprinkle in the spices: two teaspoons of cumin, one teaspoon of smoked paprika, one teaspoon of chili powder, half a teaspoon each of garlic powder and onion powder, and add salt and pepper to taste. Mix everything well. Cook them for another 5 to 7 minutes. You want the chickpeas to be heated through and just a bit crispy for that great texture. While the chickpeas cook, it’s time to warm the corn tortillas. Place a dry skillet over medium heat. Add your tortillas, one at a time. Heat them for about one minute on each side. You want them soft and pliable, not crispy. This step is key for easy folding and eating. Now comes the fun part: assembling your tacos. Take a warm tortilla and add a generous spoonful of the spicy chickpeas right in the center. Next, layer on diced avocado for creaminess, followed by finely shredded red cabbage for crunch. Finish with a sprinkle of fresh cilantro. For an extra kick, drizzle some Sriracha or your favorite hot sauce on top. Serve with lime wedges on the side to squeeze over your tacos. This adds bright flavor and brings everything together. For the full recipe, check out the details earlier in the article. Enjoy your delicious, homemade spicy chickpea tacos! To make great spicy chickpeas, start by adjusting the spices. For a milder taste, cut back on chili powder. If you love heat, add more Sriracha. You can also try different spices, like cayenne or paprika, for a unique flavor. Next, focus on that crispy texture. After cooking the chickpeas with spices, let them sit in the pan for a few minutes. This helps them get crispy. Stir them less often for that perfect crunch. When serving your tacos, think about sides and drinks. A fresh salad pairs well with these tacos. You can also serve corn on the cob or rice for a fuller meal. For drinks, try a light beer or a refreshing lemonade. Get creative on taco night! Set up a taco bar. Let everyone choose their own toppings. This makes the meal fun and interactive. These tacos can easily fit vegan and gluten-free diets. Simply use corn tortillas, as they are gluten-free. For a vegan twist, skip any dairy toppings. You can also switch up the toppings. Try adding diced tomatoes or pickled onions for extra flavor. Different sauces, like avocado crema or mango salsa, can make your tacos shine. For the full recipe, check out the [Full Recipe]. {{image_2}} You can switch chickpeas for other proteins. Black beans are a great choice. They have a rich flavor and creamy texture. Lentils also work well. They cook fast and absorb spices well. Both options provide great protein and fiber. You can keep the spices the same or adjust them to fit the new protein. You can change the spice mix to fit your taste. Try adding cayenne pepper for heat. A pinch of cinnamon brings warmth. You can also use taco seasoning for a quick fix. For toppings, consider fresh corn or pickled onions. Add a dollop of yogurt or sour cream for creaminess. These tweaks make the tacos unique and exciting. Different cuisines can inspire your tacos. For a Mediterranean twist, add feta and olives. Use za'atar seasoning for a fresh flavor. If you like Asian flavors, try hoisin sauce and sesame seeds. You can also make it a Thai dish with peanut sauce and cilantro. Each change gives you a new taco experience. Explore and have fun with your food! To store any leftover spicy chickpeas, let them cool first. Place them in an airtight container. You can keep them in the fridge for up to three days. For the tacos, store the fillings and tortillas separately. This keeps everything fresh. Make sure to wrap the tortillas in foil or plastic wrap. When you’re ready to enjoy leftovers, reheat the chickpeas in a skillet. This helps keep them crispy. Heat them over medium heat for about 5 minutes. Stir occasionally to avoid burning. For tortillas, warm them in a dry skillet for 30 seconds on each side. This brings back their soft texture. You can freeze the spicy chickpeas if you want to keep them longer. Place cooled chickpeas in a freezer-safe bag. Remove as much air as possible before sealing. They can last up to three months in the freezer. For best results, freeze the chickpeas and tortillas separately. When you’re ready to eat, thaw the chickpeas in the fridge overnight. Reheat them as before after thawing. To make these tacos, you start by heating olive oil in a skillet. Next, add drained chickpeas and cook for 2 to 3 minutes. Then, add cumin, smoked paprika, chili powder, garlic powder, onion powder, salt, and pepper. Stir well to coat the chickpeas. Cook them for about 5 to 7 minutes until they are warm and slightly crispy. While that cooks, warm your corn tortillas in a dry skillet for about 1 minute on each side. After that, you can assemble your tacos. Spoon the spicy chickpeas onto each tortilla. Top with diced avocado, shredded cabbage, and cilantro. Drizzle Sriracha or your favorite hot sauce on top. Don't forget to serve lime wedges to add a fresh zing. For the complete recipe, check out the Full Recipe. You can serve these tacos with a variety of side dishes. A simple side salad with mixed greens adds freshness. Chips and salsa or guacamole could bring extra flavor. You might enjoy a side of Mexican rice or quinoa for heartiness. For drinks, try a cold glass of limeade or a light beer. A refreshing fruit-infused water also pairs well. These tacos are indeed healthy. Chickpeas are high in protein and fiber, which helps keep you full. They also contain vitamins and minerals, like iron and folate. The avocado adds healthy fats, while cabbage provides crunch and nutrients. However, be mindful of the hot sauce; it can add sodium. Overall, this dish is a great choice for a balanced meal. Yes, you can prepare these tacos in advance. Cook the chickpeas and store them in an airtight container in the fridge. They will stay fresh for 3 to 4 days. You can also warm the tortillas ahead of time. Just reheat them briefly in a skillet before serving. For best results, add fresh toppings like avocado and cilantro just before you eat. In this post, we explored how to make delicious Spicy Chickpea Tacos. We covered the main ingredients, from chickpeas to toppings. I shared step-by-step instructions to prepare and assemble your tacos. Remember to adjust spices to match your taste. You can customize these tacos with different proteins and toppings. Storing leftovers is easy, too. With simple storage and reheating tips, you can enjoy these tacos anytime. Get ready to impress your friends or family with your tasty creation!](https://southerndishes.com/wp-content/uploads/2025/05/25c0ee71-7e33-4e62-b1cb-06e336092520-300x300.webp)
Caramel Apple Hand Pies Irresistible Sweet Treats
Are you ready to indulge in something sweet and delicious? Caramel apple hand pies combine crisp apples with gooey caramel, all wrapped in golden,…

