

Latest & Greatest

Chocolate-Dipped Almonds Irresistible Sweet Treat
If you’re craving a sweet treat that’s easy to make, chocolate-dipped almonds are perfect! They’re crunchy, creamy, and offer great
Read more…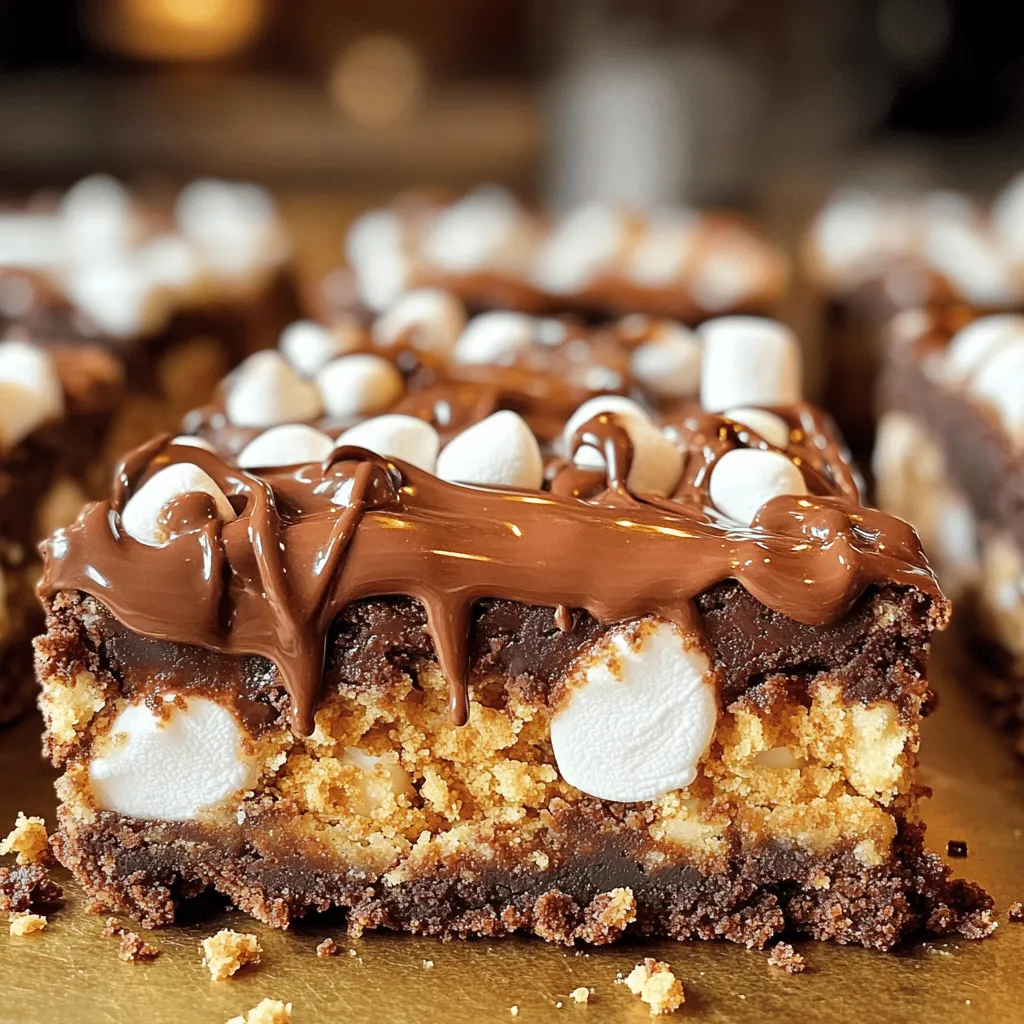
S’mores Brownie Bars Decadent and Easy to Make
Get ready to indulge in a sweet treat that combines two favorites: s’mores and brownies! In my latest recipe, I’ll
Read more…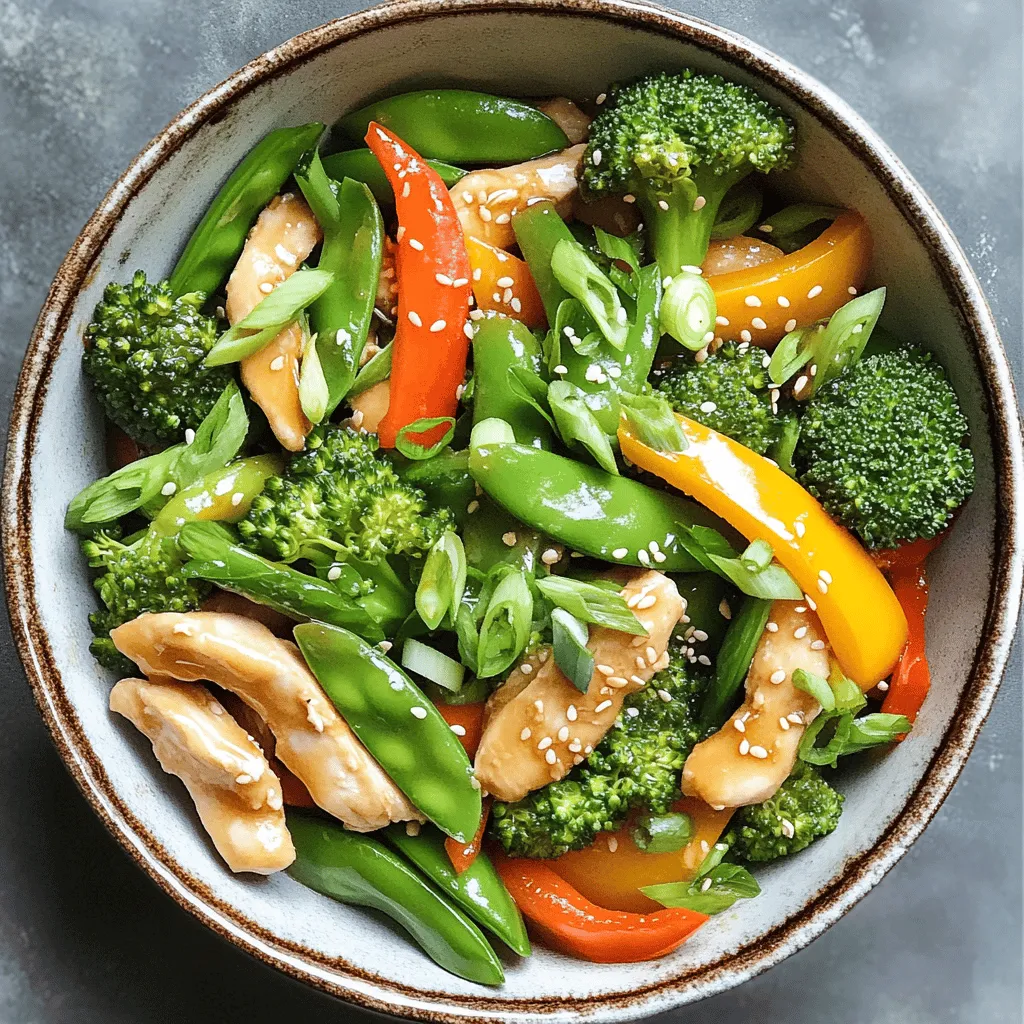
Simple Chicken Stir-Fry Quick and Flavorful Recipe
Are you craving a quick meal packed with flavor? This Simple Chicken Stir-Fry is your answer! With just a few
Read more…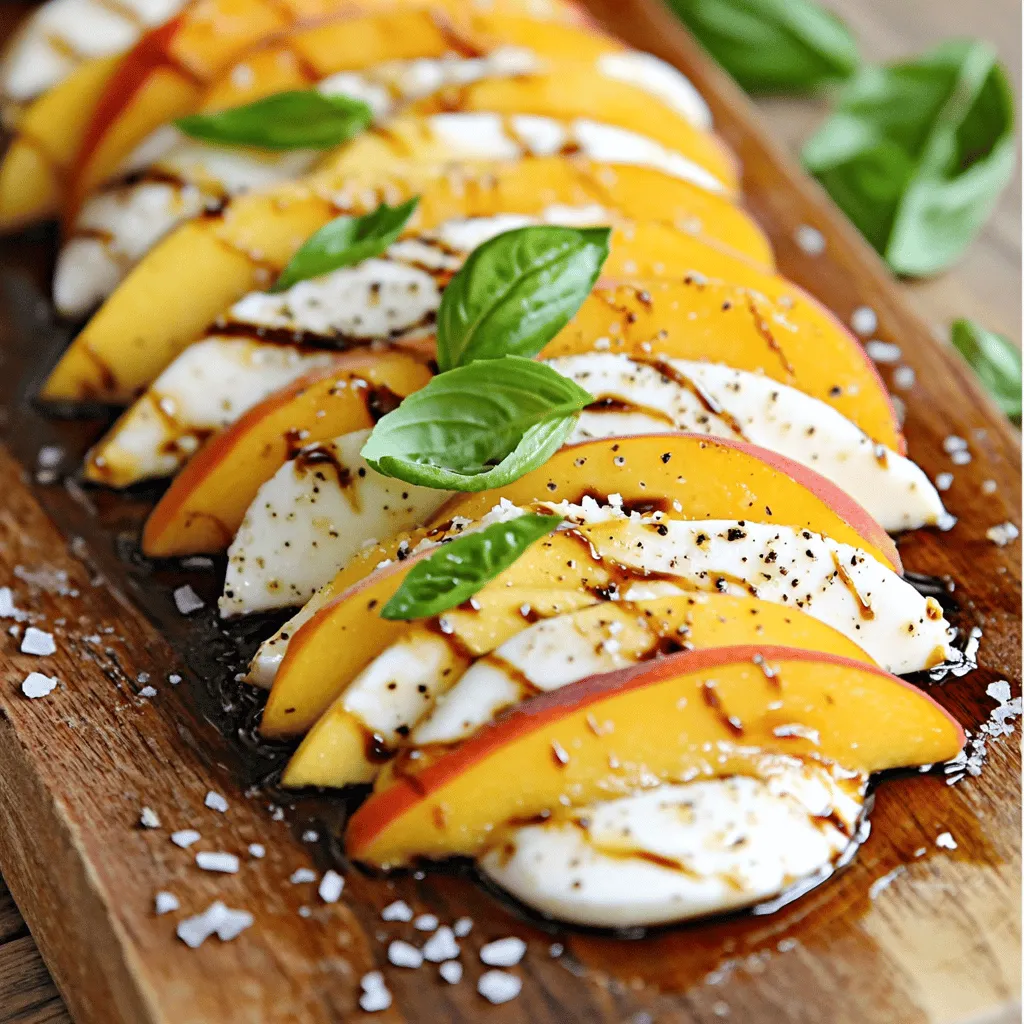
Peach Caprese Salad Fresh and Flavorful Delight
Looking for a fresh twist on a classic salad? This Peach Caprese Salad combines juicy peaches, creamy mozzarella, and fragrant
Read more…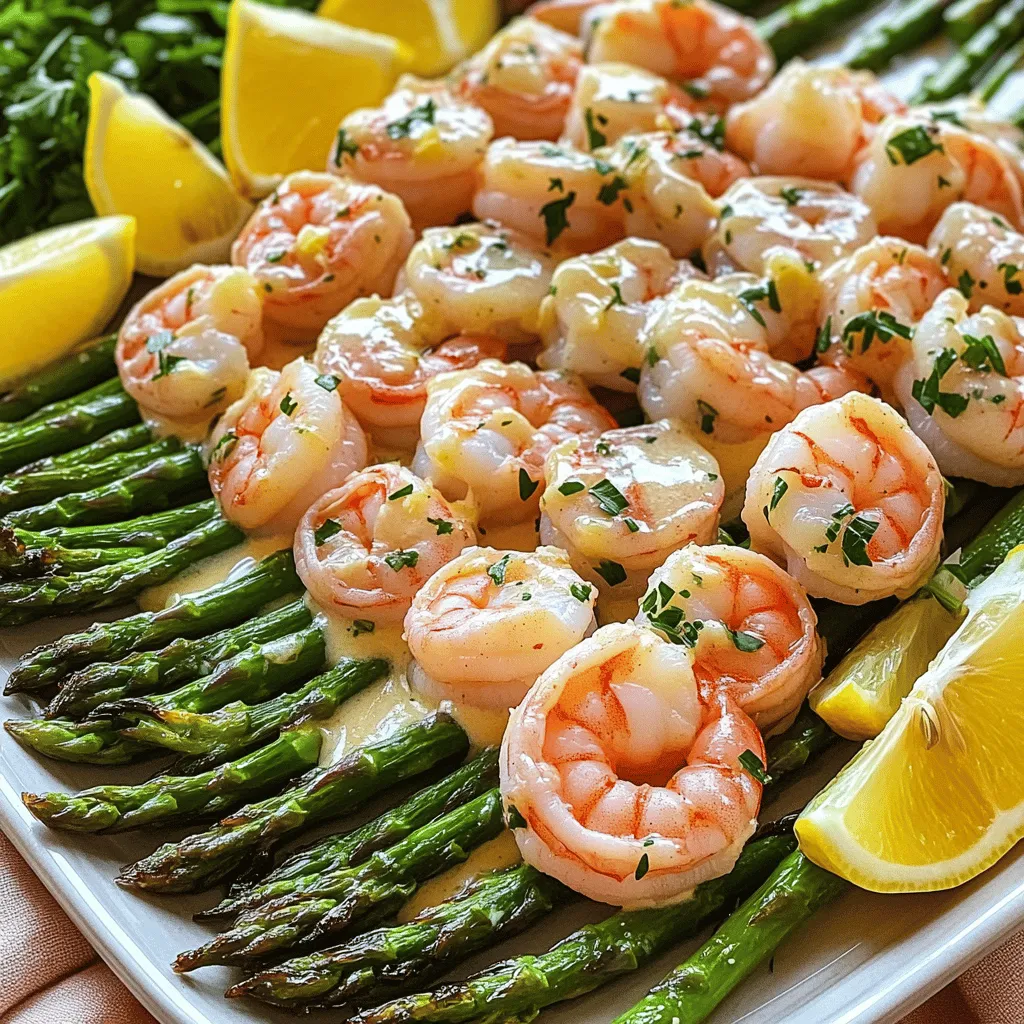
Garlic Butter Shrimp and Asparagus Flavorful Delight
Are you ready to wow your taste buds? Garlic Butter Shrimp and Asparagus is a quick and tasty dish that
Read more…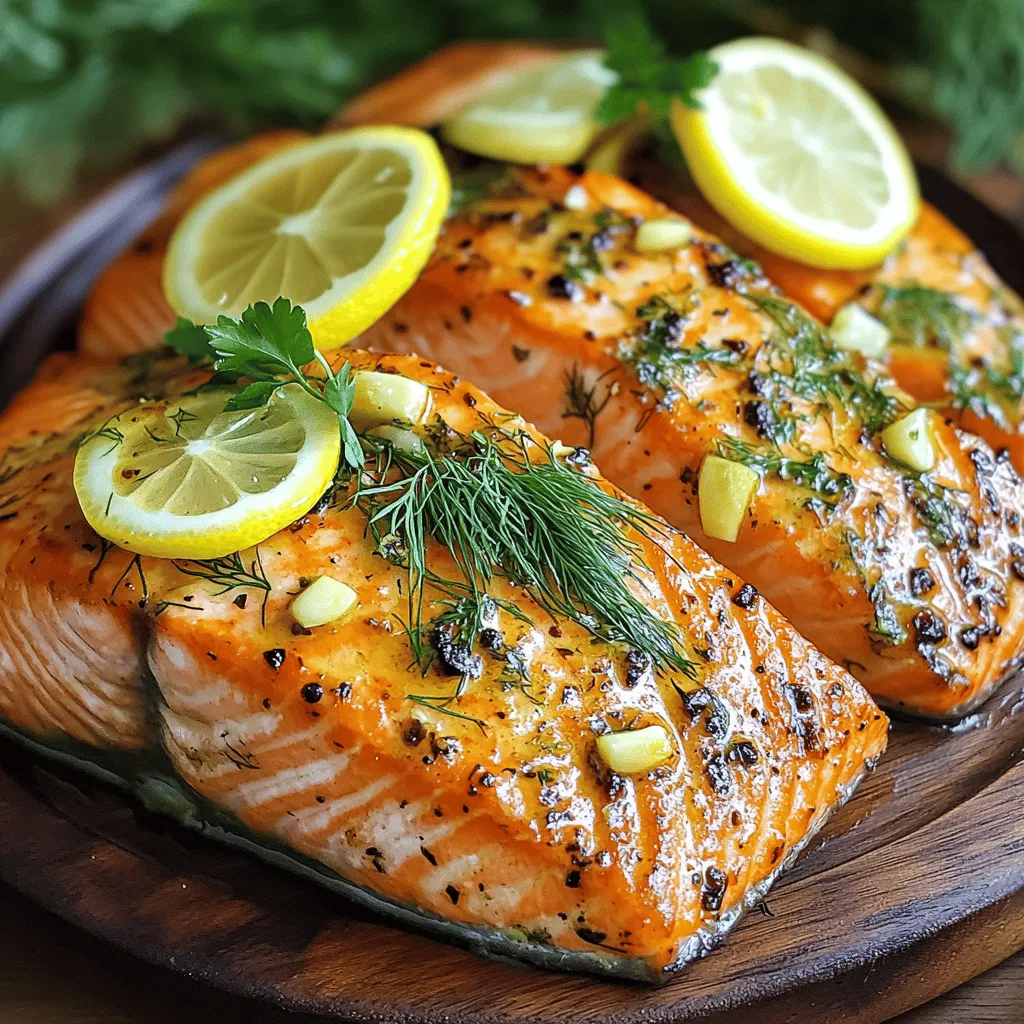
Lemon Herb Grilled Salmon Easy and Flavorful Recipe
Ready for a burst of flavor? This Lemon Herb Grilled Salmon recipe is easy and perfect for any meal. I’ll
Read more…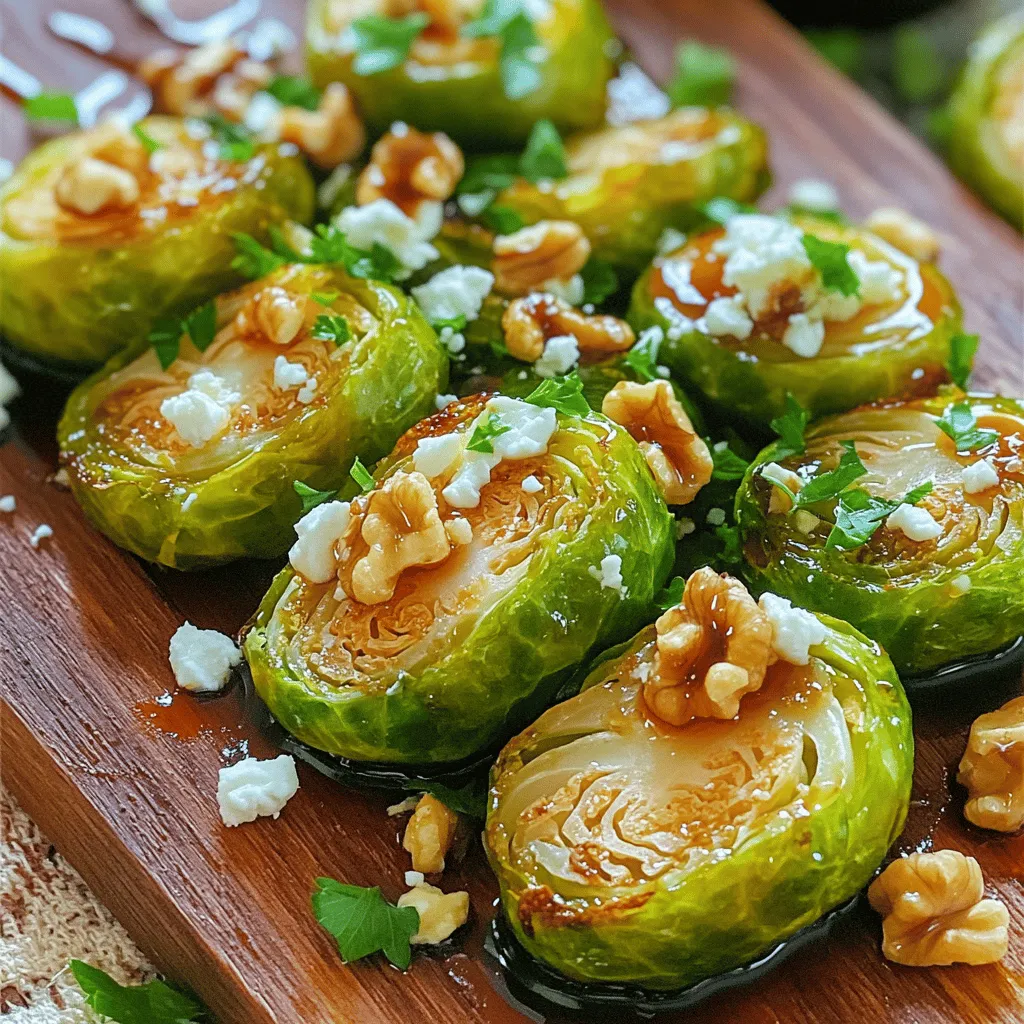
Balsamic Glazed Brussels Sprouts Tasty Side Dish Delight
Looking for a side dish that bursts with flavor? Balsamic glazed Brussels sprouts are the answer! This recipe combines sweet
Read more…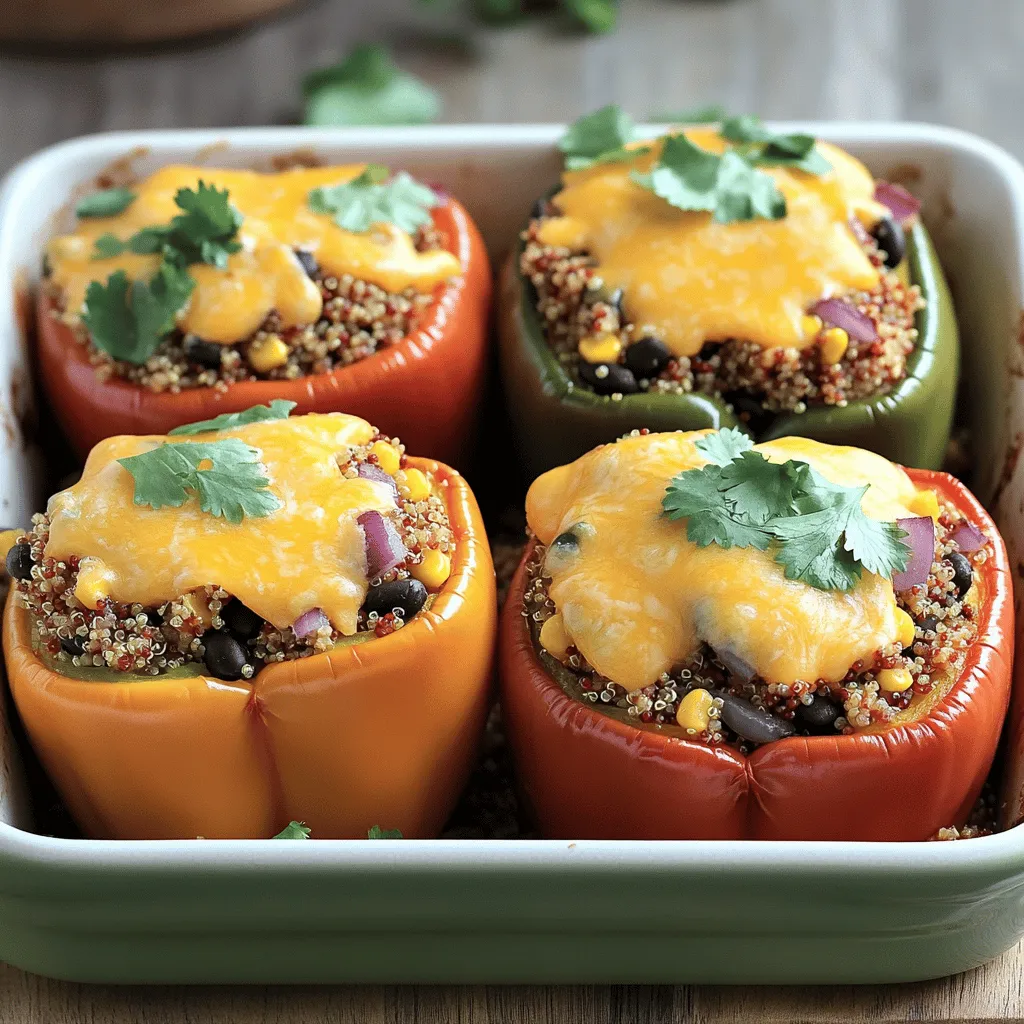
Savory Stuffed Bell Peppers with Quinoa Recipe
Looking for a tasty and healthy meal? You’re in the right place! My savory stuffed bell peppers with quinoa are
Read more…browse recipes


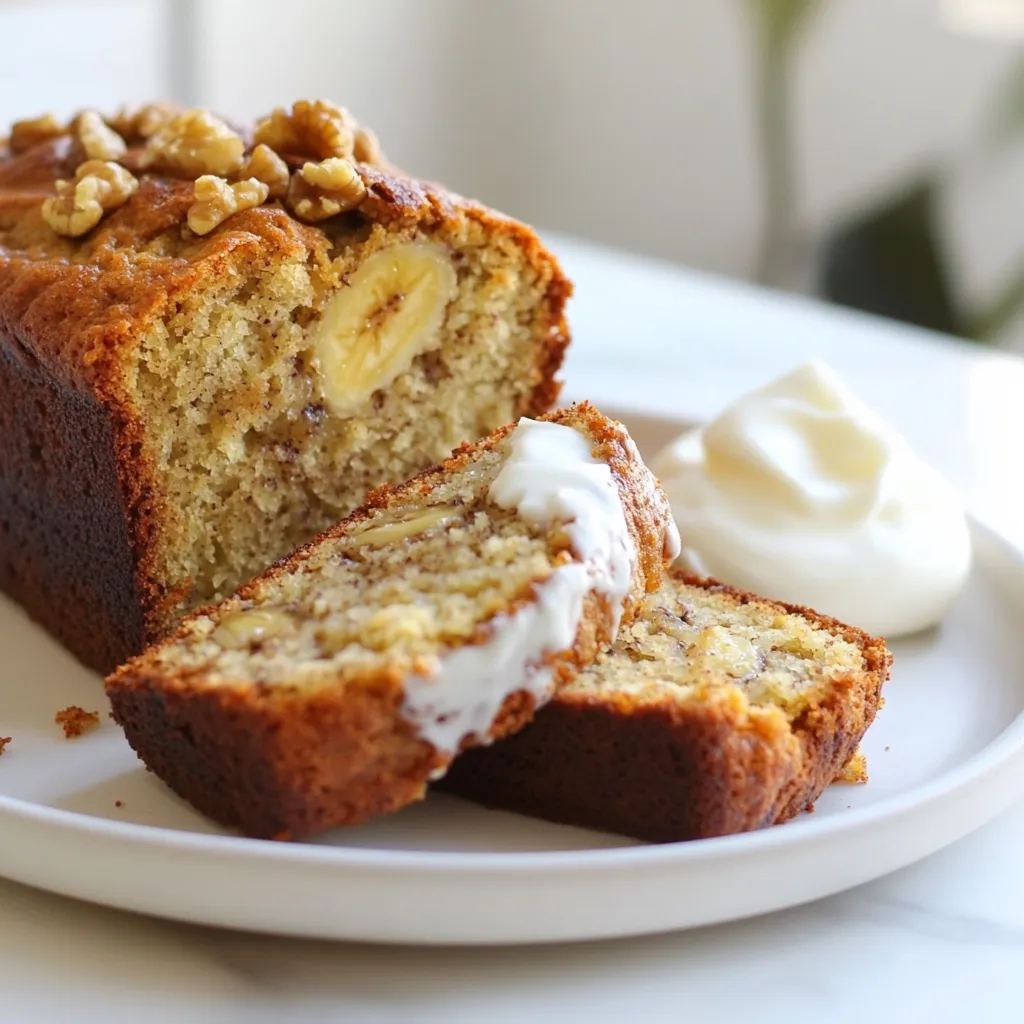
Sugar-Free Banana Bread Simple and Tasty Recipe
Are you craving a sweet treat without the sugar? You’re in the right place! My sugar-free banana bread is not only simple to make,…
My Latest Desserts
My Latest Recipes

hey,
i’m !
I’m so happy you’re here!
My kitchen is filled with stories, flavors, and love and I’m so happy to share them with you. Here’s to dishes that feel like home.
Strawberry Cheesecake Icebox Cake Delightful Dessert
Craving a cool, creamy dessert that’s as easy to make as it is delicious? Look no further than this Strawberry Cheesecake Icebox Cake! With…
. It has all the steps and tips you need to create this delightful dessert! This blog post covered all the key steps for making a Strawberry Cheesecake Icebox Cake. We discussed the ingredients, measuring tips, and substitutes, ensuring you have options to fit your needs. I shared detailed preparation and layering instructions, plus tricks for the best texture and presentation. You learned about variations and storage, making sure your cake stays fresh and delicious. This dessert is simple to make and perfect for any occasion. Enjoy making your cake, and let your creativity shine!](https://southerndishes.com/wp-content/uploads/2025/07/c670c989-2cc2-422e-a0a4-495f83a82ea1.webp)
