
Latest & Greatest
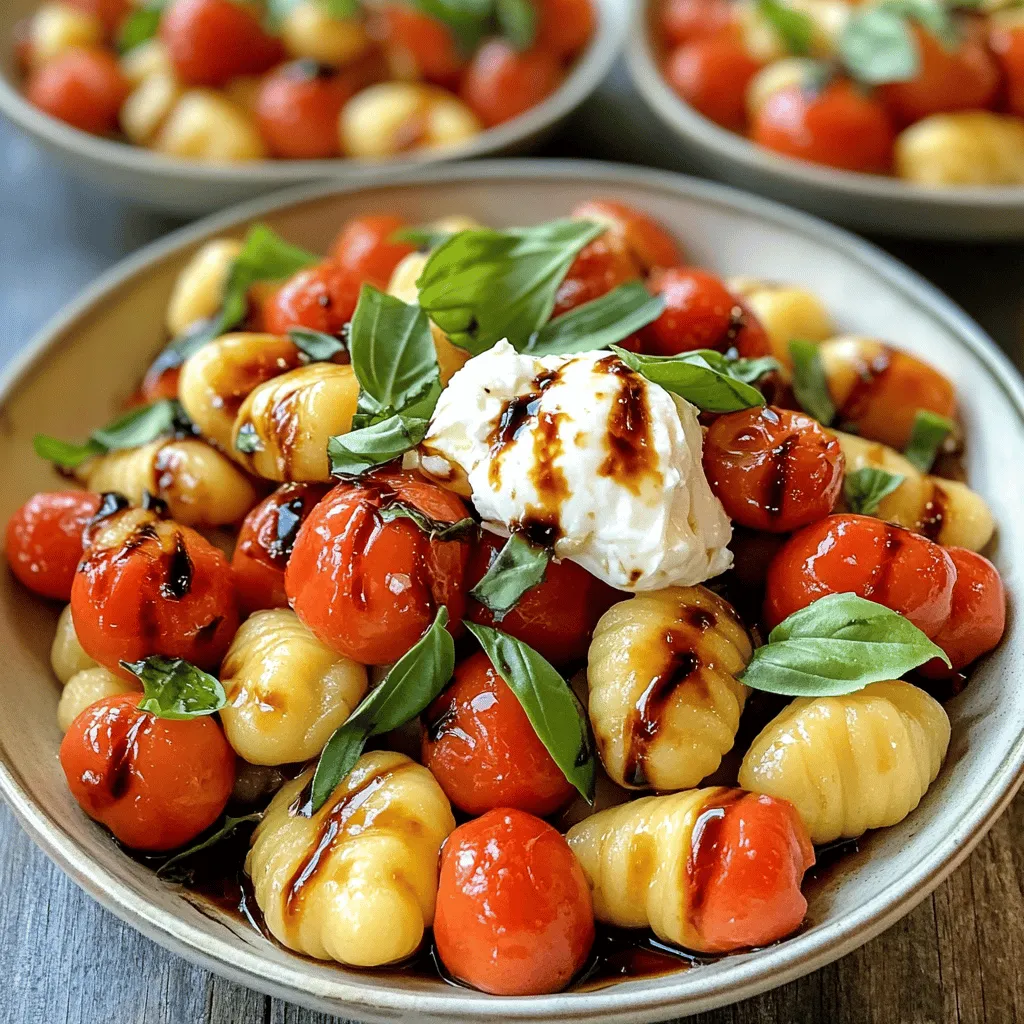
30 Minute Tomato Gnocchi with Burrata Simple Delight
If you crave a quick and tasty meal, this 30 Minute Tomato Gnocchi with Burrata is for you! This dish
Read more…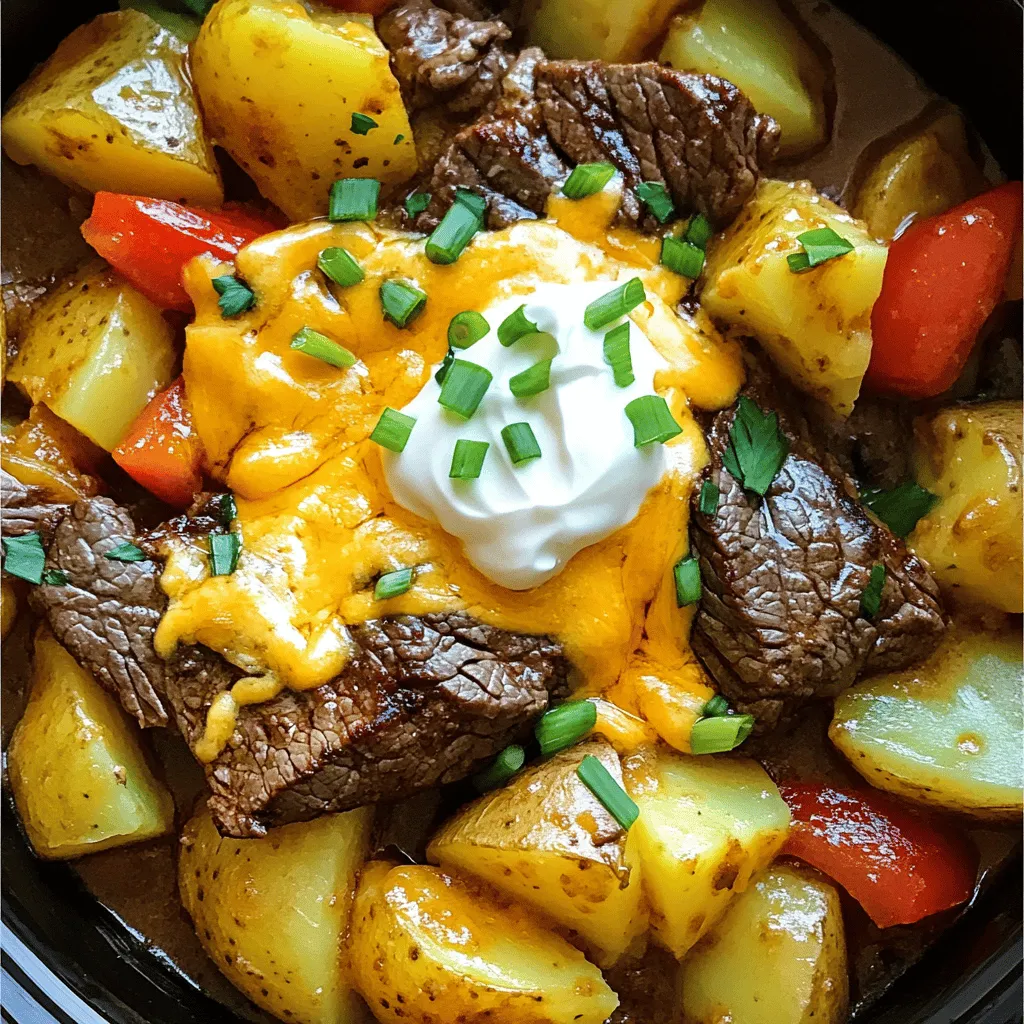
Crockpot Loaded Steak and Potato Bake Delight
If you crave comfort food, the Crockpot Loaded Steak and Potato Bake is for you! This dish combines tender steak,
Read more…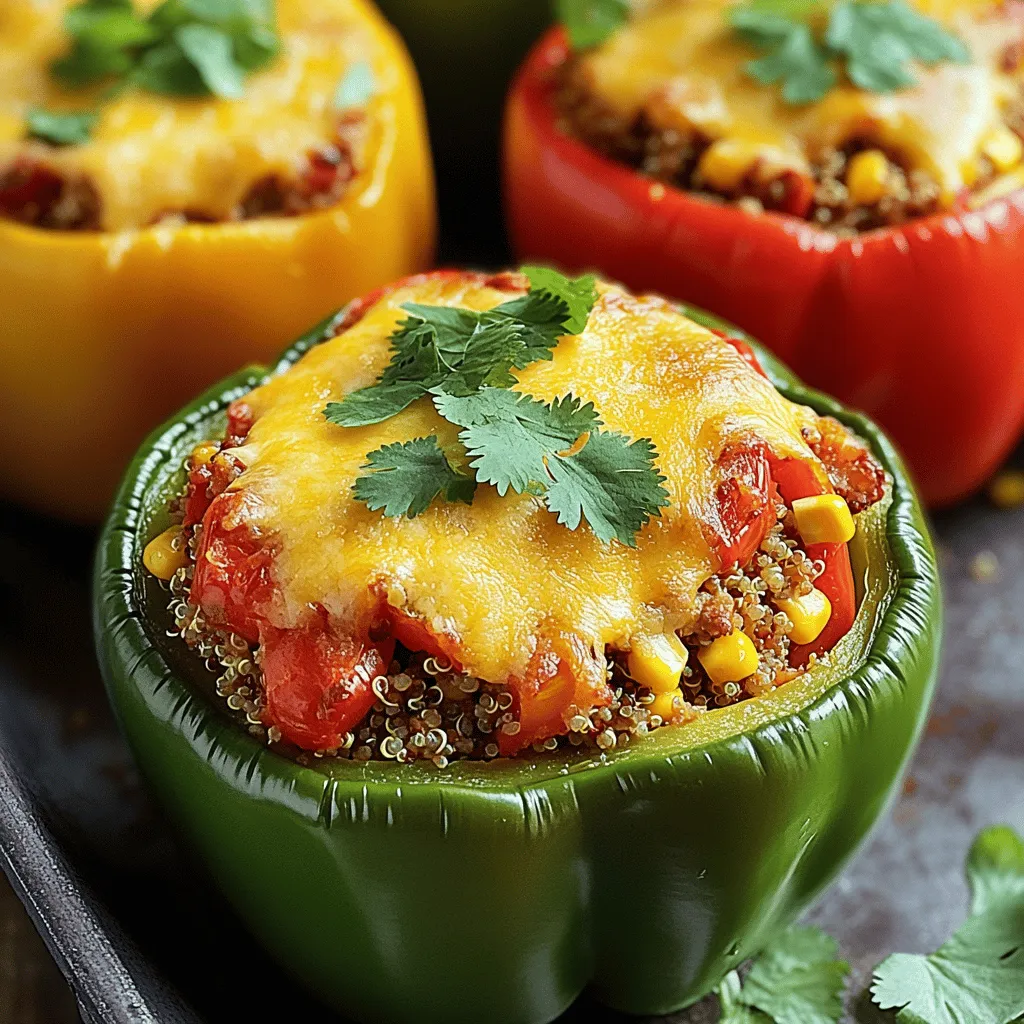
Stuffed Bell Peppers with Ground Turkey Easy Recipe
Are you ready to impress your family with a colorful and tasty dish? These stuffed bell peppers with ground turkey
Read more…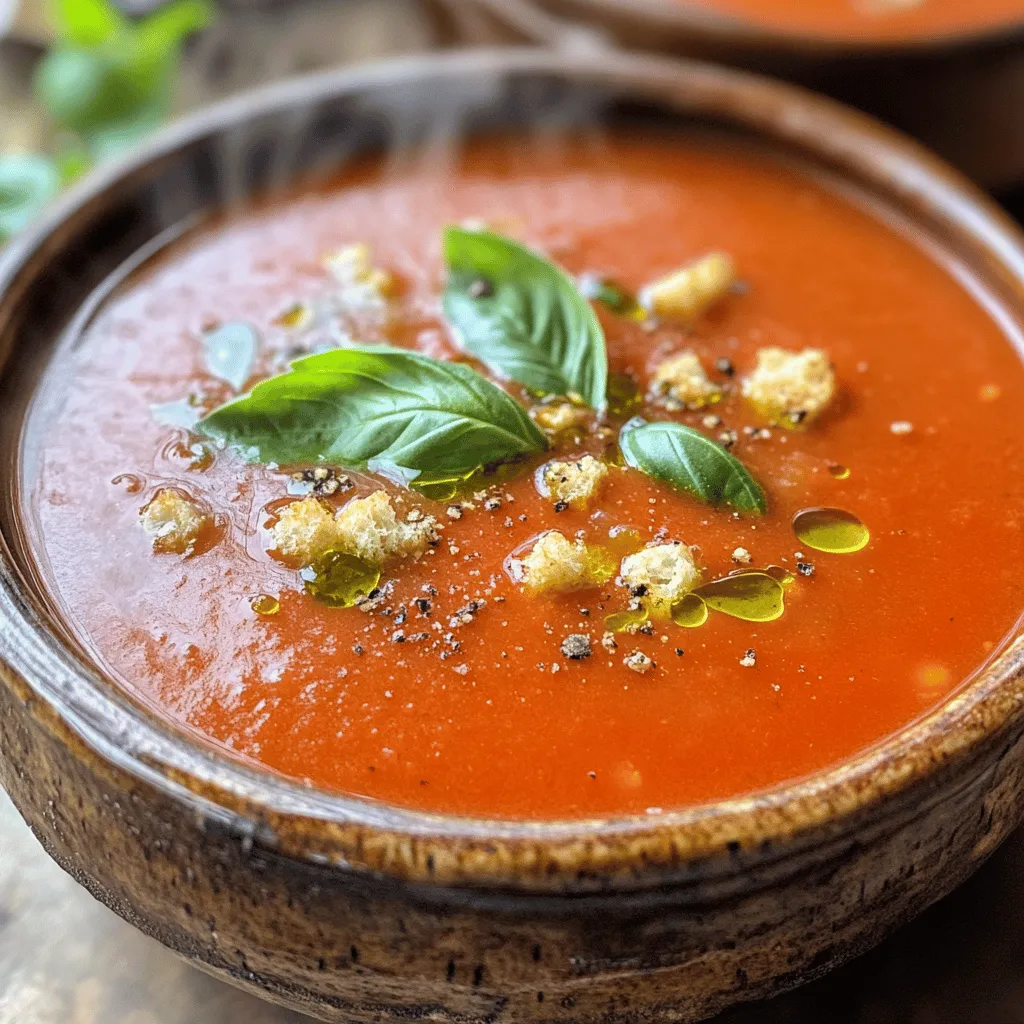
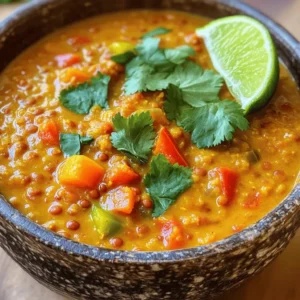
Creamy Tomato Basil Soup Fresh and Tasty Recipe
Craving a warm bowl of comfort food? My creamy tomato basil soup is the perfect treat! With fresh ingredients and
Read more…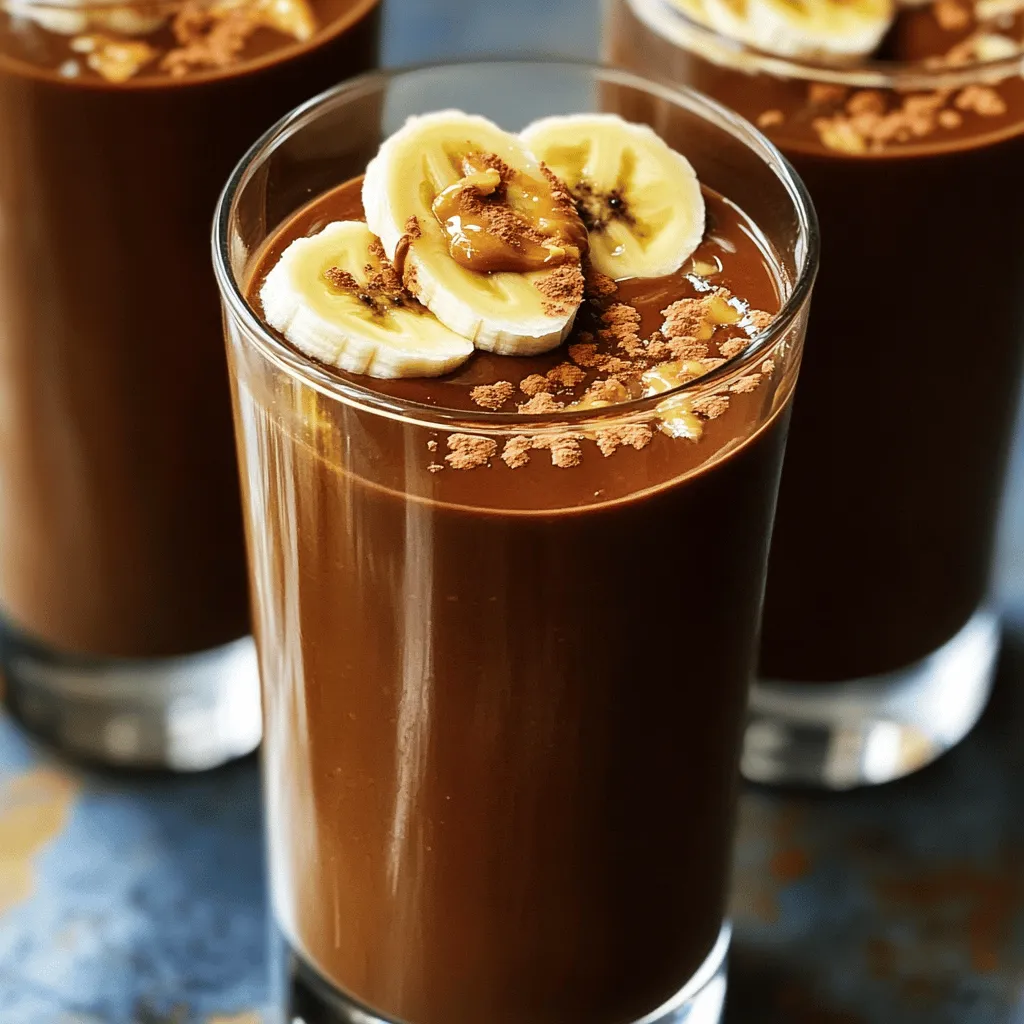
Chocolate Banana Smoothie Energizing and Healthy Blend
Looking for a quick, tasty boost? This Chocolate Banana Smoothie is your answer! Packed with ripe bananas, rich cocoa, and
Read more…
Zucchini Noodle Pad Thai Flavorful and Healthy Meal
If you’re looking for a healthy, flavorful twist on a classic favorite, you’ve come to the right place! Zucchini Noodle
Read more…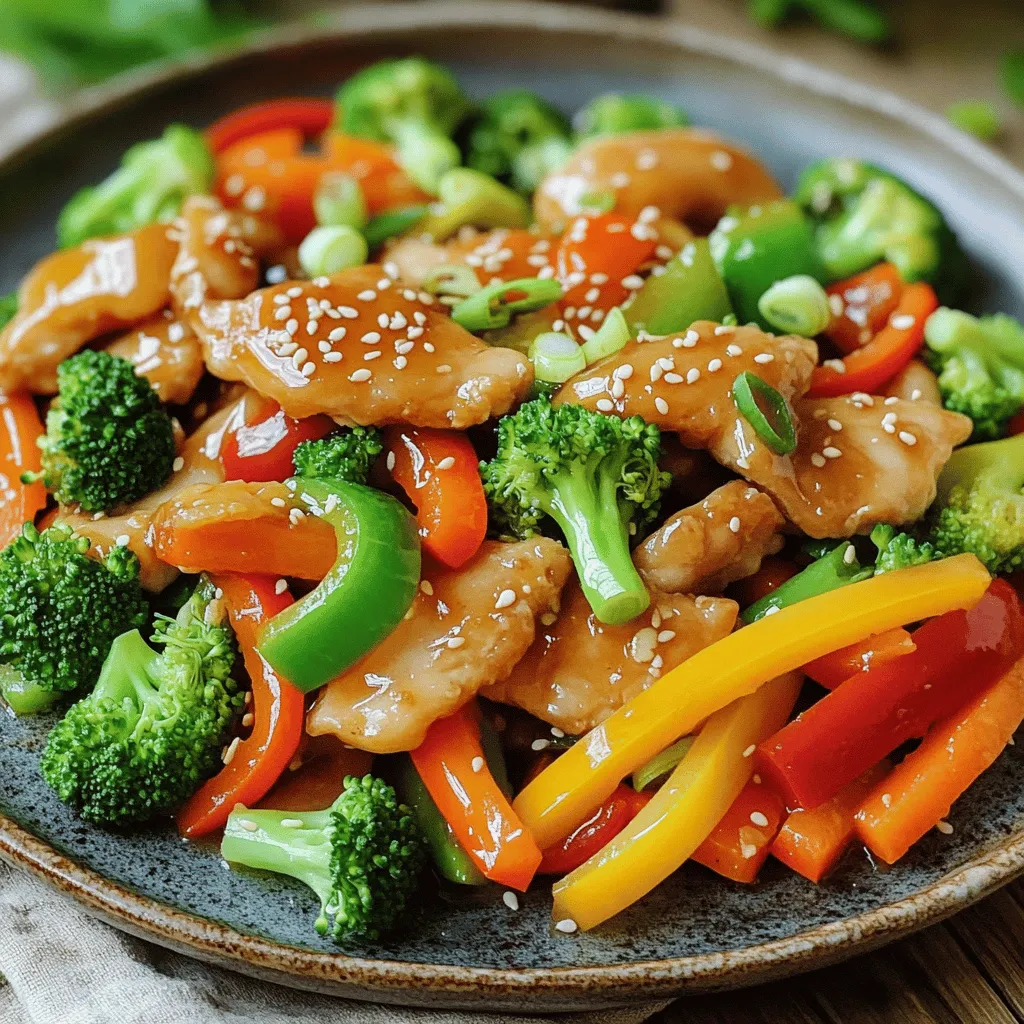
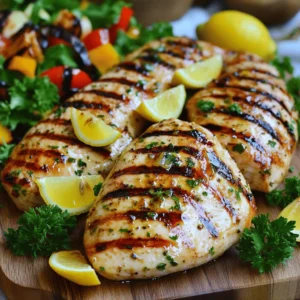
Honey Garlic Chicken Stir-Fry Quick and Tasty Meal
Looking for a quick and tasty meal? Honey Garlic Chicken Stir-Fry is your answer! This dish is packed with sweet
Read more…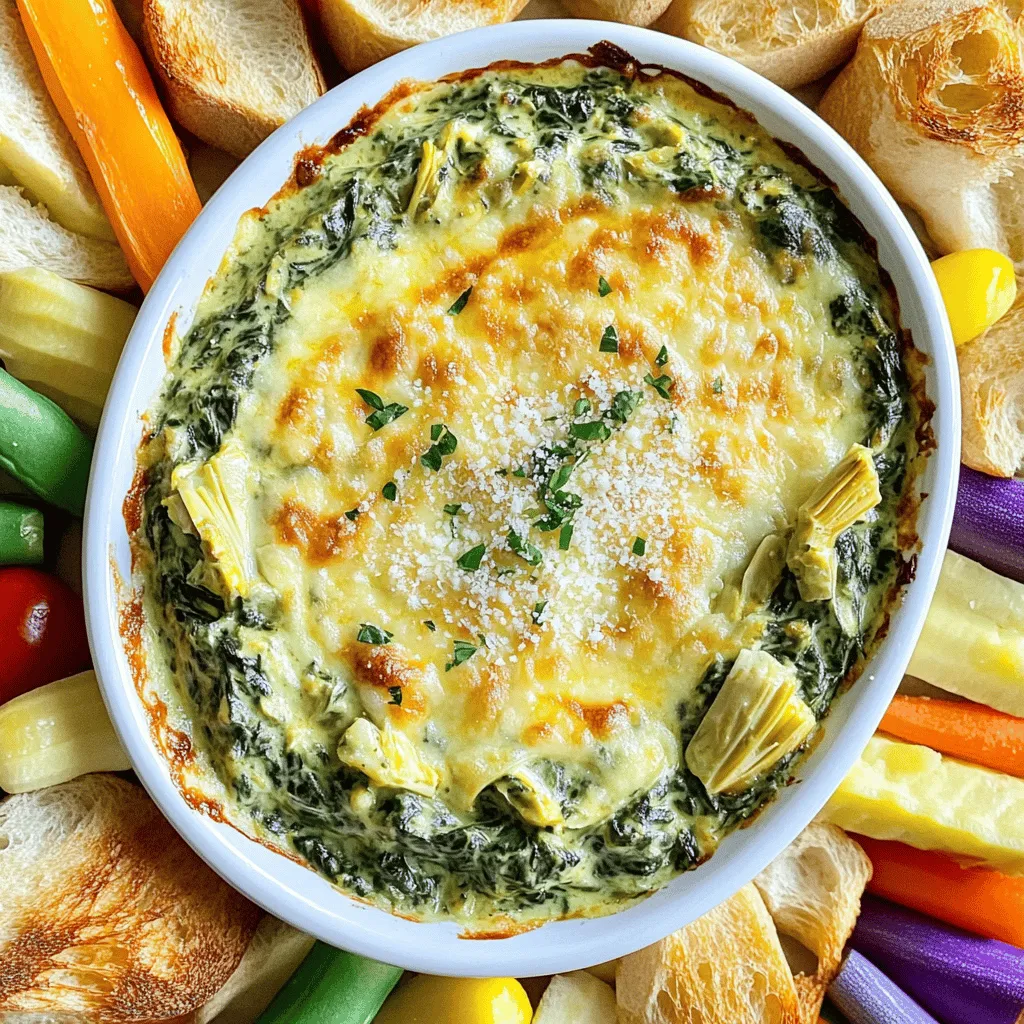
Creamy Spinach Artichoke Dip Tasty and Delightful Treat
Are you ready to impress at your next gathering with a Creamy Spinach Artichoke Dip? This tasty and delightful treat
Read more…browse recipes
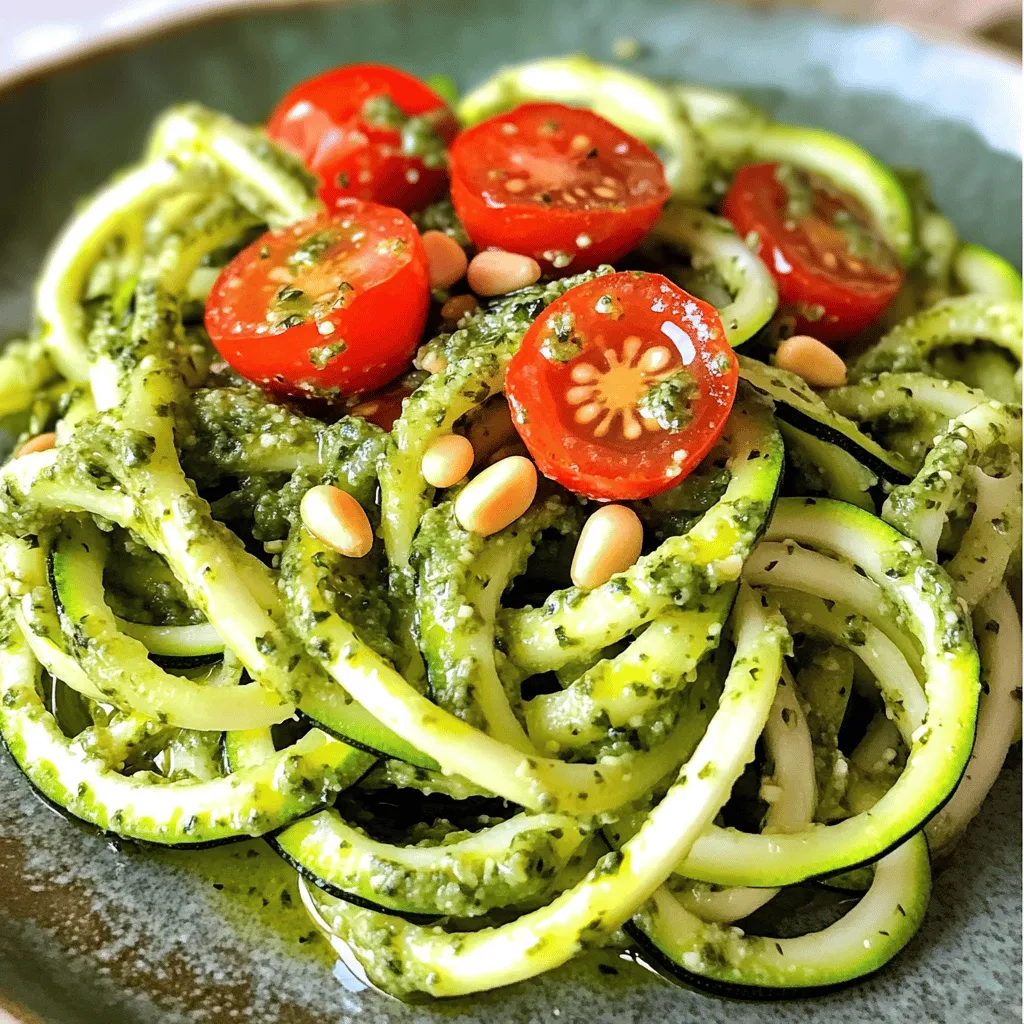
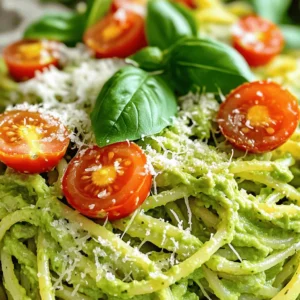
Zucchini Noodles with Pesto Simple Flavor Boost
Are you looking for a fresh and tasty meal? Zucchini noodles with pesto offer a simple flavor boost that can delight your taste buds.…
My Latest Desserts
My Latest Recipes

hey,
i’m !
I’m so happy you’re here!
My kitchen is filled with stories, flavors, and love and I’m so happy to share them with you. Here’s to dishes that feel like home.

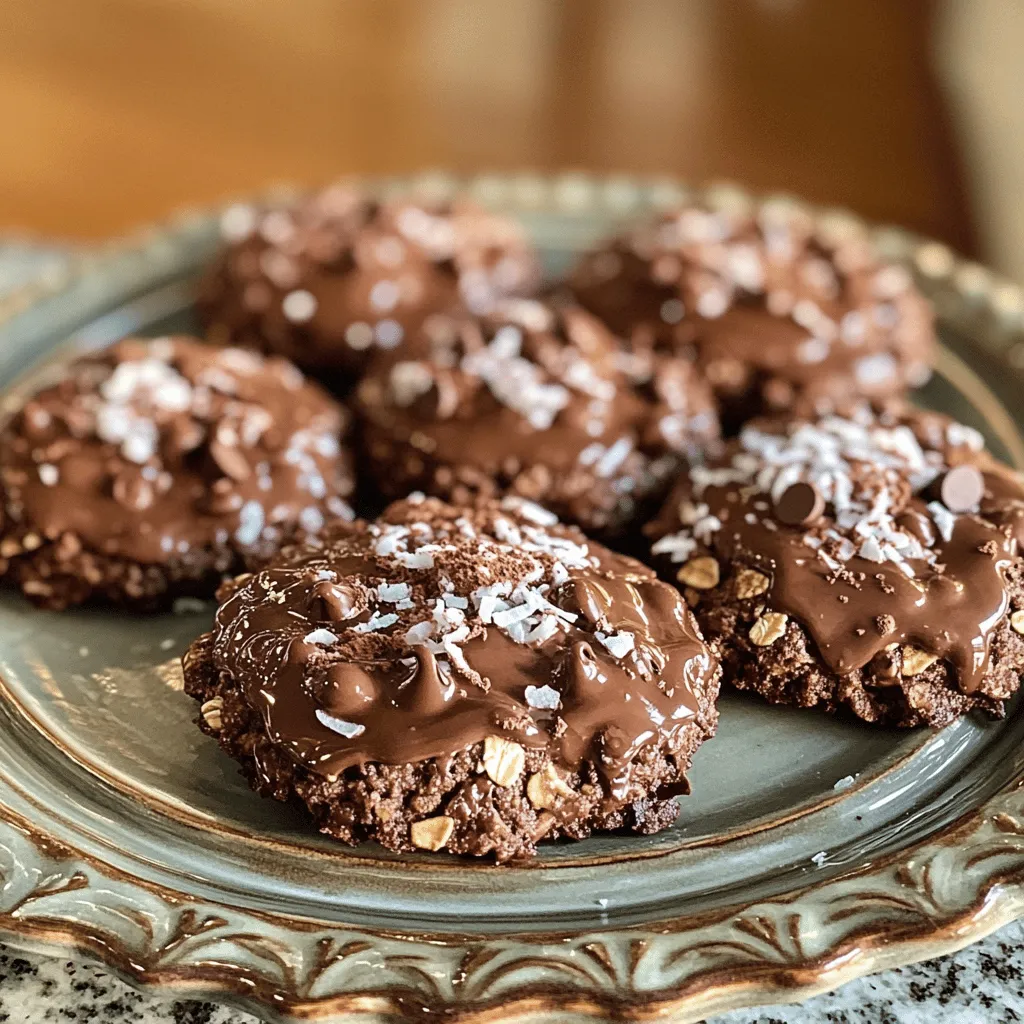
No-Bake Chocolate Oatmeal Cookies Simple Treat
Craving a tasty treat that’s quick to make? No-bake chocolate oatmeal cookies are your answer! With simple ingredients like oats, cocoa, and peanut butter,…