Latest & Greatest

Homemade Granola Bars Easy Recipe for Healthy Snacking
Are you ready to snack smarter? In this blog post, I’ll guide you through a simple recipe for homemade granola
Read more…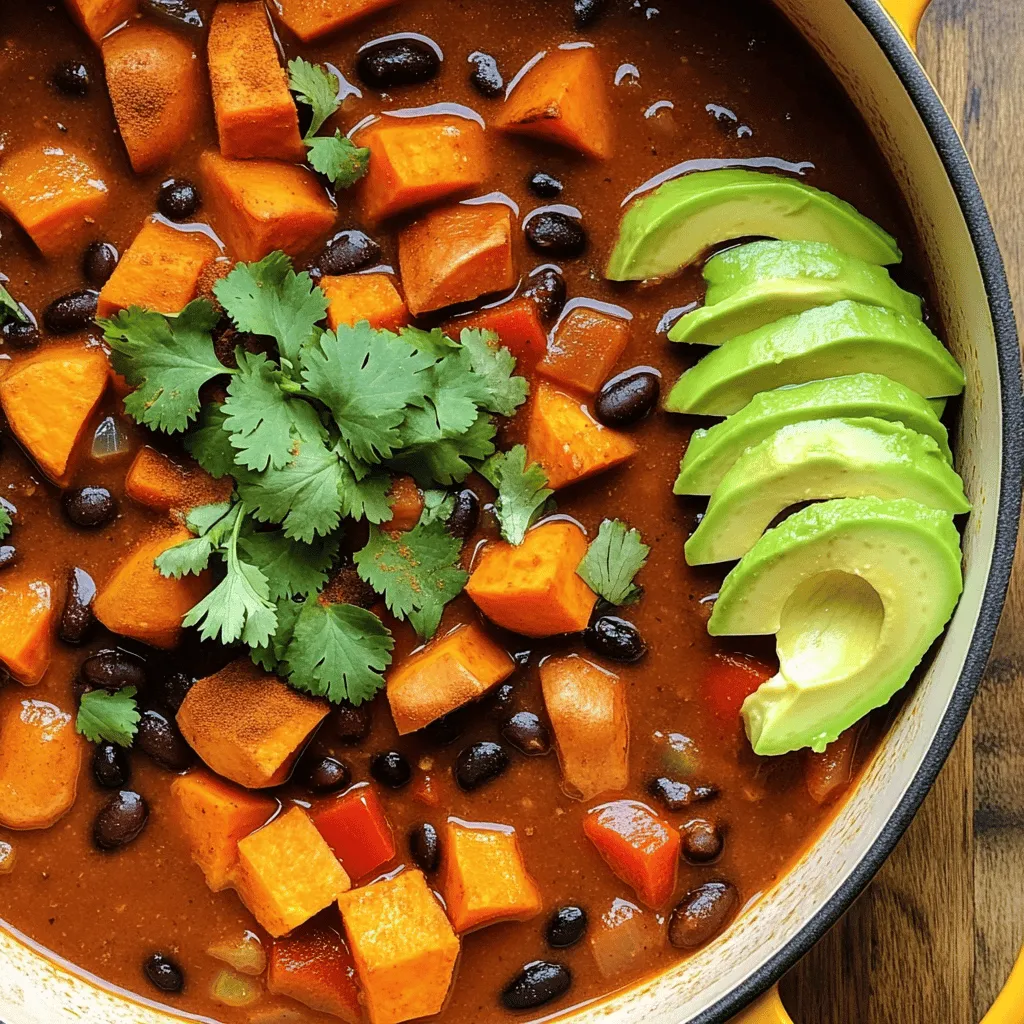
Sweet Potato and Black Bean Chili Hearty Vegan Delight
If you’re craving a bowl of warmth and comfort, look no further! This Sweet Potato and Black Bean Chili is
Read more…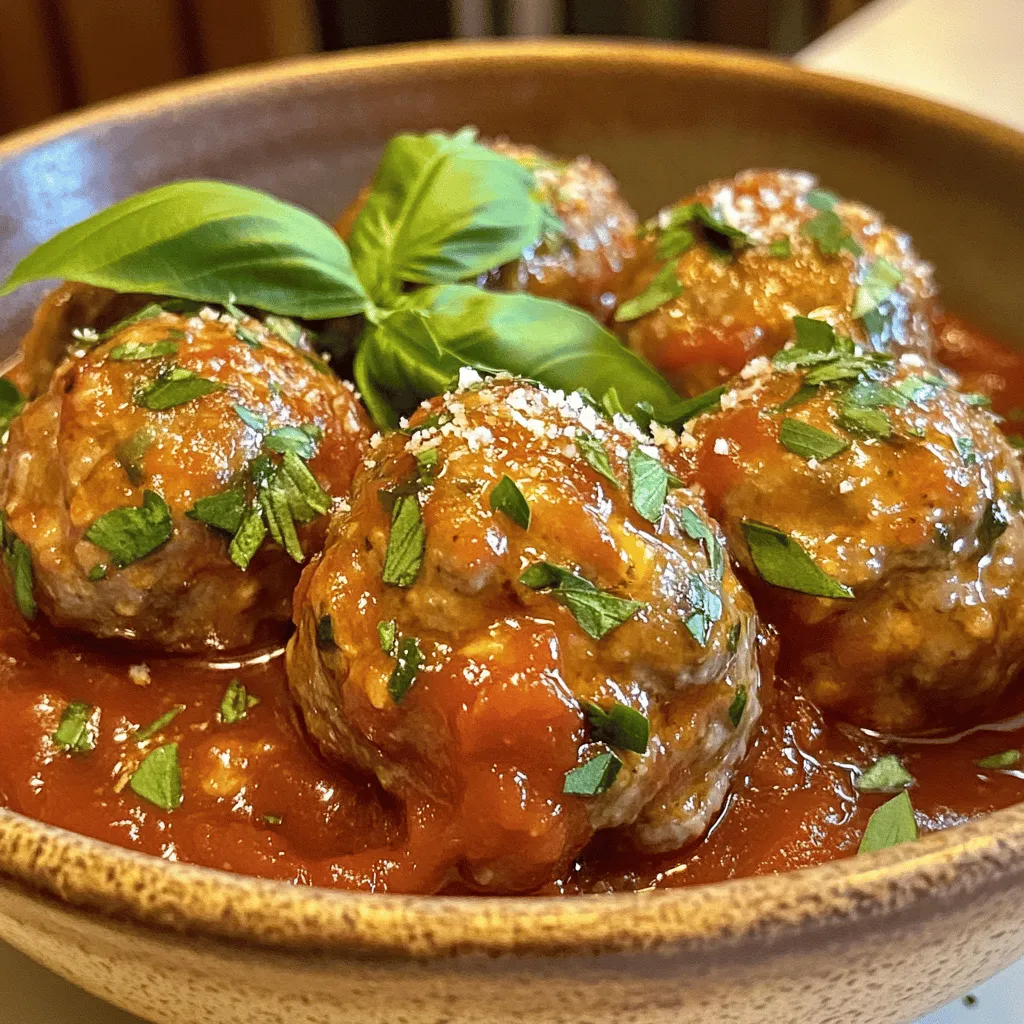
Easy Turkey Meatballs with Marinara for Dinner
Looking for a quick and tasty dinner? You’ve come to the right place! These Easy Turkey Meatballs with Marinara are
Read more…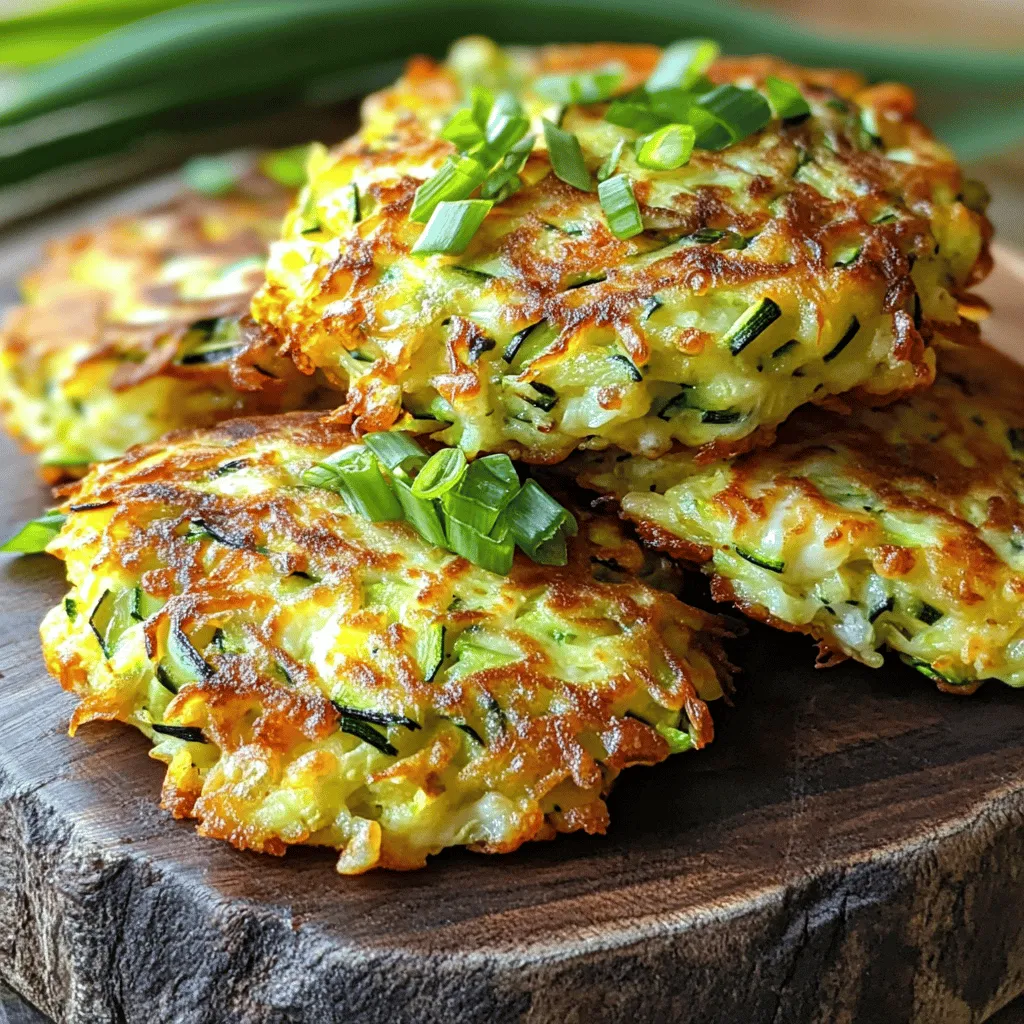
Savory Cheesy Zucchini Fritters Tasty and Crisp Snack
Are you ready to spice up your snack game? Let me introduce you to Savory Cheesy Zucchini Fritters! These tasty,
Read more…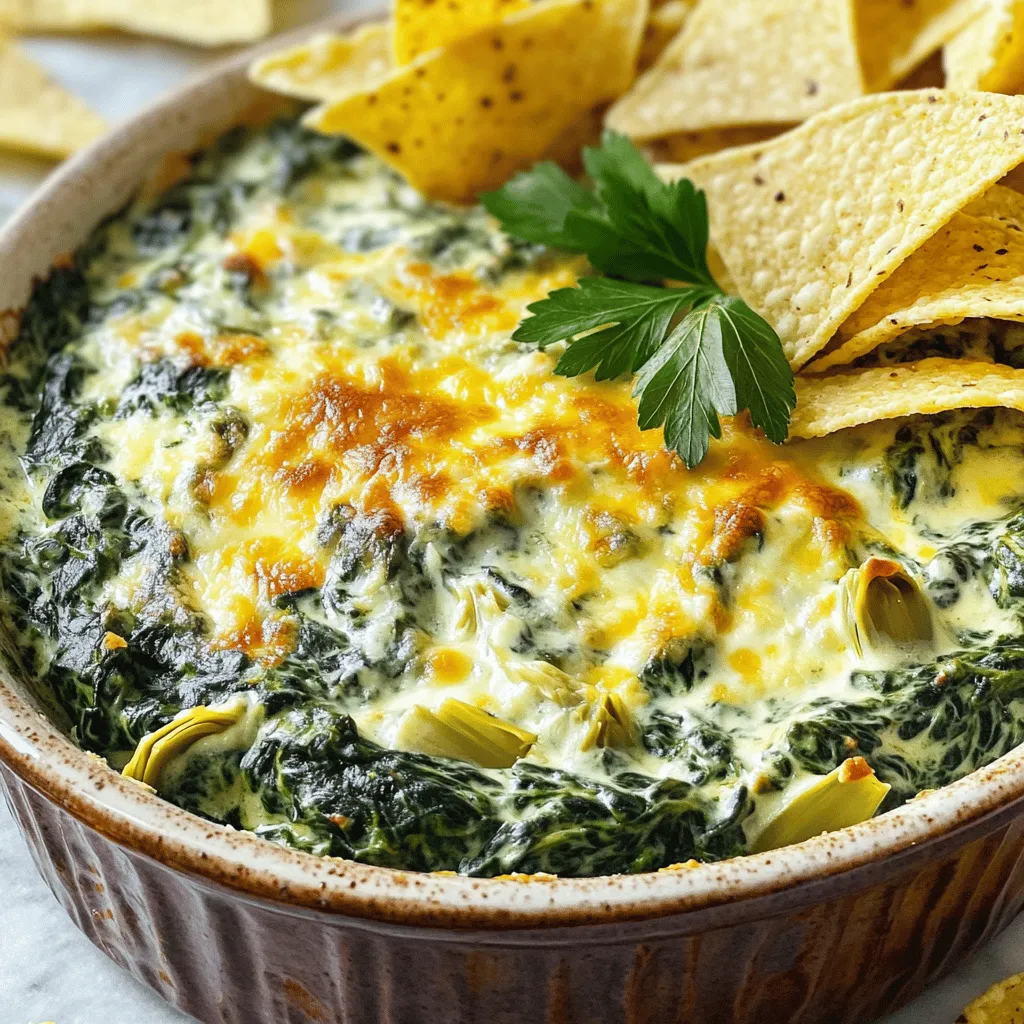
Creamy Spinach and Artichoke Dip Irresistible Delight
Are you ready to whip up a crowd favorite? This Creamy Spinach and Artichoke Dip is the perfect blend of
Read more…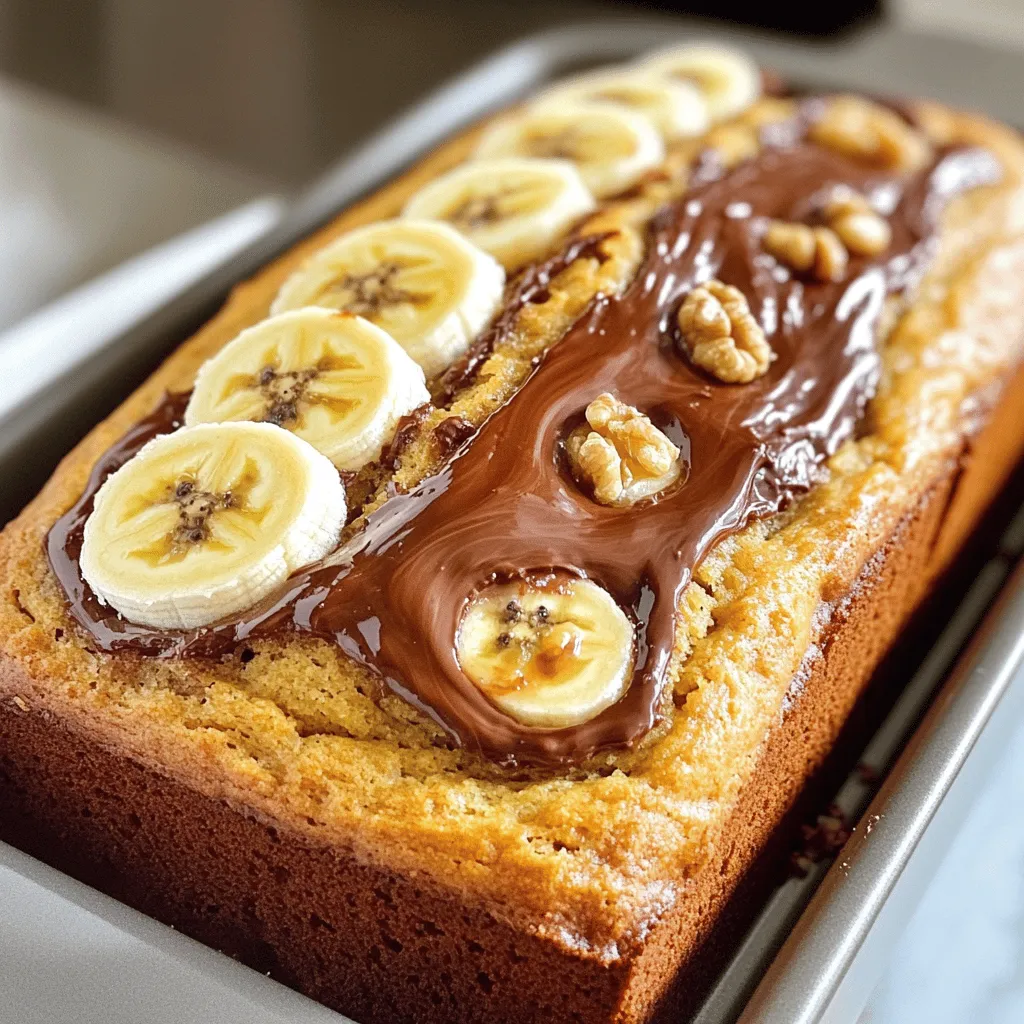
Nutella-Stuffed Banana Bread Delightful and Easy Recipe
If you love a sweet treat that’s simple to make, you’re in for a real treat! Nutella-Stuffed Banana Bread combines
Read more…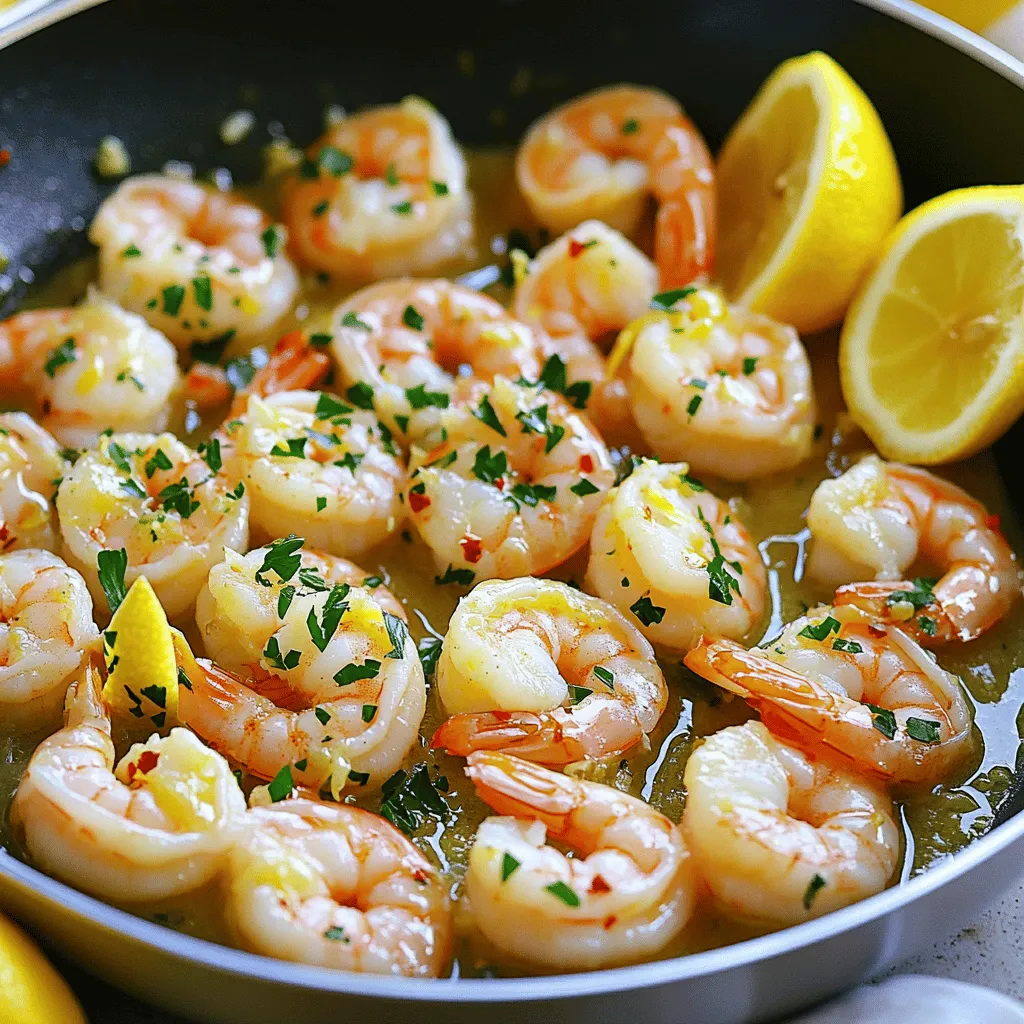
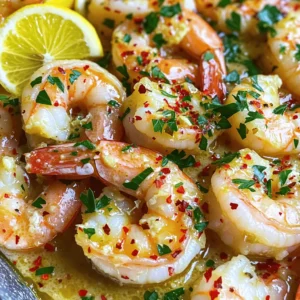
Zesty Lemon Garlic Shrimp Flavorful and Easy Recipe
Craving a quick and tasty meal? This Zesty Lemon Garlic Shrimp recipe packs bold flavor in every bite! You’ll learn
Read more…
Biscoff Cookie Butter Cinnamon Rolls Delightful Treat
Craving a warm, gooey treat? These Biscoff Cookie Butter Cinnamon Rolls are your answer! I’ll guide you through every step,
Read more…browse recipes


No Bake Oreo Cheesecake Cups Easy and Delicious Treat
Love desserts but short on time? You’re in for a treat! This No Bake Oreo Cheesecake Cups recipe is simple, quick, and tastes amazing!…
My Latest Desserts
My Latest Recipes

hey,
i’m !
I’m so happy you’re here!
My kitchen is filled with stories, flavors, and love and I’m so happy to share them with you. Here’s to dishes that feel like home.


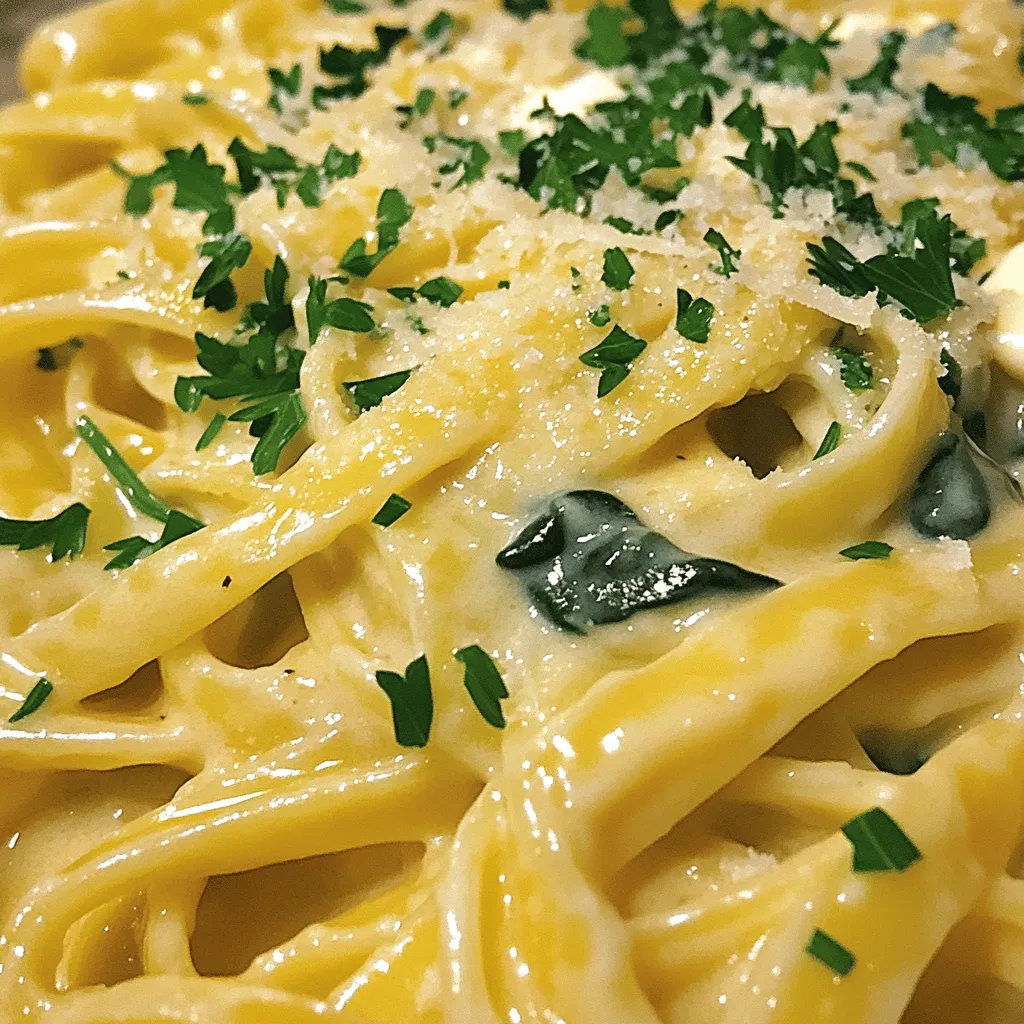
Creamy Garlic Parmesan Pasta Rich and Flavorful Dish
Craving a cozy dish that bursts with savory flavor? You’ve found it! My Creamy Garlic Parmesan Pasta is your new go-to. With just a…