
Sheet Pan Teriyaki Chicken and Veggies Delight
If you crave a quick and tasty meal, look no further! My Sheet Pan Teriyaki Chicken and Veggies Delight recipe
If you crave a quick and tasty meal, look no further! My Sheet Pan Teriyaki Chicken and Veggies Delight recipe
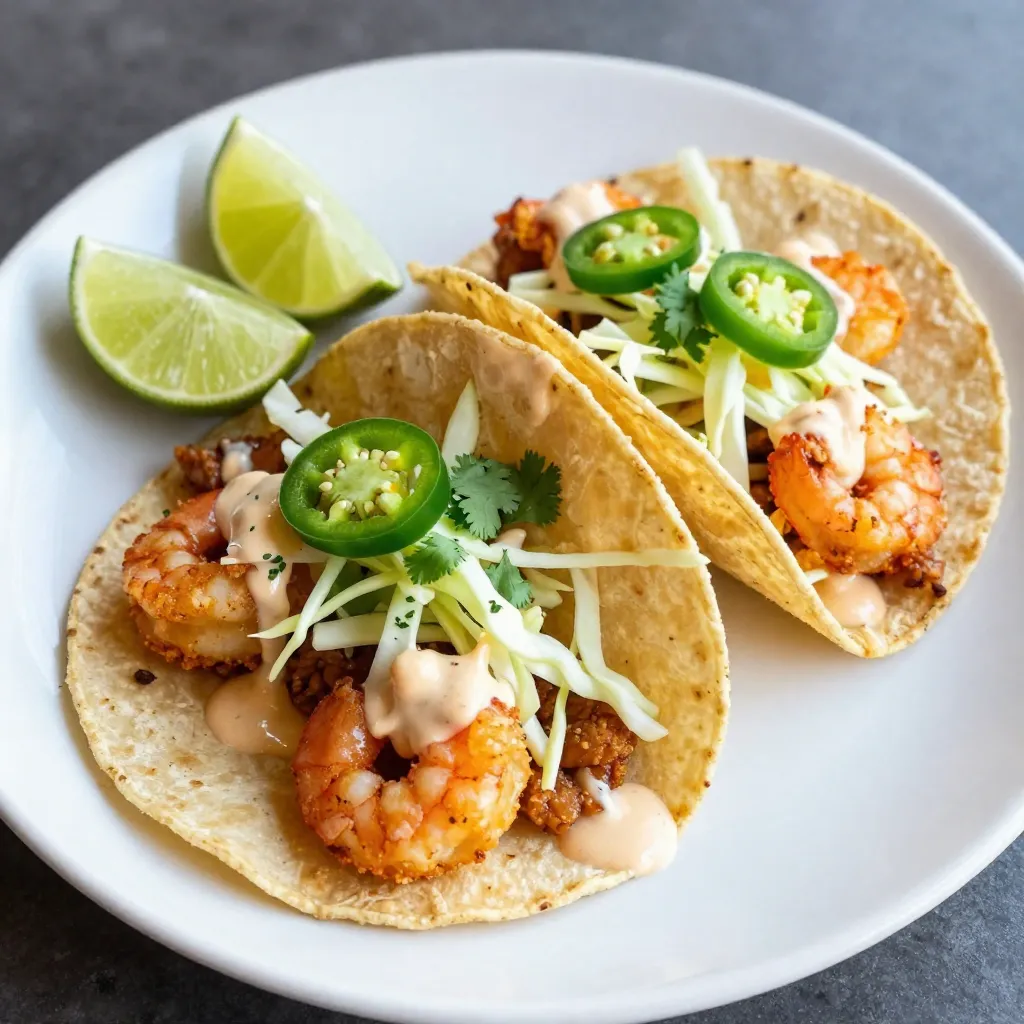
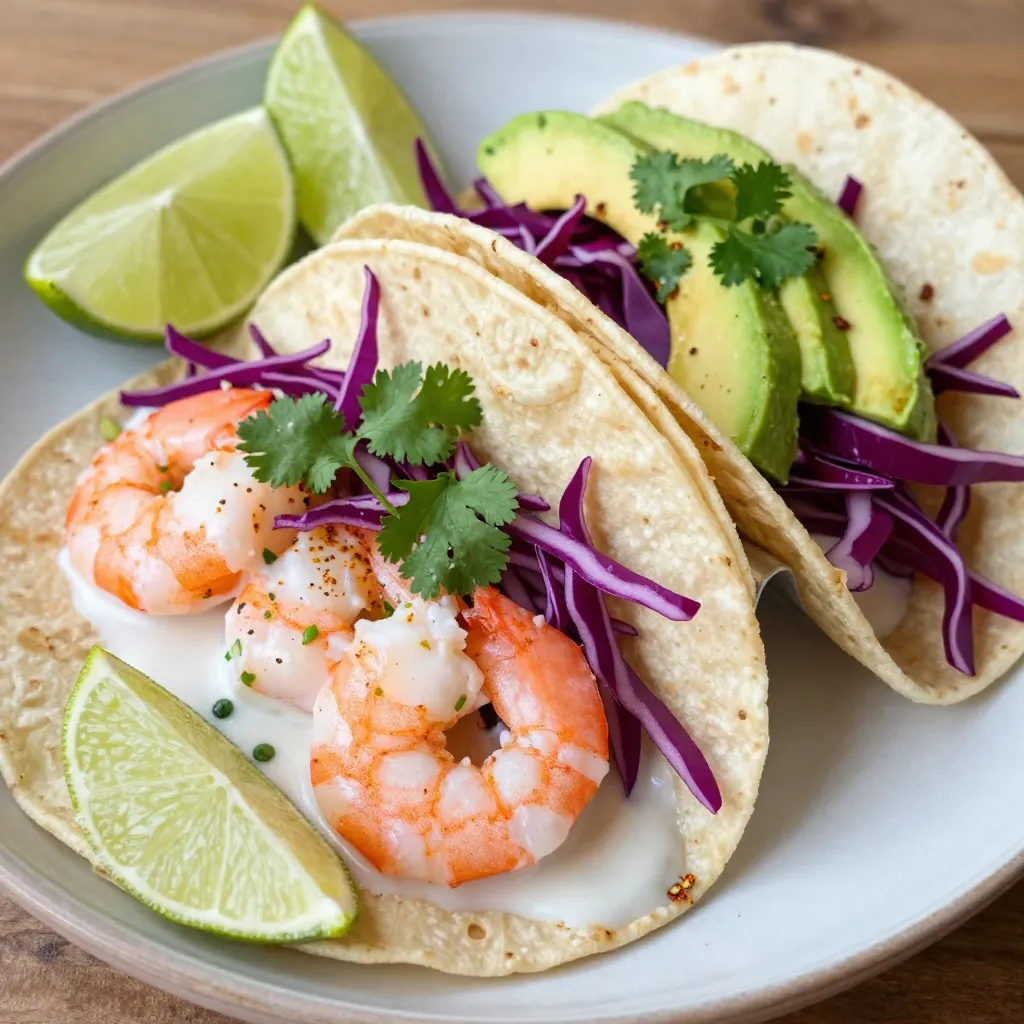
Are you ready to bring some excitement to your dinner table? Bang Bang Shrimp Tacos offer bold flavor and crispy
Are you ready to dive into the cozy world of baking? In this guide, I’ll show you how to make
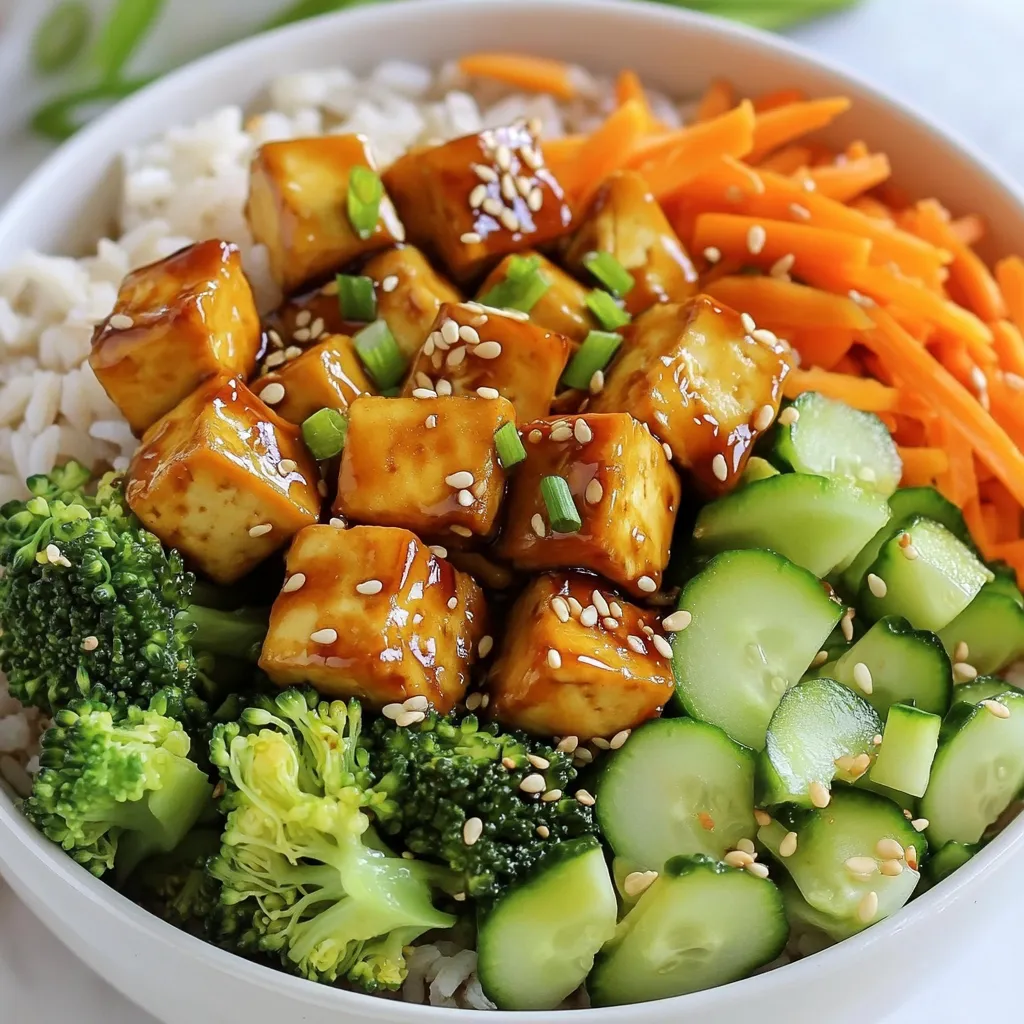
Are you ready to dive into a delicious and healthy meal? The Teriyaki Tofu Buddha Bowl is a nourishing vegan

Get ready to bake some fun with Pilgrim Hat Cookies! These delightful treats are not only easy to whip up,

Get ready for a weeknight dinner that’s both bursting with flavor and super easy to make! My Taco Slow Cooker
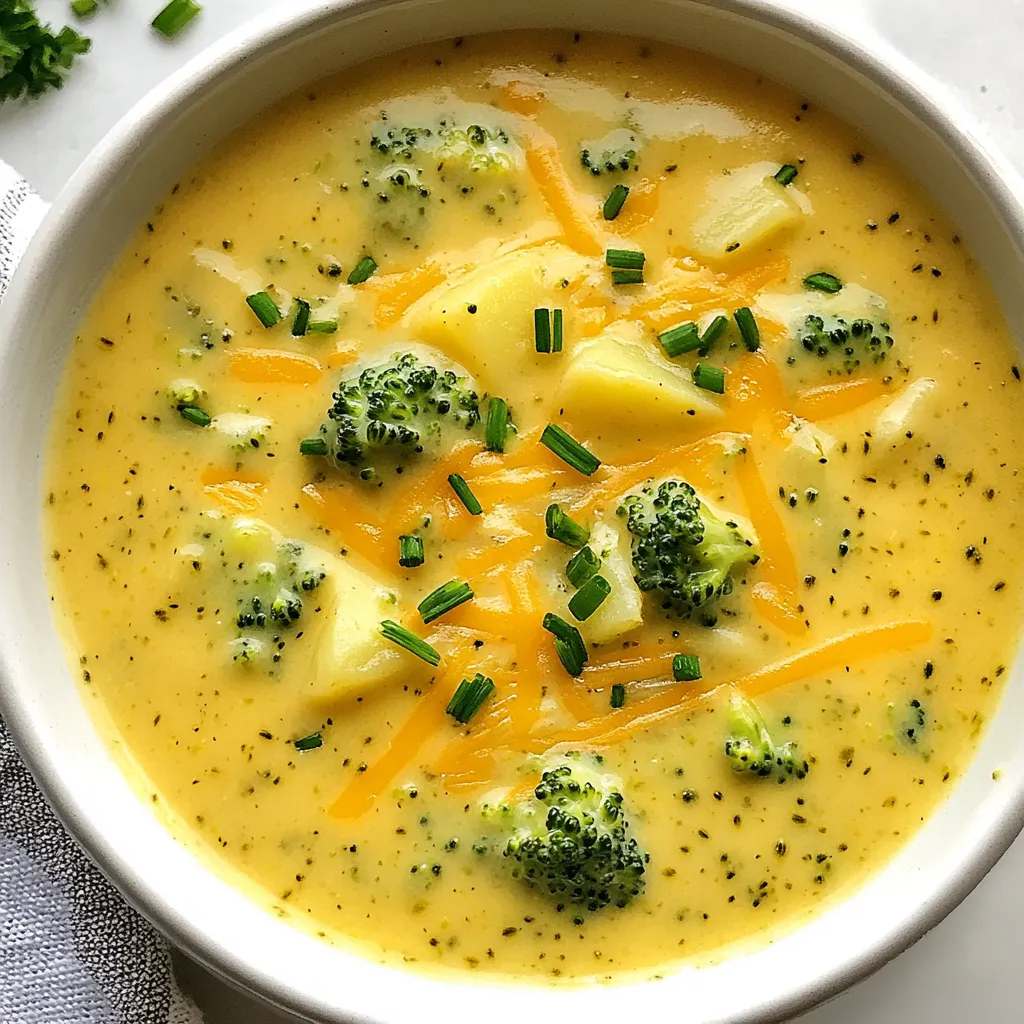
If you crave a warm, creamy bowl of goodness, you’ll love this Broccoli Potato Cheese Soup! It’s rich, flavorful, and
Get ready to enjoy a burst of flavor with Coconut Lime Shrimp Tacos! This dish combines sweet coconut, zesty lime,

Looking for a simple and fun treat? Chocolate dipped pretzel rods are the answer! These sweet-and-salty snacks are easy to

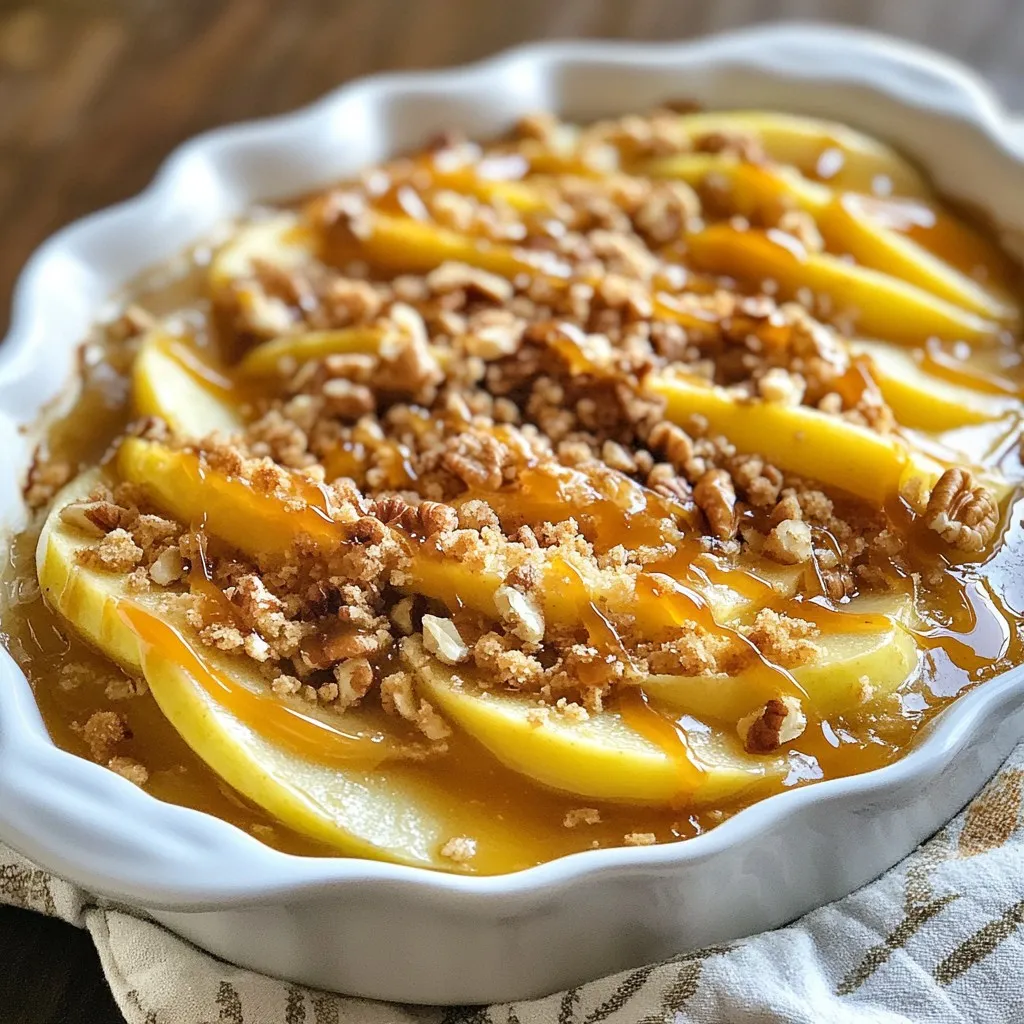
Craving a sweet treat that combines fall flavors with a fun twist? Look no further than Caramel Apple Pie Bombs!
