Butter Chickpeas Flavorful and Simple Recipe Guide
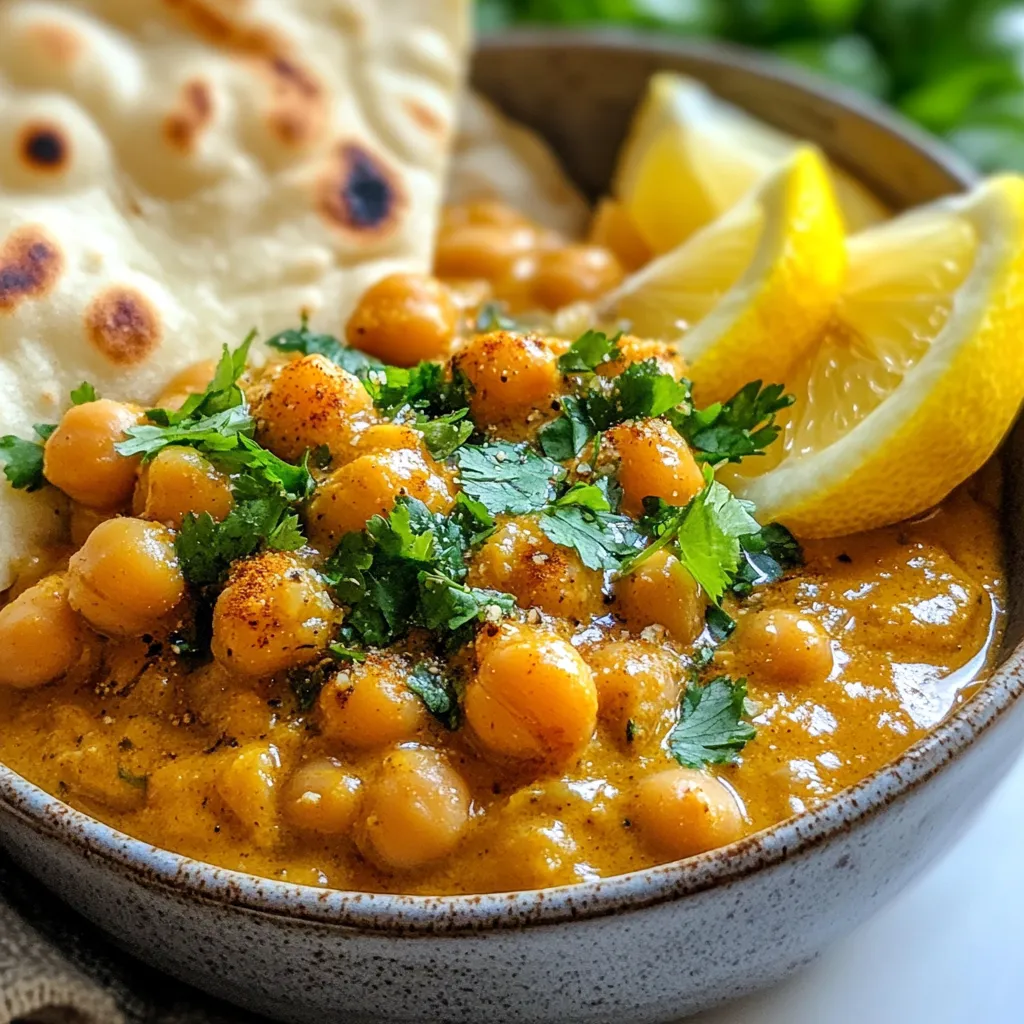
Get ready to spice up your dinner with my easy Butter Chickpeas recipe! This dish is rich, creamy, and packed
Get ready to spice up your dinner with my easy Butter Chickpeas recipe! This dish is rich, creamy, and packed
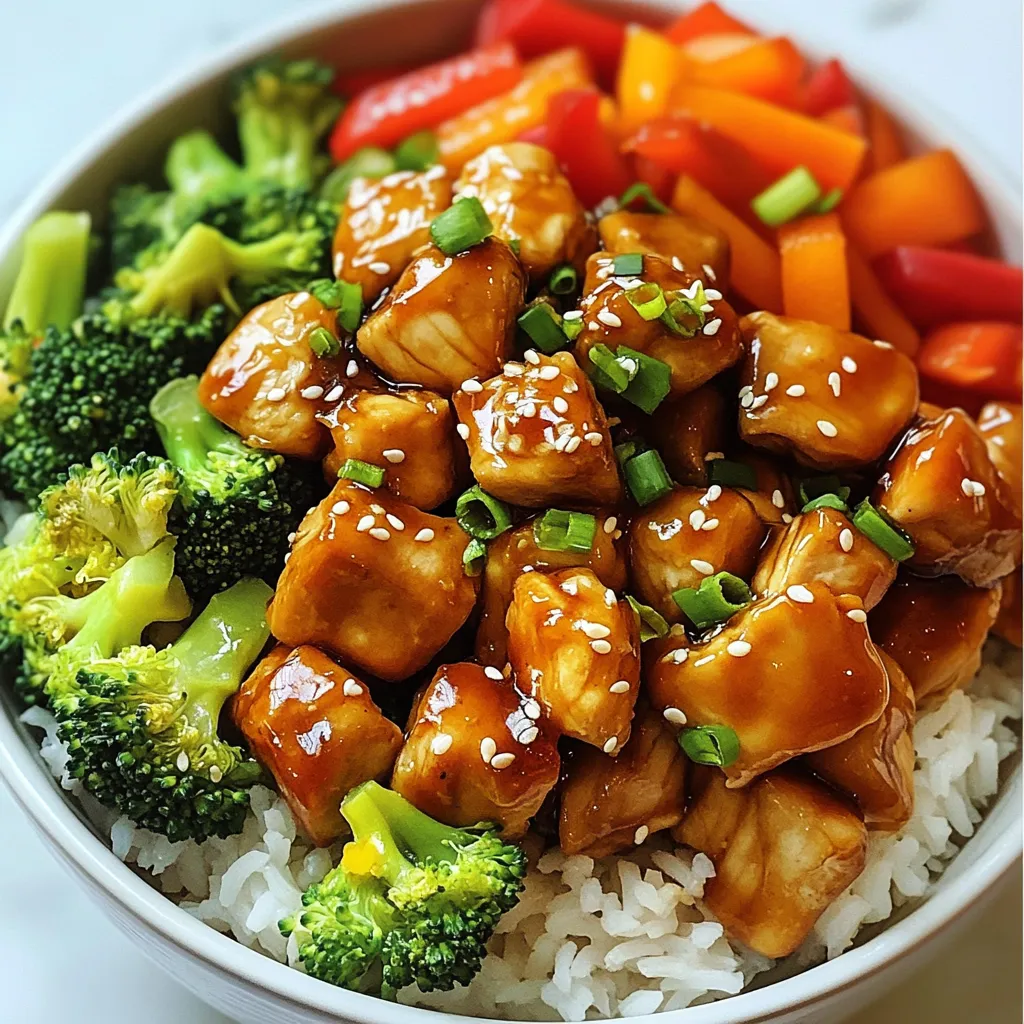
Are you ready to create a delicious Teriyaki Chicken Bowl that impresses? This simple and tasty recipe gives you all
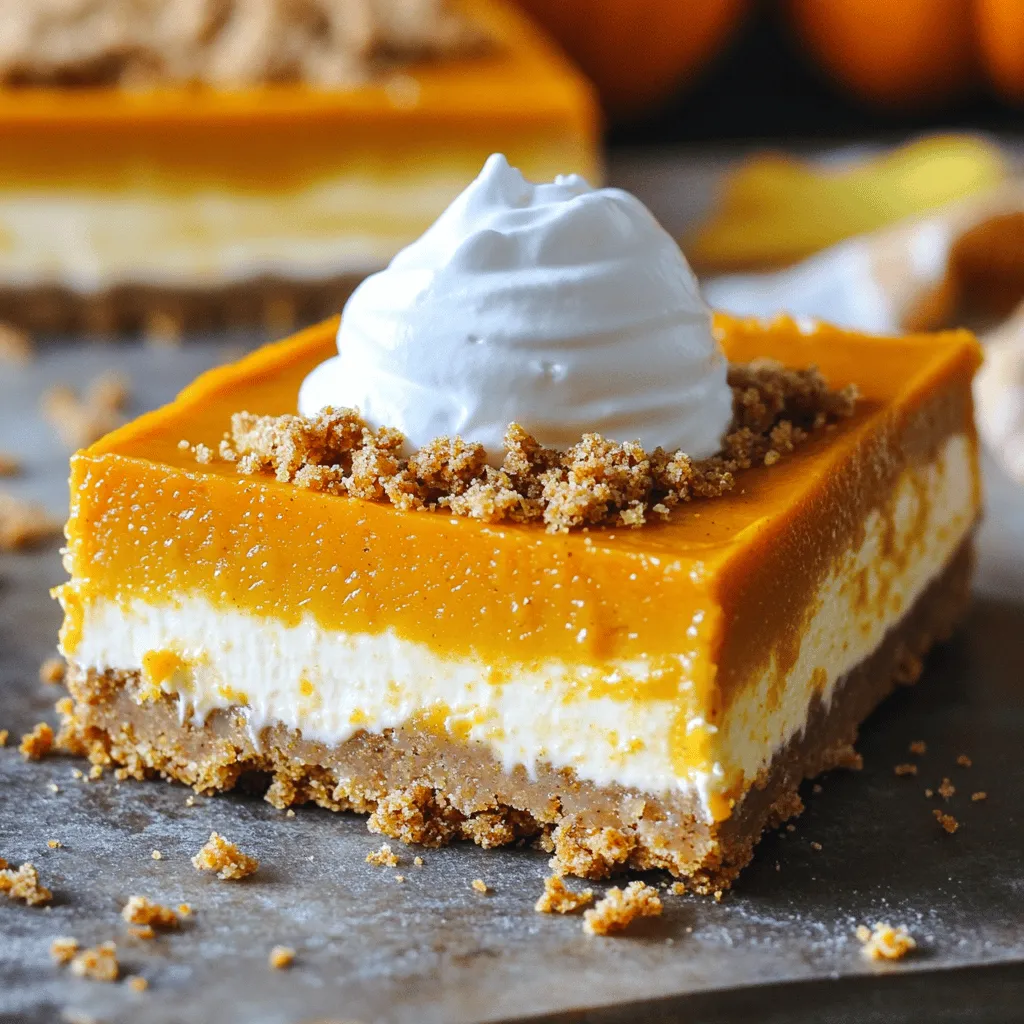
Fall is the perfect time to indulge in Pumpkin Gingersnap Cheesecake Bars. These sweet treats blend creamy pumpkin and spicy
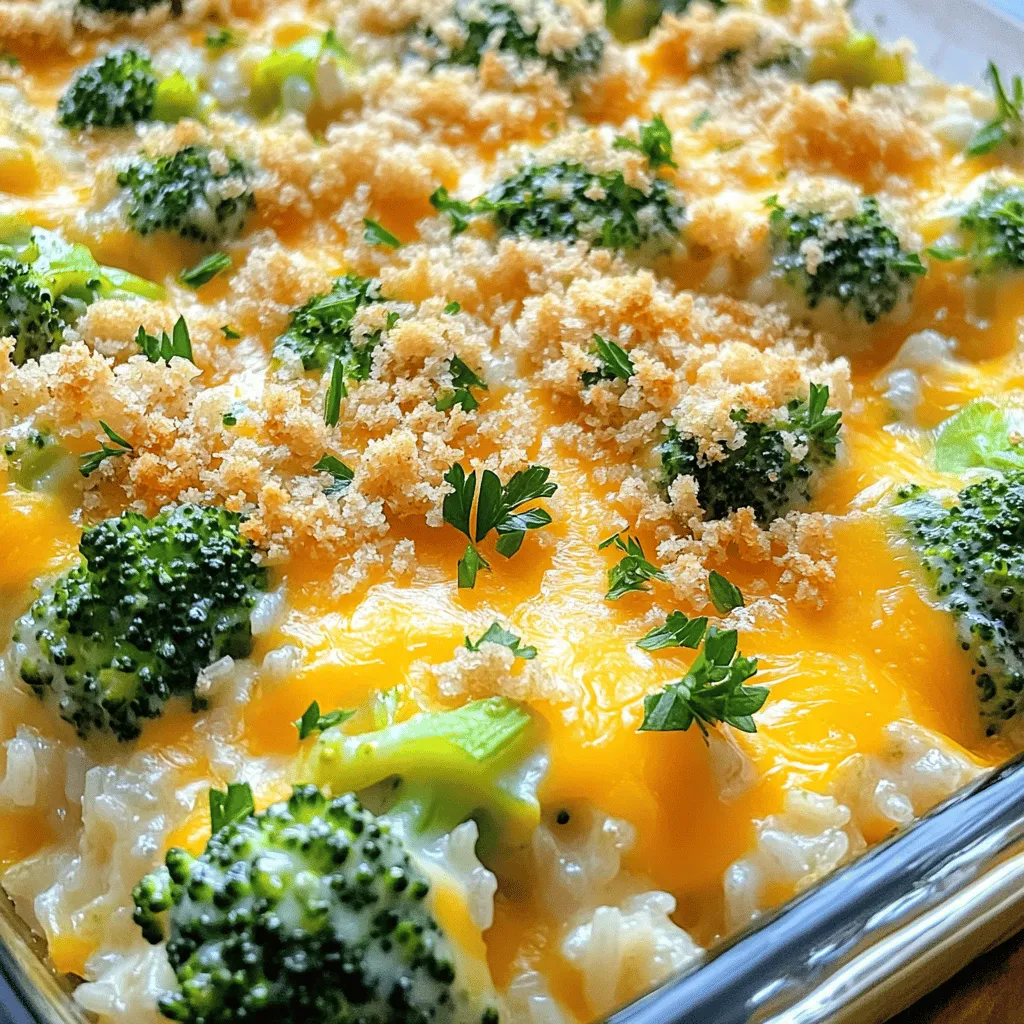
Are you ready to enjoy a warm, comforting dish that brings smiles to the table? This Cheesy Broccoli Rice Casserole

Do you crave a dish that’s both easy to make and packed with flavor? Look no further than this Orange
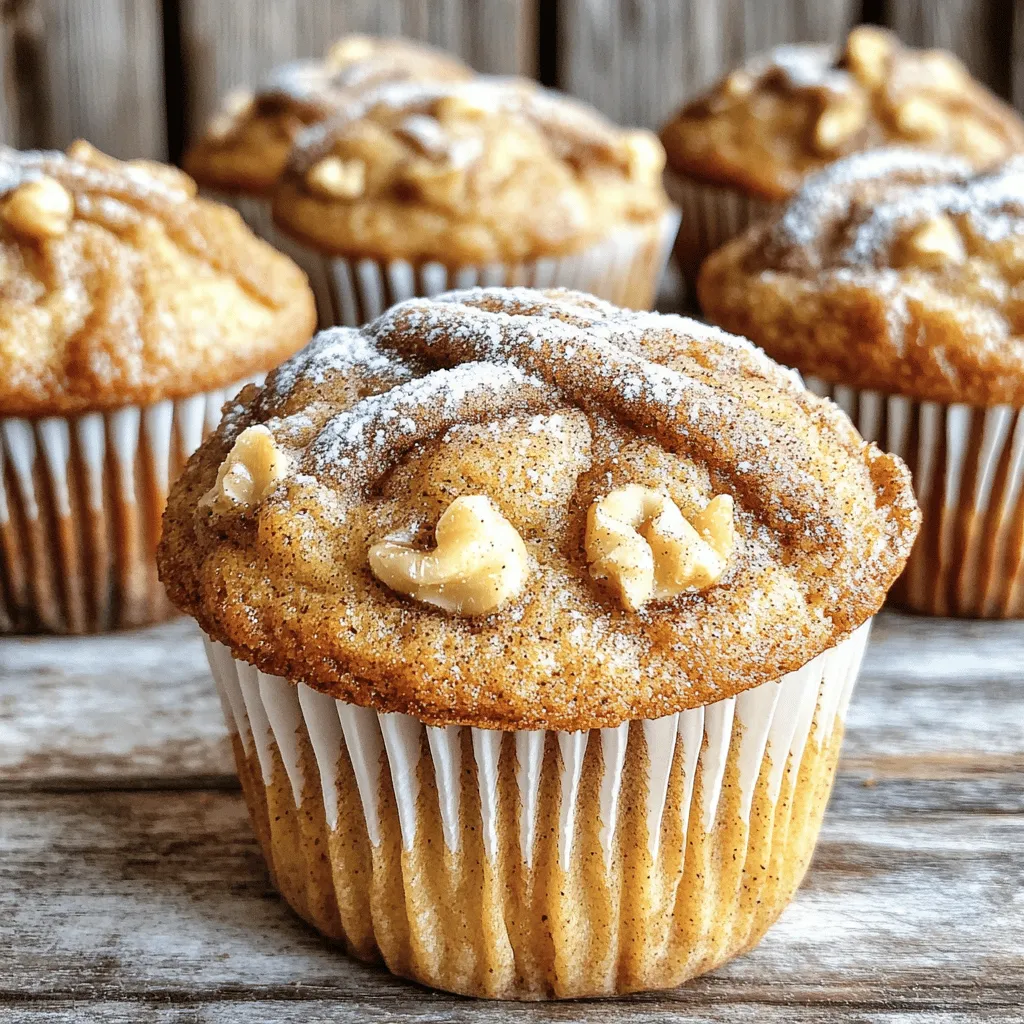
If you love the cozy flavor of cinnamon coffee cake, you’ll adore these Cinnamon Swirl Coffee Cake Muffins! They are
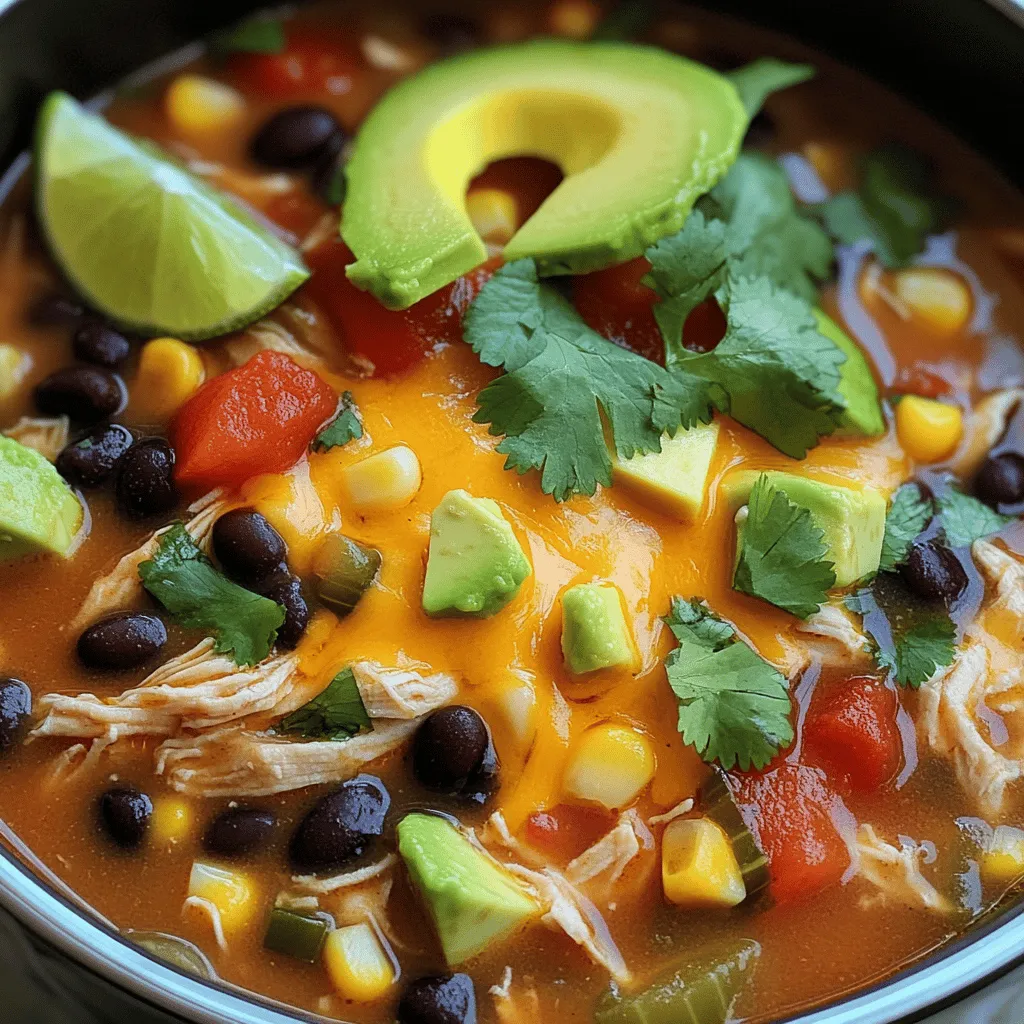
Looking for a quick and tasty dinner idea? You’ll love this Slow Cooker Chicken Enchilada Soup! With just a few
If you love tasty, cheesy snacks, you’re in for a treat! Today, I’ll show you how to make Air Fryer
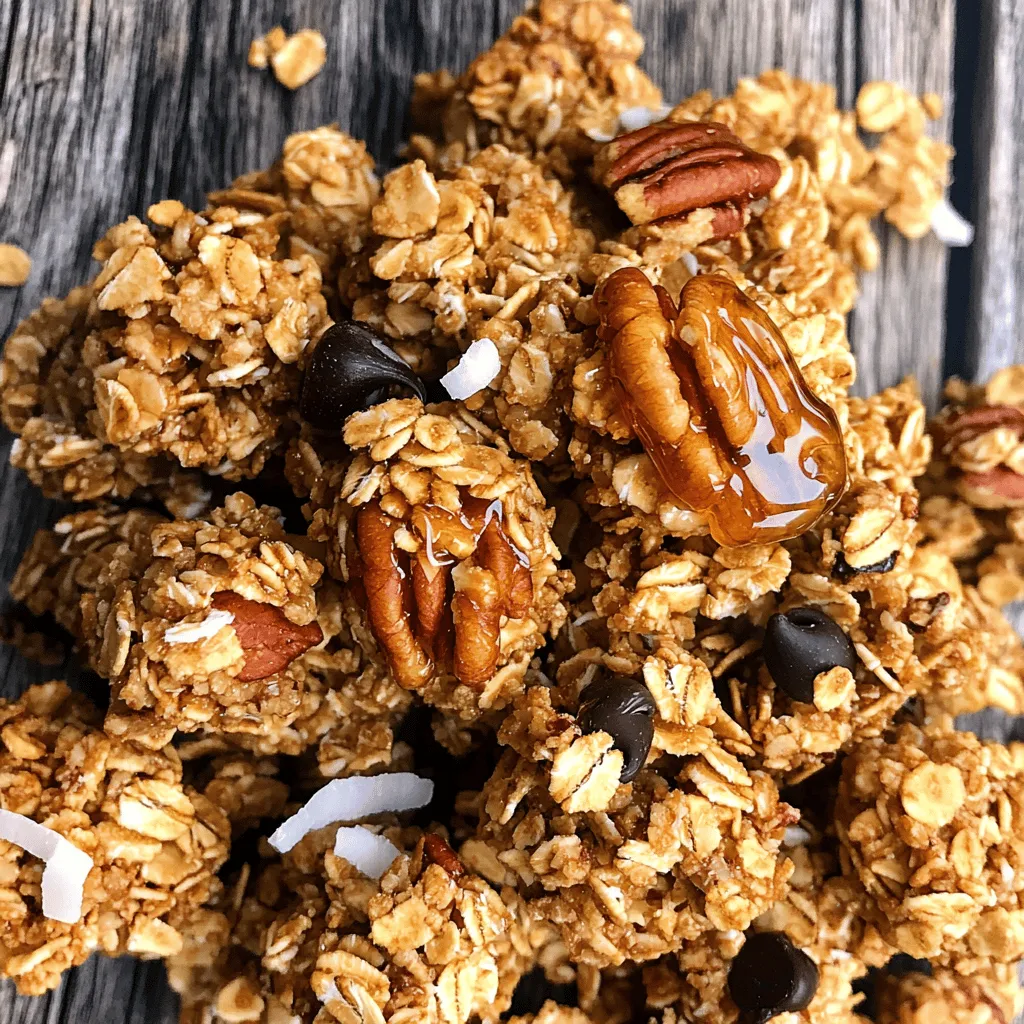
Looking for a delicious snack that’s both crunchy and satisfying? You’ve found it! Maple Pecan Granola Clusters blend sweet maple
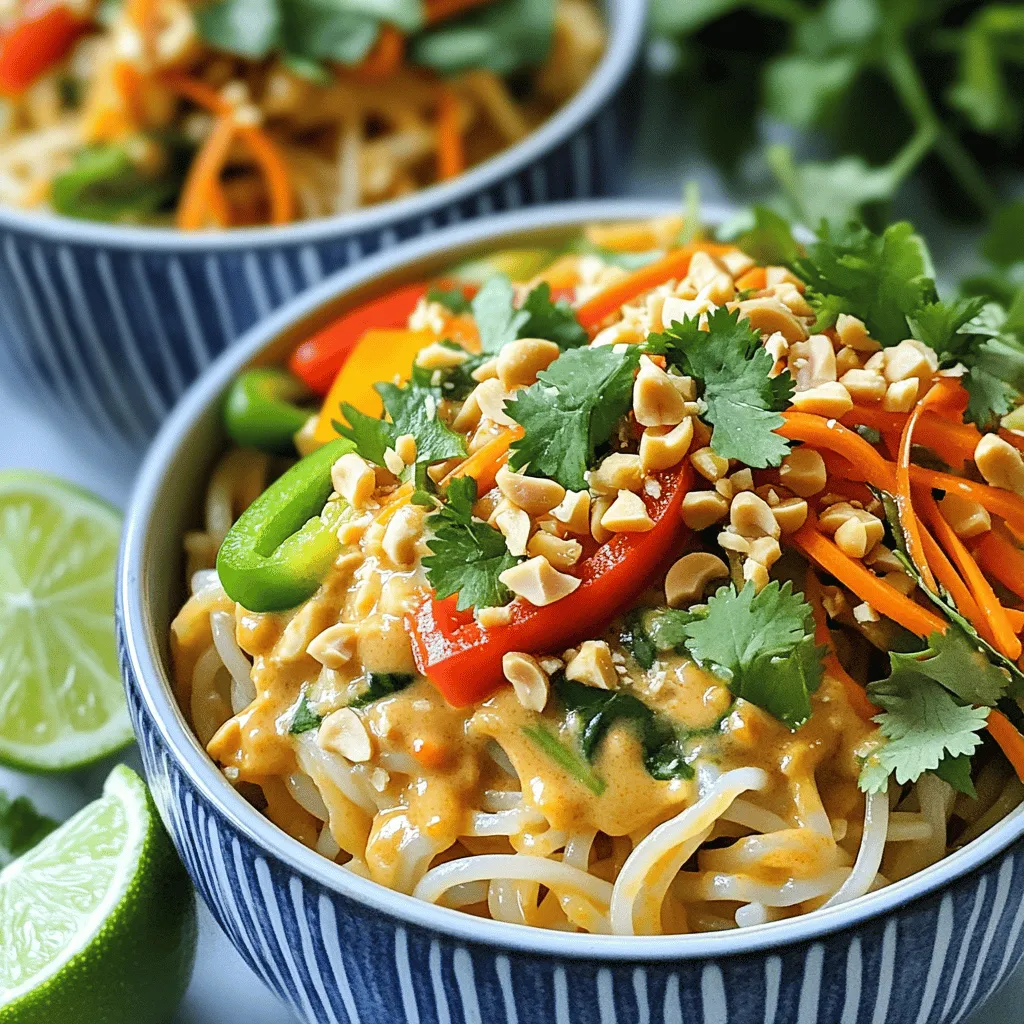
Are you ready to spice up your dinner routine? These Spicy Peanut Noodle Bowls pack flavor and excitement in every
